
 Farm fresh strawberries are finally ready to harvest in Southern Ontario. With that said, it’s time to make some jam. But, let’s be honest….it does not qualify as a serving of fruit in your daily diet. As I remind my kids, now and then on biscuits, pancakes or toast, accompanied with peanut butter on some bread, or as a topping on ice cream, strawberry jam is a great addition to a snack or meal. Not to mention that its flavor is a great reminder of summer when it’s minus 20 degrees in February!
Ingredients
4 quarts strawberries (9 cups crushed berries)
14 cups sugar
2 packages of pectin (57 g /2 oz.)
Yields 16 -250 ml (8.4 oz. or half pint) jars of jam
Note: Make this jam in two separate batches.
Directions for 8 jars of jam
Fill your canner up with hot water to the height of the jars that you will be using for your jam. It will take a while to get this volume to a boil so you better start now. If you get ahead of the game, you can always turn it down later.
Fill a medium pot with water and add the seals and screw rings. Bring this to a gentle bowl.
Sterilize your jars in the oven at 225 degrees fahrenheit for 10 minutes. Continue to keep them warm in the oven until they are needed.
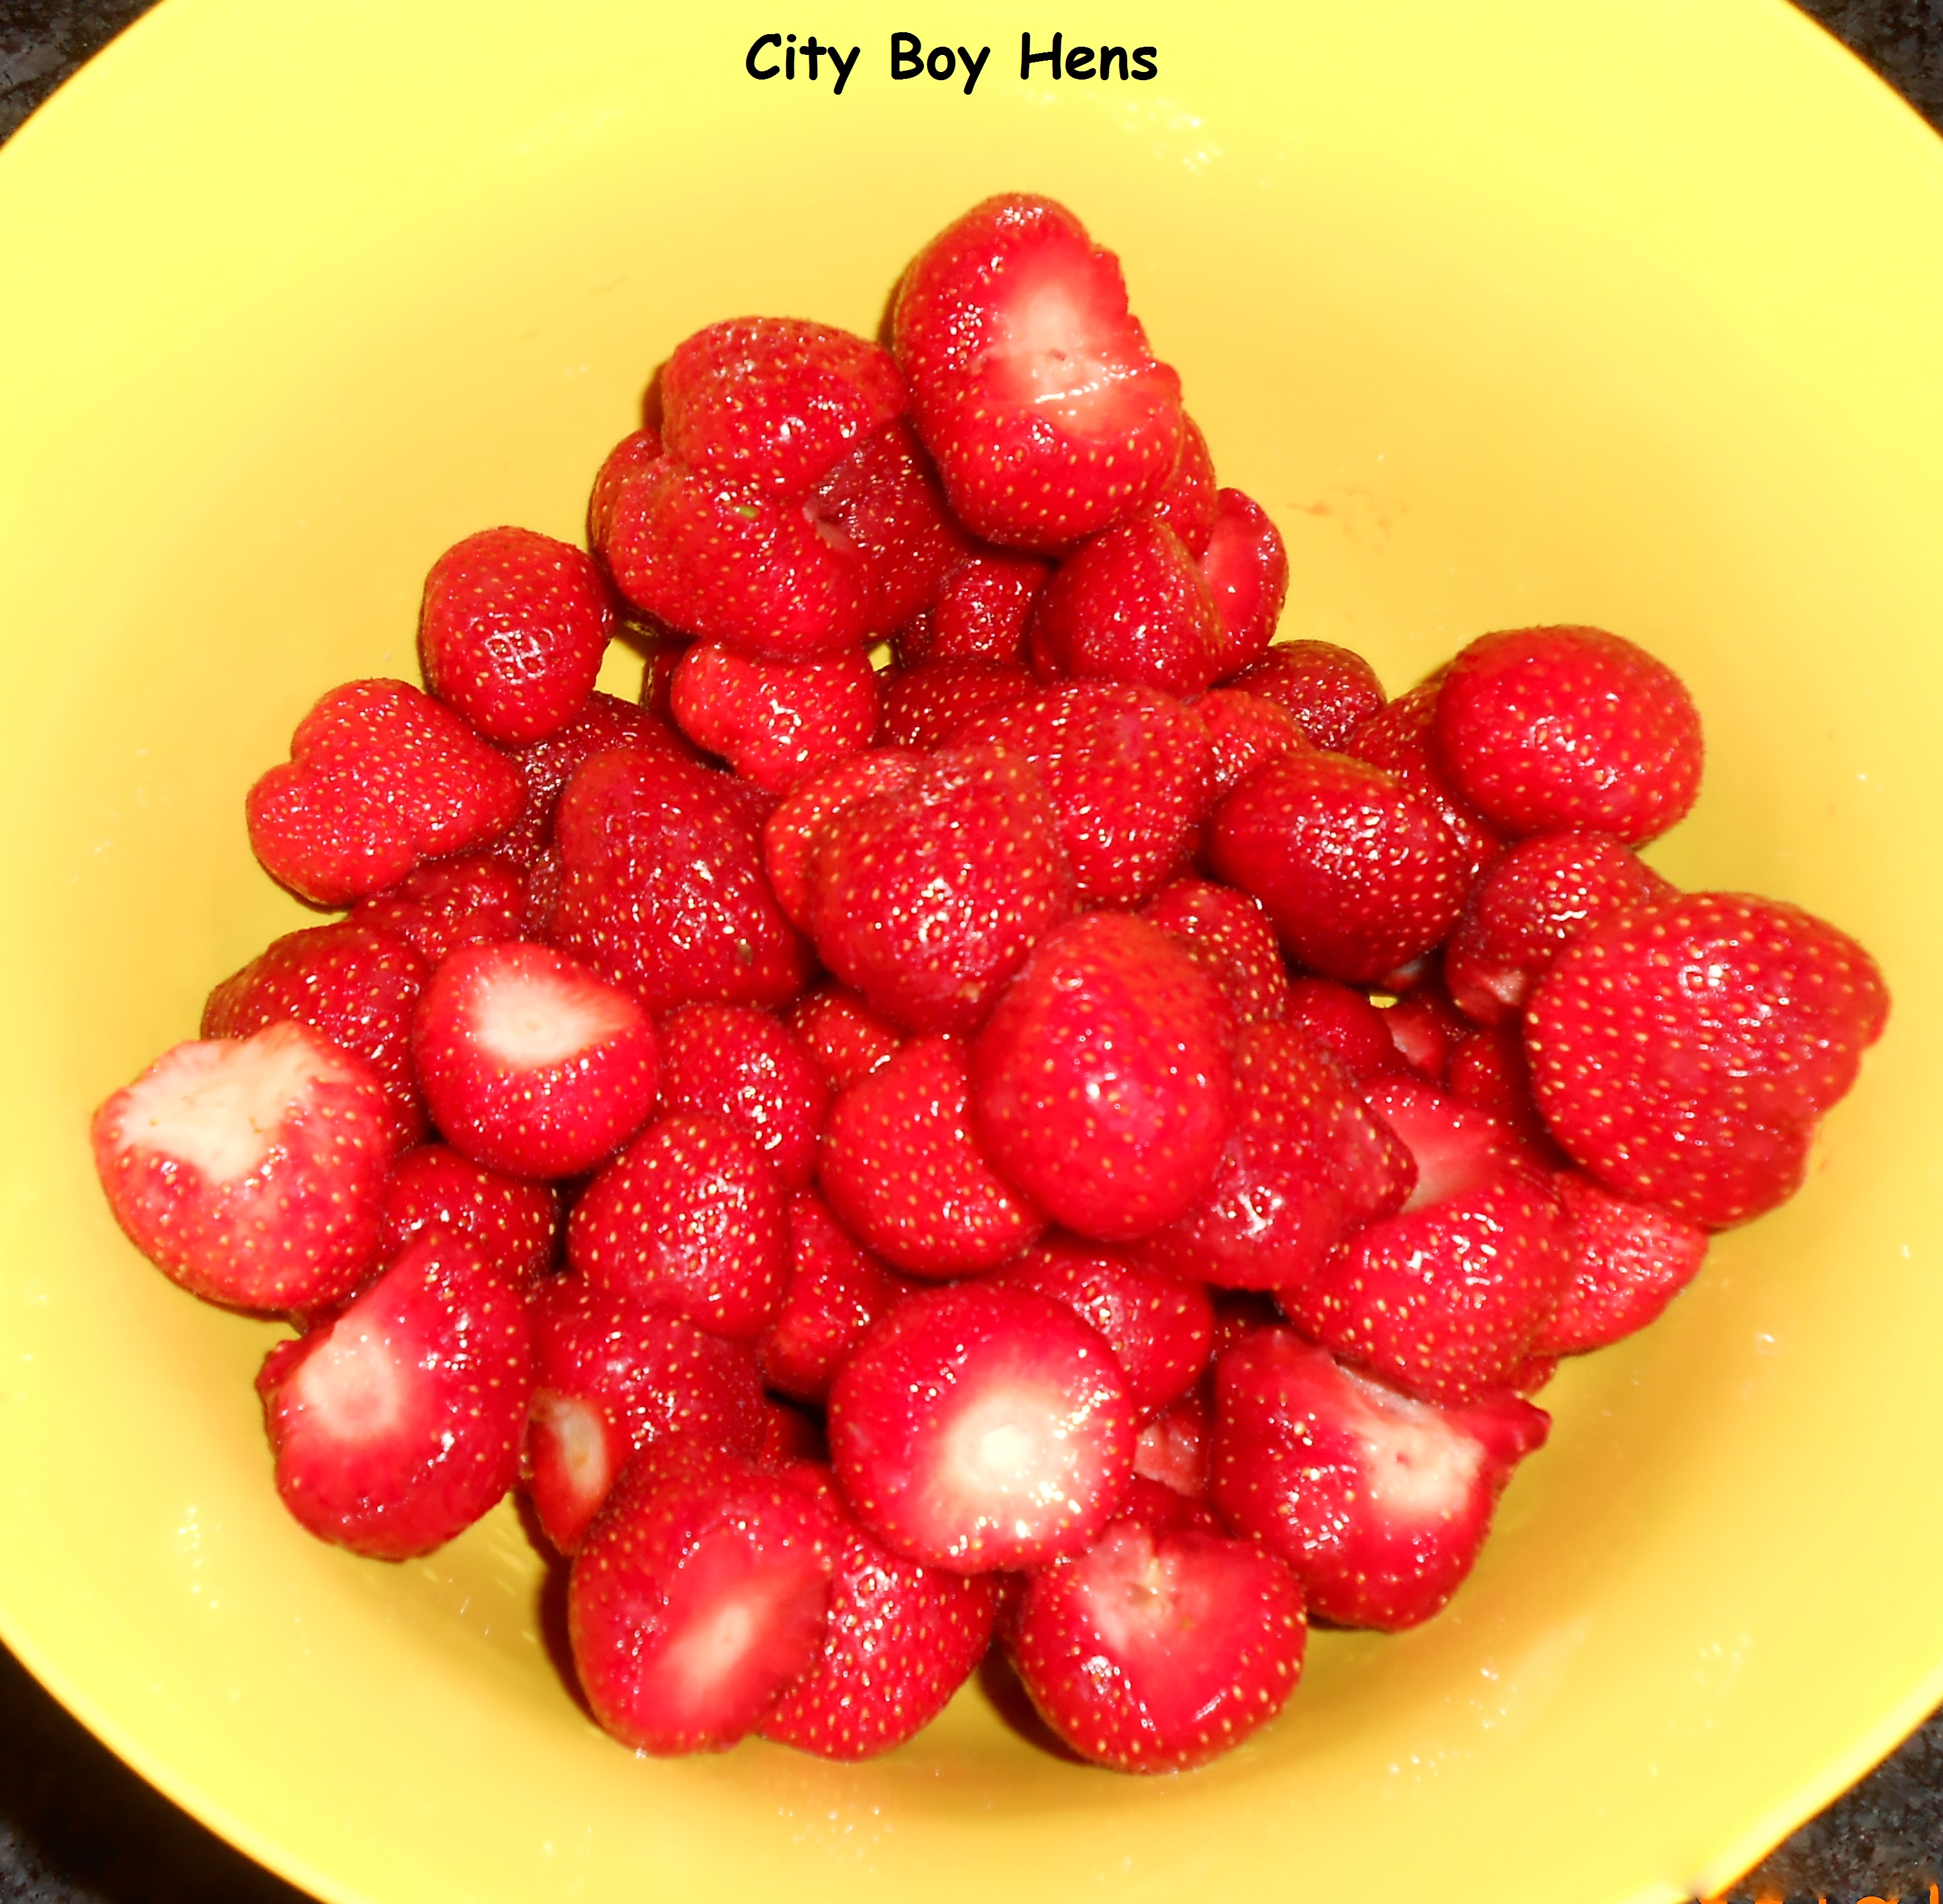 Wash and remove the hull from 2 quarts of strawberries.
Mash the berries up in a large bowl. If you like your jam to be more “chunky”, then decrease the amount of mashing.
Combine mashed berries and pectin in a large pot and bring to a boil over high heat.
Add all the sugar. I add 1/3 at a time and stir in order to dissolve all the sugar and not have it stick to the bottom.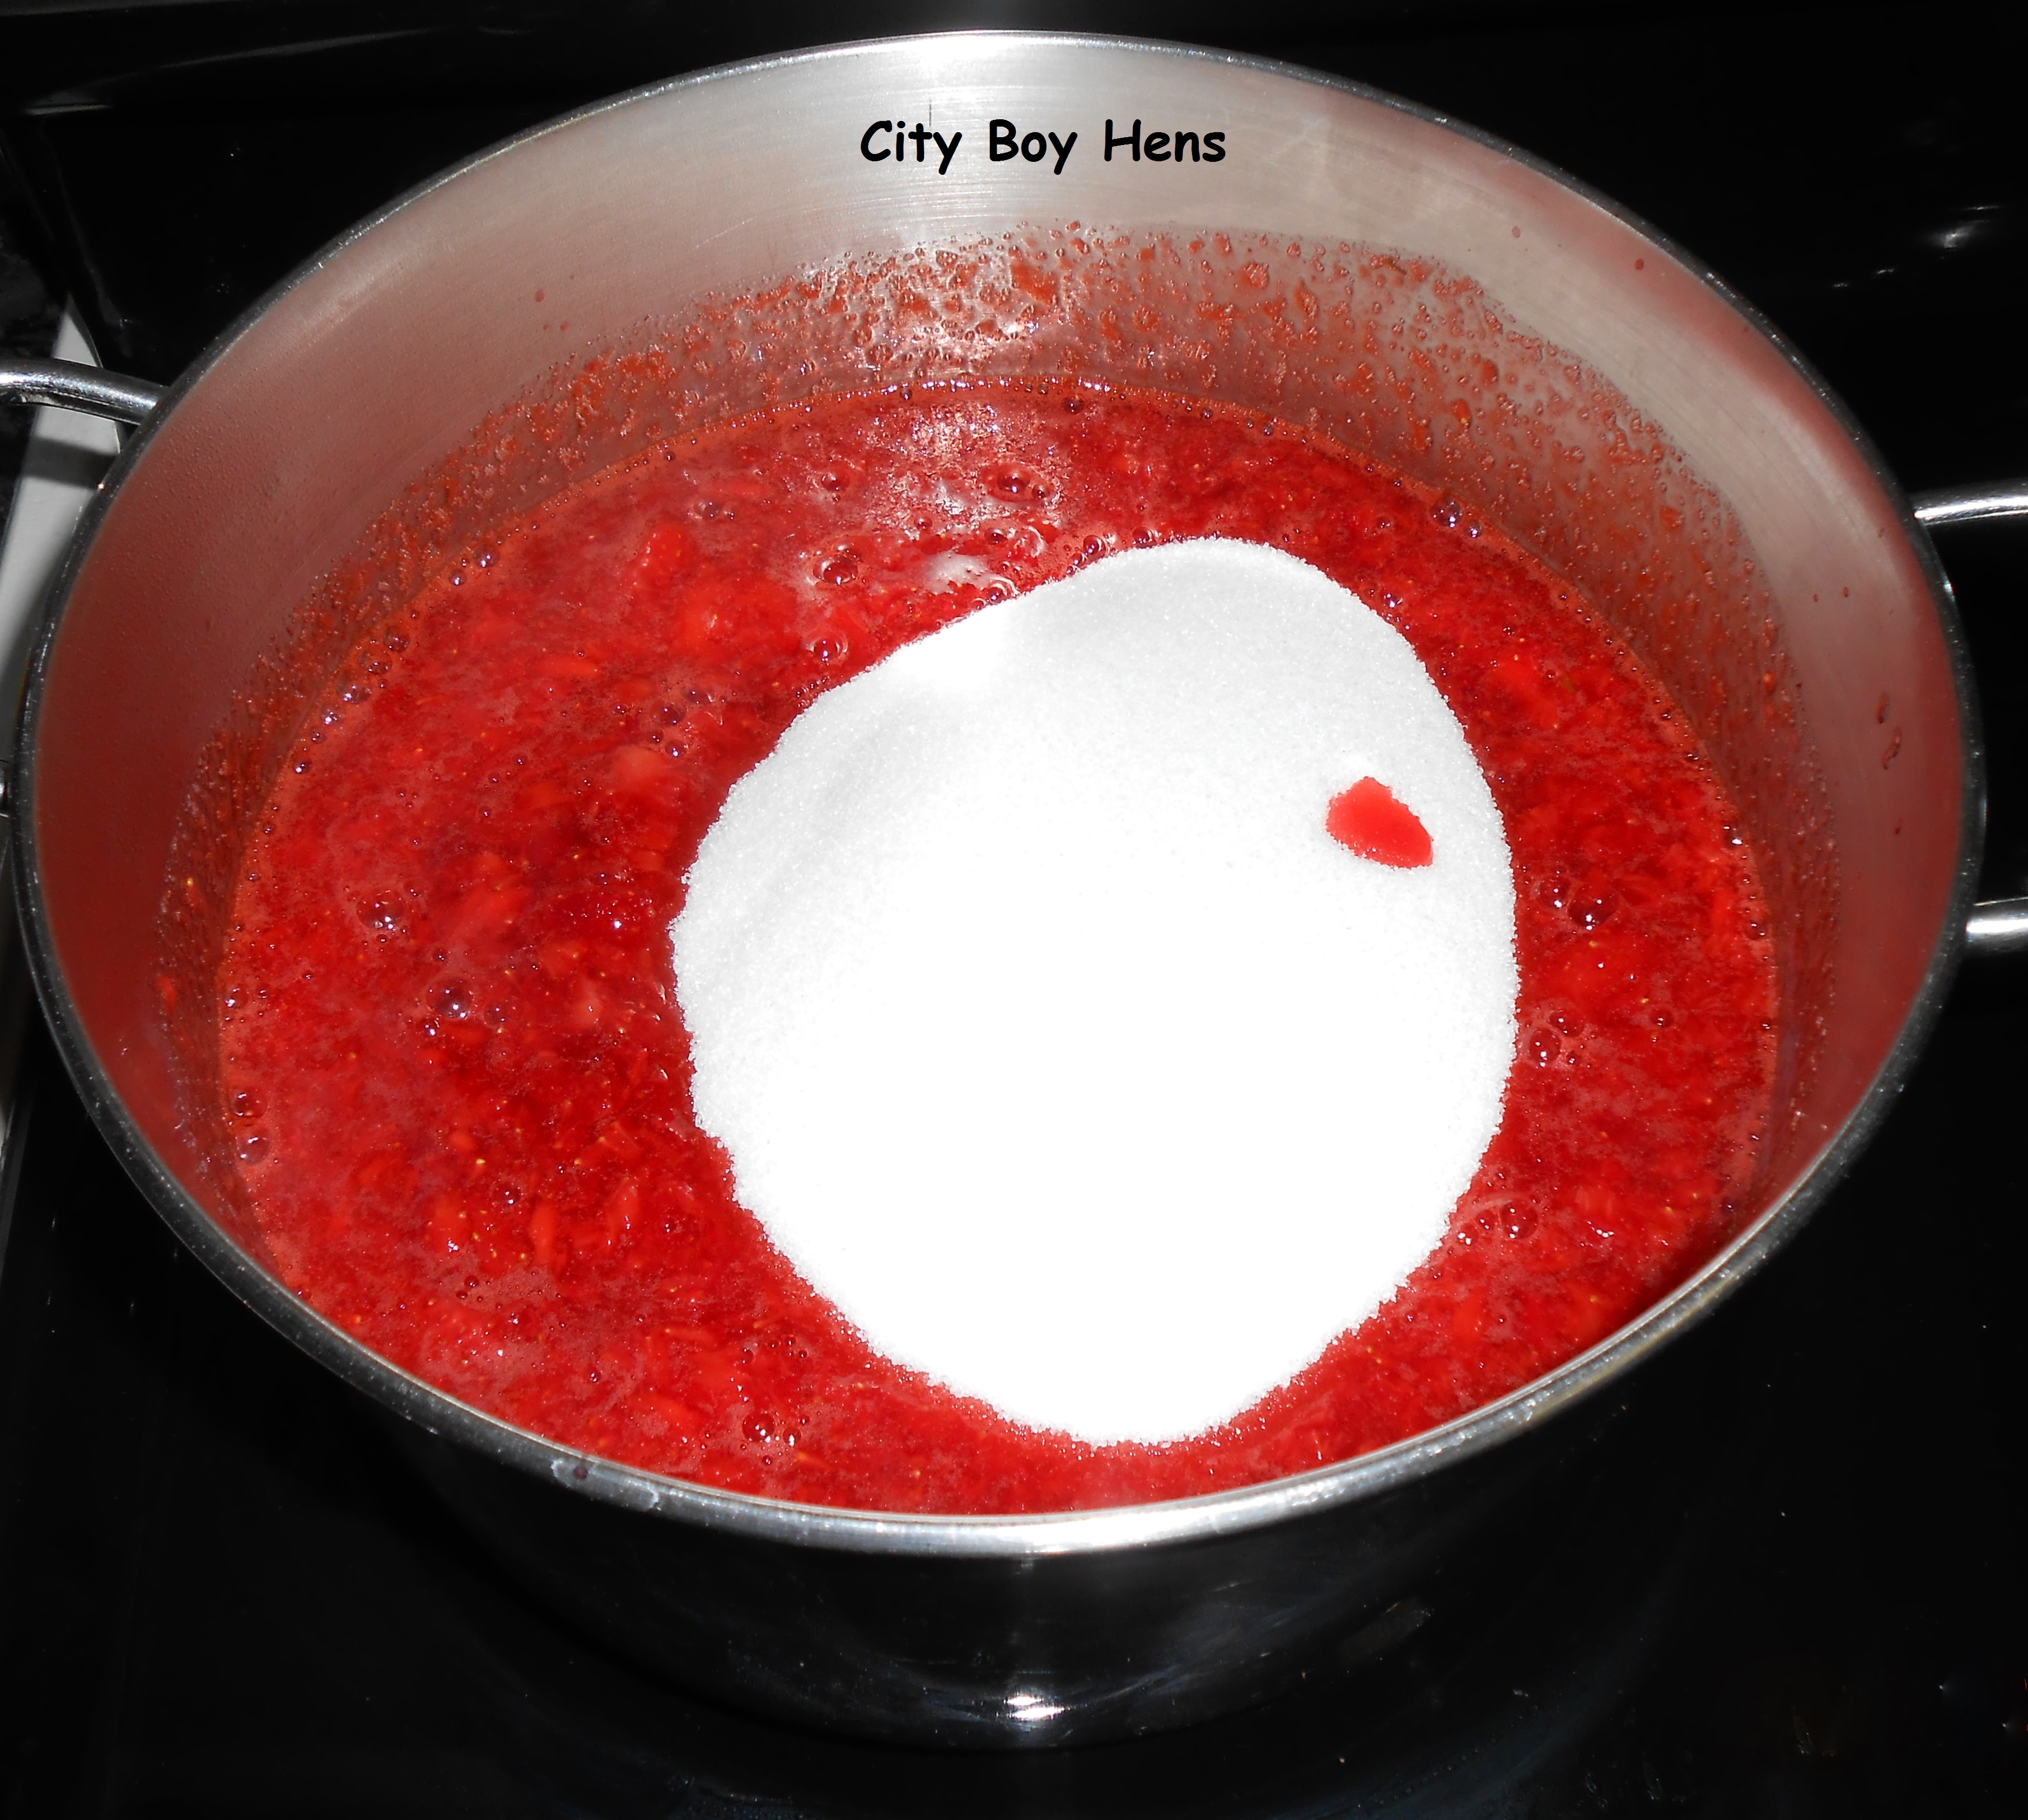
Note: Make sure you use a LARGE pot to make this jam. The volume will really INCREASE when the jam begins to boil. The last thing you are going to want to happen is have this sugary mixture bubble over in the pot and catch FIRE on your burner. Been there and done that!
Once the sugar is dissolved, return to a hard boil for 1 minute.
Remove from heat. Stir and skim for 5 minutes. This step is crucial in order to get a foam free jam (skimming part) that doesn’t have the fruit rising to the top of the jar (stirring part).

Pour jam into warm sterilized jars to 1/4″ from rim.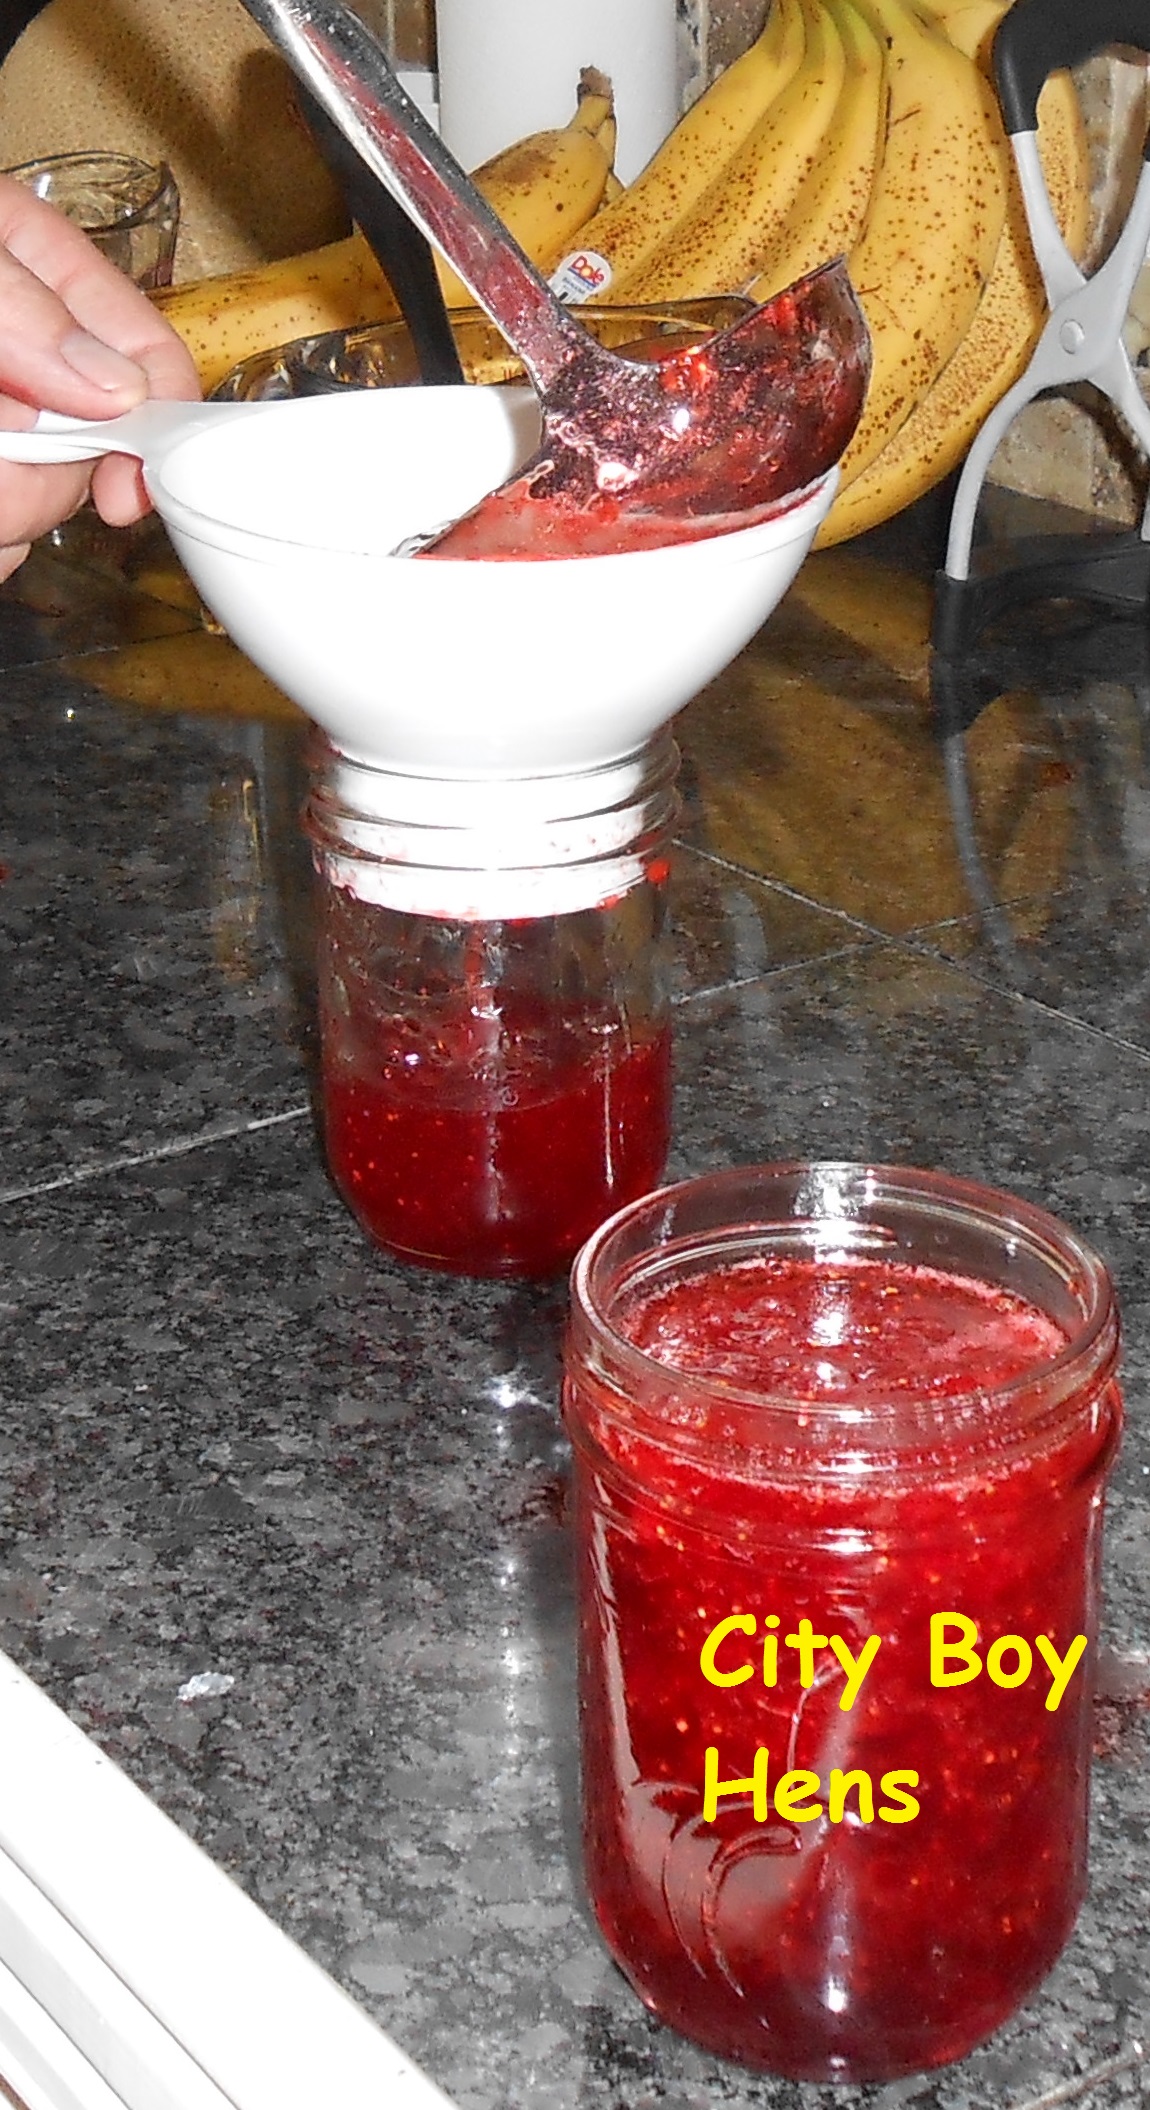
Wipe the lip of the jar with a wet paper towel in order to ensure that no jam is on the rim of the jar. This could prevent a good seal from happening. Cover with sterilized lids and tighten the screw rings.
Process in a water bath for 10 minutes. Carefully remove the jars with canning tongs and cool on a rack over night. Soon you will hear the sound of success as those lids start popping and ensuring a good seal.
Congratulations! Try not to eat it all in the next few months. Save some for the Winter when you will need a few reminders of summer!

Here from the Farm Hop and following you now. I’m another Ontarian with back yard chickens!
Hey Maureen,
Nice to have you on board.
Great to have a fellow Ontarian!
Hope you’ll drop by again.
Regards
CB
Your post inspired me…I made a bunch of Strawberry and Blackberry Jam yesterday…Yummm!
Congrats BCL!
Hope you’ll check back soon for more canning recipes.
Regards,
CB
I definitely will!
Just made a batch of this jam… so good! Also linked up to your recipe on my strawberry jam post.
HI Thrifty,
Glad you made a batch. Please check back next week for Blueberry Jam.
Regards,
CB