Guess Who Made It To Chickens Magazine This Month?

020
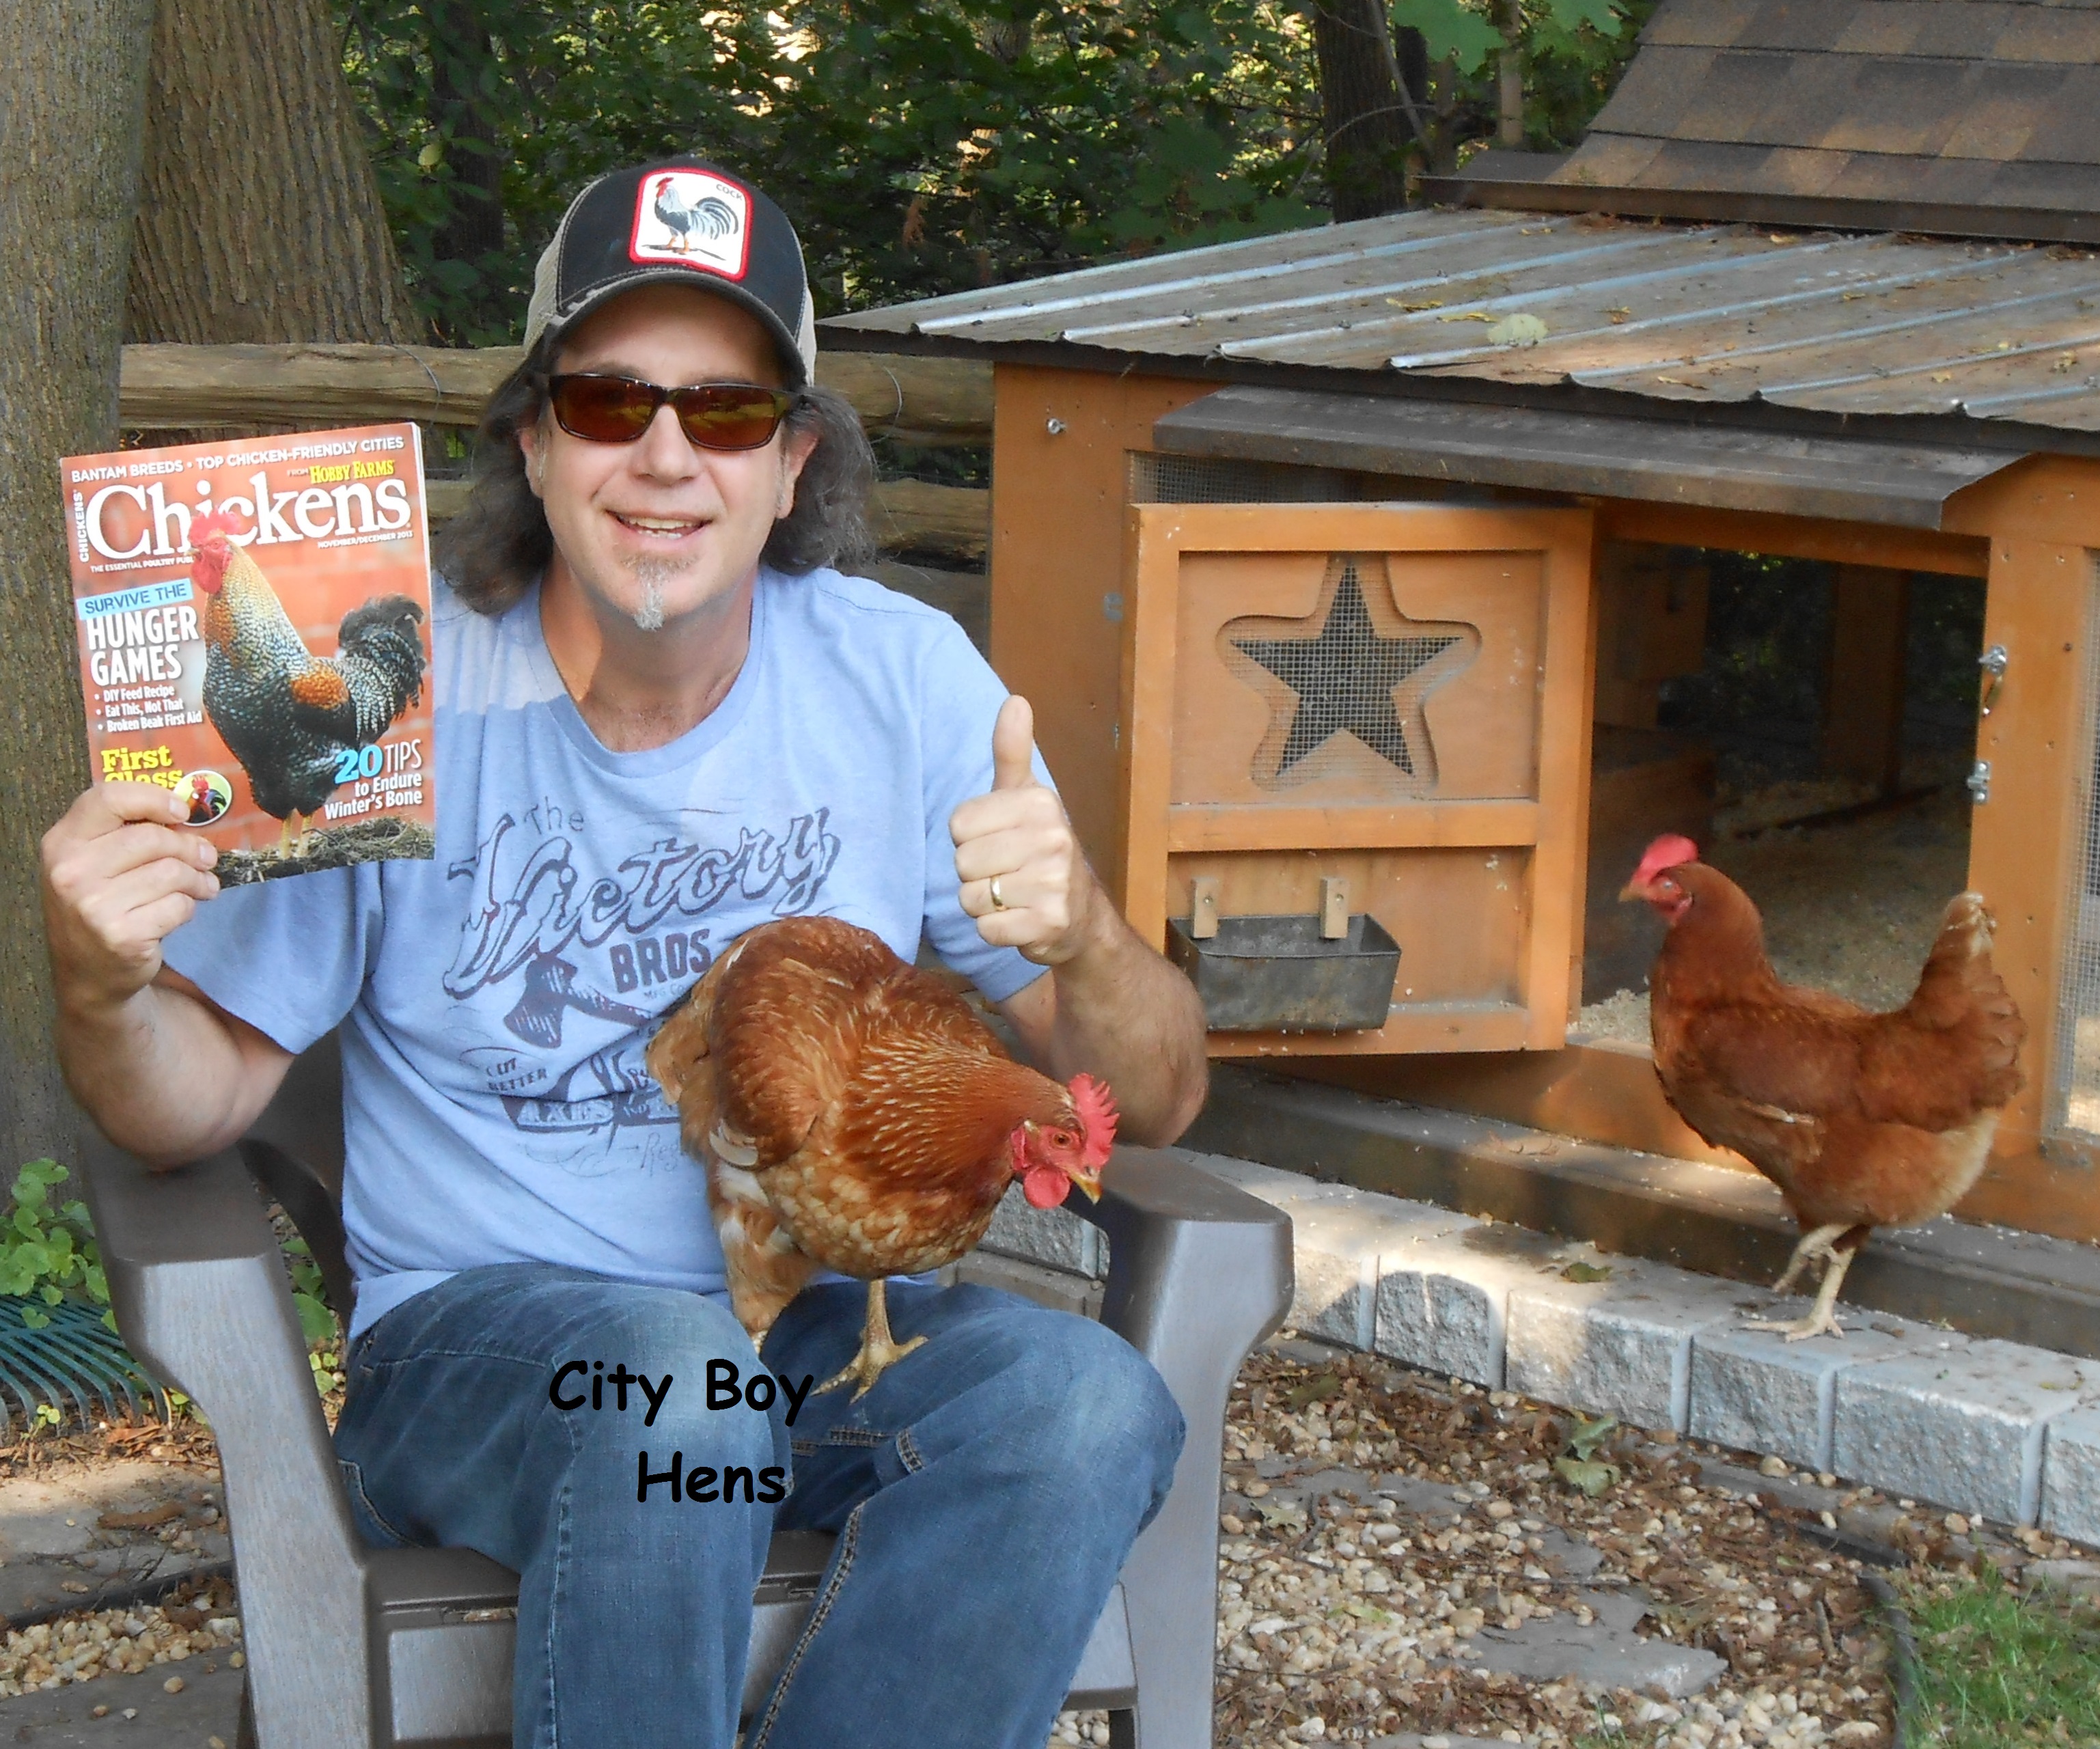
If you guessed this City Boy, than you are correct!………..(ROARING APPLAUSE FOR DRAMATIC EFFECT)  ” I want to say thank you to the members of the Chicken Academy,………..  to my beloved wife, who has continued to step around chicken poop on the deck for the last year,………. to my dutiful son and non-egg eating daughter for tirelessly listening to “chicken stories “around the dinner table,……… to our dog Stanley, who continues to protect the  “flock” even in his senior years,……… and, of course, to Honda, Rosie & Swiffer for providing entertainment to you, the reader,  for the last 8 months.  But most of all, I’d like to thank Chickens Magazine for choosing my submission for the November/December 2013 issue”.

So without further adieu, here’s my submission:

Urban Renewal

A city boy finds solace in keeping chickens.

The 4 Amigos

I think of hens as pets that provide their owners nourishment every day. Unfortunately, I can’t say the same about my family’s dog, turtle, crayfish or deceased budgie and hamster. Don’t get me wrong, the dog does his job, but I’m not interested in eating what he leaves for me to pick up! As for the others, I never did see the purpose of getting additional pets, except to satisfy my kids’ pleading during momentary lapses in my own judgment.

Midlife Crisis

It’s fair to say that I am in the midst of a midlife crisis. For the first time in many years, the kids don’t require the attention they once did, and I now have some time to discover and pursue some of my own interests. However, I don’t want a tattoo. I don’t want a vintage car (I sold my sweet 1965 Ford Mustang a few years ago and don’t miss it for a moment). And I don’t want another woman, because I love my wife (and I don’t want to give up half of what I’ve accumulated over the last few decades!).

With that said, last year I found myself daydreaming about getting a few chicks. Looking back, I think it had something to do with the onset of spring combined with an early Easter.
I mulled it over and then started to sneak around the Internet to see if keeping chickens was something I could realistically pull off.

To further complicate matters, I didn’t have any agricultural experience, except for a three-week stint bailing hay on a farm in the summer after 10th grade. There weren’t even any chickens on that farm, just some cows and a headstrong bull. Anyways, a farmer I am not, though I did manage to speak to some people who raised chickens in rural areas. For the most part, they were polite, but there were a few raised eyebrows. I think I heard a few inside voices laughing at the “city boy who wanted to play farmer.”076

My Obsession

One day, I discovered a local garden center that sold day-old chicks. I left work that same day and headed straight to the garden center to take a look. I remember walking into the store and hearing the faint sound of peeps. I followed the sound until I came upon two brooders packed with tons of fluffy yellow chicks. I was totally hooked the moment I saw those chicks, and 10 minutes later, I was walking toward the front counter with two chicks, a brooder lamp, a waterer, grit and feed.

I like to think that I partially made the decision to get the chicks because it would be a positive learning experience for the kids. The reality is: I would have gotten them with or without the kids!

The Chicken Man Cometh

Fast forward four months to a hot morning in July when Honda, one of those fluffy chicks, now a hen, laid her first egg. I carried that egg around like a proud papa, waiting for my family to wake up.

When my daughter emerged from her bedroom, I showed her Honda’s accomplishment and told her we could share the first egg for breakfast. My daughter — the one who begged and pleaded for me to get chickens in the first place and who tenderly cuddled “her babies” in a blanket when they were young — looked up at me with complete disbelief and said, “I’m not going to eat that egg! Do you know where it came from? Besides, these are our pets, and I am not eating something that came from our pets.” (I know those rural folks are no longer laughing on the inside; I can hear them loud and clear!) To this day, my daughter “thinks” she doesn’t eat eggs from our hens; my wife tells her that her breakfast is made from “store-bought” eggs.109

More than a year has passed since that day in March, and we’ve covered a lot of ground. In that time, I built an extensive run and coop; trained Stanley (our Labrador Retriever) not to eat the hens; took the girls to our summer cottage for the entire season; successfully introduced Rosie (a third hen) into the flock; and survived owl, raccoon and hawk attacks. Winter is now in full swing, but the hens continue to each lay an egg every day. I never get tired of walking out each morning to fetch those eggs!

My extended family and friends think I’m a bit crazy to raise hens in the city. They’ve made plenty of jokes at my and my hens’ expense. I received a plastic egg-carrying case on Mother’s Day, some kind of gadget that makes hard-boiled eggs without the shell on my birthday and a baseball cap with a rooster stitched on the brim at Christmas. Friends and family seldom call me Rick anymore; I automatically respond when someone calls out to the -“chicken man.” It’s interesting, though, how all these hilarious people keep asking me for fresh eggs …

I can’t say for certain why I am so enthralled with my hens. As I mentioned before, maybe it has something to do with a midlife crisis, or maybe it’s just a need to step back into a simpler way of life. But, whatever the reason, I can tell you this: I’m having a blast!

Rick Andrews hales from Toronto, Ontario, Canada, with his wife, two kids, dog, turtle, crayfish and three ISA Brown hens. Follow his urban chicken-keeping adventures at http://www.cityboyhens.com.

Advertisement

The BEST Sign That Your Hen is DONE Molting!

018I’ve been bragging about my chickens for over a year to pretty well anyone who will listen.  It has definitely become my favorite obsession!  The talk always turns to egg production and I start spelling off about how great these 3 sex-link hens are at pumping out eggs almost every day.   Well…low and behold, …..doesn’t Honda, our starting pitcher, stop laying eggs!

At first, I  thought it was a temporary slump.  Every Major League pitcher gets in a rut from time to time and maybe Honda just needed a bit of a rest from producing those large brown eggs each day.  But,…..as the days turned into  weeks, my concern continued to grow and the number of eggs in the egg carton continued to dwindle.  In  a momentary lapse of judgment, I even consider rationing my 83-year-old neighbor from the 3 farm fresh City Boy eggs that she receives each week.  Okay…listen……..before you start sending those off-color comments, I’ll have you know that I dismissed this panicked thought and Philomena continued to get her eggs.  Let’s just file that one under   “concerned ‘father’ not thinking too clear”.

Anyways, as the days turned into  weeks and my anxiety continued to grow, it was finally determined that Honda was in the process of molting.   Well…..7 long weeks later I am happy to report that my starting pitcher is back in business!  This morning I went out to the coop and there, nestled in some wood shavings, was THE BIGGEST FREAKIN’ EGG I HAVE EVER SEEN at City Boy Hens! 003 This egg is ginormous!  It weighs in at just under a quarter of a pound and is over 3 1/2  inches long.   Though I am not a Mother and I  did not give birth to our two children, I feel I may have enough common sense rattling around in my head to know that this must  have hurt like hell!

“Ok Honda……..listen…….you don’t need to be making up for lost time.  I understand  you feel that you may have let City Boy Hens down in the last 7 weeks, but rest assured, you couldn’t have helped it!  You ARE suppose to molt and take some time off in the process.  Don’t you be worrying that Philomena never got her 3 fresh eggs each week.  Rosie and Swiffer had you covered.  But, more importantly, don’t you be worrying that Swiffer is trying to move up in the rotation and dreaming of becoming the starting pitcher at City Boy Hens.  Sure, she hasn’t missed a day of laying in the last 5 weeks, but between you and me, she doesn’t have what it takes.  Besides,……look at the way that crazy hen is always acting…….laying those eggs in the garden, sometimes doing the “egg-song” at 5:30 am……..she’s crazy I tell you!  But more importantly, take a look at those Ping-Pong size eggs that she offers up to City Boy most days. They’re nothing compared to those beauties that you’ve made before.  Now,………. go hit the showers and take a nice long rest in a relaxing dust bath.  You’ve deserved it!

Oh….and Honda…….welcome back to the Majors………….  It tastes GREAT to have you back!044

How To Make Great Sweet Mixed Pickles

017Sweet Mixed Pickles  remind me of Fridays when I was a kid.  Every Friday, my Mom made grilled cheese sandwiches for our lunch and they were always served with store-bought sweet mixed pickles.  I remember the pickles tasting good, but there was often a squabble between siblings over the minimal cauliflower florets and pearl onions.  Well I’m here to tell you that there will be no fighting at this City Boy’s home between dutiful son & endearing daughter because our mixed pickles are chock full of cauliflower florets and pearl onions!  So if you are interested in making your own sweet mixed pickles, I urge you to give this recipe a try.

Makes 10 Pint (500 ml) jars.

Ingredients:

6 lbs.. pickling cucumbers (4 quarts/approx. 40 pickling cucumbers)

2 lbs. pearl onions (5 cups), outer skin removed

1 cauliflower head

1 cup  pickling salt (Don’t use table salt.  It will cloud your liquid and turn your pickles to an unpleasant color.)

16 cups cold water

3 1/2 cups pickling vinegar

2  1/4 cups granulated sugar

1 tbsp.  mustard seed

1 tsp. celery seed

1/2  tsp. turmeric

Directions:

Add pickling salt to the water and stir until dissolved in a large bowl.  This may take a bit of stirring because the salt will not dissolve as readily in cold water.

001

Weigh, wash and gently scrub all cucumbers.  Discard any cucumbers that appear spoiled.

004Cut approximately 1/4″ off of each end of the cucumber.  It is essential that you at least cut  the blossom end (not stem) because there is an enzyme at this end which will make your pickles turn mushy and possibly unsafe to eat.  The blossom end is located on the right side in the above picture.

Cut your cucumbers into 1/2″ slices and place them in the large bowl.

Rinse pearl onions and soak them in hot water.  This will help loosen the outer layer that must be removed on the  onion.  I know this is a huge pain in the butt, but it will be worth it in the end!  Remember…no more fighting.  Place the onions in the same bowl.

Wash and cut the cauliflower into small florets.  This too must go into the really large bowl.006

Keep the vegetables in the brine for 2-3 hours, occasionally giving it a stir.

With about a half an hour left of brining, fill your canner up with water about 2 inches higher than the height of your jars and bring the water to a boil.  This will take a bit of time.

Sterilize your jars in the oven at 225 degrees Fahrenheit  for 10 minutes and continue to keep them warm in the oven until they are needed.003

Place canning seals and rings in a small pot and begin to warm them up.005

In the mean time, combine sugar and vinegar in a large pot and bring to a boil.

Place spices into a piece of cheese cloth and tie.  Place this bag in the liquid when it begins to boil.

Once the 2-3 hours of brining is complete, drain the vegetables into a colander.  Fill the bowl with fresh water and rinse again.

Put the drained vegetables into your large simmering pot and bring the ingredients up to a boil.014

Using a canning funnel, pack your mixture into your canning jars, leaving 1/2″ head space.  I found it easier to fill all the jars first with the “solids” and then distribute the liquid after.016

Using a non-metal utensil, remove the air bubbles from the jar.  Add more liquid to the 1/2″ head space level if required.

Wipe the lip of each jar with a wet paper towel.  This will ensure that no residue is left on the lip of the jar which will prevent a good seal.

Using tongs, place your seals and rings on each jar.

Using canning tongs, carefully place each sealed jar into the canner and process in boiling water for 10 minutes.025

Using the canning tongs, carefully remove each jar from the boiling water and leave to cool on a rack.

Soon you will hear the successful ping of each jar as it seals.  Now tuck those babies away in the cantina or cold cellar until the colder months when you’ll need a reminder of the summer!  If you can’t wait until then……just give them a few weeks to flavor!017 - Copy

.

How To Make Italian Plum Jam

028The Italian Plum or Prunus cocomilia is native to Southern Italy.  It is said that the plum may have been one of the first fruits domesticated by humans and that it’s remnants were found in Neolithic age archaeological sites dating back 10,000 years ago.  Over the years, this ancient fruit  has been used in cakes, preserved in alcohol, dried to make prunes and……made into delicious jam.  Right now in Southern Ontario, Italian  plums are in abundance and last weekend I honored my daughter’s request and make some Italian Plum Jam.  I don’t mind saying it turned out pretty darn good!

Makes 10 -250 ml (8.4 oz. or half pint) jars of jam

Ingredients:

4 lbs. of Italian plums ( 6 cups crushed)

8 cups granulated sugar

1 package of pectin (57 g /2 oz.)

Directions:

003Weigh, wash and cut plums in half.  Discard pit.

Either finely chop plums by hand or pulse in a food processor.  The second choice is much easier & faster. 005

Fill your canner up with hot water to the height of the jars that you will be using for your jam. It will take a while to get this volume to a boil so you better start now.  If you get ahead of the game, you can always turn it down later.

Fill a medium pot with water and add the seals and screw rings.  Bring this to a gentle boil.005

Sterilize your jars in the oven at 225 degrees Fahrenheit  for 10 minutes.  Continue to keep them warm in the oven until they are needed.

Combine mashed plums and pectin in a large pot and bring to a boil over high heat.012

Add all the sugar.  I add 1/3 at a time and stir in order to dissolve all the sugar and not have it stick to the bottom.

Note:  Make sure you use a LARGE pot to make this jam.  The volume will really INCREASE when the jam begins to boil.  The last thing you are going to want to happen is have this sugary mixture bubble over in the pot and catch FIRE on your burner.  Been there and done that!

Once the sugar is dissolved, return to a hard boil for 1 minute.

Remove from heat. Stir and skim for 5 minutes.  This step is crucial in order to get a foam free jam (skimming part) that doesn’t have the fruit rising to the top of the jar (stirring part).014

Pour jam into warm sterilized jars to 1/4″ from rim.018

Wipe the lip of the jar with a wet paper towel in order to ensure that no jam is on the rim of the jar.  This could prevent a good seal from happening.  Cover with sterilized lids and tighten the screw rings.

Process in a water bath for 10 minutes. Carefully remove the jars with canning tongs and cool on a rack over night.  Soon you will hear the sound of success as those lids start popping and ensuring a good seal.025

Complimenti (congratulations)!  Now tuck some of those jars into your cantina or cold cellar and wait for those cold days of Winter when you’ll need a warm reminder of some late summer tastes!025

Drunken Plums In Vodka

013Italian plums are at their peak of freshness in Southern Ontario.  It’s a great time to buy a basket of plums and create some late summer memories for the cold Winter ahead.  What better way to do this than make some Drunken Infused Plums In Vodka.  I’ve done this before with cherries and it is always a crowd pleaser.  I’m not sure what it is, but a lot of folks get excited about eating alcohol infused fruit.  Maybe it’s because they can combine  getting a bit  lacquered with their daily recommended serving of fruit.  “Louie……would you like an apple or banana with your lunch today?”  “Neither Maria…….I’m going over to City Boy’s house tonight and gonna’ eat some Drunken Plums”.

In order to make a really good vodka liqueur, it is necessary to cut the plums in half and remove the pit.  This will allow the vodka to penetrate into the fruit much faster and allow the sugars from the plums to flavor the vodka.  I promise that this liqueur is going to taste amazing!  You won’t believe how sweet it becomes after a few months in those mason jars!020

Using a canning funnel (just because it’s easier), drop your plums into a sterilized mason jar.  Make sure to pack them in tight without breaking up the plums.  You can sterilize the jar by placing it in the oven for 10 minutes at 225 degrees Fahrenheit.

Fill the jar with vodka, leaving a 1/4″ headspace and seal up the jar.036

Now, put the jar aside in your cantina or cold cellar and wait for the vodka to turn a rich amber color.  You’ve got to give those babies at least 3 months to flavor the vodka. But, don’t worry, they’ll be ready just in time for your Christmas or New Year’s celebrations!015

Serve 2-3 plumb halves in a liqueur glass with a toothpick.  Your family & friends are going to love them!  Enjoy responsibly!

The Crunchiest Dill Pickles Ever!

016People have been eating pickles ever since the Mesopotamians started making them way back in 2400 B.C. The pickles popularity grew over the years with notable mention from many famous people.  Cleopatra claimed that they were the secret to her beautiful skin.  Christopher Columbus ensured that his shipmates had a pickle each day in order to fend off scurvy and Napoleon believed that a pickle a day helped ensure that his troops remained strong in battle.  And then there’s CITY BOY & his family who all love eating them on burgers, wraps, or just as a plain old snack (especially daughter).

The only problem with homemade dill pickles is that they become mushy over time.  Well…..I’m here to tell you that the days of limp pickles are definitely over for this City Boy.  No more droopy, floppy, or shriveled pickles are ever found on the shelf in this City Boy’s cantina.  My beloved wife now BOASTS about the firmness, crunch and look of her City Boy pickles every time she is caught with her hand in the pickle jar!

The reason that homemade pickles generally become mushy over time is that there is an enzyme on the flowering end of the cucumber that does not get destroyed during the canning process.  As a result, it breaks down the fibers in the cucumber over time and turns it into a soft & mushy pickle within 6 months.  We are still eating Dills from 2 years ago (I went a bit crazy on the canning that year) and they still have a good crunch.  The secret is a product up in Canada called Pickle Crisp by Bernardin (Canada’s answer to USA’s Ball).  Just 1/4 teaspoon in each quart jar will keep your pickles crisp for long past a year!

Ingredients: Yields 6 quart jars

5 lbs. pickling cucumbers

8 cups water

8 cups pickling vinegar

1 cup  pickling salt (Don’t use table salt.  It will cloud your brine and turn your pickles to an unpleasant color.)

Into each jar add:

1/2 teaspoon mustard seed

1 large garlic clove (sliced)

1 bunch dill

1/4 teaspoon “pickle crisp”

Directions:

001

Weigh, wash and gently scrub cucumbers.  Discard any that appear spoiled.

Fill your canner up with water about 2 inches higher than the height of your jars and bring the water to a boil.  This will take a bit of time.

Sterilize your jars in the oven at 225 degrees Fahrenheit  for 10 minutes and continue to keep them warm in the oven until they are needed.004

Place canning seals and rings in a small pot and begin to warm them up.005

In the mean time, begin making your brine solution and bring it to a boil.

Carefully remove sterilized jars from the oven and add dill, garlic, mustard seed and pickle crisp to each jar.002

Firmly pack each jar with as many pickles as you can possibly fit into this space.  Look at it as a challenge because you don’t want those pickles to float up to the top of the jar.003

Once packed, pour the brine into each jar using a canning funnel, making sure to leave a 1/4″ head space in each jar.007

Wipe the lip of each jar with a wet paper towel.  This will ensure that no residue is left on the lip of the jar which will prevent a good seal.

Using tongs, place your seals and rings on each jar.

Using canning tongs, carefully place each sealed jar into the canner and process in boiling water for 15 minutes.025

Using the canning tongs, carefully remove each jar from the boiling water and leave to cool on a rack.

Soon you will hear the successful ping of each jar as it seals.  Now tuck those babies away in the cantina or cold cellar until the colder months when you’ll need a reminder of the summer!  If you can’t wait until then……just give 6 weeks to flavor!009

How To Preserve Peaches

004Ah…the peach……it is said to have originating in China in 1100 BCE. It  became famous in paintings  by the likes of  Caravaggio, Renoir,  Monet & Van Gogh. The characteristics of it”s sweet flesh and soft skin have become notable  in the English language for such sayings as “peach fuzz”,” “peachy keen”, and “life’s a peach”.  It is used as a main ingredient in pies, cobblers, ice-cream, jams & salsa or just eaten fresh off the tree on hot August days!  But most of all…..the peach taste best when canned in August & September and eaten during the Winter months when the temperatures dips down below freezing.  There’s nothing like homemade canned peaches to bring you back to the dog days of summer when there’s a couple of feet of snow out in the yard!

Now….if you like your canned peaches to be mushy and brownish in color, then you should stop reading and go find a site that will give you that terrible information.  But…If you want to eat firm peaches that remain bright in color, than I urge you to keep on reading.

First and foremost, you must use a canning peach for processing.   If you use a free-stone peach, it will turn mushy.  I only use Baby Gold #5 variety for my canning.  Year after year I continue to get great results from these peaches, even after they have been stored in my cantina for well over 12 months.  Secondly, if you want to prevent your peaches from turning brown, they must be immersed in a water bath which contains ascorbic acid.  Now before you freak out, ascorbic acid is a naturally occurring compound that is found in Vitamin C.  Up here in Canada, it is made by Bernardin (USA’s answer to Ball) and goes under the name Fruit Fresh.

So…. if you want to make the Best homemade peaches that will create the WOW factor for your family & guests than you gotta’  make City Boy Peaches…..  Ok…… let’s get started!

This recipe is based on 1/2 bushel (approx.. 50 large peaches) and will yield 11-12 quart jars.

Directions:

Fill your canner up to the required height and begin heating the water.  This will take a  bit of time.

Sterilize your jars in the oven at 225 degrees Fahrenheit  for 10 minutes and continue to keep them warm in the oven until they are needed.004Place canning seals and rings in a small pot and begin to warm them up.005

 Wash, peel and remove any bruises or blemishes from the peach.  The first year that I canned peaches, I tried blanching the peach in order to remove the skin.  This was a complete waste of time which yielded poor and frustrating results.  Give it a try if you don’t believe me, but I promise you’ll go back to the peeler. Blanching  works great for removing the skin off of  very ripe free stone peaches, but it is not suitable for a canning peach.

Once you have removed the skin from a few peaches, it is necessary to cut the peach into wedges in order that it can become immersed in the “fruit fresh” bath.  This will prevent the browning that characterizes so many homemade canned peach recipes..  Because these peaches are “cling-stone”, you will have to work hard to cut away the stone. This step is a huge pain in the butt because it is time consuming, but you will get firm peach wedges for your trade-off with hard work.  Remember….the end result will be great!  During this step, I first cut a small wedge from the peach.  Using a rigid blade knife, I carefully pry the wedge from the stone.  This will expose a part of the stone and I then use a pairing knife to cut segments around the stone.009

010

Keep on repeating this process until you have peeled, cut and pitted about half of the peaches.012

When you want to take a break from cutting up the peaches, begin to make the syrup.  In total, you will use 10 cups of water and 5 cups of granulated sugar.  I divide this in two batches because I do not have a pot that is large enough for this volume.  Begin heating the mixture and occasionally stirring until the sugar is dissolved.

Once the syrup begins to boil, begin putting the drained peaches into the pot.  A metal basket spoon works great for this job. Keep the peaches in the boiling syrup for 3 minutes.

Using a canning funnel, begin putting the peaches into your sterilized jars. 017 Add syrup, leaving 1/2 inch head space.  Using a nonmetallic utensil, remove air bubbles and adjust head space, if required. 021

Wipe jar lid in order to ensure that no syrup is left on the lip of the jar.  This will prevent your jars from sealing correctly.

Center hot sealing disk on your jar and tightly screw band ring down.

Using canning tongs, place your jars in the canner and process for 20 minutes.022Carefully remove your jars from the canner and let them cool on a rack for 24 hours.  Soon, you will hear the “pop” of success as those jars of delicious peaches seal up and ensure a safely canned product.

Now…tuck those babies in the cantina or cold cellar and wait for those cold winter days when you will need a reminder of the dog days of summer!027

Oh…I almost forgot………..keep the peels for the compost and the pits for the chickens!024