
I spent a lot of time deciding on what type of cover I would build for my beehives. I can’t say that I am too impressed with the look of a standard telescoping cover. I guess that’s because it is designed to be functional and esthetics do not play a role in the business of professional beekeeping. After searching for ideas, I came across an informative post at Honey Bee Suite on The Best Ventilated Gabled Roof. This roof had the right combination of purpose and esthetics. I liked the idea of incorporating ventilation into the roof and the look of a gabled roof on top of a hive looked great. Now… I just had to give it a few City Boy extras in order to personalize my hive.
Safety
Make sure that you read and understand how to SAFELY operate your power equipment. In some of the pictures below, the safety guard has been removed so that you can get a better understanding of the photo. NEVER operate your equipment without a guard in place!
End Gables
 Dress 2 pieces of pine to 3/4″ thick x 7-1/4″ wide x 18 1/8″ long.
Now layout the lines for the end gables by a) making a mark 1-1/2″ up from the sides of each gable and b) making a mark at the peak of the roof. Now connect these points and cut the gabled ends with a band saw or jig saw.
Now, draw out the design for your ventilation access. I made a star because it ties in with the design on my chicken coop door, but you could give it your own personal touch. A scroll saw makes for accurate work in cutting out the design.
Next, cut the sides of the roof to 3/4″ thick x 2″ wide x 20-1/4″ long. Now set your table saw or bandsaw to 22-1/2 degrees and rip these 2 pieces to 1-1/2″ in width.( This will allow the plywood roof to rest perfectly on the sides).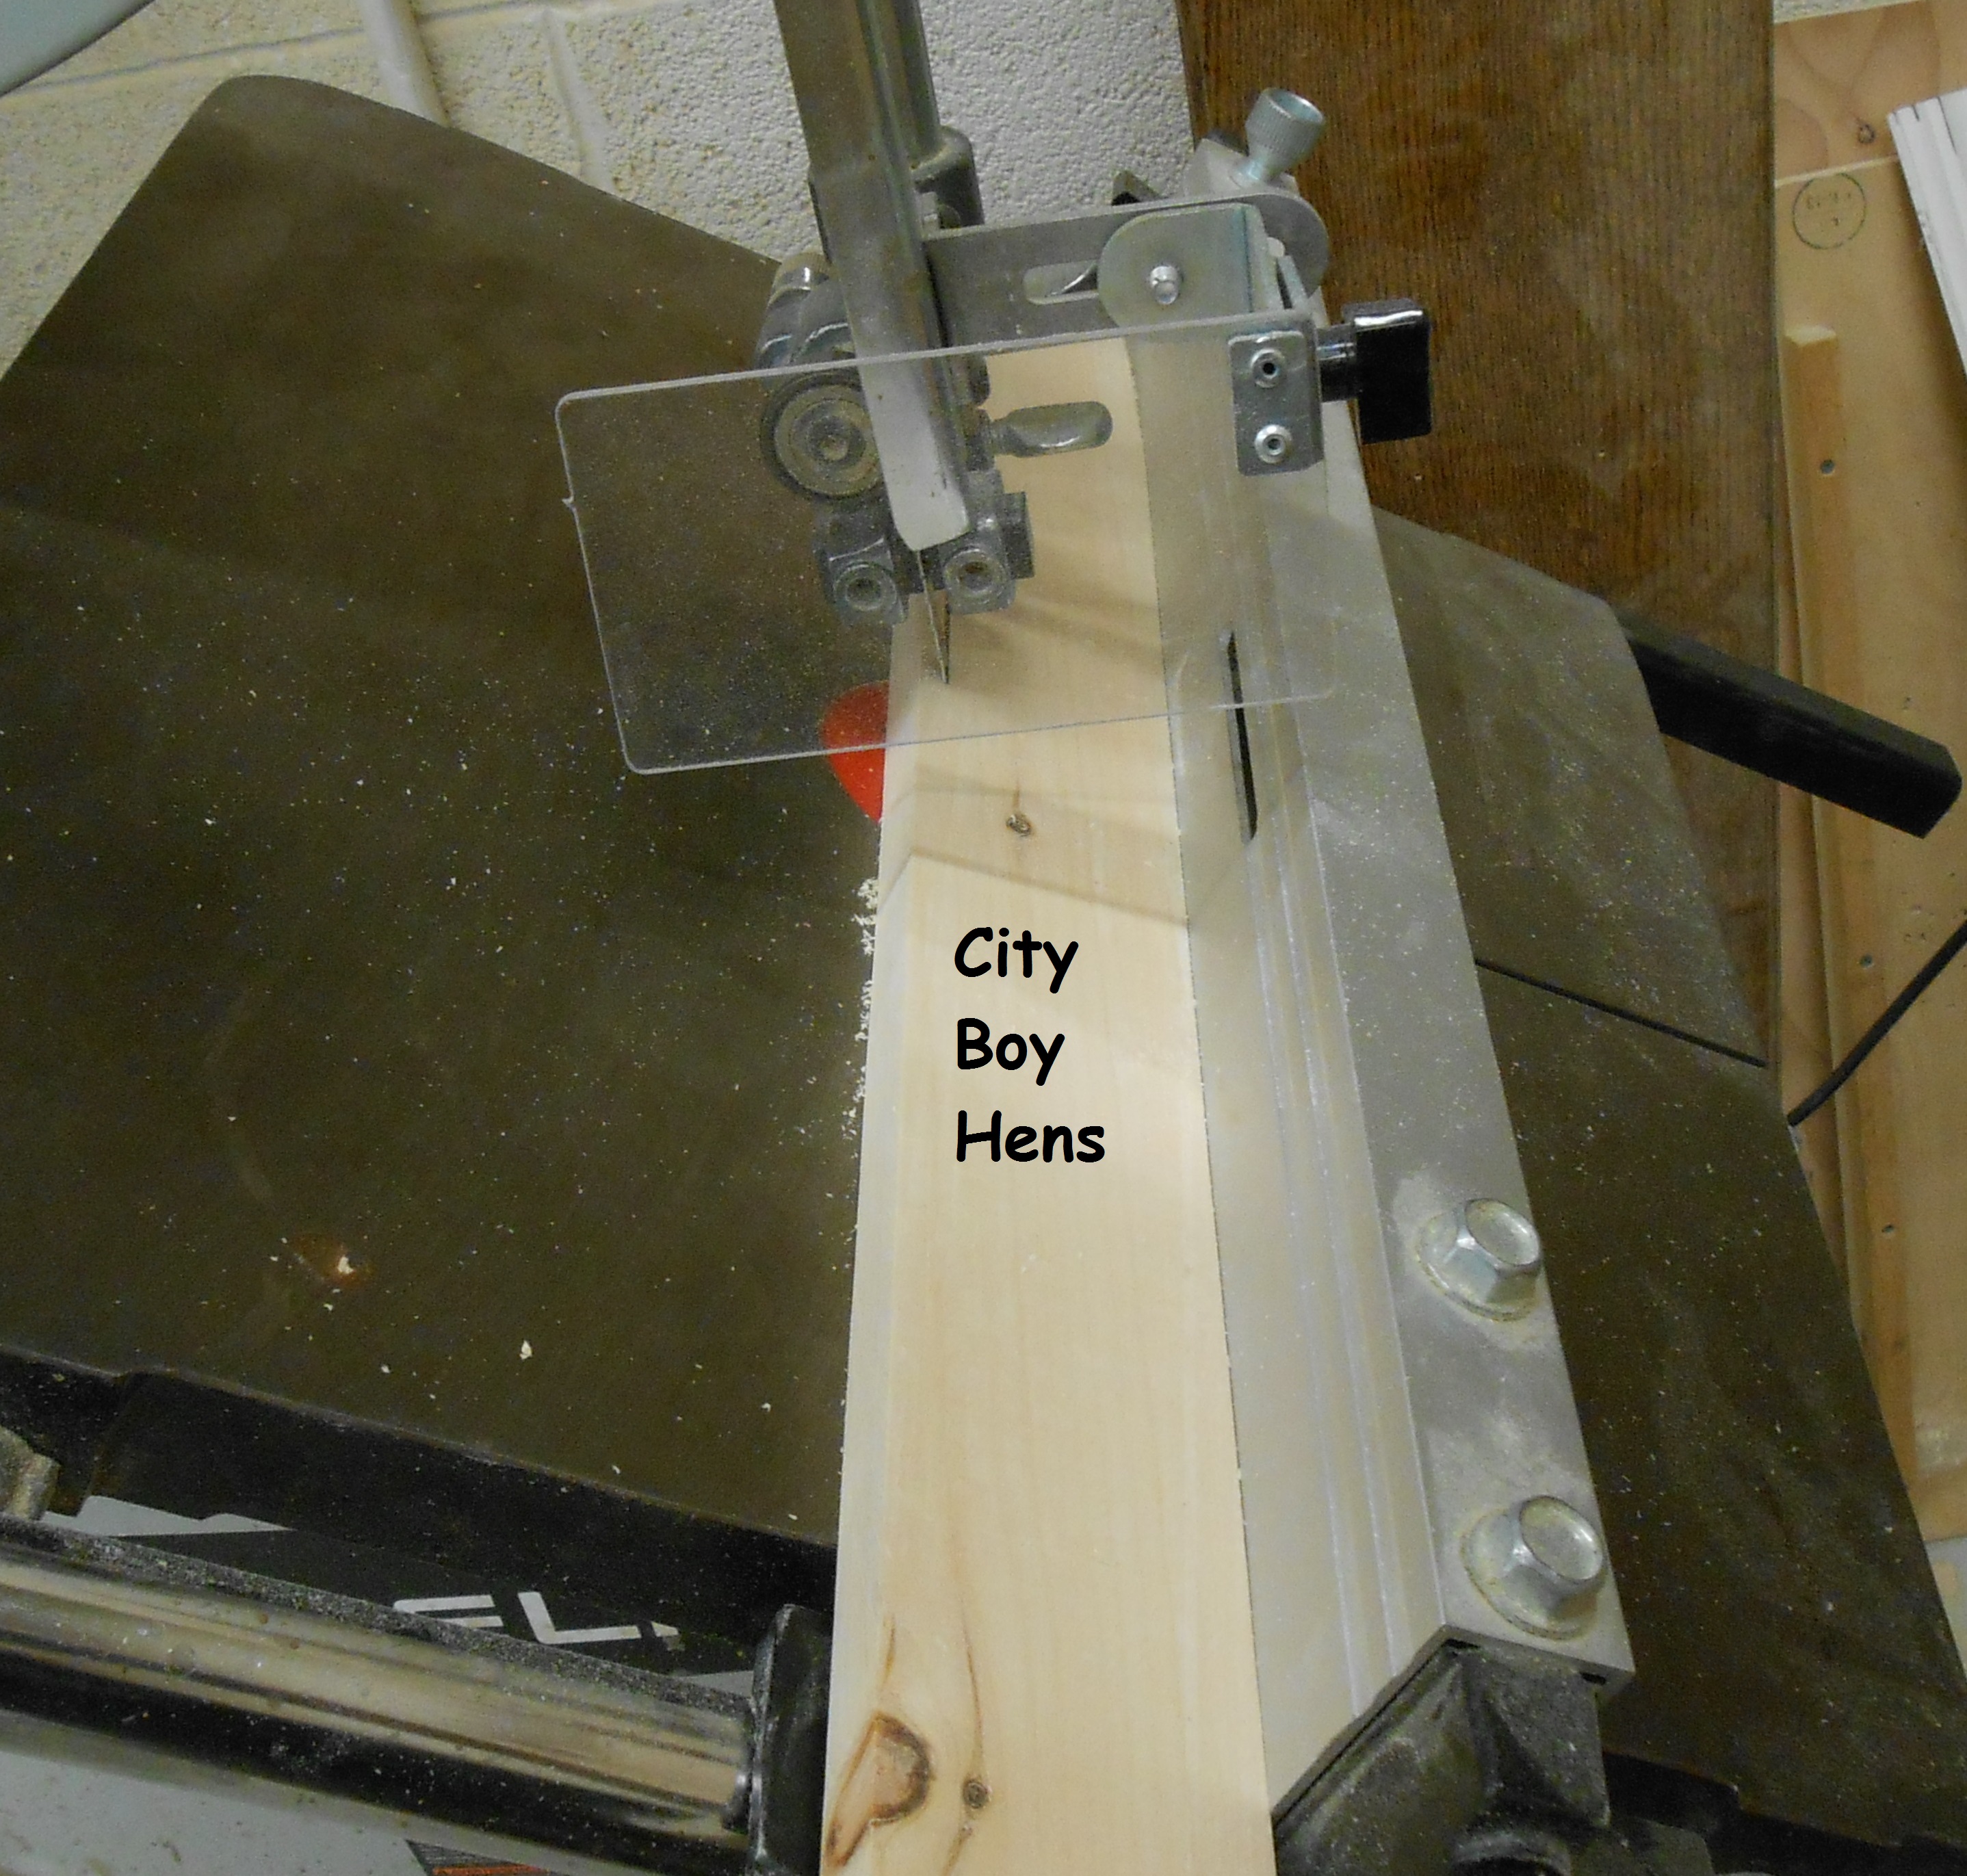
Next, cut the 4 structural supports. These supports will tie both gabled ends together and provide a nailing surface for your plywood top and shingles. You don’t have to be too fussy about the width of this material because it won’t be seen. Just make sure that they are at least 1-1/4″ wide and 20-1/4″ long.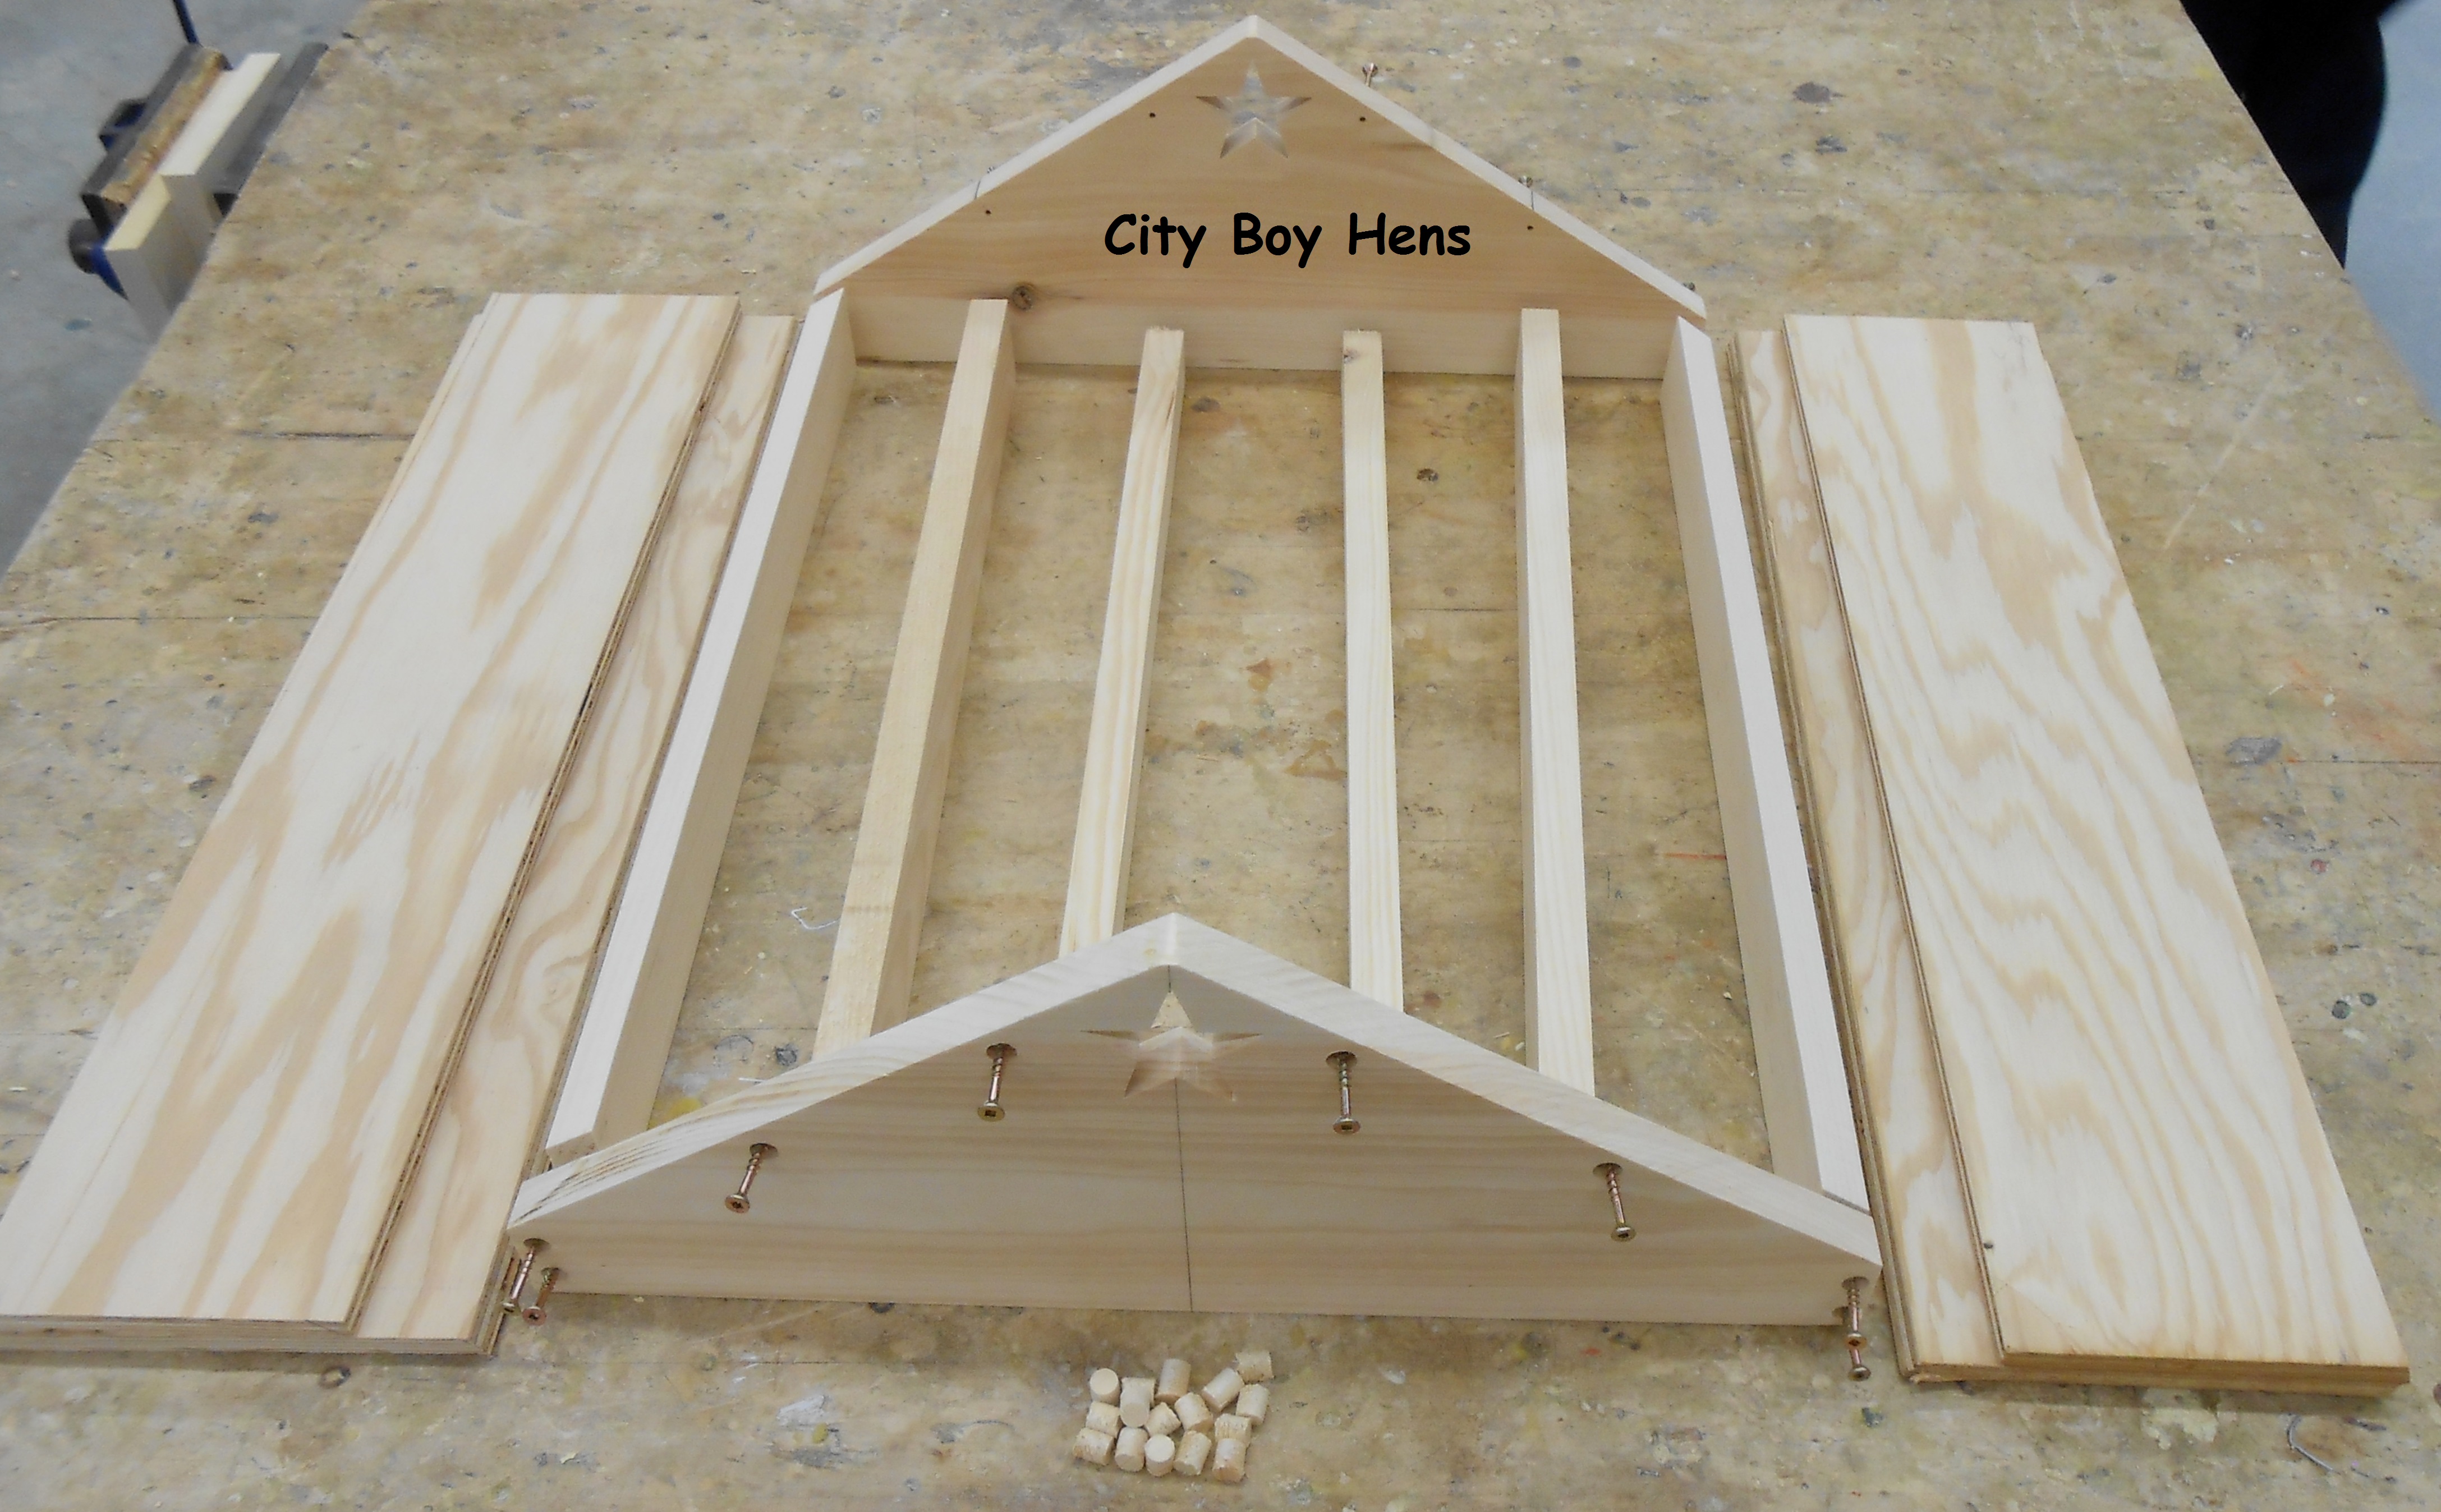
Next drill (using a countersink bit) the screw locations into each gable end in order to attach the side pieces and structural supports. A drill press works great, but a hand-held drill will work as well. Use exterior glue and 1-1/2″ deck screws for assembly. Now, fill each screwed hole with a wood plug and trim the plug with a japanese flush cutting saw. This would be a good time to staple screening over the inside of the ventilation star. I saved this step until I made the entire project and it was a bit more challenging later on. 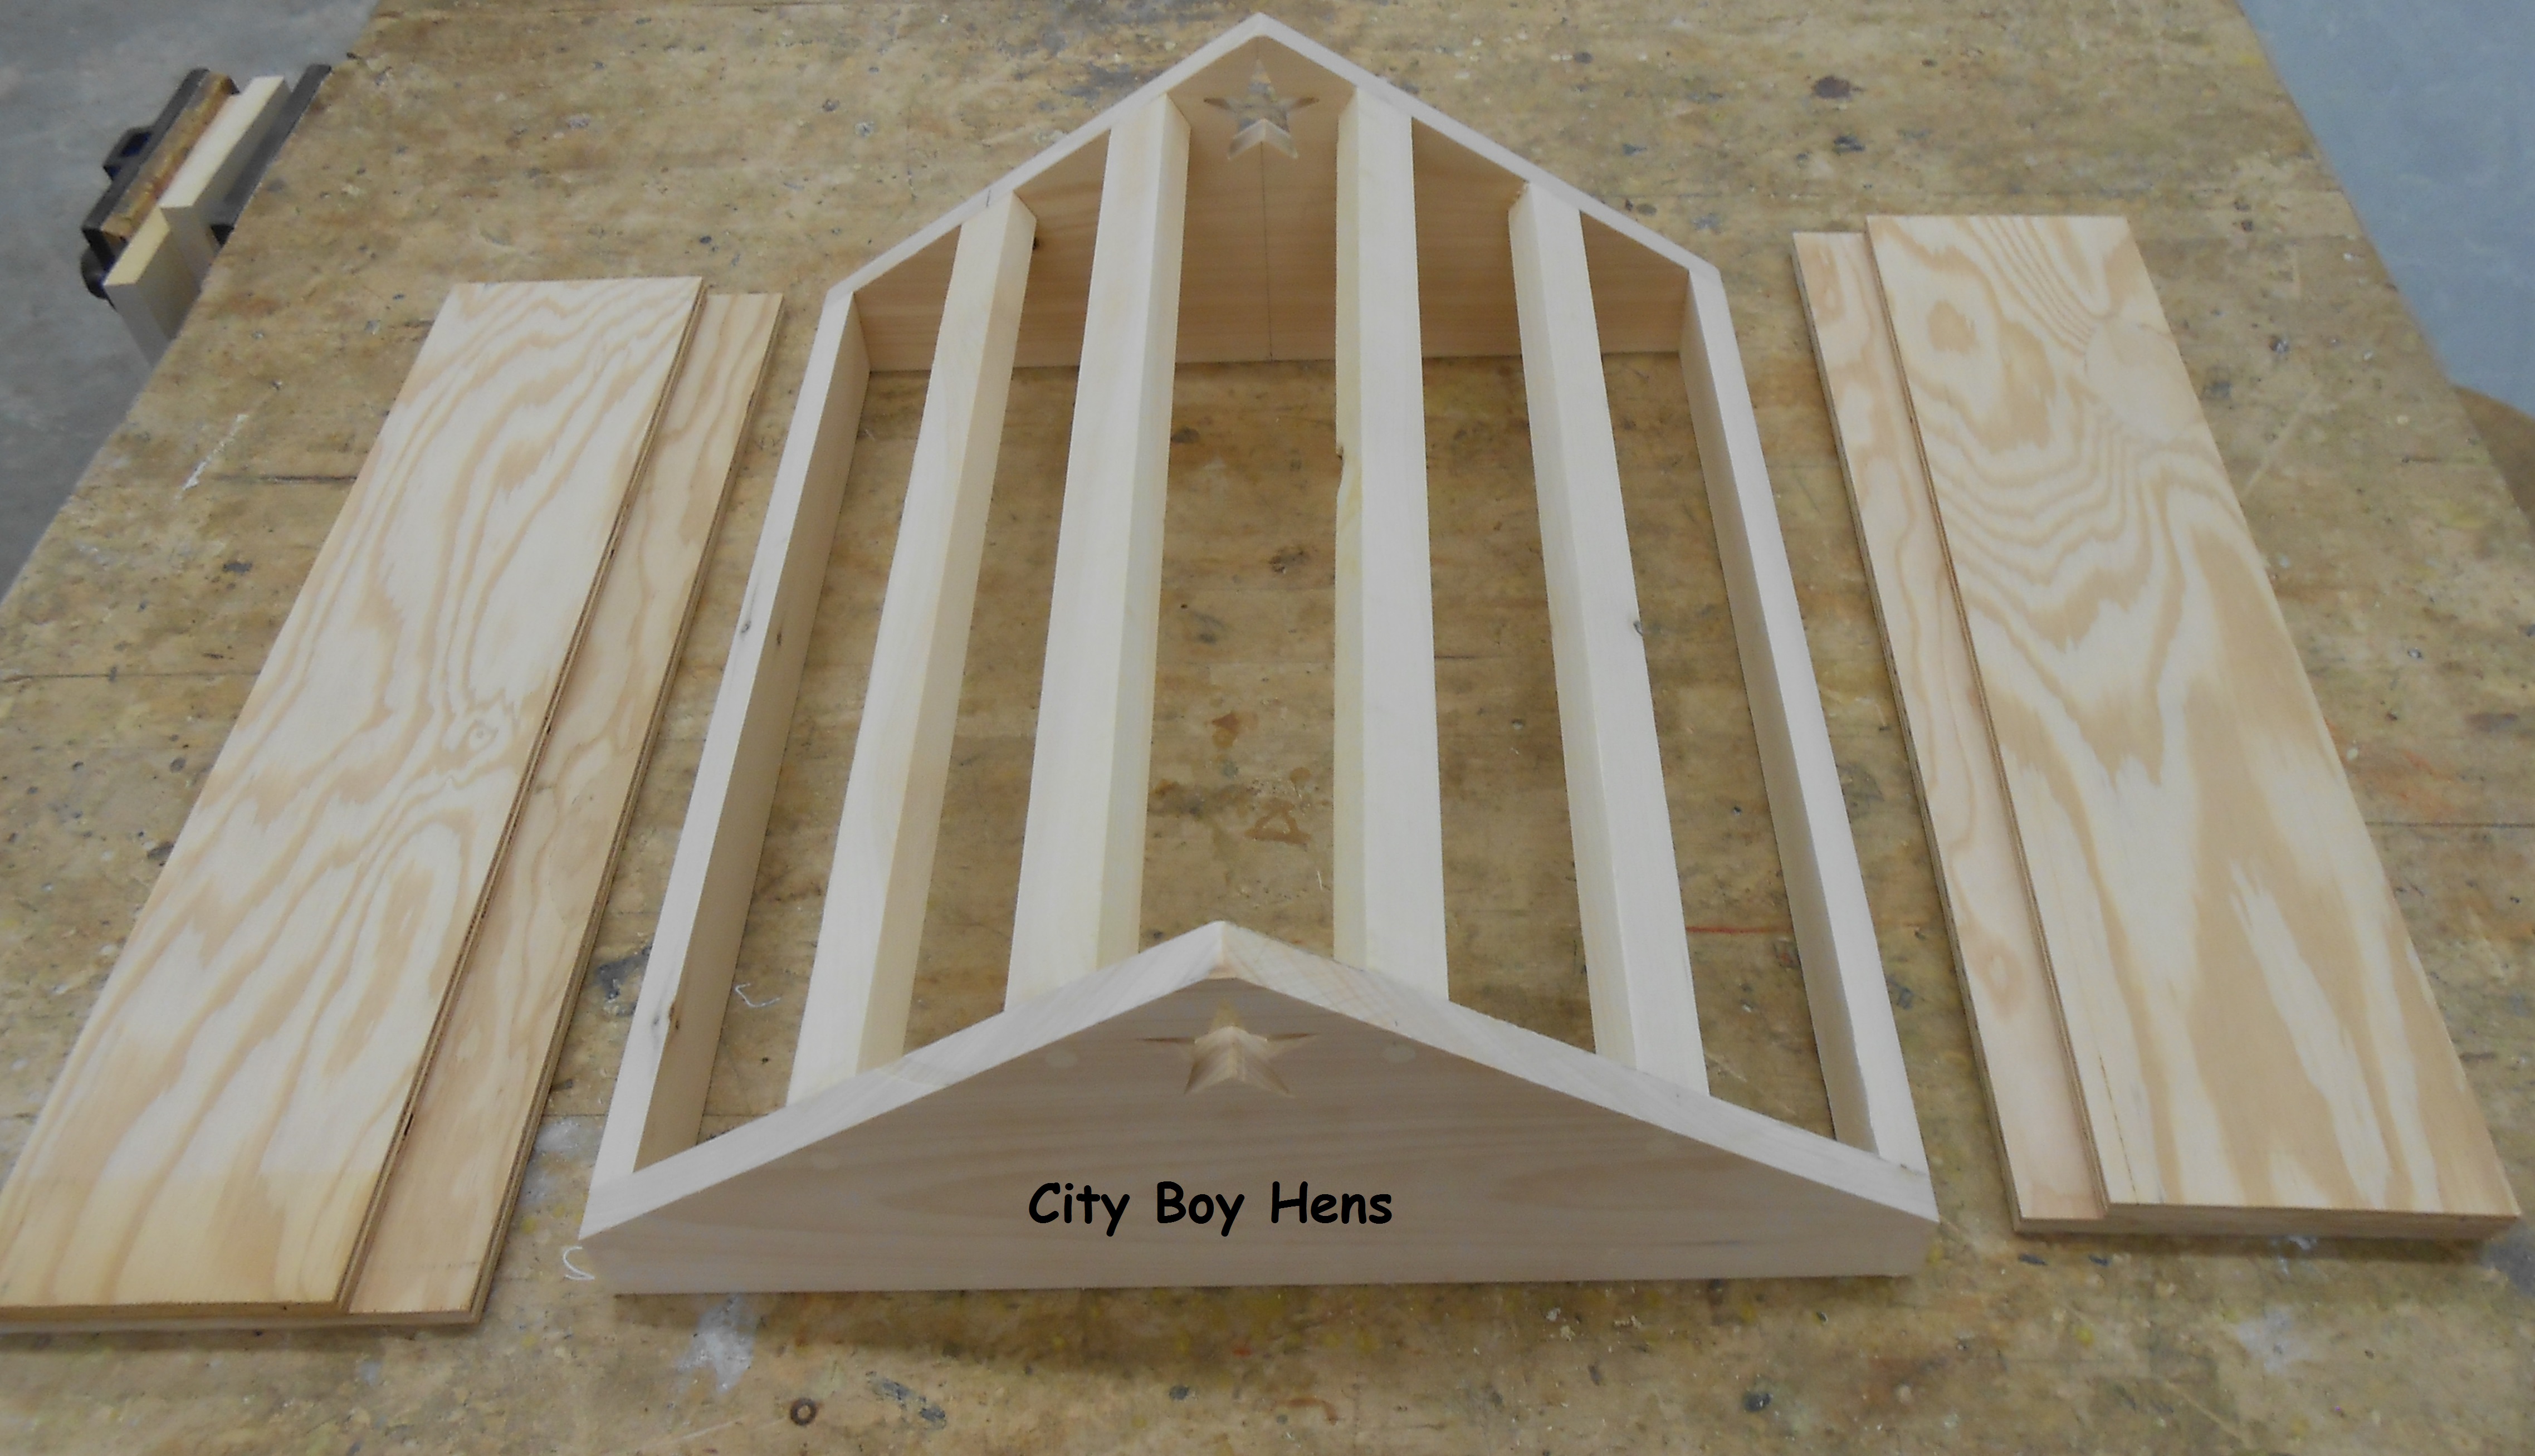
Roof
I made the roof from some scrap pieces of 1/2″ plywood. One side will be 1/2″ x 12-1/2″ x 24″ and the other side will be 1/2″ x 12″ x 24″. The reason for the difference in the width is for the overlap at the peak of the roof. Now, rip the length (edge) of each board at 22-1/2 degrees. 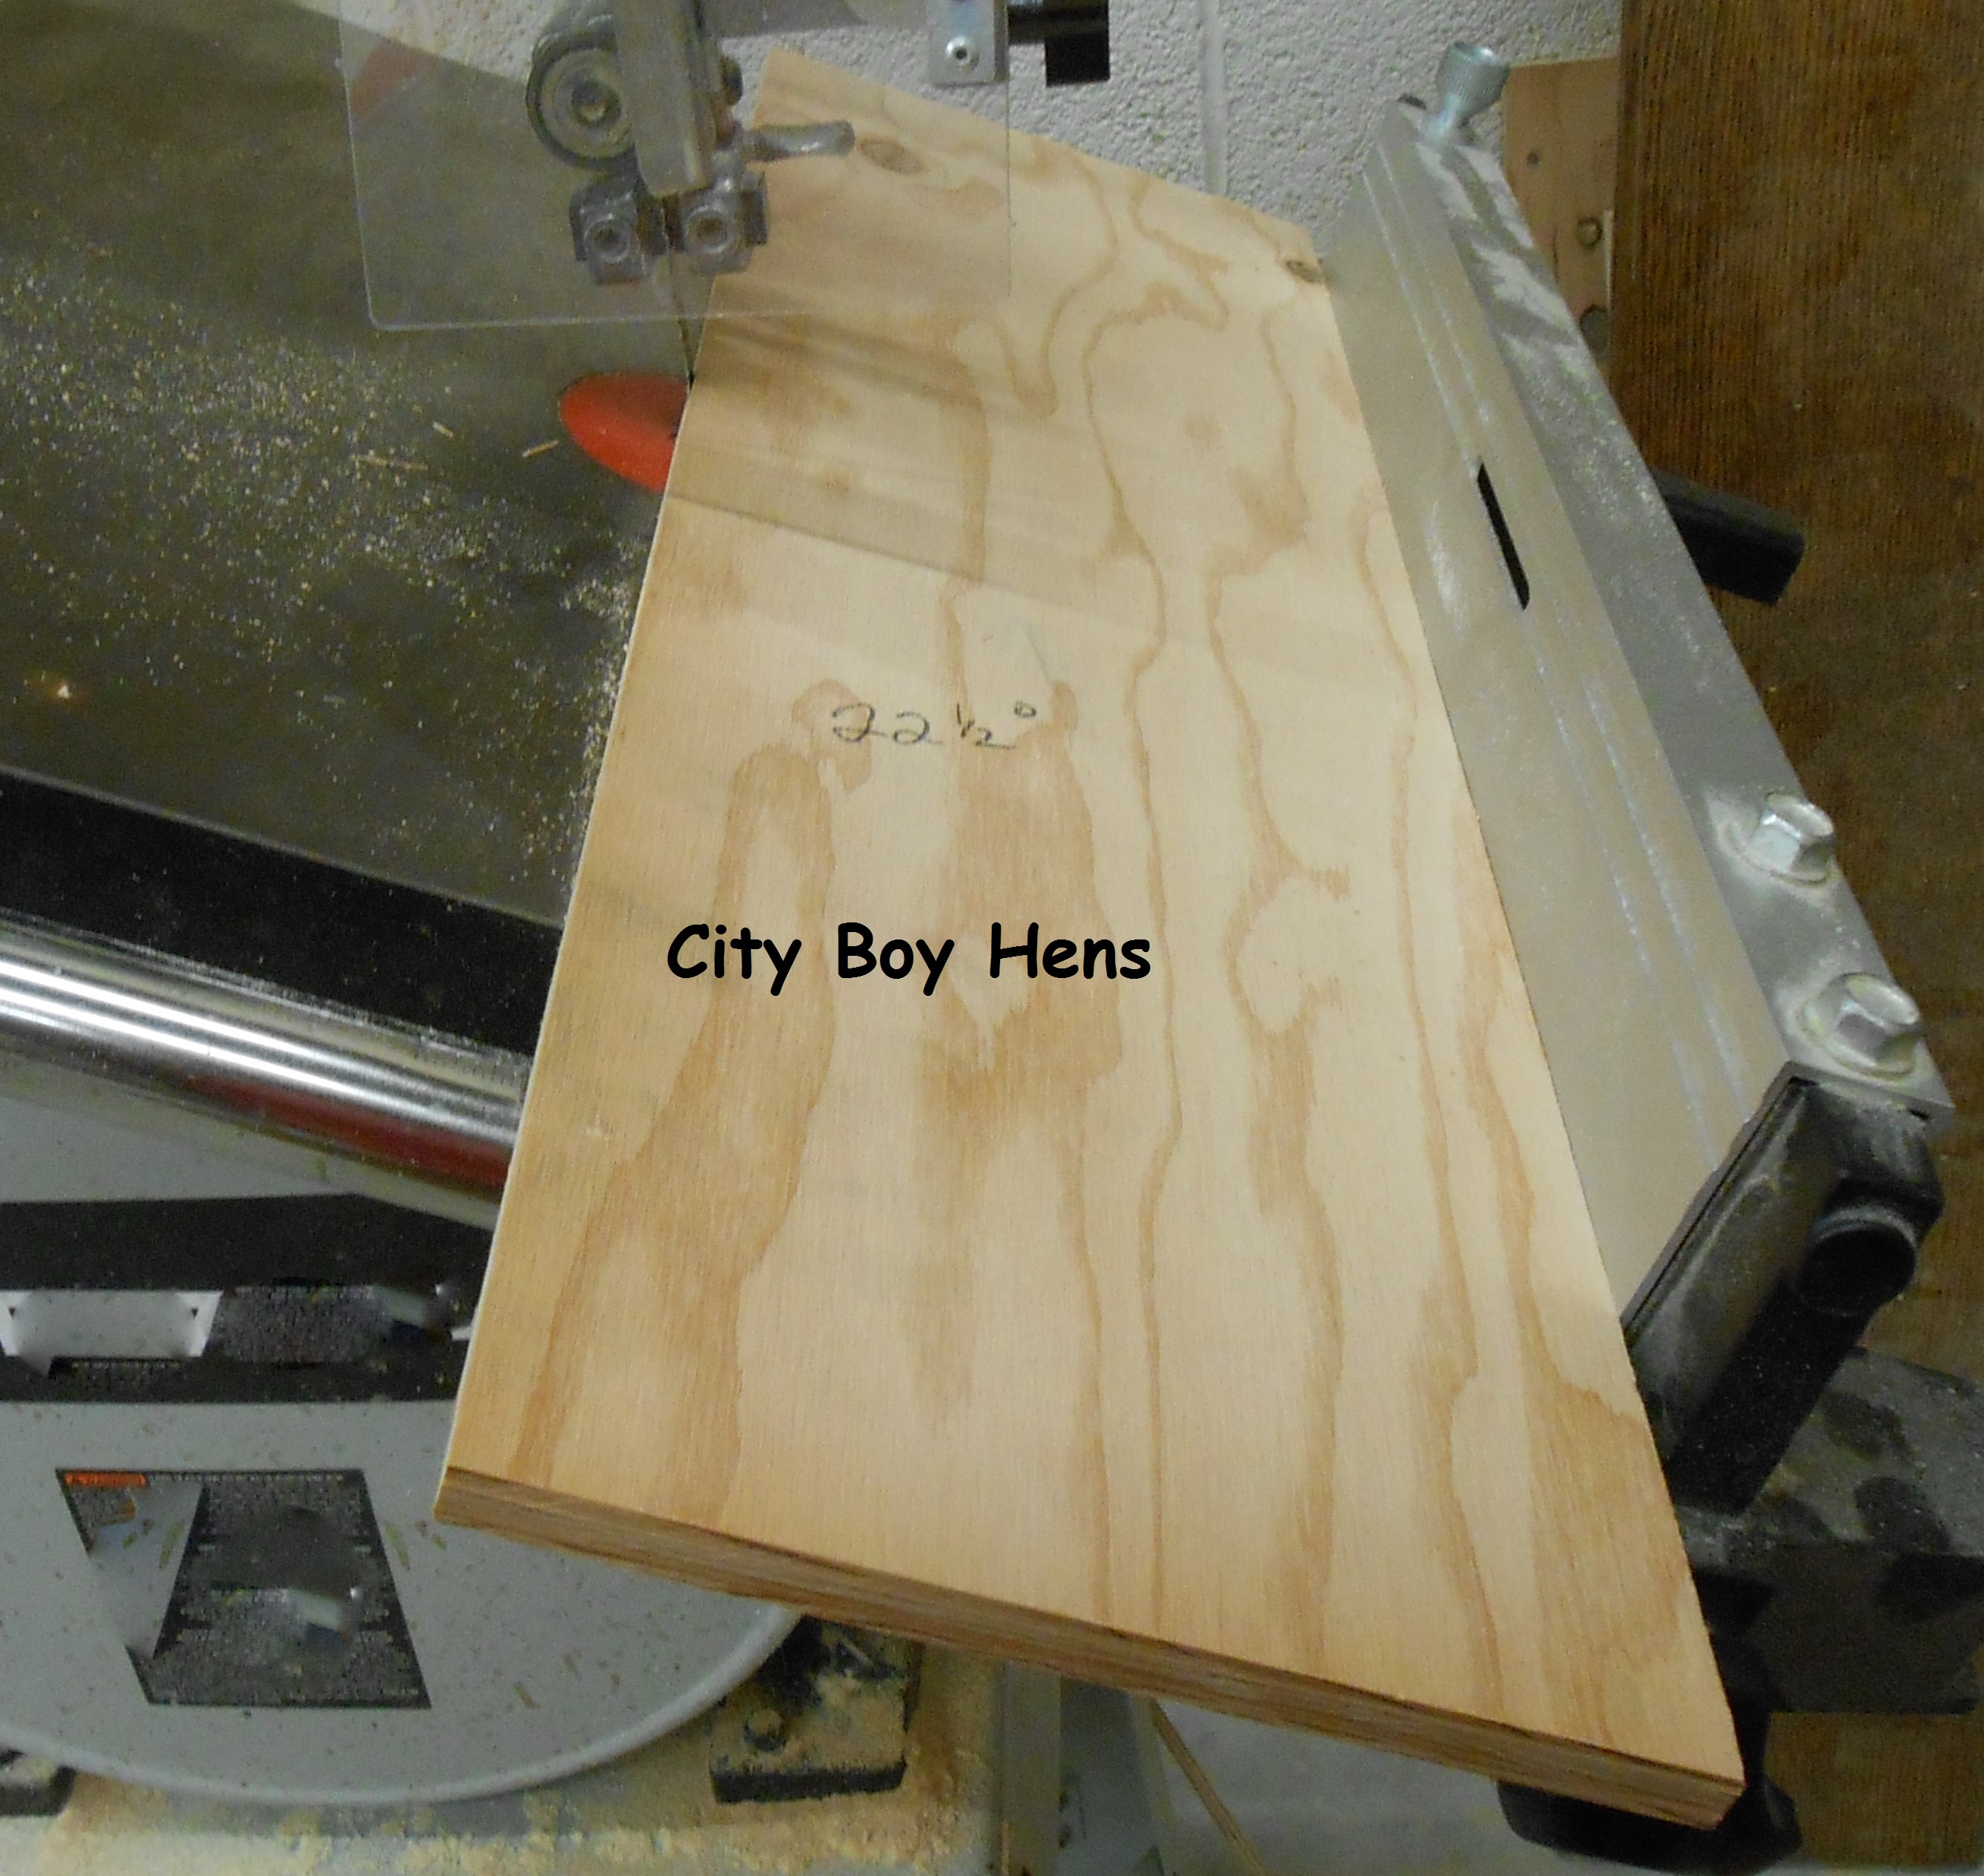 This will make for a tight peak. Now flip the plywood over if it’s one solid piece and rip the other edge (bottom of the roof) at 22-1/2 degrees. If you are using 2 pieces for each side of the roof (like I did) than just rip the second board at the same degree. The table saw or band saw works good for this step. This is a good time to paint the exterior or the entire project.
Shingles
I used cedar shingles because I like the look and the hives will tie in nicely with my shed/chicken coop which is also shingled in cedar. You can also use asphalt if you prefer. Either way, just make sure to double your bottom course and not to have the gaps between shingles identical on all courses. I used a pneumatic stapler to secure the shingles to the roof and marked my location in order to drive the staple into the plywood and structural supports. * Note: The shingles overhang the roof sides and bottom by 1″.
First start by stapling the first course and trim the shingles at the top of the peak with a fine tooth saw.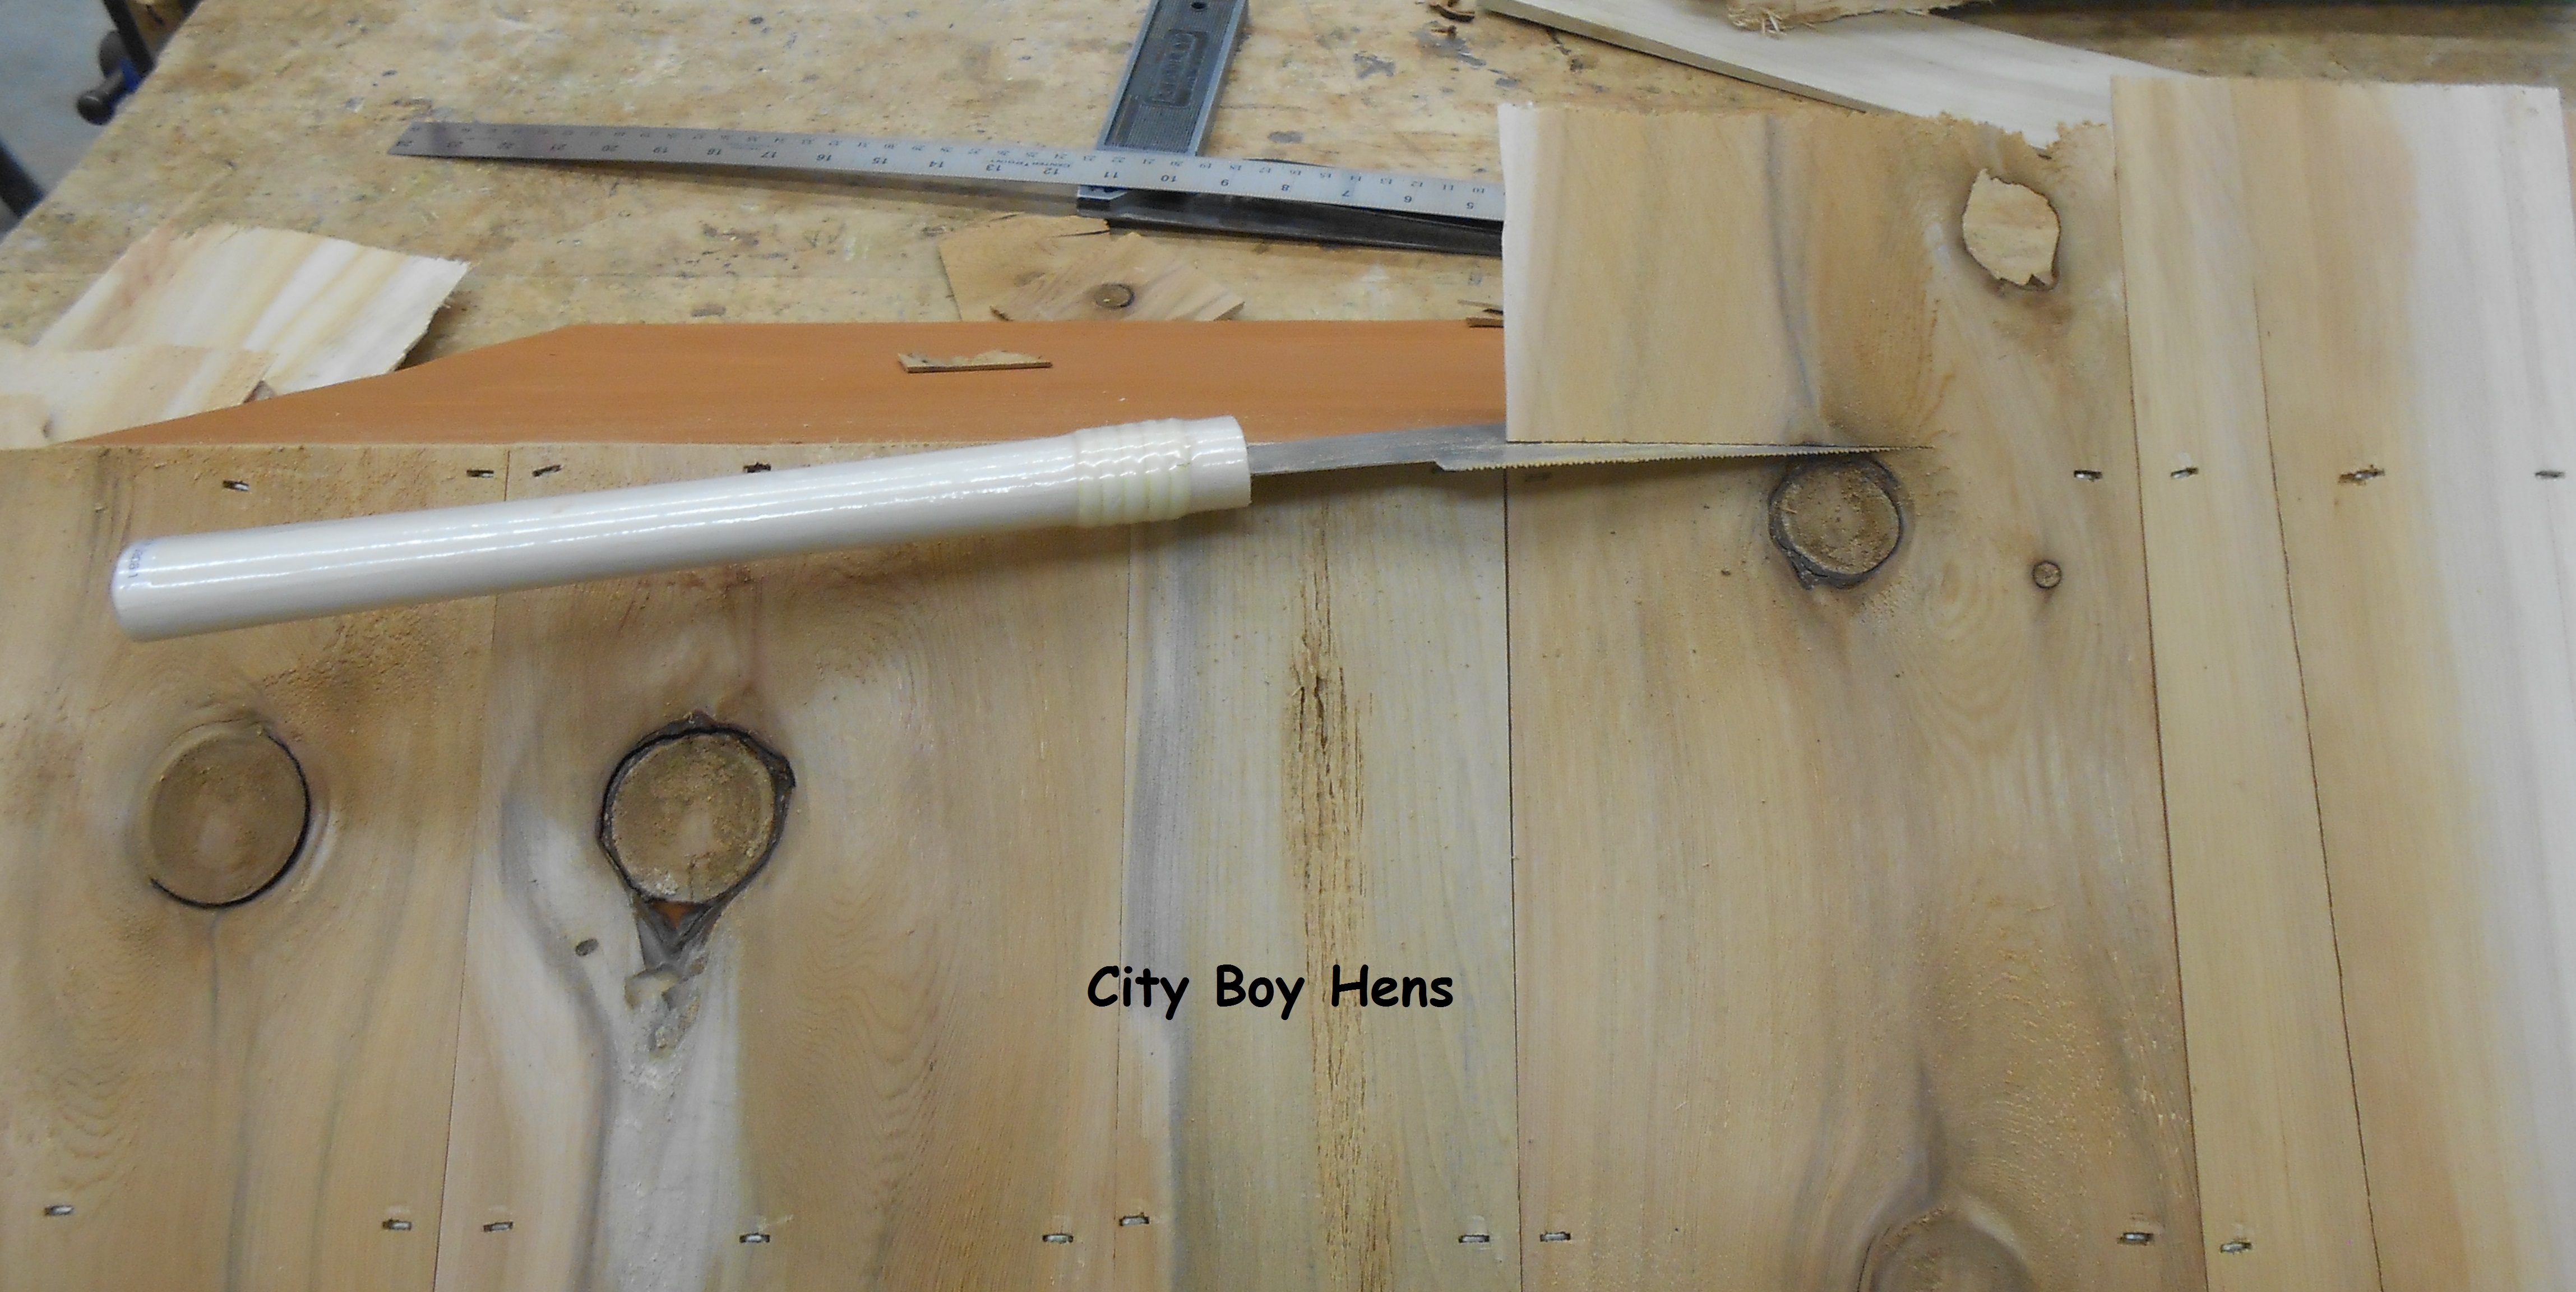
Now secure the next course right on top of the entire first course, making sure to not align this course over the sides of the previous course. This will help keep moisture from penetrating to the plywood. Next, put your third course of shingles on, making sure to start them further up the roof. Follow up by trimming the shingles at the roof peak.

Peak Cap
I cut some repurposed coated metal roofing for a cap. The measurements were 7-1/2″ wide x 26″ long. I bent the metal on a sharp edge and attached it with 8 roofing nails. Make sure to pre-drill each location first with a metal bit that is 1/16″ less than the diameter of the nail.
And there you have it. I think the gabled roof is a great addition to my hives. I hope you give it a try! If you would like to learn how I built my hive boxes CLICK HERE. If you would like to learn how to build the elevated hive stand CLICK HERE.

I love your attention to details – it’s beautiful!
Thanks Betty!
Looks great! We are hoping to move to the country – SOME day…..and then one son wants to start w/ bees…..this is helpful. Thank you. Gentle Joy
Thanks and you are welcome Gentle Joy!
Regards,
CB
Fabulous! Now how much for Shipping?? LOL!!
LOL
Regards,
CB
I like the star vent. Glad you found this a good design…it was my goal to make tops that were more satisfying to look at than the flat covers that have zero imagination…Bill Castro
Hi Bill,
Thanks again for the “starting point” on design! I’m glad to have your approval.
Best Regards,
CB
I never thought I’d see spoiled bees–spoiled chickens, yes 😉
Awesome bee hives!
Hi Terri,
Thanks for the complement. Can’t say I did it for the bees. My motive was actually quite selfish because I’ll be looking at the hives every day.
Thanks for commenting.
Regards,
CB
Fantastic tutorial! It looks terrific! I am delighted that you shared with Home and Garden Thursday,
Kathy
HI Kathi,
Thanks for the opportunity.
Regards,
CB
Fantastic job well done! Good earthy paint color as well. We will get our first hive set-up in April. Cheers! izzi~avis
Hi Izzi,
Best of success with your bees!
Thanks for your comments.
Regards,
CB
Great design. You really did an awesome job! Thanks for sharing with SYC.
Jann
Great job! Thanks for sharing on The HomeAcre Hop! Hope you have time to share again today!
Thanks for sharing this one on Mostly Homemade Mondays as well!
Kelli @ The Sustainable Couple
HI Kelly,
Thanks or the opportunity.
Regards,
CB
Building my hives today! I wanted to let you know that I was very impressed with your gabled roof design and will be incorporating that in to my hive design. I am a woodworker and build all of furniture in our home and for friends, so I love the design and build aspect of beekeeping. But, I am not too proud to say that I stole a great idea from someone else! Great job and thanks for making my job a lot easier on this. Hope all is well. I am looking forward to my adventures as a beekeeper. Love your site as well. Take care!
Hi Randy,
Thanks for your comments. I wish you lots of fun & success in your beekeeping adventures.
Hope you’ll drop by again.
Regards,
CB