
 From what I have read, Bread & Butter Pickles originated in the Great Depression. Since times were tough and meat was a luxury, thrifty folks came up with tasty alternatives for sandwich fillers. On of these alternatives was the cucumber. This vegetable was easy to grow and was successfully pickled so that it could be enjoyed in the non-growing seasons. So….maybe the name came about something like this…… “Hey Ester, what are we havin’ for lunch?”, said Wilbur. “Well, since you ain’t got no job and you lost the pig in that card game…….all’s I got in the cellar are some sweet pickles from last summer. Be happy that you got two slices of bread and a bit of butter to go with it. Now eat that pickle sandwich before I take this skillet to your head!” ”Mmmmmmmm, said Wilbur. That’s a mighty tasty sandwich.” “Hey Ester, whad’ you call these there pickles you got in this here sandwich?”…… “I don’t know, you old coot. Call’em whatever you want”. “Well, in that case, I’m gonna’ call “em Bread & Butter Pickles!”……….And that’s how these pickles got their name. Well….that’s the story I’m sticking with!
These pickles are easy to make and follow the general canning guidelines of most pickles.
Makes 5 Pint (500ml) jars.
Ingredients:
3 lbs. pickling cucumbers
3 medium onions, thinly sliced
1/2 cup pickling salt (Don’t use table salt. It will cloud your liquid and turn your pickles to an unpleasant color.)
6 cups cold water
3 cups cider vinegar
2 cups firmly packed brown sugar
2 tbsp. mustard seed
1 tsp. celery seed
1 tsp. ground cloves
1 tsp. turmeric
Directions:
 Weigh, wash and gently scrub all cucumbers. Discard any cucumbers that appear spoiled.
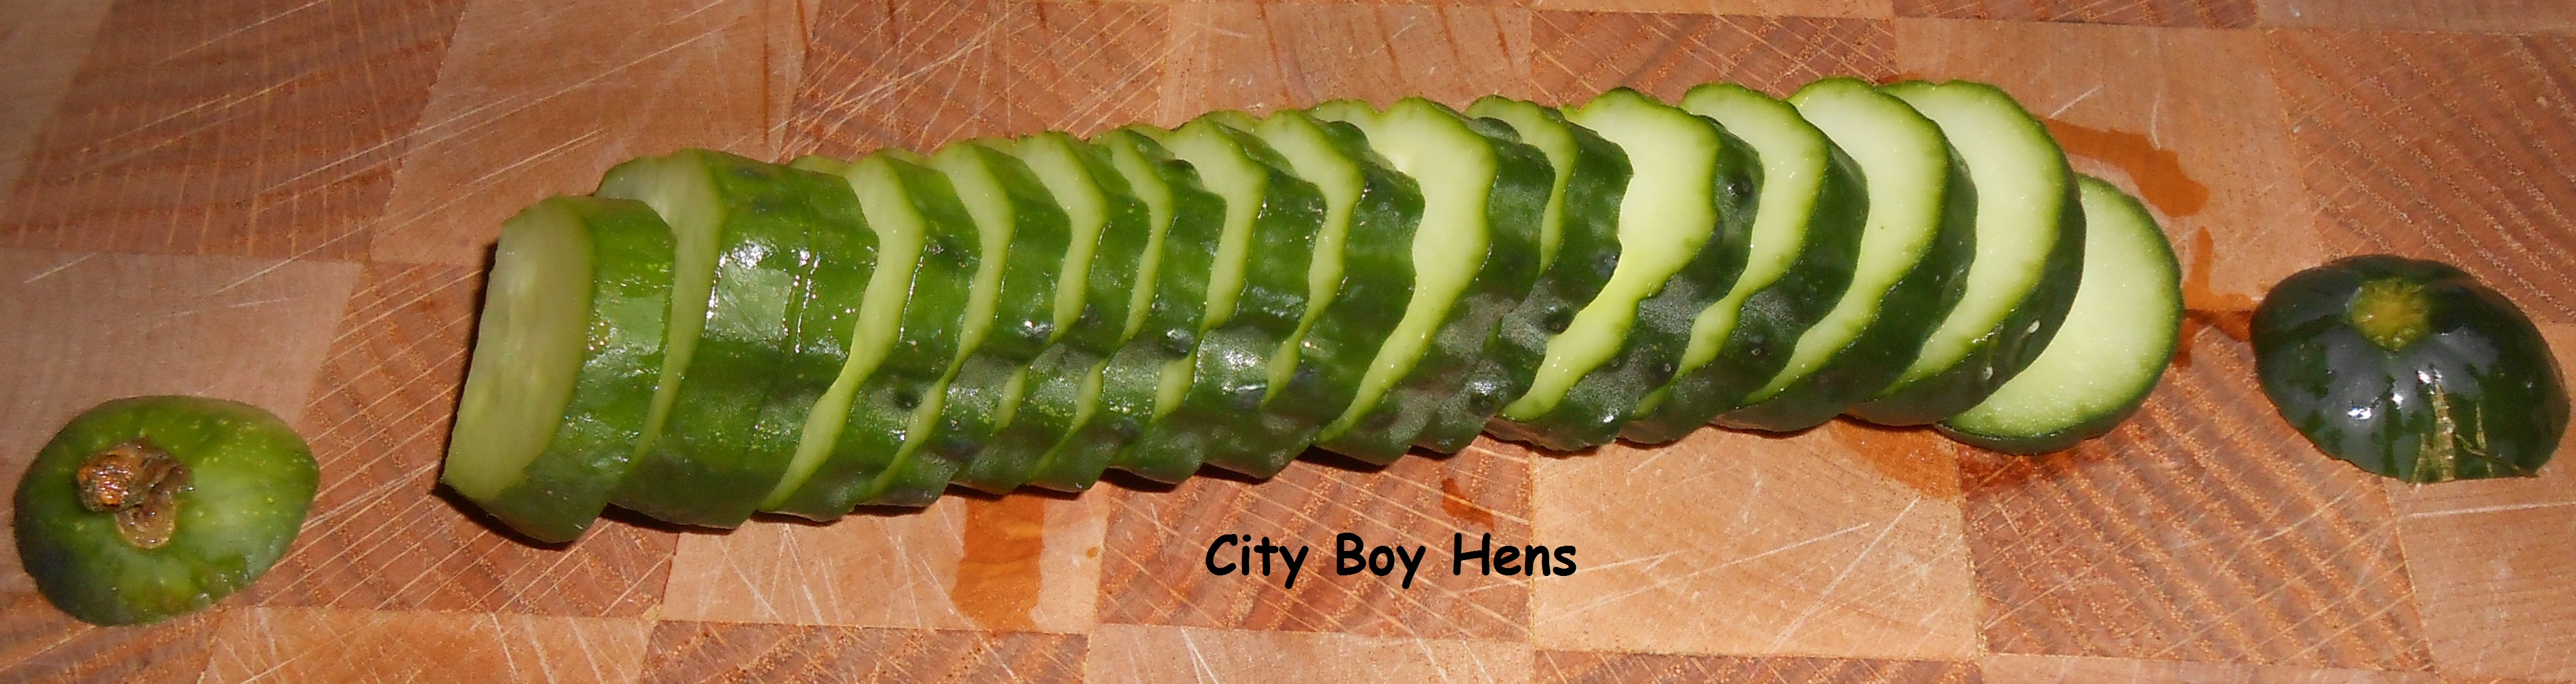 Cut approximately 1/4″ off of each end of the cucumber. It is essential that you cut the blossom end (not stem) because there is an enzyme at this end which will make your pickles turn mushy and possibly unsafe to eat. The blossom end is located on the left side in the above picture.
Cut your cucumbers into 1/4″ slices and place them in a large bowl.
Thinly slice 3 onions and place them in the same bowl.
Add pickling salt to the water and stir until dissolved. This make take a bit of stirring because the salt will not dissolve as readily in cold water. Add the solution to your cucumbers and onions and let it rest for 2 hours. I occasionally give it a stir during this time period.
With about a half an hour left of brining, fill your canner up with water about 2 inches higher than the height of your jars and bring the water to a boil. This will take a bit of time.
Sterilize your jars in the oven at 225 degrees Fahrenheit for 10 minutes and continue to keep them warm in the oven until they are needed.
Place canning seals and rings in a small pot and begin to warm them up.
In the mean time, add brown sugar, cider vinegar and spices into a large pot and bring to a boil. Stir occasionally.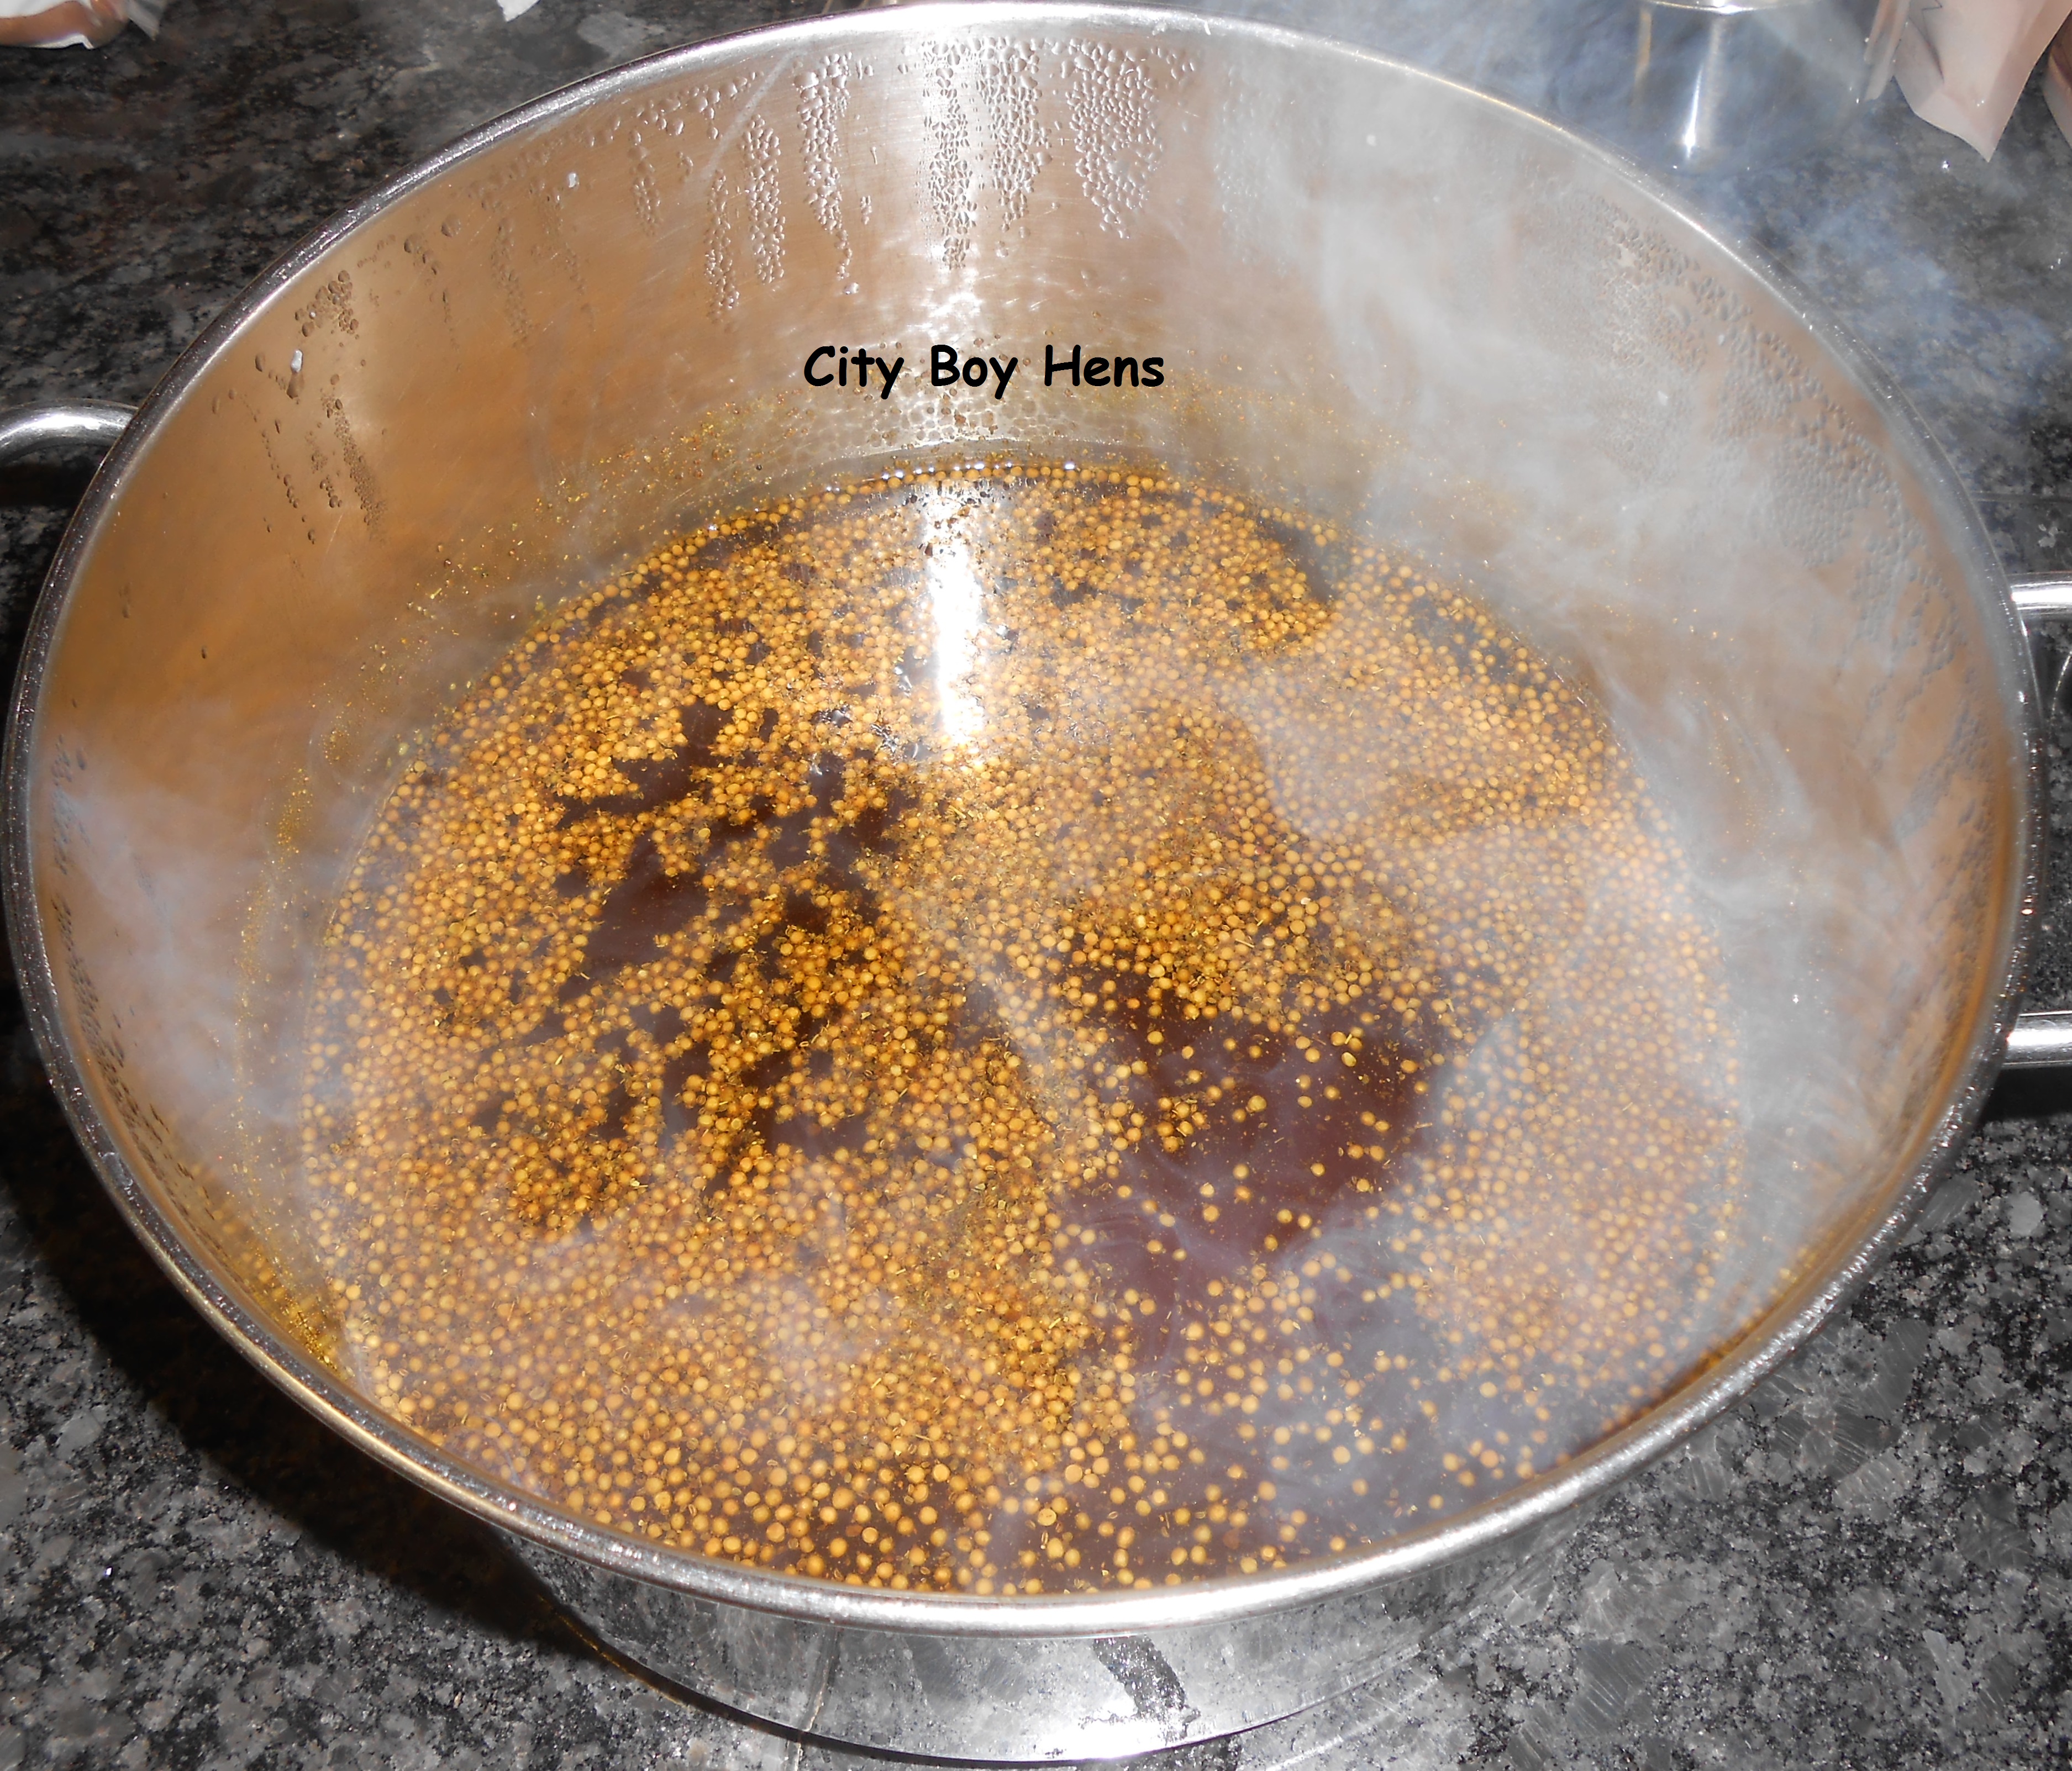
Once the 2 hours of brining is completed, drain the cucumbers and onions into a colander. Fill the bowl with fresh water and rinse again.
Put the drained cucumber and onion mixture into your large simmering pot and bring the ingredients up to a boil.
Using a canning funnel, pack your mixture into your canning jars, leaving 1/2″ head space. I found it easier to fill all the jars first with the “solids” and then distribute the liquid after.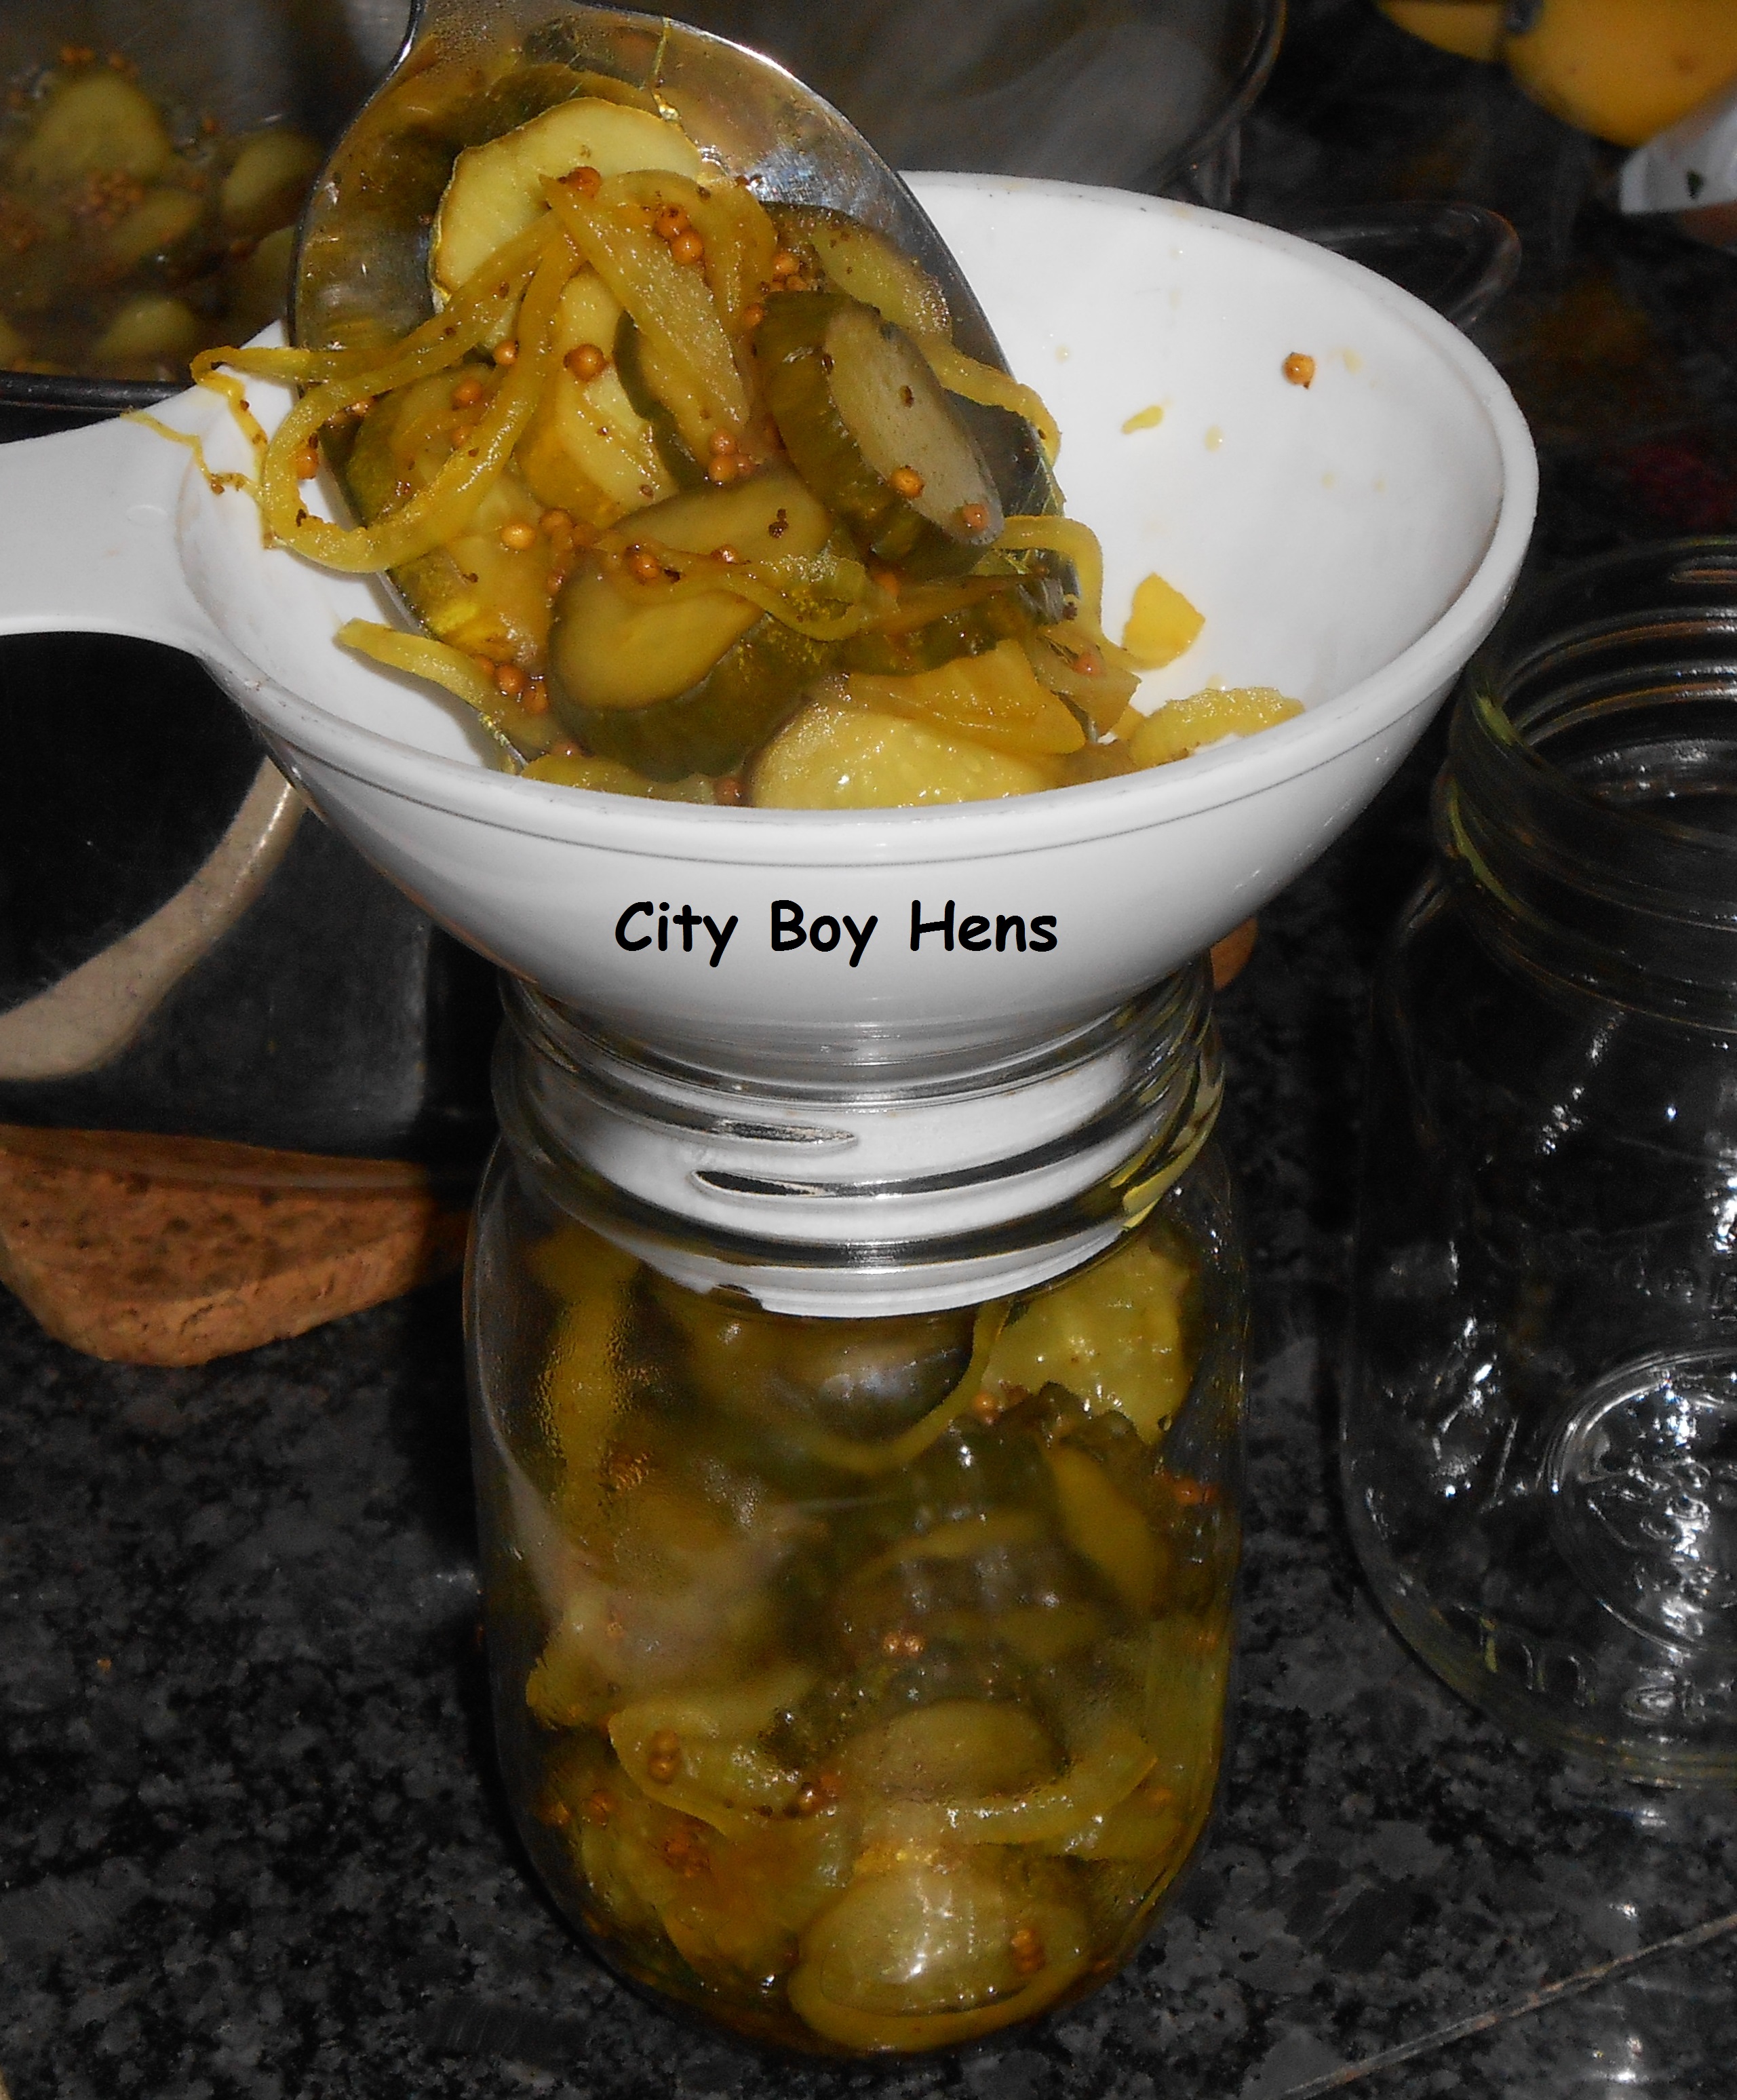
 Using a non-metalic utensil, remove the air bubbles from the jar. Add more liquid to the 1/2″ head space level if required.
Wipe the lip of each jar with a wet paper towel. This will ensure that no residue is left on the lip of the jar which will prevent a good seal.
Using tongs, place your seals and rings on each jar.
Using canning tongs, carefully place each sealed jar into the canner and process in boiling water for 10 minutes.
Using the canning tongs, carefully remove each jar from the boiling water and leave to cool on a rack.
Soon you will hear the successful ping of each jar as it seals. Now tuck those babies away in the cantina or cold cellar until the colder months when you’ll need a reminder of the summer! If you can’t wait until then……just give them a few days to flavor!

Great tutorial. Love bread & butter pickles.
Thanks Ms. Lemon.
Regards,
Cb
Thanks for sharing the recipe. Sounds like the same one my Grandfather use to make.
Hi Linda,
Thanks for your comments. Glad to hear I’m not the only canning guy out there!
Regards,
CB
Yum! This is a great tutorial. Thank you for linking it to the HomeAcre Hop. I hope you’ll join us again this Thursday.
Thanks Kathi,
See You next Thursday.
Regards,
CB
I just love bread and butter pickles! My grandmother used to make them all of the time! Thanks for linking this to the In and Out of the Kitchen party. I am pinning this!
Hi C.
Thanks for the Pin!
Regards,
CB
I love bread and butter pickles and will be pinning this recipe. Thanks for sharing it with SYC.
Jann
HI Jann,
Thanks for the Pin!
Regards,
CB
Forgot to mention how much I loved your scale too!
I’ve never made these before! Thanks for sharing your recipe – great photos – I am delighted that you shared with Home and Garden Thursday,
Kathy
Well aren’t you the Jack of all trade!! We make ours without vinager. I say we LOL My hubby makes em. Thanks for sharing at Tuesdays with a Twist. Looking forward to seeing what you share this week.”
Co-host
Mindie ~ http://bornagainfarmgirl.blogspot.com/
thanks for the recipe, very easy to follow for a first time canner. These are processing as we speak. I added the bread and butter seasoning for crunchy pickles same as the dills.I did the dill pickles last night.
You are welcome Gloria. Enjoy!
CB