Driving Miss Swifer: That Damn Hen Is Makin’ Trouble AGAIN!

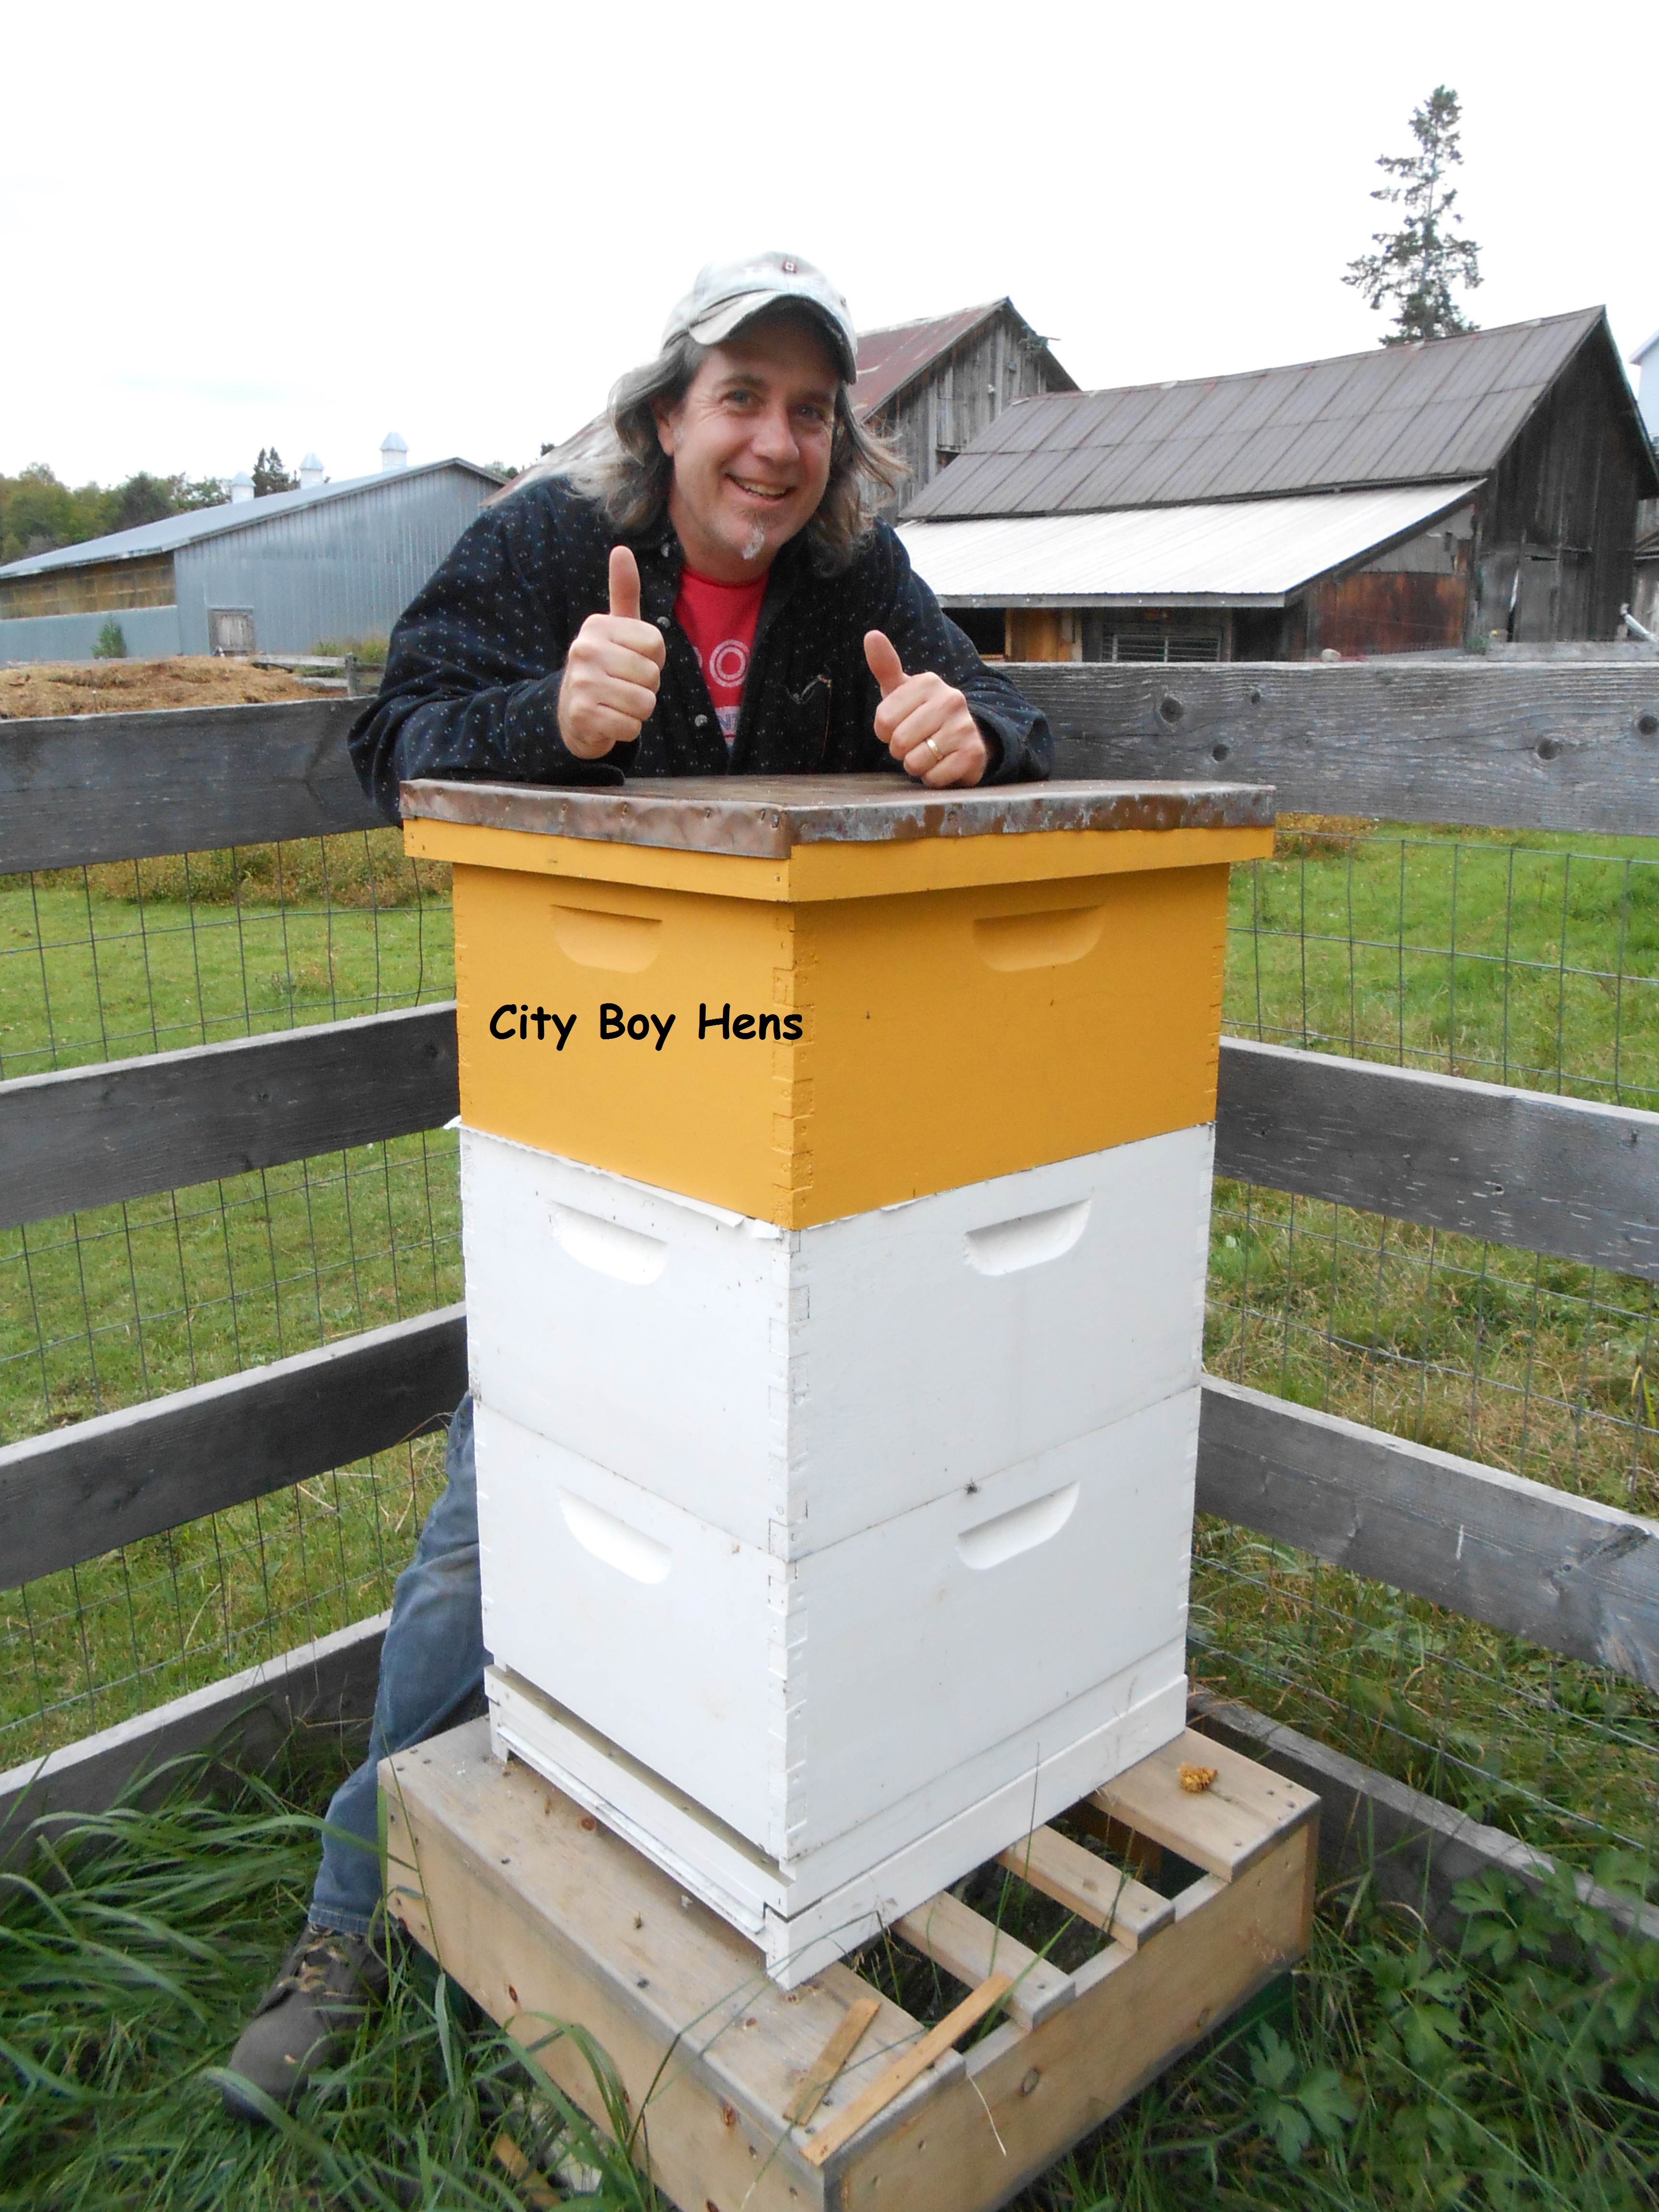
Fall is in full swing in Northern Ontario.  It’s a great time for the family to head up to the cottage for a relaxing weekend and enjoy the colors of the changing leaves, cool crisp nights by the wood stove and some hearty comfort foods.  So off we went, beloved wife, dutiful son, non-egg eating daughter, protector dog and……..of course,…….the chickens.  If you are new to following City boy Hens, you may not be aware that we take the chickens to the cottage.  There’s no better way to get the freshest of eggs for a Sunday morning brunch!  Besides…….they too, according to my daughter,  have become part of our family!009 - Copy

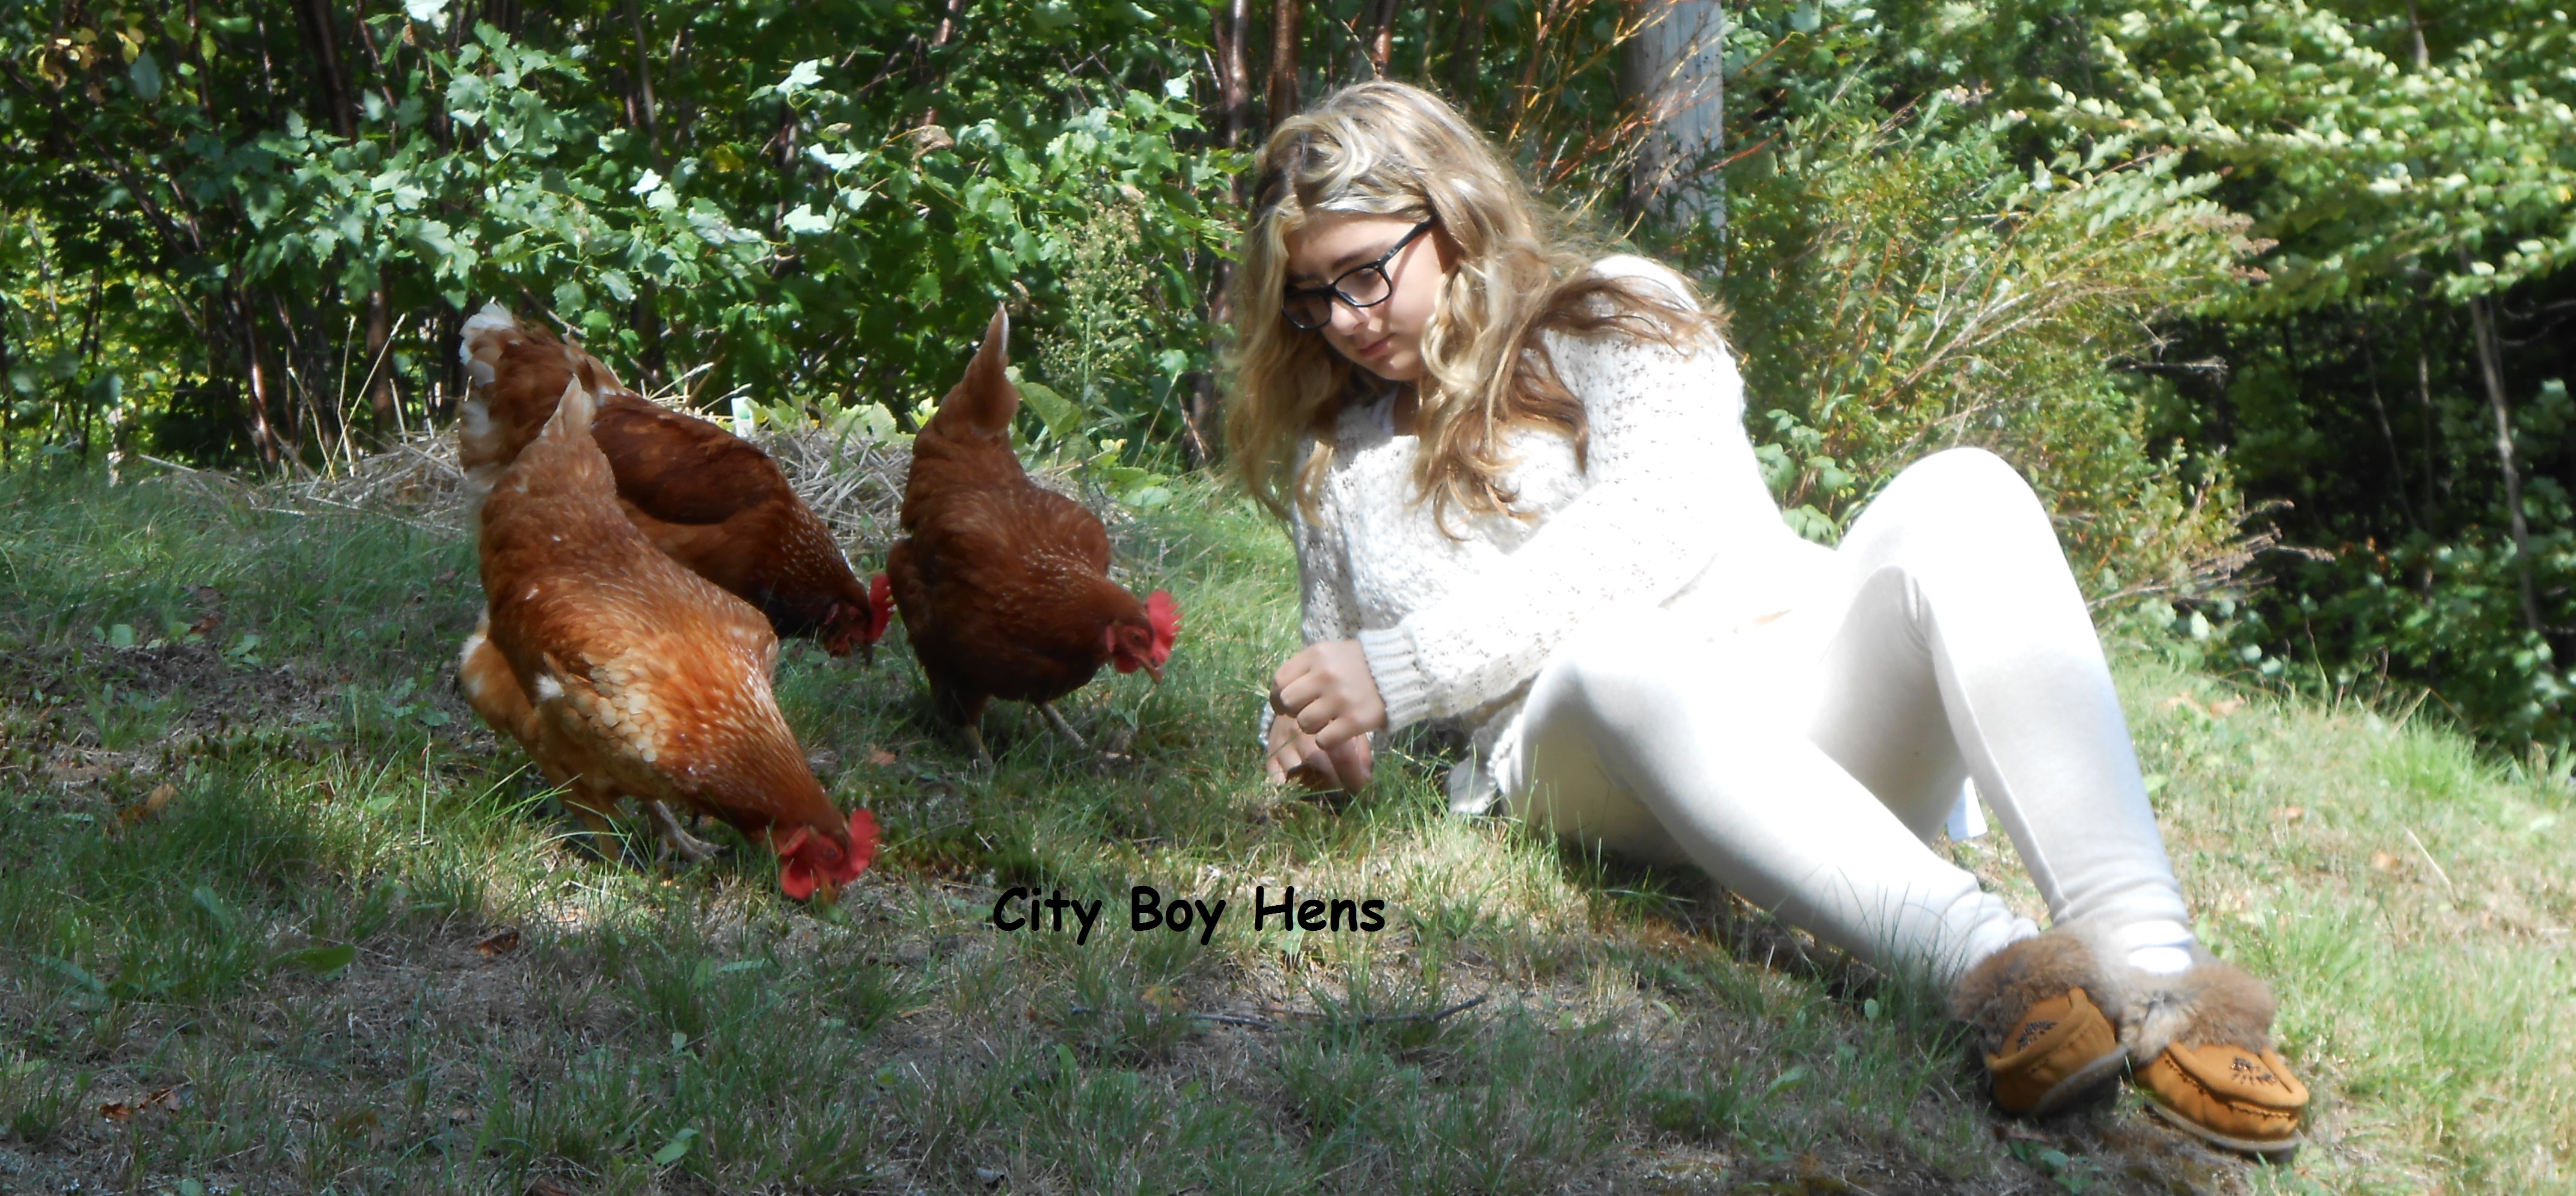
For the most part, the hens are no trouble to take to the cottage.  They travel well in their homemade crate and generally rest during the 3 hour trip……….that is until…………….last weekend.039

027

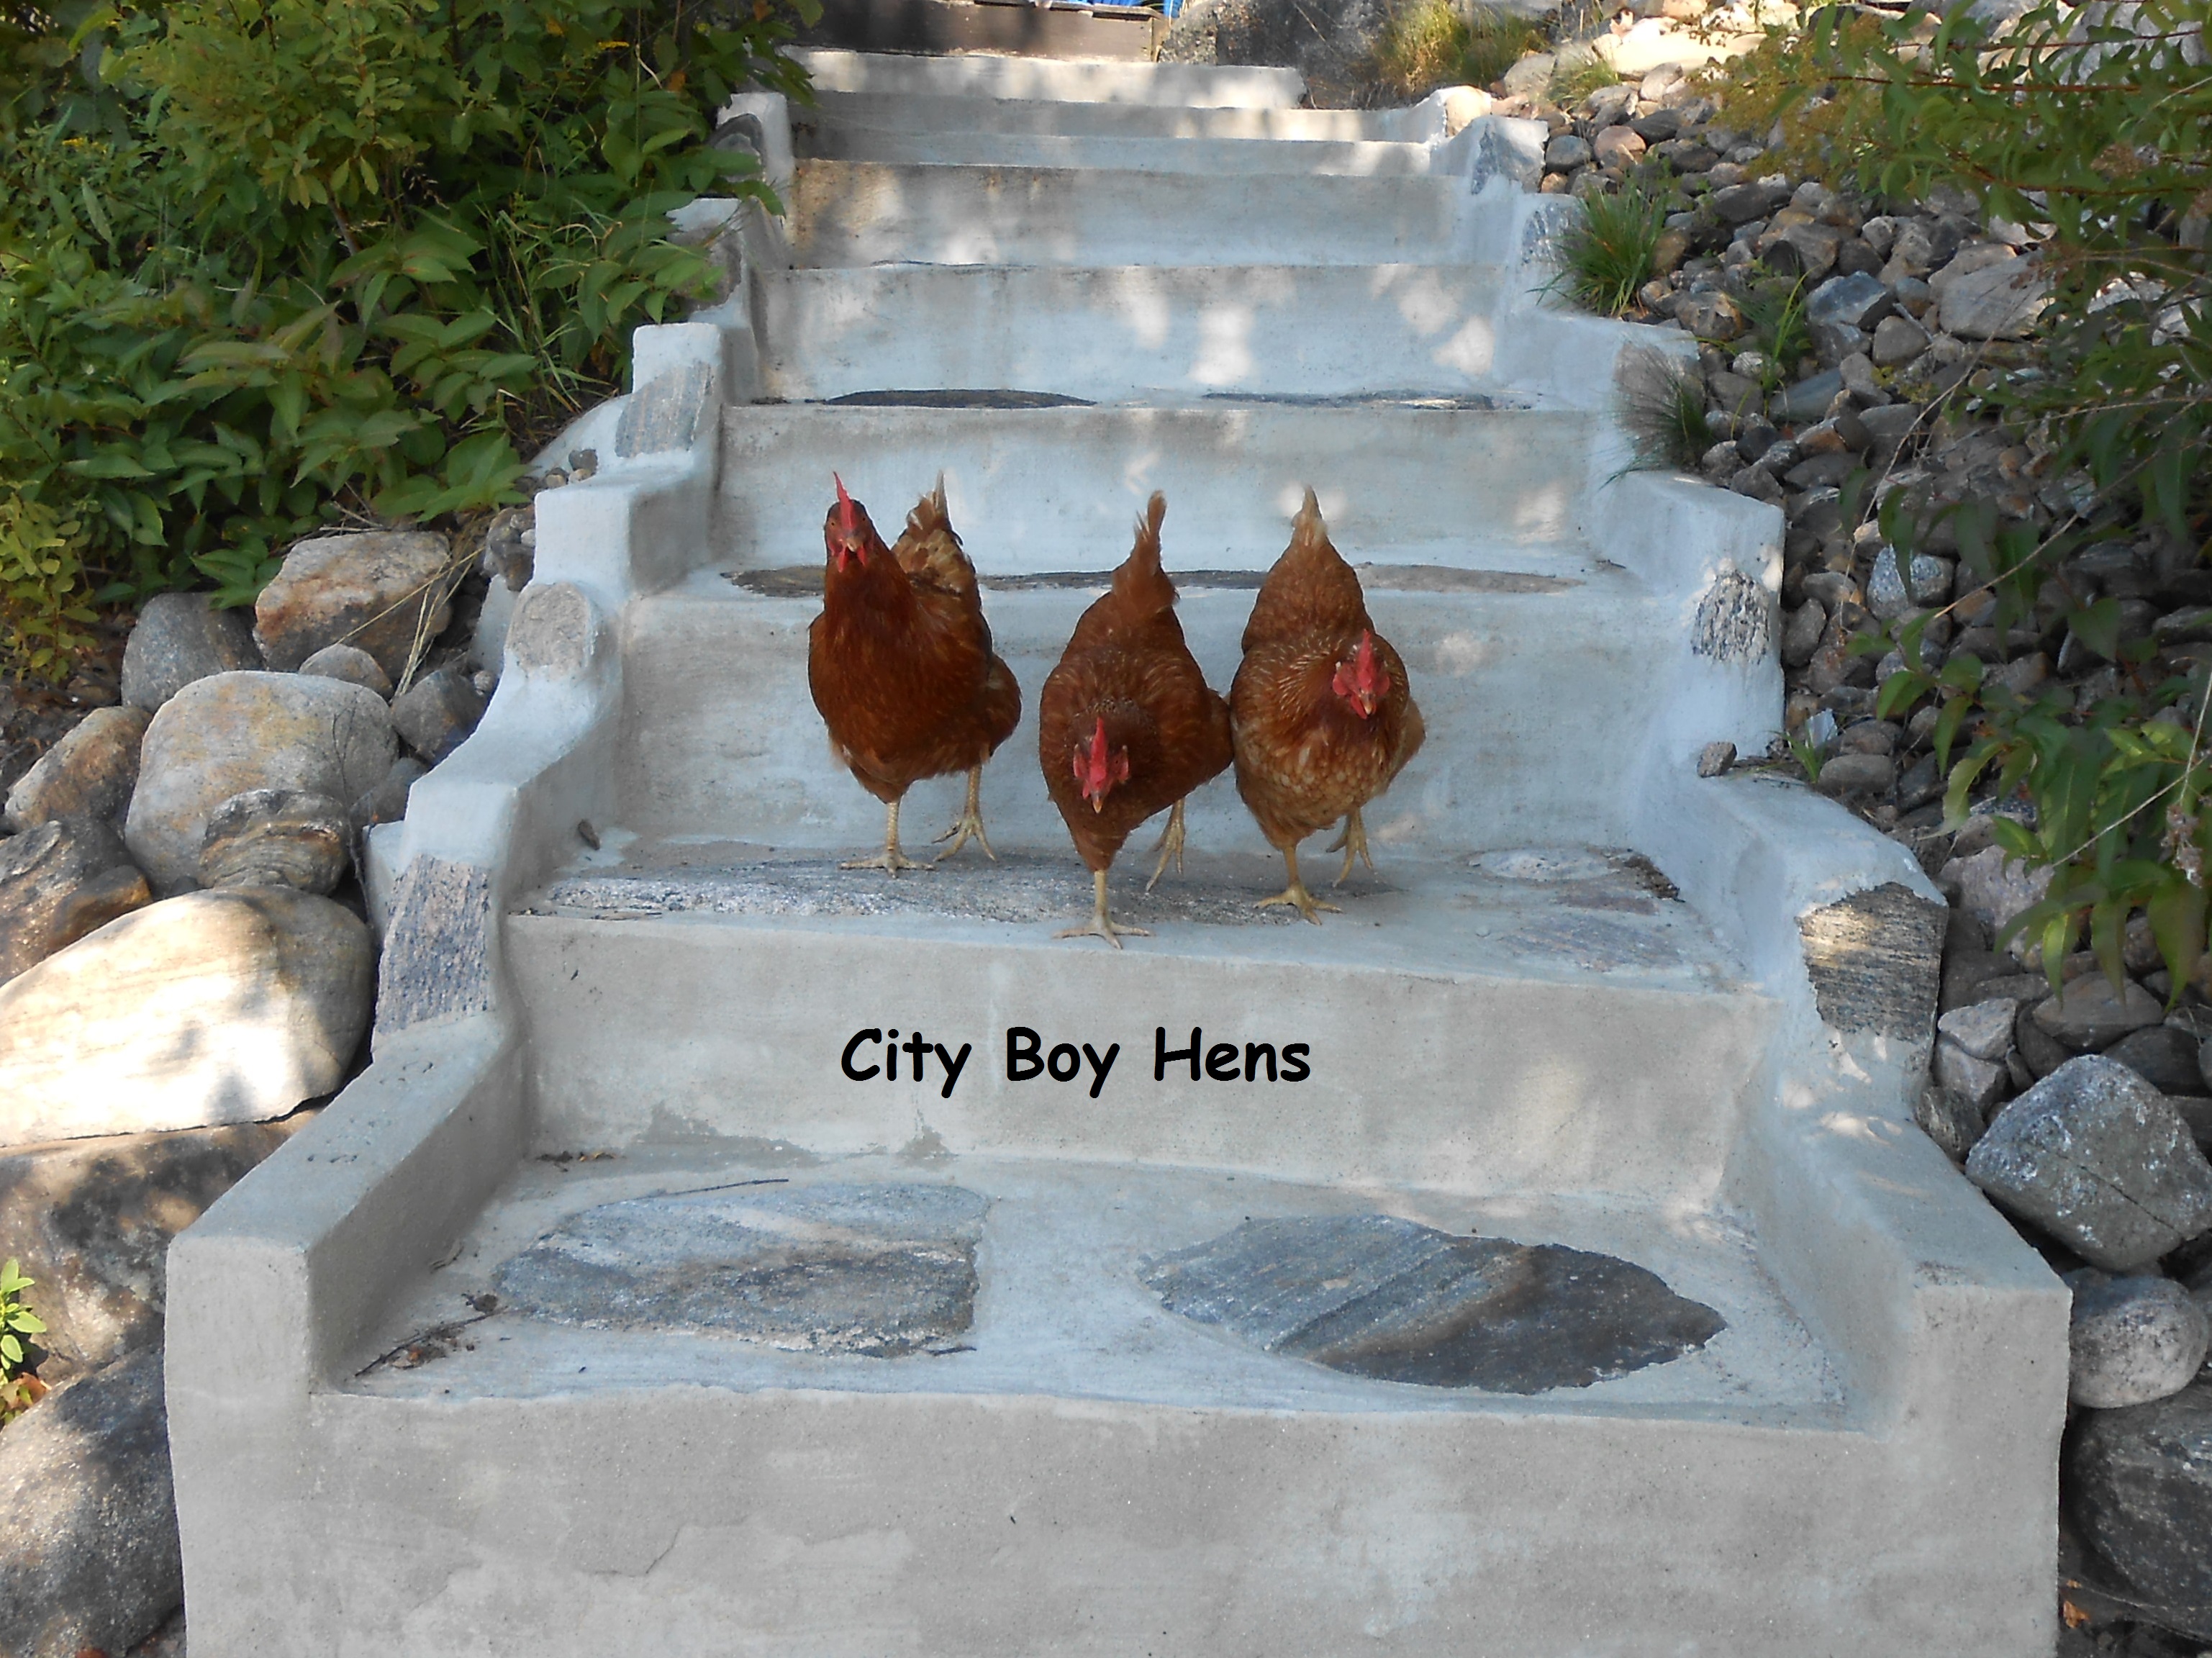
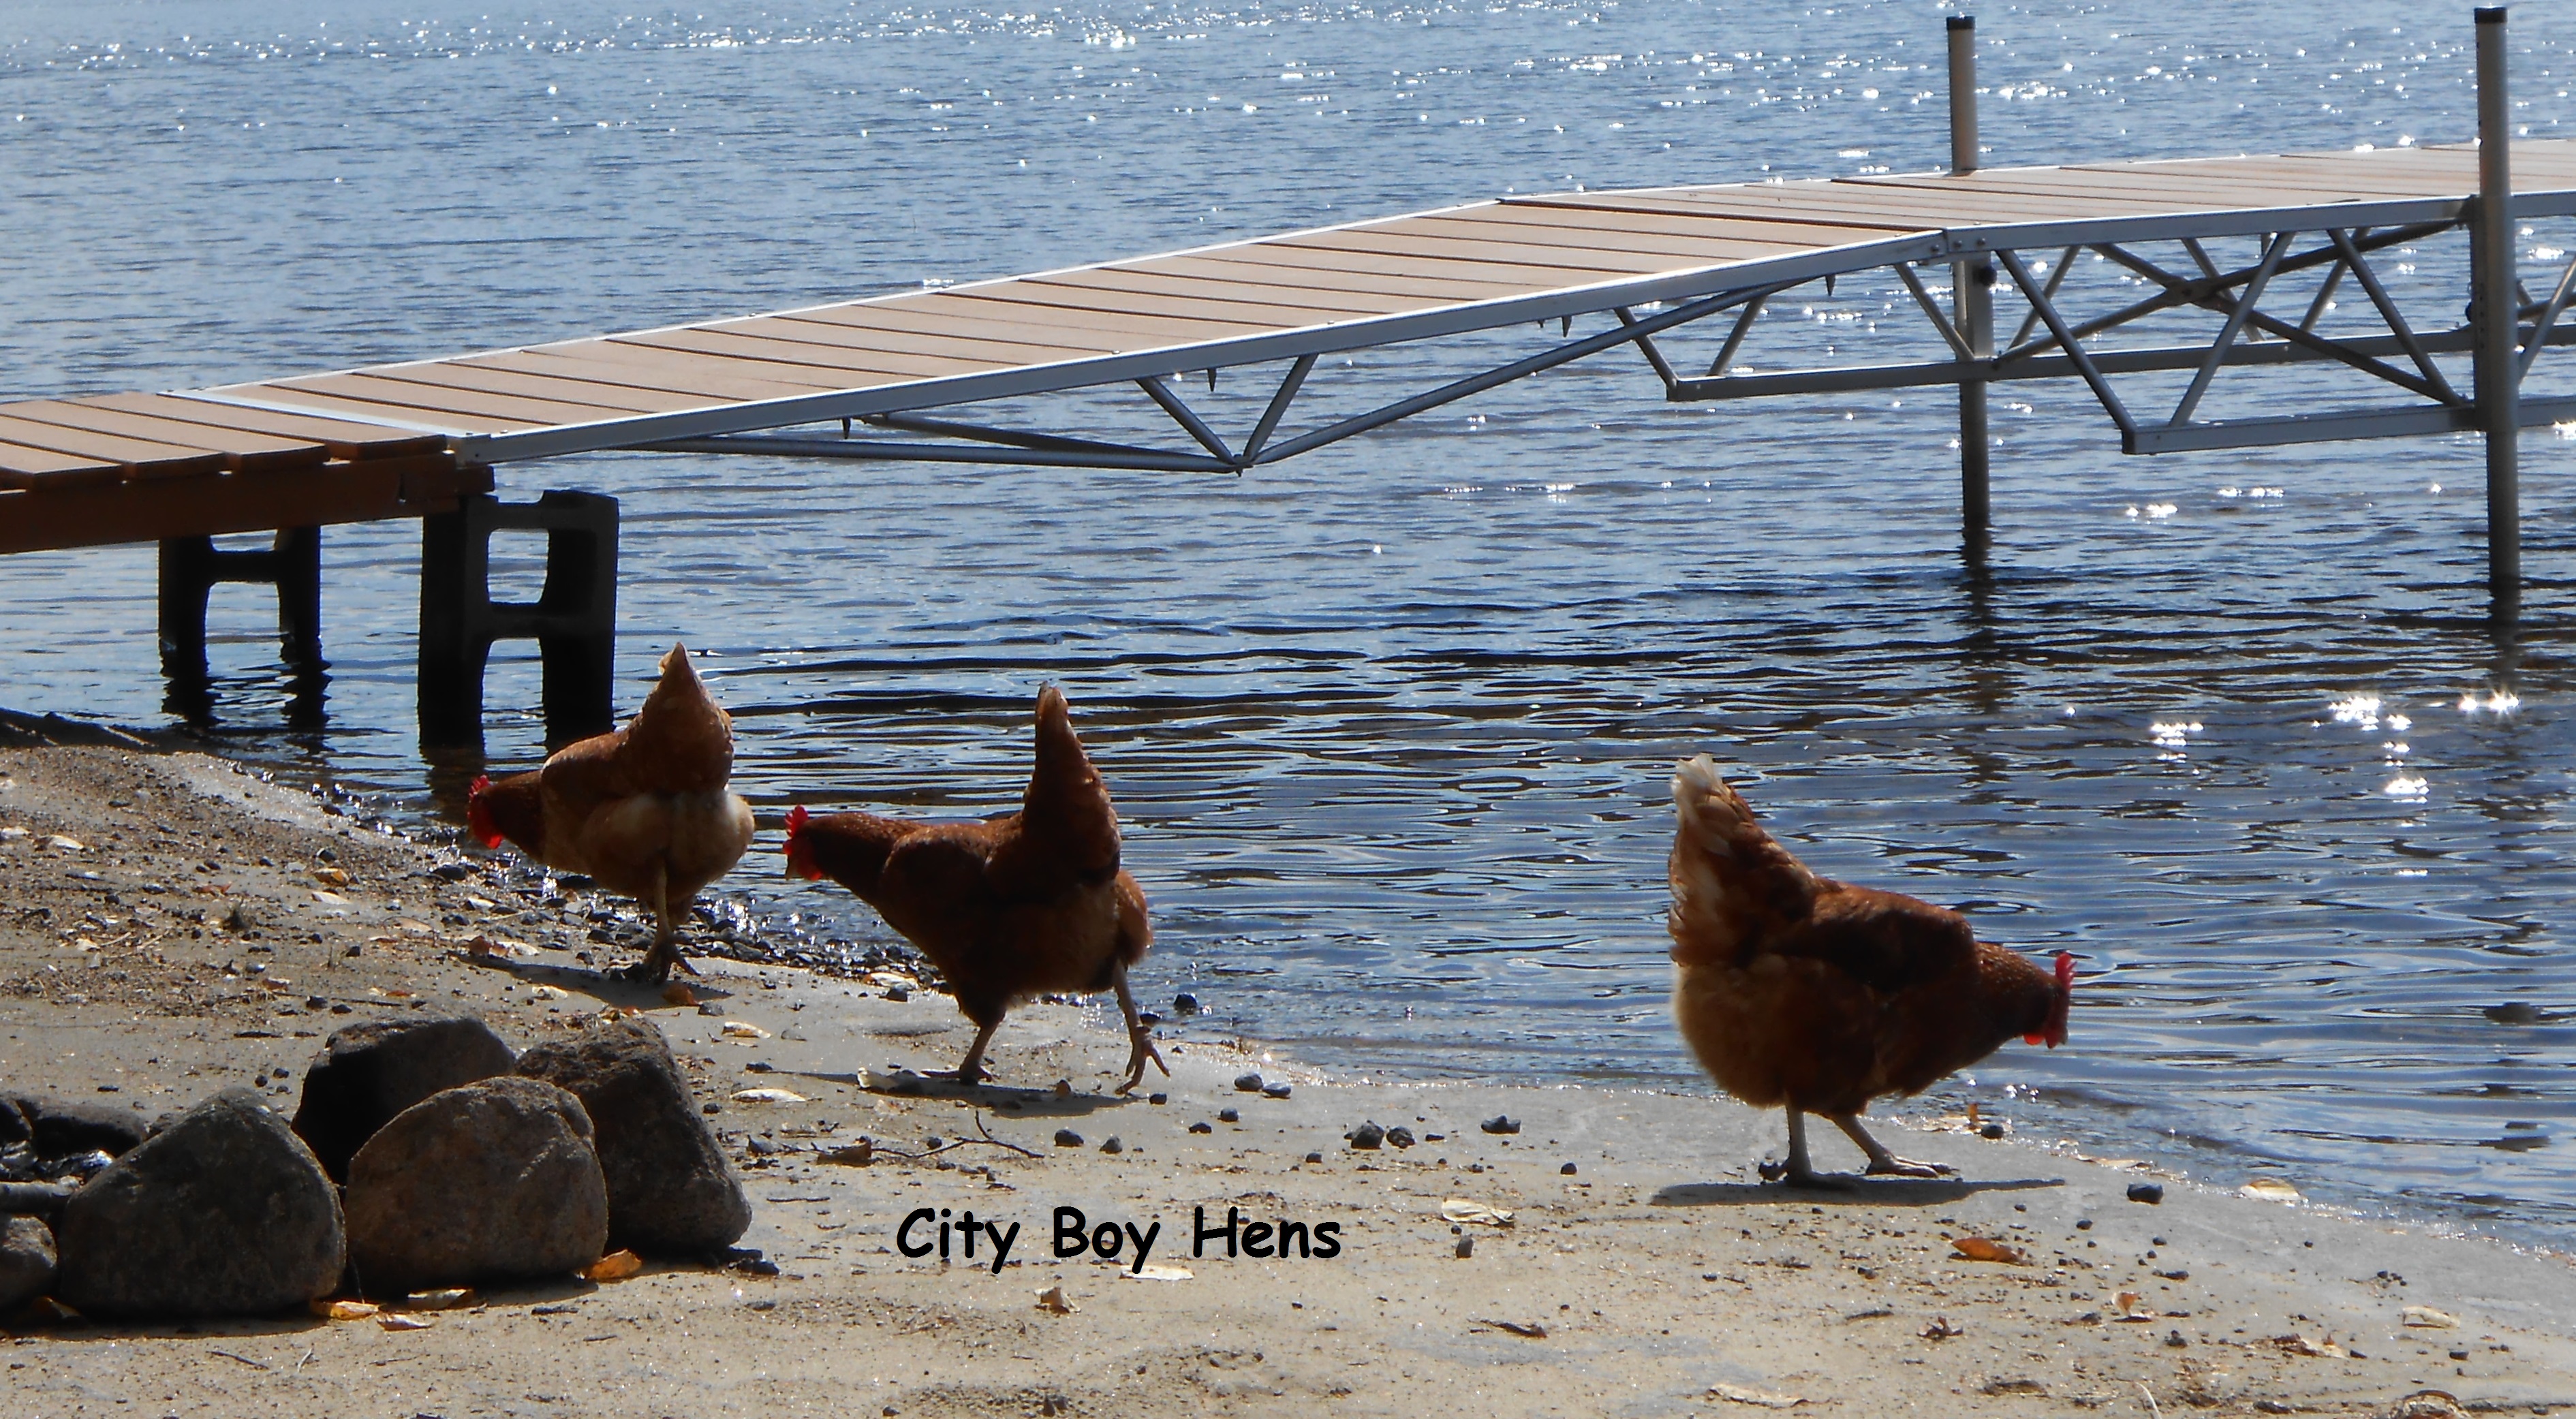
That weekend started out like every other weekend at the cottage.  The trip up North was uneventful and the hens spent their weekend roaming around the cottage property or down by the beach.

Running Down To The Beach.

Heading Down To The Beach.

008 - Copy

010When it was time to pack up on Sunday, I found Swiffer my herself behind the chicken ark in the run.  Generally, the 3 hens are inseparable, but I didn’t  give this too much thought as I picked her up and put her in the crate with Honda and Rosie.  After “buckling” them in, we headed South for the return trip home.

The drive was going along smoothly as beloved wife and myself shared some casual conversation until I heard a piercing scream from endearing daughter!

“Oh my God………..Swiffer laid an egg!……….AAAAAAHHHHHHHHHHH…………It’s splattred everywhere.    Holy $#!*…..Some of it got on my leg……….Oh my God……..they’re eating it!   Oh….this is sooooooo gross!”  Mom………I’m gonna’ puke!!!!!!!!  Dad…pull over RIGHT NOW!!!!!!!!!!!…….

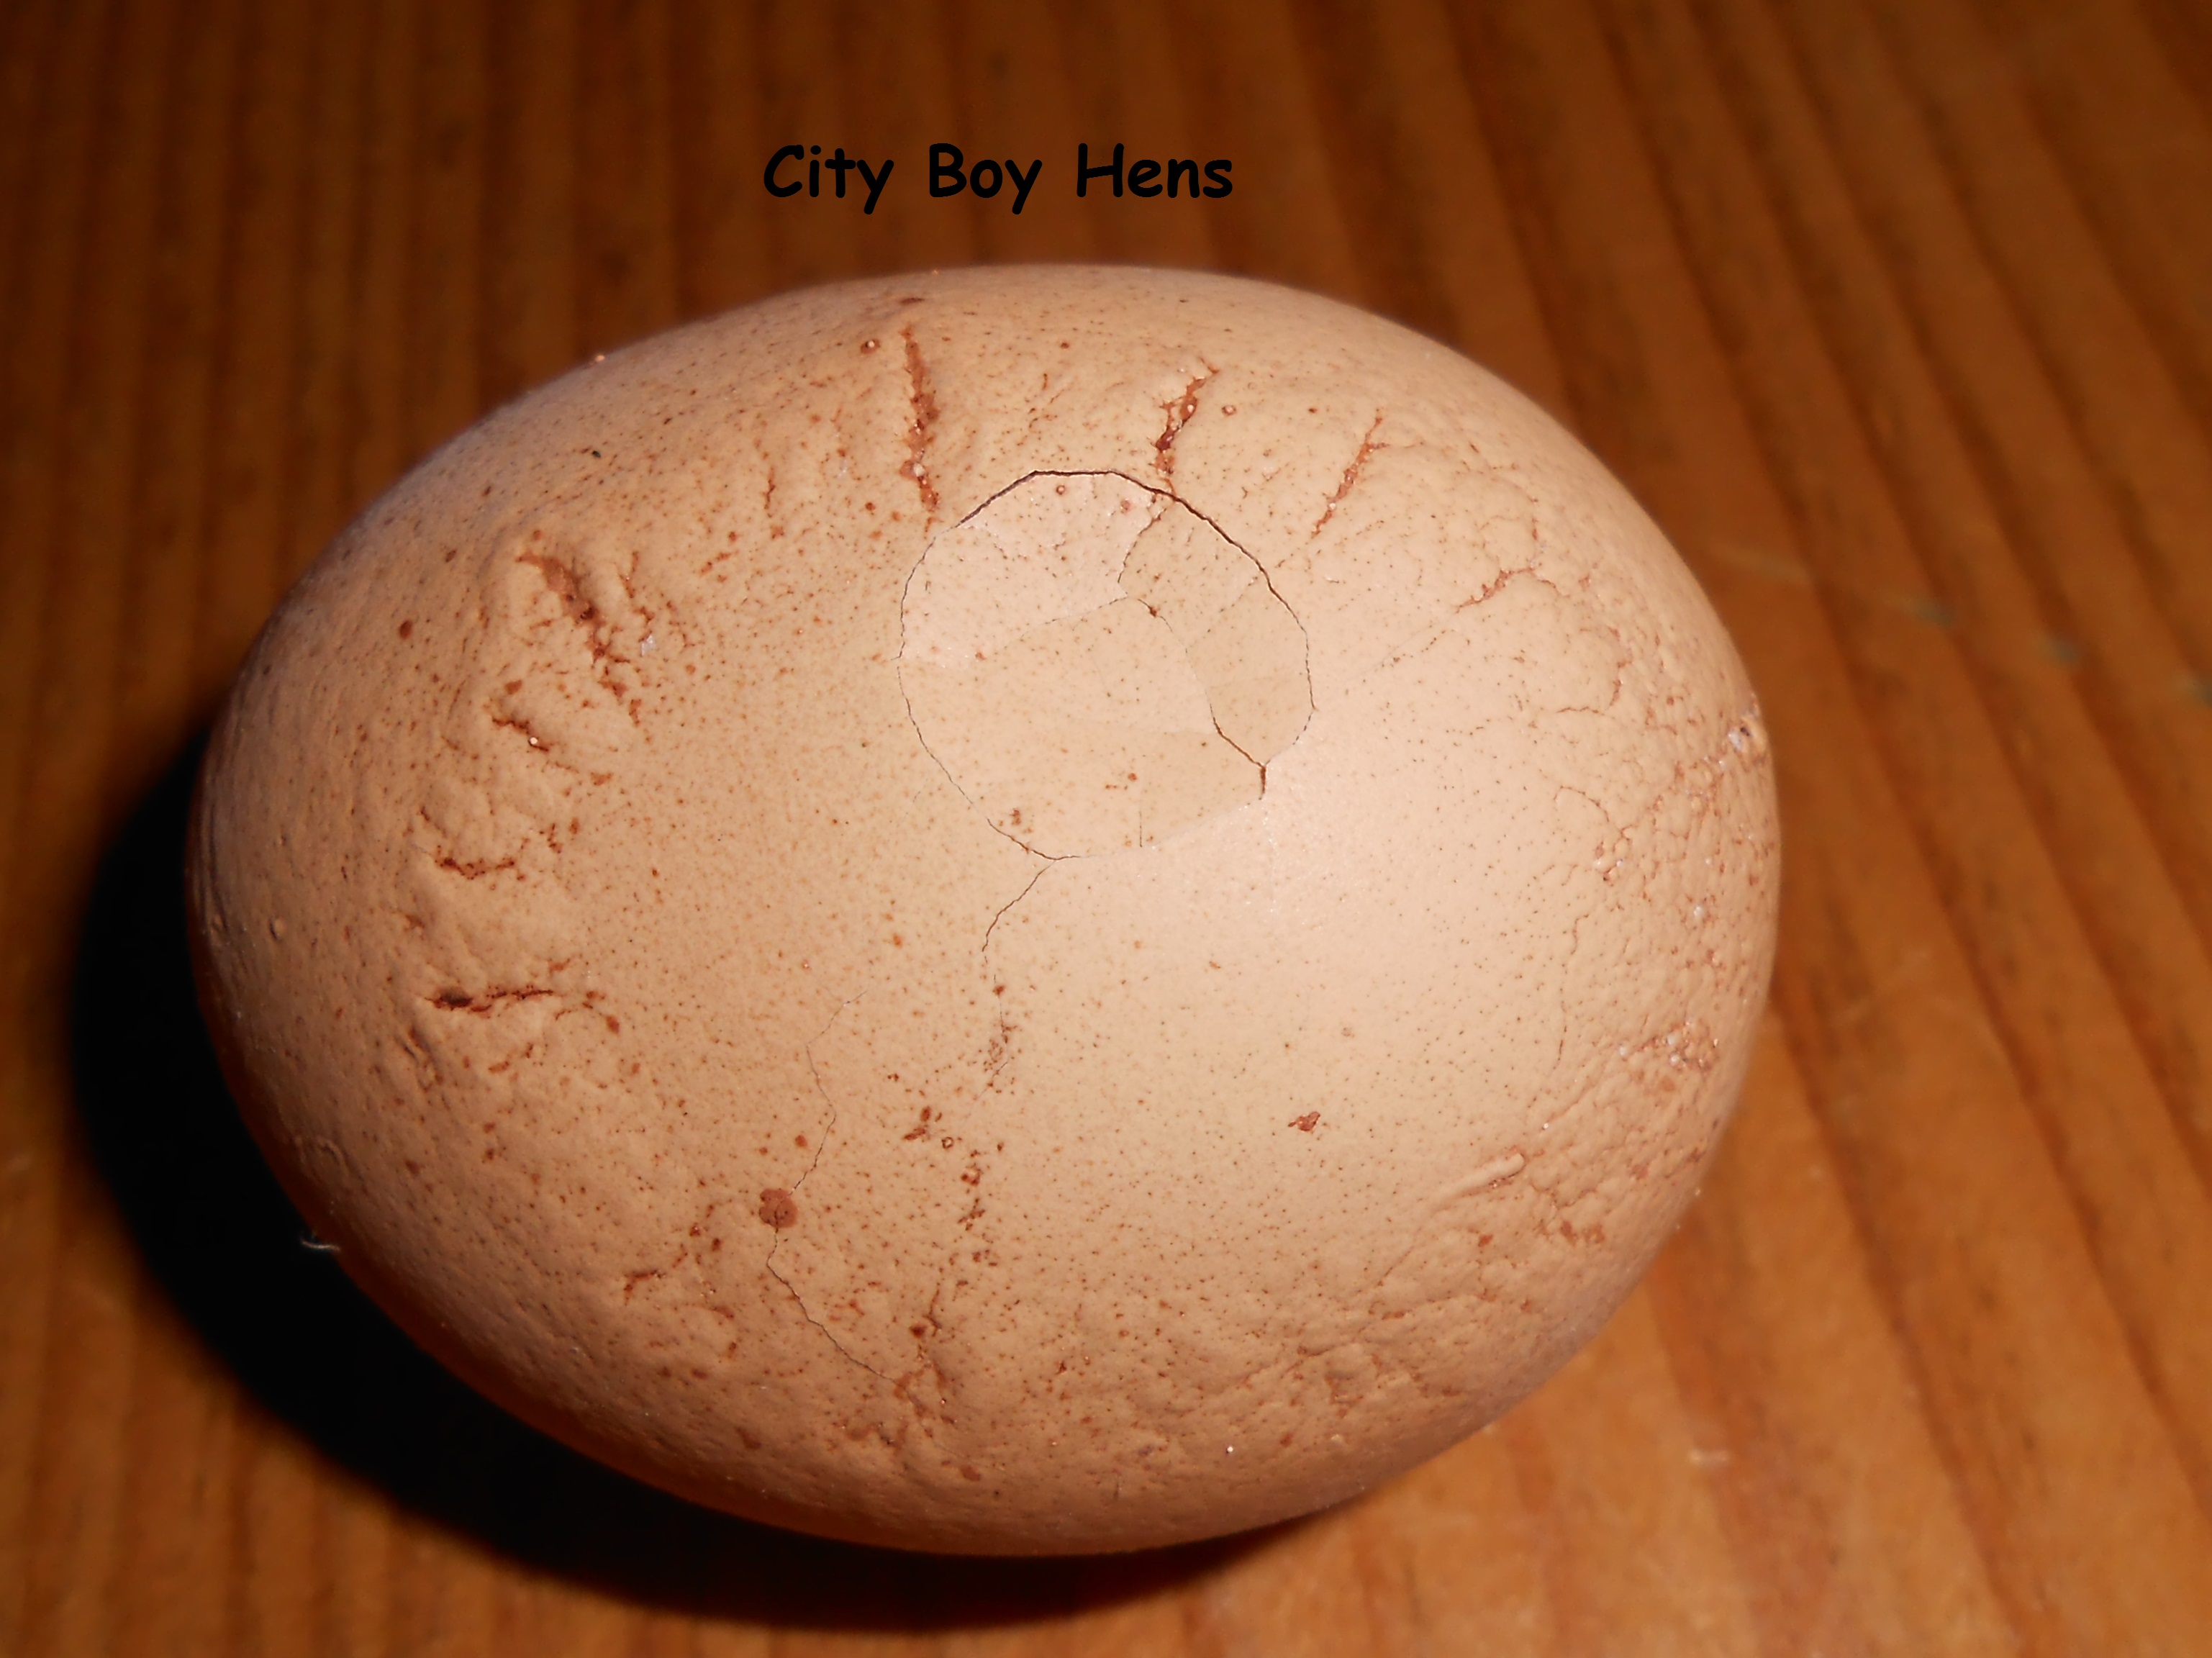
  It turns out that Swiffer had, once again, managed to create pandemonium by just…… being Swiffer!  I guess it’s really not her fault.  It looks like she too is going to be following Honda’s lead and begin molting shortly.  As I learnt a few weeks ago, soft-shelled and crinkled eggs are generally a good sign that a hen will begin molting.

“Alright Swiffer, I just gotta’ know……….why’d you have to lay that “softie” in the van?  Couldn’t you have laid it in the coop like you do every morning?…………. Come on Swiffer…..ANSWER ME!……………Ok……don’t want to talk???????………..Hey Swiffer…….., look over to your right.  See that truck beside us?  Take a look at what’s in the back!  Yes, you are right…those are chickens, but they aren’t coming back home from the cottage like you.  They’re goin’ to visit the bad man called The Butcher!”111

On second thought, maybe I was a bit too hard on poor Miss Swiffer.   Maybe I scared her a bit too much because this soft-shelled, crinkled Ping-Pong ball was what she left me  the following morning.  “Ok Swiffer……I was just jokin’.  There really isn’t a bad man called The Butcher!………..Well…….there really isn’t one………… at least RIGHT NOW!!!!!!!!!!!!!”002

Advertisement

Curing Olives May Be EASIER Than You Think!

Oh……the olive. You either love them or  look upon them like the plague.  If you are in the second group, I suspect that I’ve lost you already.  But, if you are a lover of the olive, I’d like to show you had to easily pickle this tasty treat.  It’s going to take around 3 weeks to cure these babies with about 15 minutes worth of work to do every other day.  After that, you’ll be enjoying some great tasting olives for the next 12 months.

First, go out and purchase a case of green olives.  These olives generally come from California and are available from late September until mid November.  The olives are green in color because they are not ripe (a black olive is a ripened olive).  As a result, they are extremely bitter.  Taste one if you do not believe me.  I’ll bet you a dozen City Boy eggs that you won’t eat 2!002

Next, wash the olives in cold water and discard any that are damaged or spoiled012In order to make the olives palatable, the bitter element ( oleuropin), must be removed.  This is done by fermenting the olives in a brine for around 18 days.  This may not seem like a long time, considering that the olive is so bitter, but you are going to speed up this process by piercing the olive several times with a fork.  I do this by holding the olive between my thumb and index finger and piercing it with each turn (3 times will do).  Some folks like to cut slits in the olive with a knife, but I find that this takes too long.  Others like to hit the olive with a hammer, but I do not like the final presentation of smashed olives in a jar.  Either way, it’s entirely up to you.  Just make sure to create “openings” in the olive in order to let the bitterness out. This is the only labor intensive step to making olives and it will take you about 1.5 hours to prick, slit or smash every one.006

007

After pricking each olive, make sure to immediately drop them into a 5 gallon “food-grade”pail that has a brine solution of 1 cup pickling salt and 20 cups of water.  Make sure that all of the olives are immersed in the brine solution.  I have found that the best way to keep the olives immersed is to invert a 10″ dinner plate on top of the olives and weigh it down with a 1 quart mason jar that is filled with water.019

010

By day 2, the brine solution will begin to discolor.  Dump out the brine by tipping the bucket while firmly pushing down on the dinner plate.  Remove the plate and rinse the olives in the bucket.  Make up your brine solution and continue to repeat this process.

By around day 5, you will begin to hear large air bubbles occasionally escaping from under the plate.  This is a great sign that the olives are beginning to ferment.

Continue changing the brine ever other day until day 18.  Now taste an olive.  It should be firm and have a subtle salty olive rich taste.  If it still taste a bit bitter, give it another few days.

This is what the color of my brine solution looked like by day 16.  It is light green/yellow in color and had a rich aromatic scent.017

This is what my olives looked like by day 18.  Notice how the color is no longer bright green, but more of a…..well….olive drab color.  This is a good sign that you are almost ready to be preserve them in some mason jars.019

By day 18-21, the olives should be ready to be jarred.  Once again, it is not an exact science so you will have to rely on your taste buds.  If they no longer taste bitter or are only slightly bitter, than it is time to pack them in mason jars.  In order to extend their shelf life and ensure a safe edible product, it is necessary to increase the salt content in the brine to 1 cup of pickling salt for every 10 cups of water. I used 1 1/2 cups of pickling salt and 15 cups of water in order to make my brine.   I remember hearing about a traditional “old school” method that used an egg in order to achieve the proper salinity in a brine.  When the egg floated in the brine, the proper salinity was achieved!

Now sterilize your jars in the oven at 225 degrees Fahrenheit  for 10 minutes. Place the canning rings and seals in a small pot of water and bring this to a simmer for 10 minutes as well.  Once the jars are sterilized, put 1/2 teaspoon of chill peppers and 1-2 cloves of sliced garlic in each quart jar.  Now pack the olives into the jars and pour the brine over the fruit until they are completely submerged.  *Note:  Some folks have recommended that the brine be heated and the sealed jars be boiled in a canner for 15 minutes.  I recommend that you follow the canning practices that make you feel secure.

012  Top up the jars with 1/4″ of olive oil.  This will create a barrier which will prevent the air at the top of the jar from possibly contaminating the olives.017  Now seal up the jars and store them in your cantina or cupboard for the next 12 months.019

Oh……..I almost forgot…..Keep your opened jar stored in the fridge and continue to top up with olive oil.  A spoonful of this flavored oil tastes amazing on your pasta dishes!  I hope you’ll give it a try.

My Cottage Garden BELLY FLOP!

As the Canadian Thanksgiving ends and the American Thanksgiving approaches, I thought it would be a “humbling” experience to chronicle the “results” of my cottage garden.  It all started back in the winter when I had the hair-brained idea to make a vegetable garden at the cottage.  The rational for making the cottage garden was two-fold.  First, we spend a lot of time at the cottage in the warmer months.  Secondly, I have nowhere at home to build a suitably sized garden.

So back in early May, a few of my high school buddies helped me build a raised bed garden at the cottage during one of our bi-annual weekends together. I went to great lengths & cost in order to make my garden predator proof and  I had a local guy deliver 4 yards of triple-mix.  Everything was going along well, even though Mr. Local Guy was quite concerned that I would be growing my pot too close to the road.  I assured him that it would be vegetables that I would “attempt” to grow.  He gave me the same look that most rural folks give when they hear that I take our chickens to the cottage.032I then proceeded to plant the garden in early June.

Tomatoes, Hot Peppers, Basil, Leeks and Bush Beans

Tomatoes, Hot Peppers, Basil, Leeks and Bush Beans

Throughout July I lovingly tended my gardens.  I watered, weeded and sent silent thoughts of encouragement for a bountiful harvest to begin in August.  Maybe my thoughts weren’t encouraging enough because my garden didn’t respond with a yield that could feed one, let alone a family of 4.  By late August,  I knew we were in trouble with a harvest of only 7 beans, 3 cherry tomatoes and a miniscule feed of Swiss chard that wouldn’t even provide a snack for the chickens, let alone a side dish for this City Boy.  By Labor Day, I knew we were doomed.  It pained me to watch many of you write posts on your successful gardens and all of the produce that you would consume and share.  Don’t get me wrong….I was happy for each of you.  I just wanted a bit of tasty success for my own family.024As it turns out, Jack Frost dealt his deadly blow before the Canadian Thanksgiving.  So much for the dream of plump red Roma tomatoes that were destined to be bruschetta, salad accompaniments, and sandwich fillers.   As for the Leeks…..they were suppose to be the main ingredient in our Leek & Potato soupChili peppers…….they were to be dried, crushed and used in our hot Italian sausage and salami making recipes I could go on and on, but it hurts too damn much!

In hind-sight, I now see that my fatal mistake came way back in May long before I even planted my garden.  I still remember that fateful Saturday when my two buddies and I thoroughly discussed the location of the garden while quenching our thirst on a few beers from a local micro-brewery.  Maybe there was some mind altering ingredient in that micro-brewery beer?   Maybe it was the heat of the sun that beat down on our Vitamin E deprived brows?      But…….maybe………….. it was the fact that the  FREAKIN’ LEAVES ON THE ENORMOUSLY LARGE FREAKIN’ TREES THAT GREW FAR ENOUGH AWAY FROM THE GARDEN WERE STILL IN THEIR TINY  FREAKIN’ BUDS……..BUDS THAT WERE WAITING TO OPEN AND BLOCK ANY POSSIBILITY OF SUNLIGHT AFTER 3PM!  Damn!  How could I have been so stupid?  Nonno, If you are looking down on me….please stop shaking your head.  I know I came from a family that had its roots in farming, but I’m just a City Boy trying to reconnect with his Family’s past.

Well….I might as well get it over with….swim out to the raft….proceed to jump off and make the biggest belly flop that I am capable of making……………….019But wait………..Why should I be the only one punished for this oversight???????   Ah Hello??????  Mr. 5 Maples……..don’t you guys hold any responsibility for taking away my mid-afternoon sun which created that 2 inch cucumber, those emaciated leeks and the green tomatoes that refuse to turn red??????   025DAMN STRAIGHT YOU DO!  Well………at least it’s gonna’ be warm in the cottage next WINTER!     “Hey Beloved Wife……did you happen to get any leeks at the grocery store today?  I’m thinking about making some soup for dinner tonight!031

My Honey Bee Queen is………. DEAD!

014I should have heard them screaming that the Queen was Dead.  I should have seen that the flag was at half mast beside the hive.  I should have been there as the funeral procession  exited the hive and their little bee heads hung in grief when they carried their beloved Queen to her final resting place.  I should have noticed, but…………… I wasn’t there.  Maybe I was back at home in the City.  Maybe I was up at the cottage sitting on the dock sipping beer from a local micro-brewery.  Either way, it didn’t matter.  I wasn’t at the hive.  Not that I really could have done much. It’s not like I could have saved her.   I don’t even know why she died or how she died……….  I just know she’s………. dead……(A momentary  pause for dramatic effect!)

So….maybe you’re asking yourself how I knew for certain that the hive was queenless?  I knew I was in trouble yesterday afternoon as soon as I took the first frame out of the hive.  There was no brood to be found anywhere in the comb.  There were plenty of bees, lots of pollen and even some honey, but no brood to be found.  Considering that a Queen can lay upwards of 1000 eggs each day, you’d think that I’d find some brood tucked away in that comb. Take a look at the picture below.  It is from my hive in July.  If you look carefully at the yellow circled frames, you will see brood tucked into the comb.  They look like fat white grubs.

Drawn out comb filled with nectar or brood.

Drawn out comb filled with nectar or brood.

Anyways, I continued to inspect each frame with the same dismal results.  Zilch, Nadda, Niente!  I couldn’t believe my luck.  First, I couldn’t get a mated Queen until early July because there was such a shortage this year in Northern Ontario.  Now, she up and died, leaving thousands of bees without a Queen.  But worst of all, Fall has begun and the hive Will Not survive without a Queen to produce the Winter Bees who will carry the hive through the  cold months ahead.    So…..if I don’t do something soon, I’ll be starting again from square one next Spring.   But, it isn’t not only for me that I must find a solution…….it is also for the remaining bees that will need my help.

It turns out that one of Dan’s hives (my mentor) has been suffering this year and it is having trouble building up to a strong colony.  It too, would not survive the harsh Northern Ontaio Winter.  After sitting down in the apiary together and discussing our individual delemas, we decided to combine our hives in order to make one strong hive that still had time to learn to get along and become one happy colony.  After taking a quick look through Bee Keeping For Dummies, we confirmed our plan of attack and thus was born our attempt at the newspaper method.

According to Howland Blackiston “ you can’t just dump the bees from one hive into another. If you do, all hell will break loose. Two colonies must be combined slowly and systematically so that the hive odors merge gradually. This is best done late in the summer or early in the autumn”.

Well……I guess are timing was good because we got the early autumn part right.  Now, we just had to move my hive into Dan’s weaker, but Queen maintained, hive.  So I took the cover off of my hive and began shaking  the bees off of the honey bee frames that were in the top hive body (the upper box).  In doing so, my bees would drop down into the lower hive body which was the one that would be placed on Dan’s hive..  Believe it or not, we did this process without even using the smoker to help keep the bees calm.

Next, the hive cover was taken off of Dan’s hive and a single sheet of newspaper was placed on top of his top hive body.  I then cut a few slits in the newspaper which would act as the innitial passageway between the 2 hives.  In doing so,the hive odors from each hive would  “slowly and systematically” begin to merge together.033

Once this was done, the hive cover was then placed on top of the new combined hive.

According to Blackiston, , the bees should chew through the newspaper in about a week and Dan & I should have a ” happily joined into one whacking strong colony”.

Well……“whacking strong” seems pretty impressive from where I stand.  I’ll shoot for strong and hope for the best.  “Hey Dan………..what part of the newspaper did we put on the hive?   I hope it was something interesting because them there bees are gonna’ be doing some recreational reading for the next 7 days.  I just hope it wasn’t the obituary section”036