With canning season in full swing, I thought I’d share 3 of my best pickle recipes. I hope you give them a try!


Happy Canning!
Regards,
CB
With canning season in full swing, I thought I’d share 3 of my best pickle recipes. I hope you give them a try!
Happy Canning!
Regards,
CB
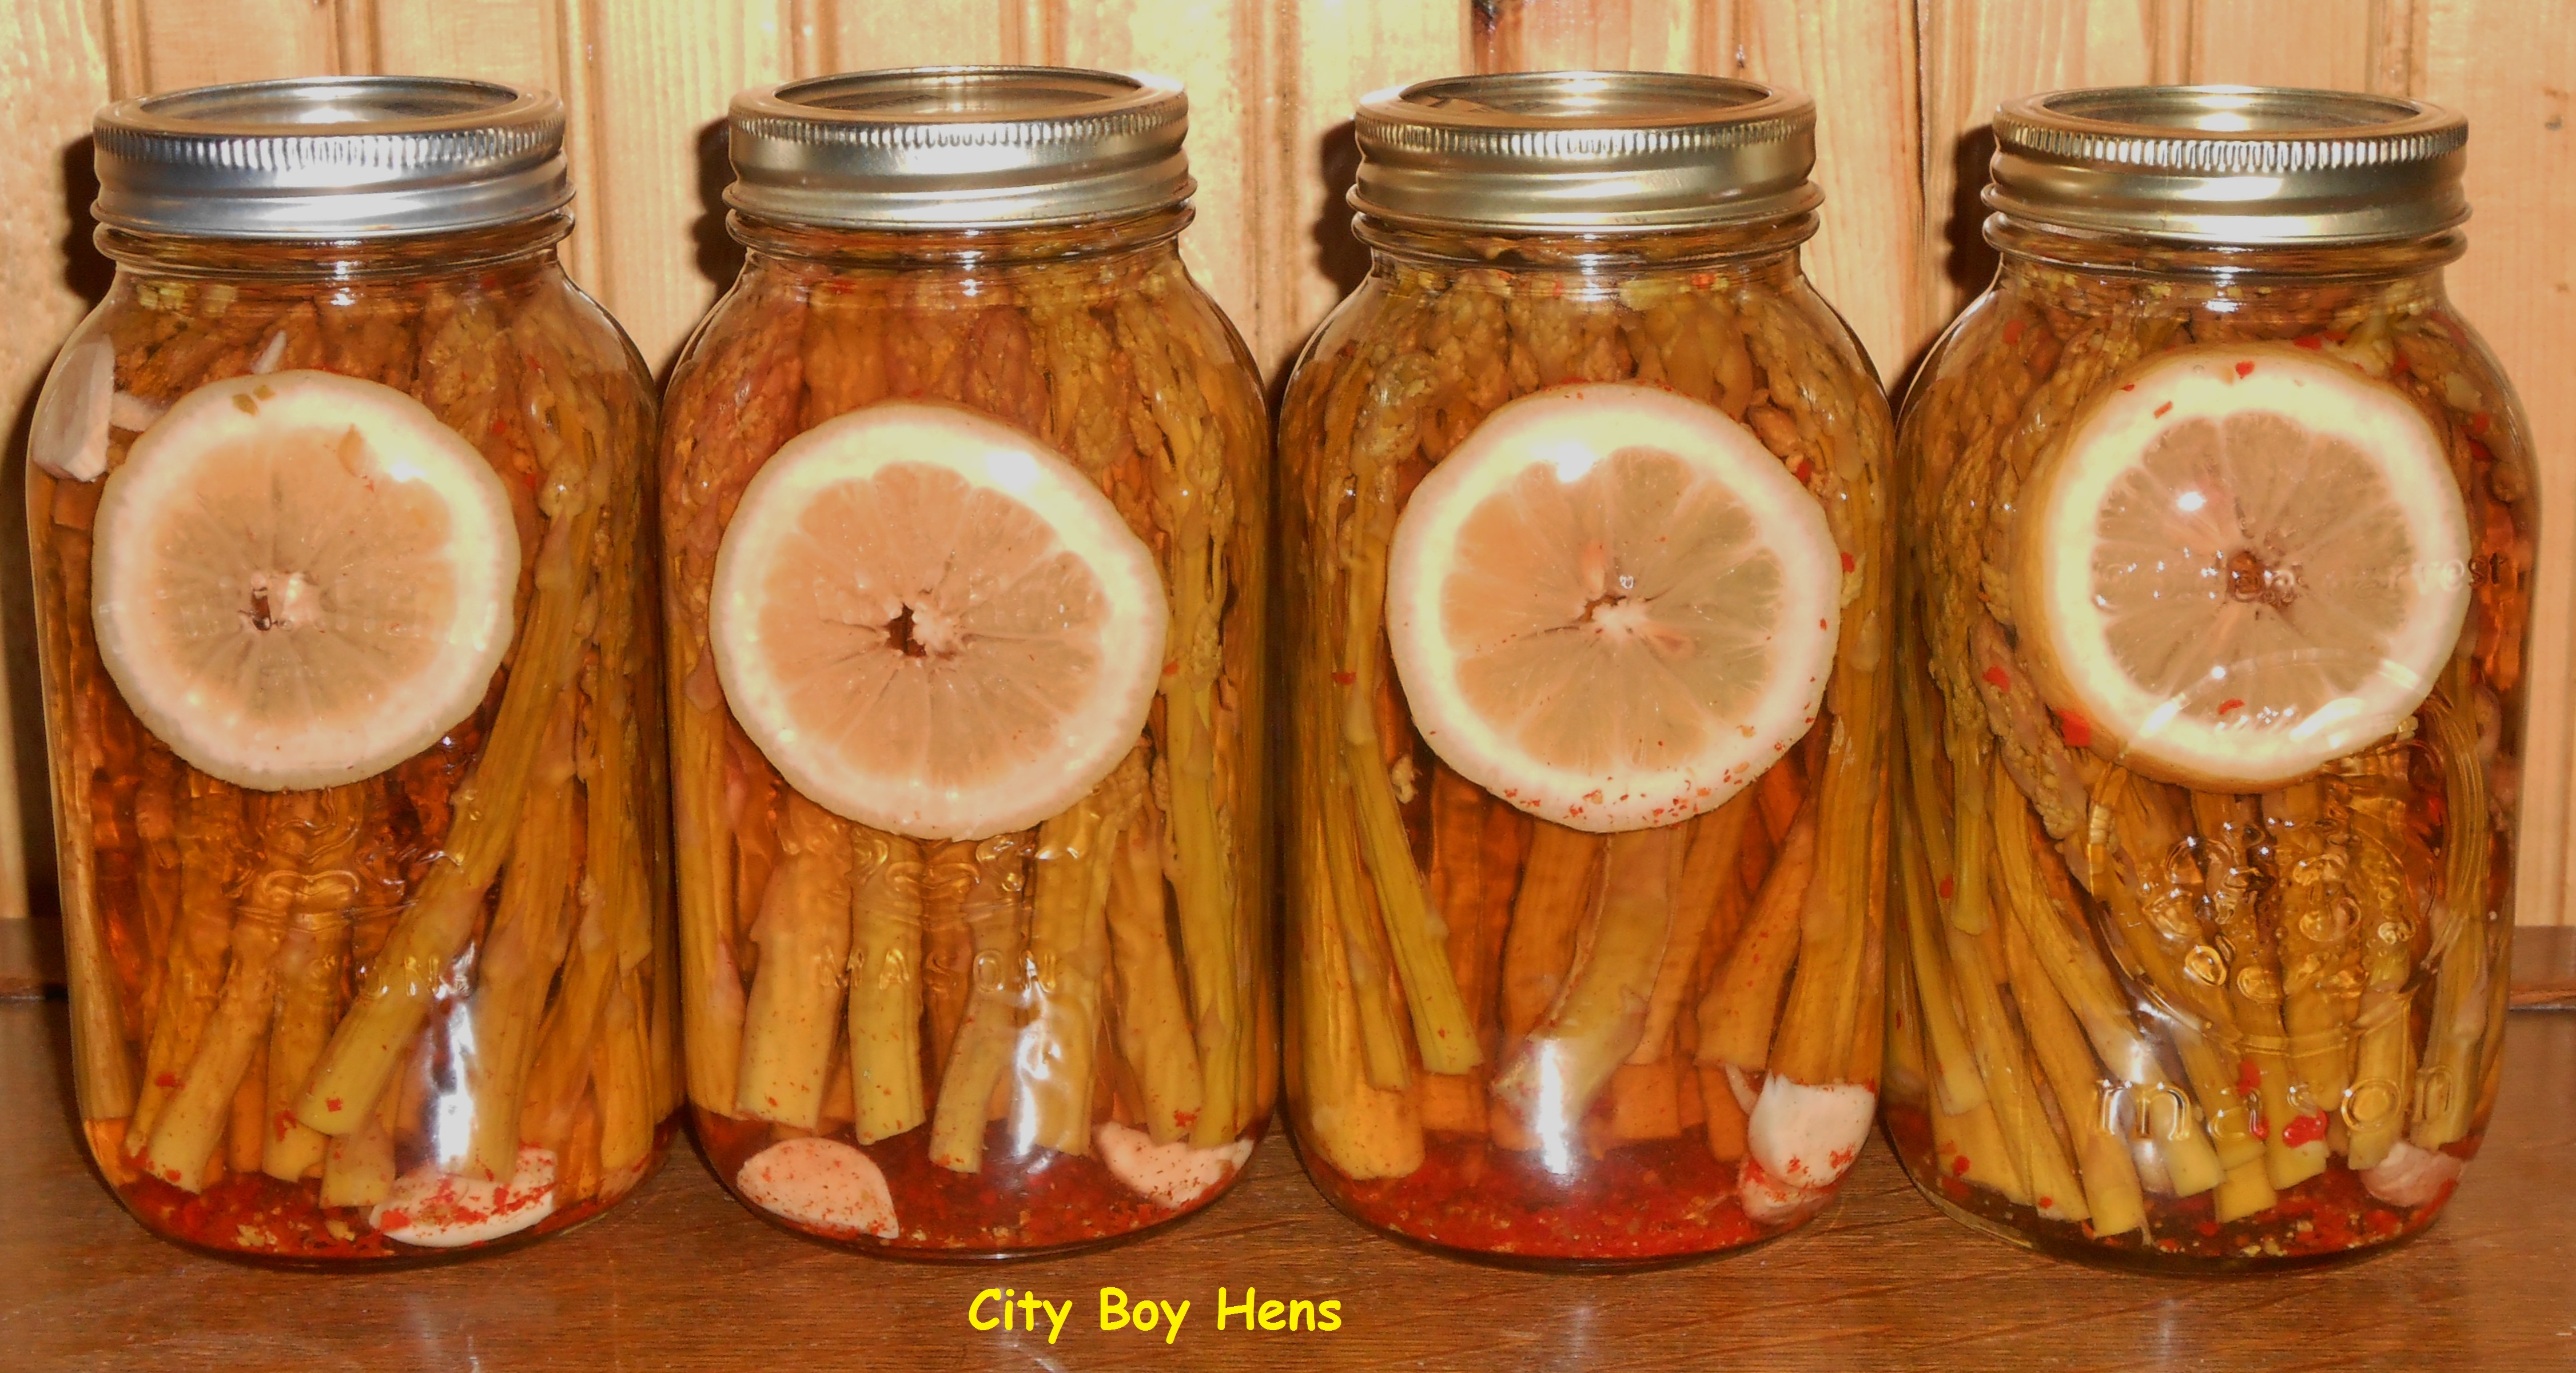 Canning season officially starts at City Boy Hens with pickled asparagus. Around here, it is included in our antipasto, the “topper” to “special events” salads, a great addition to any sandwich or just as a pickled treat with dinner.
Step 1: Sterilize your jars, lids and rings.
You can use the dishwasher on the high temperature setting, your canner (big pot) for 15 minutes at a “rolling boil” or your oven at 225 degrees Fahrenheit for 20 minutes to sterilize your jars. Whatever way you choose, remember to keep the jars warm after the required length of time and do not sterilize the lids in any of these ways. The rubber seal may become compromised do to the extended length of heat and may prevent a good seal for your canned goods. For me, the oven is my method of choice.
For the seals and bands, I find it easiest to put these in a small pot of water and keep them just below a boil. Make sure that you separate all of the lids. They can easily become stuck together and appear as one. The last thing you are going to want is to go through the entire process below and find that you are short one lid because you put two on one jar without knowing!
Step 2: Fill your canner up with water.
I know it sounds like an easy step, but it is worth mentioning that you need to find the right volume of water. Too much and the water will overflow when you add your jars that are heavy with their contents. Too little and the jars will not be completely submerged which will not allow for proper sterilization of contents. I fill my canner to around 2/3 full in order to accommodate 6 large canning jars. Note: Use hot water to fill the canner. This will help to speed up the process of bringing the water to a boil. Even with doing this, it will still take some time to get this water to a boil so start now!
Step 3: Wash and cut your asparagus.
Asparagus spears are quite long and a good portion of the vegetable must be cut off in order for it to properly fit into your canning jar. I have found that the easiest way to do this is to cut one piece to its designated length and then position each bunch beside your one piece and “chop”. Follow up with a good wash for the asparagus in the sink. Note: Don’t discard the remaining stem of the asparagus. Bend each piece until it snaps and keep the tender end. This can be canned, cooked for the next few meals or made into soup!
Step 4: Make your brine.
6 cups of pickling vinegar (5% acetic acid)
9 cups of water
9 tbsp. of pickling salt. Iodized salt will leave your brine cloudy.
Bring this to a boil.
Step 5: Pack your jars.
Before I begin packing my canning jars with asparagus, I add 1 clove of garlic (cut into 3 pcs.), 1/2 tsp. of chili peppers and 1 slice of lemon. Feel free to omit any of these ingredients though I highly recommend them all. Now it’s time to pack your jars. I find that it is easiest to lay the jar on its side when it is time to pack the asparagus into the jars. You may be surprised at how many spears you will be able to pack into each jar. I averaged around 35 per jar. This number will vary on the thickness of the asparagus stalks. It is important to pack your jars as tight as you can without breaking off the tips of the asparagus. I find that a table knife works well to help move the asparagus from side to side in order to make room for a few more spears.
Step 6: Add the brine and seal your jars.
Now it’s time to add the brine to your jars. A large ladle and a canning funnel makes easy work of this step. Make sure not to fill the brine up to the top of the jar. Leave around 1/4″of “head space”. Once this is done, take one of your sterilized seals out of your pot with a pair of tongs and place it on the lip of the jar. Note: make sure to wipe the lip of your jar before placing the seal on the jar. This will ensure that nothing is trapped on the lip which could prevent a tight seal and spoil your asparagus as it sits in your cantina (cellar) for up to 1 year. Once this is done, tightly screw the canning ring onto the jar.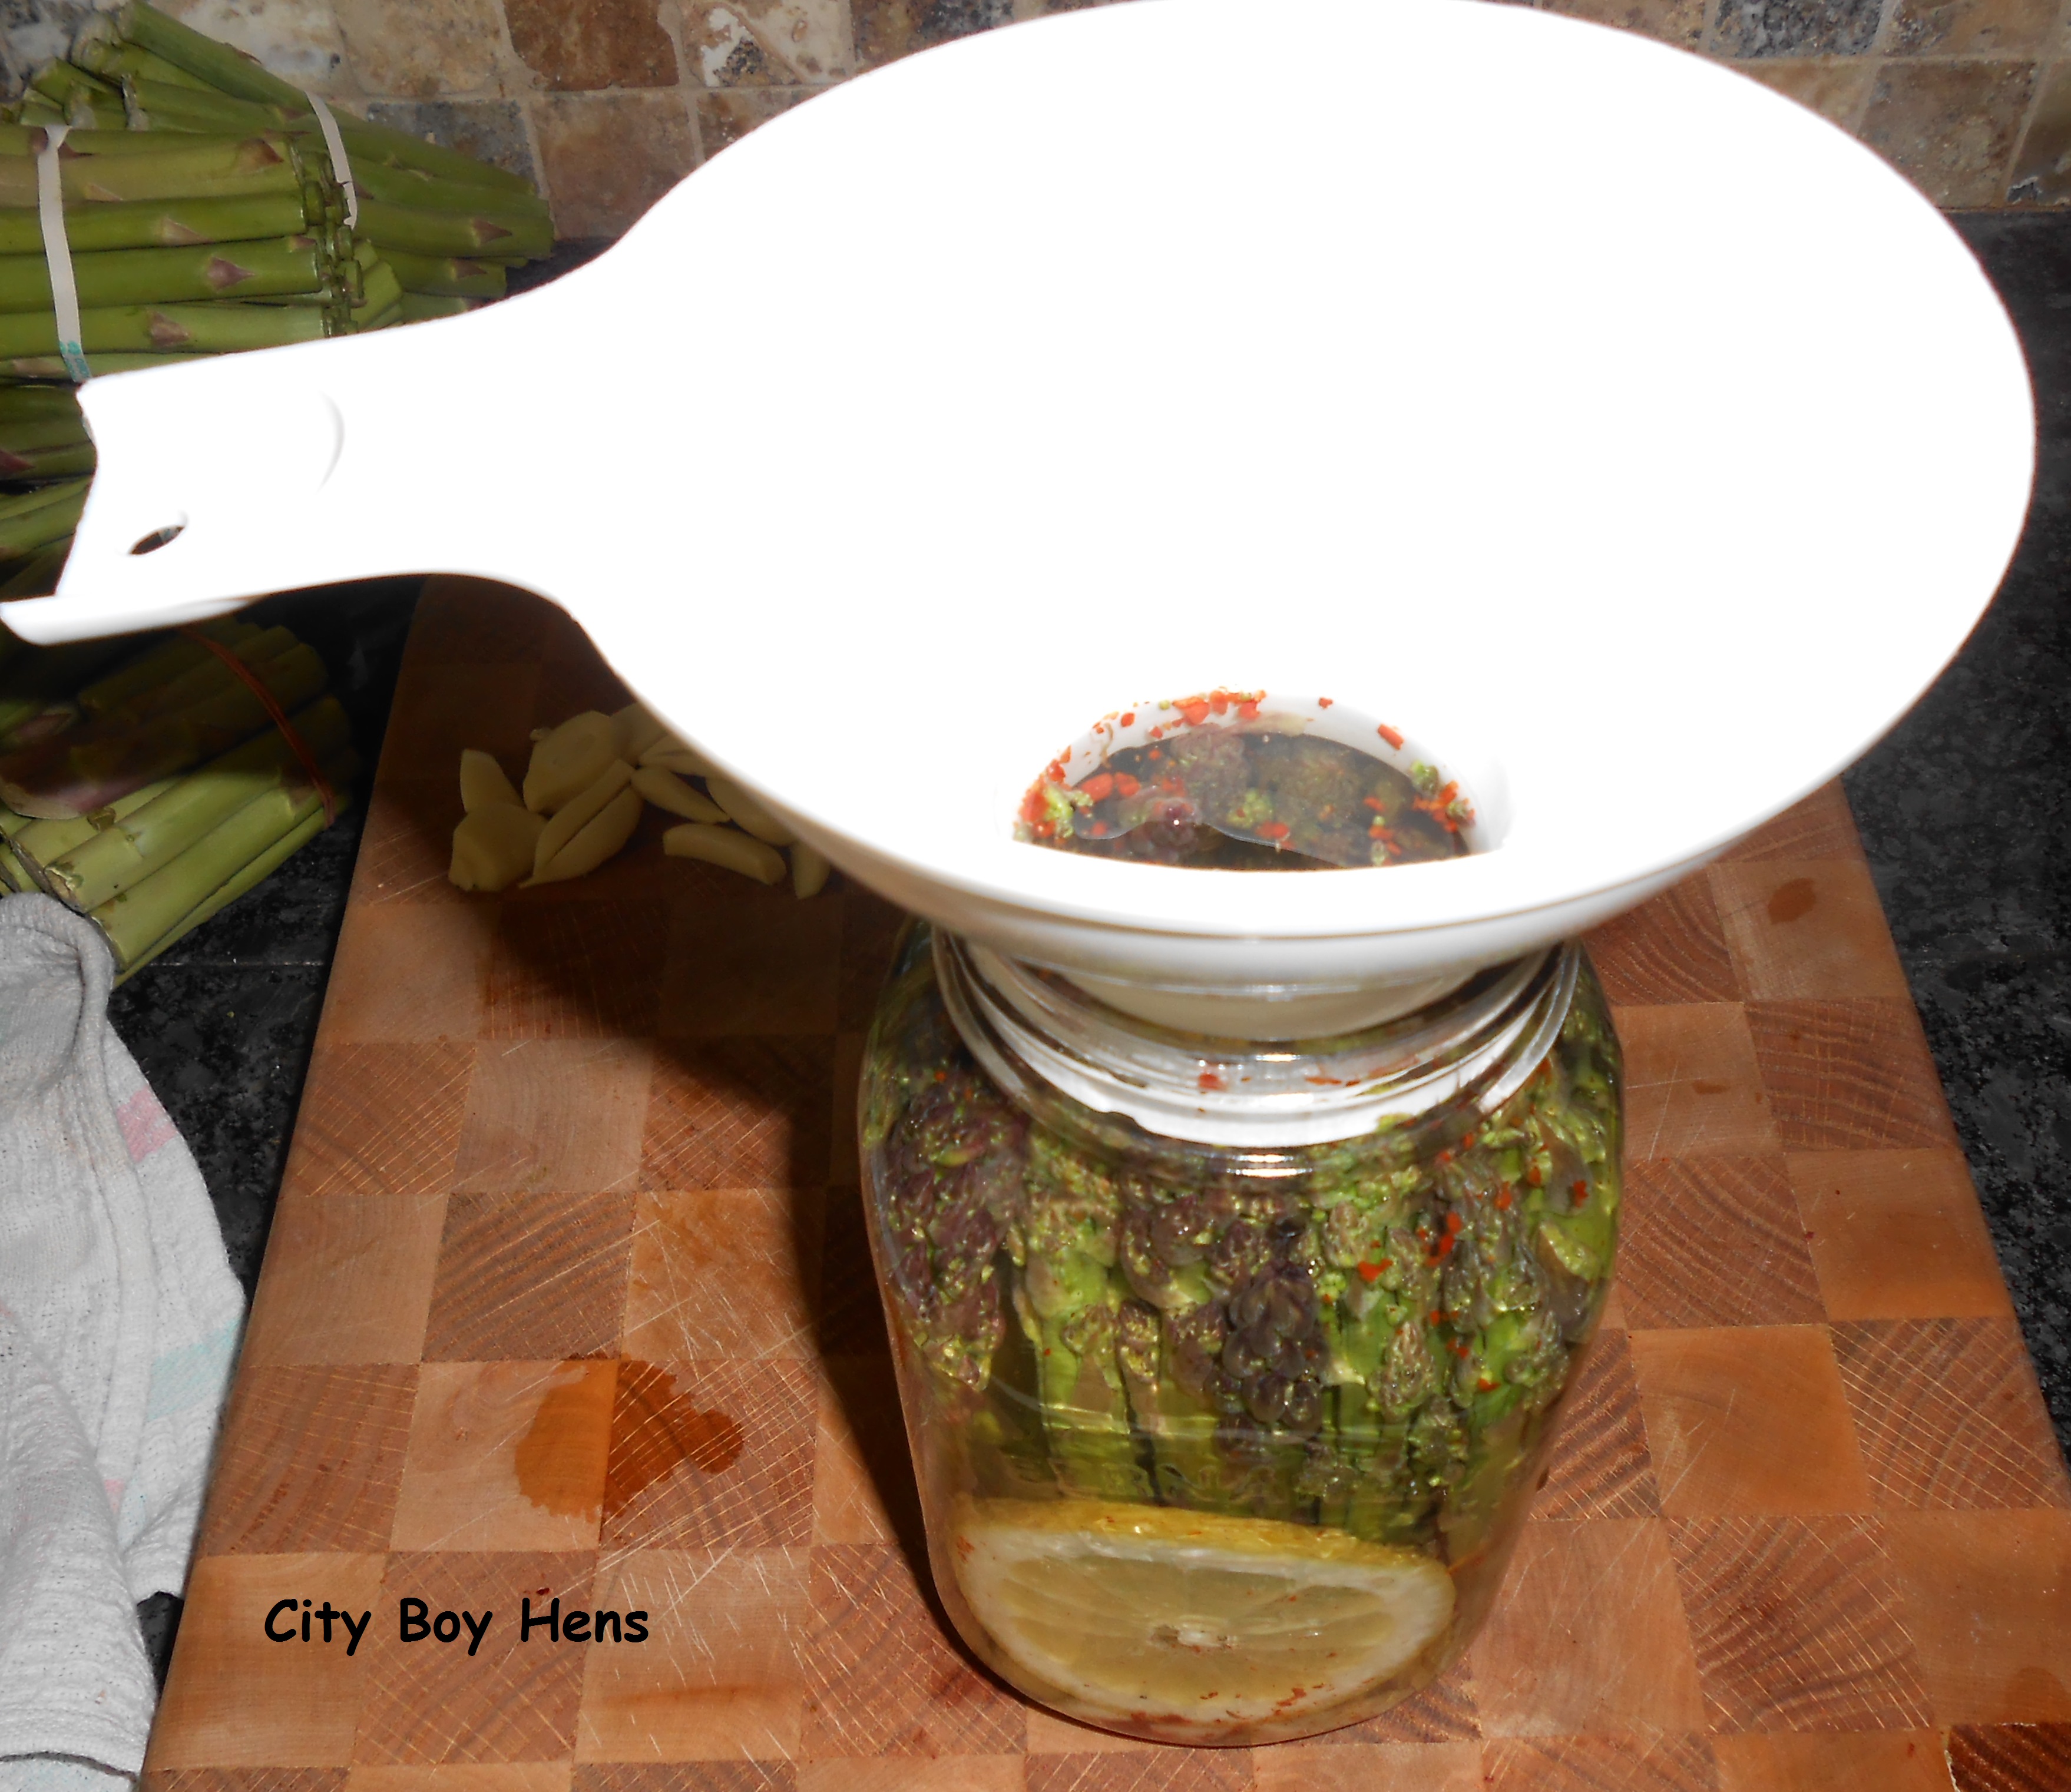
Step 7: Water bath.
The water bath is debatable and many people omit this step. Some rationalize the omittance by claiming that the boiling brine is enough to kill any bacteria that may be left on the asparagus. I also recognize that this step is a pain in the butt and can be quite dangerous because you are transferring a relatively heavy jar into and out of boiling water. With that said, I feel better eliminating my family’s chance at botulism and using a canning tongs to work the jars into and out of the boiling water. This process should be done for 15 minutes.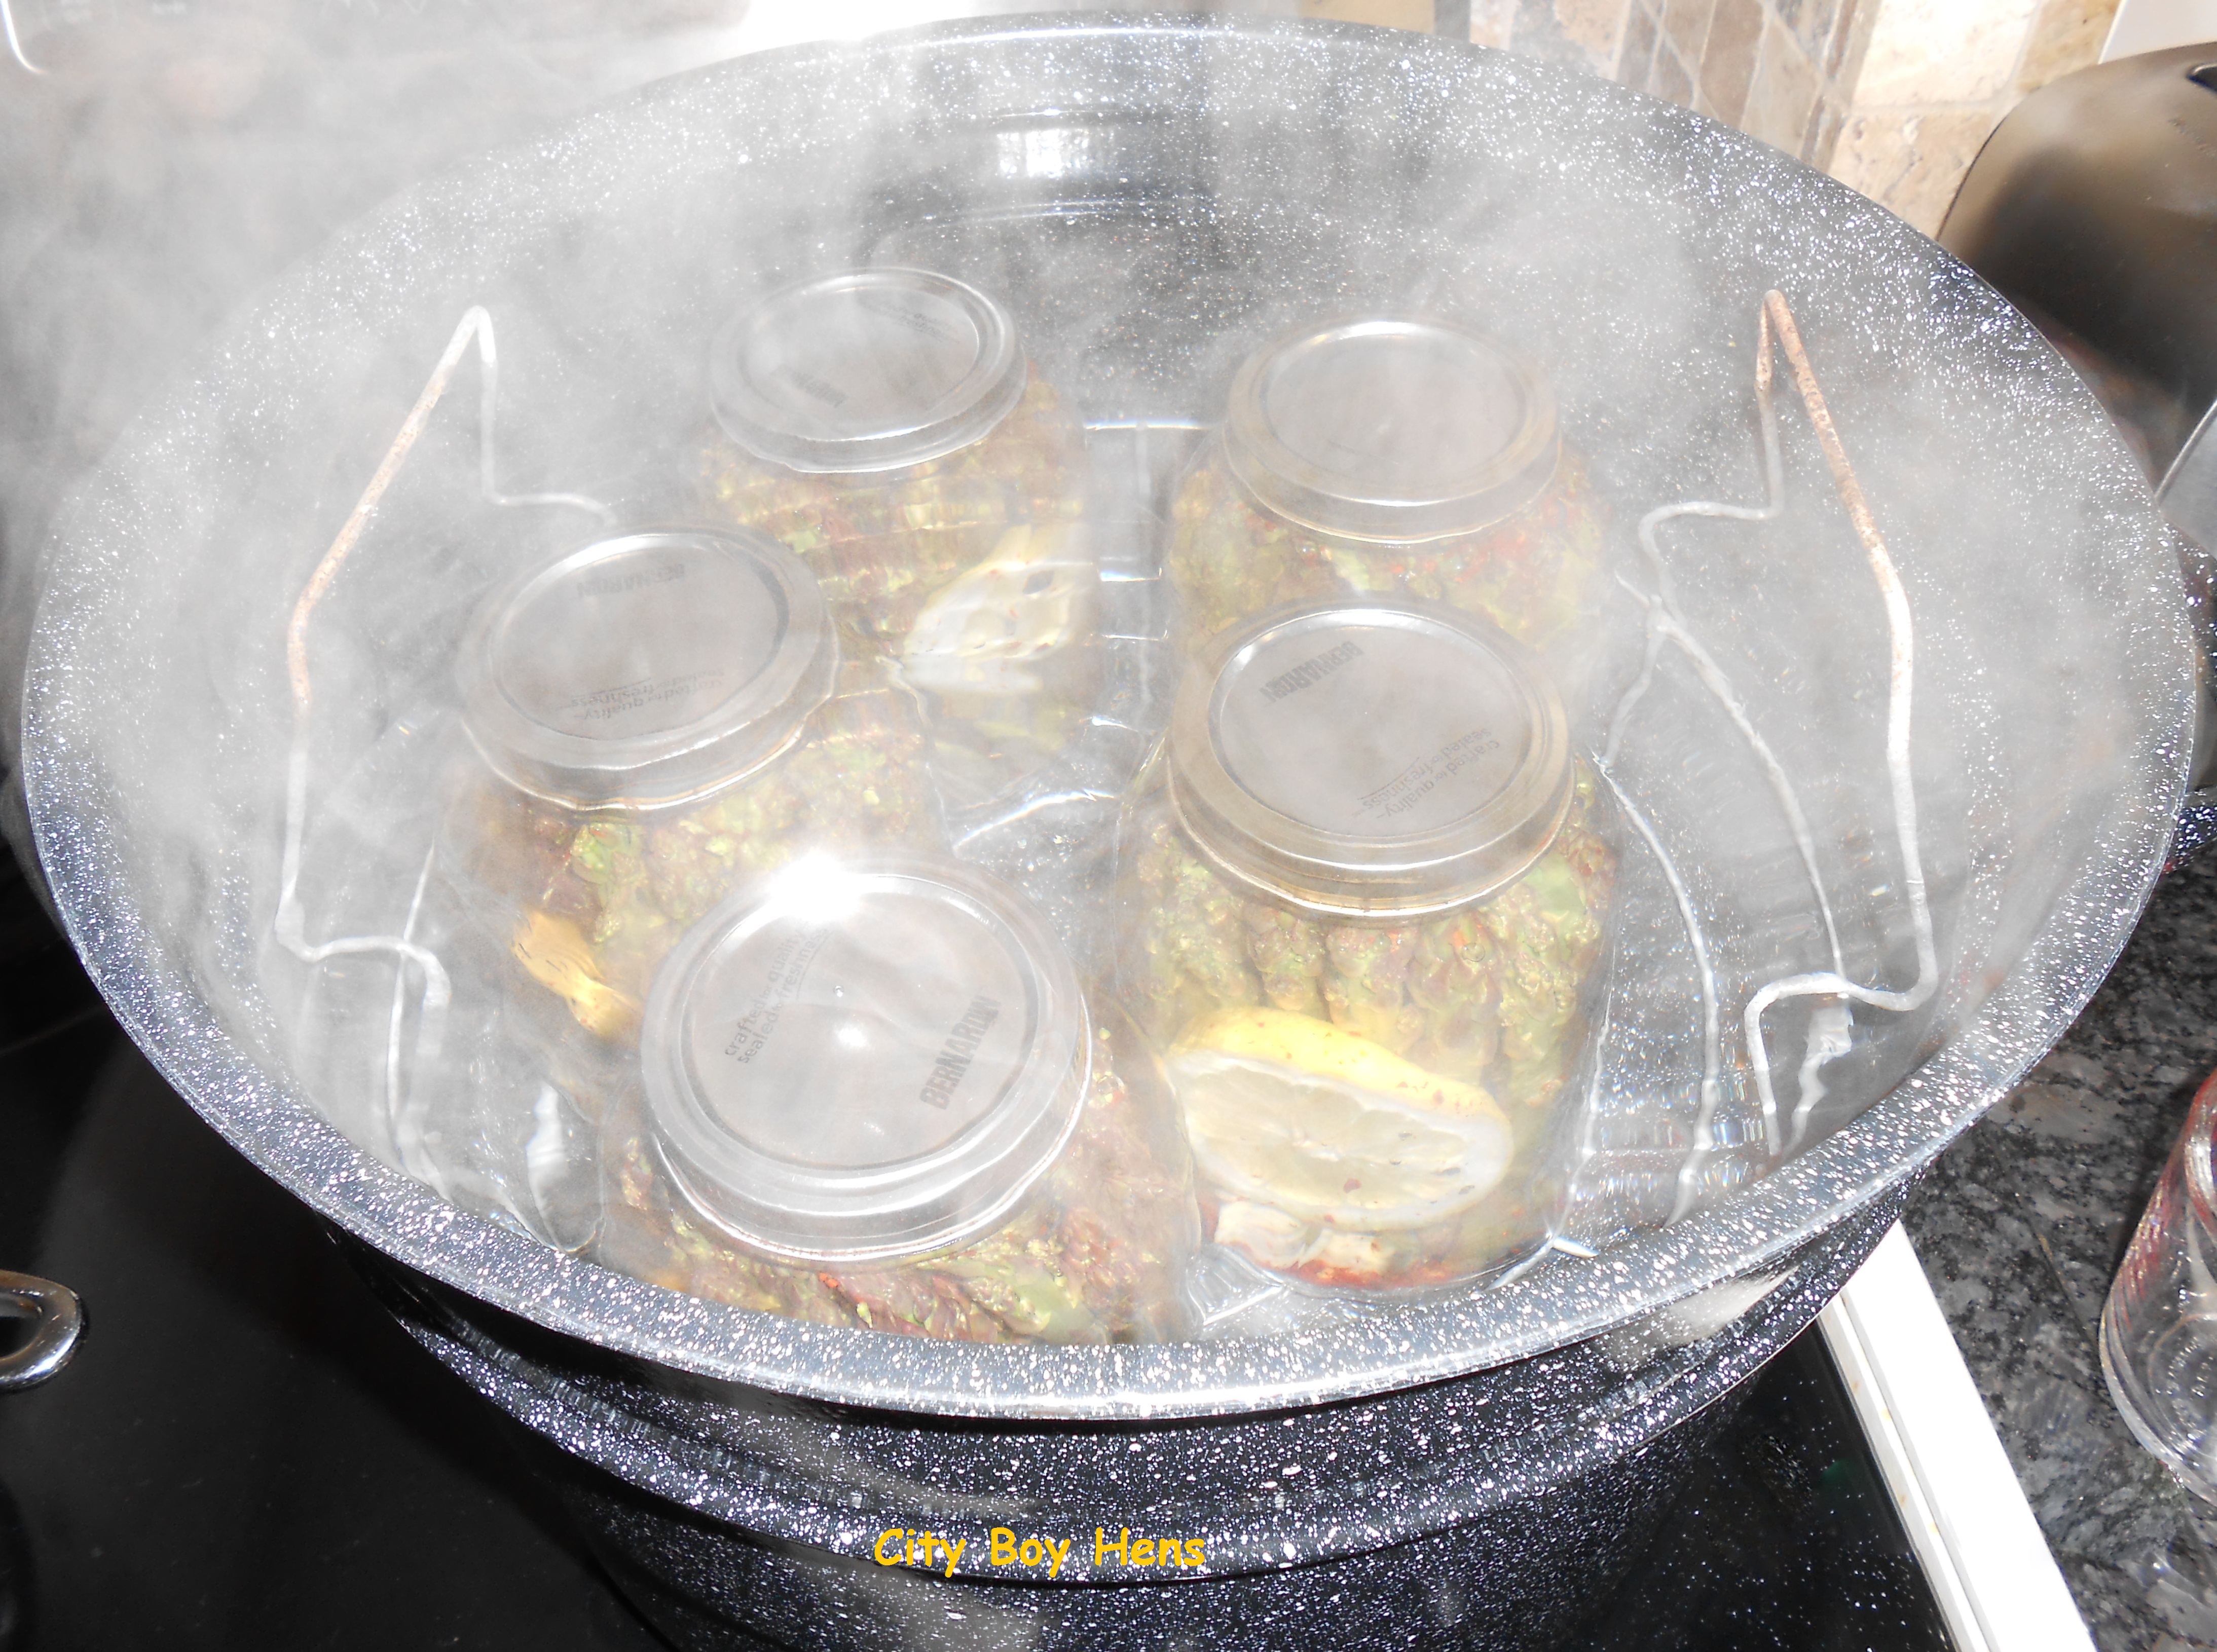
Carefully remove the jars with canning tongs and place the hot jars on a rack to cool. After a while, you will hear the great sound of “SNAP”. That means your jars have sealed. Let your jars completely cool (over night) and then put them in your cantina or cupboard until it is time to enjoy the taste of pickled asparagus.
Oh……the olive. You either love them or look upon them like the plague. If you are in the second group, I suspect that I’ve lost you already. But, if you are a lover of the olive, I’d like to show you had to easily pickle this tasty treat. It’s going to take around 3 weeks to cure these babies with about 15 minutes worth of work to do every other day. After that, you’ll be enjoying some great tasting olives for the next 12 months.
First, go out and purchase a case of green olives. These olives generally come from California and are available from late September until mid November. The olives are green in color because they are not ripe (a black olive is a ripened olive). As a result, they are extremely bitter. Taste one if you do not believe me. I’ll bet you a dozen City Boy eggs that you won’t eat 2!
Next, wash the olives in cold water and discard any that are damaged or spoiled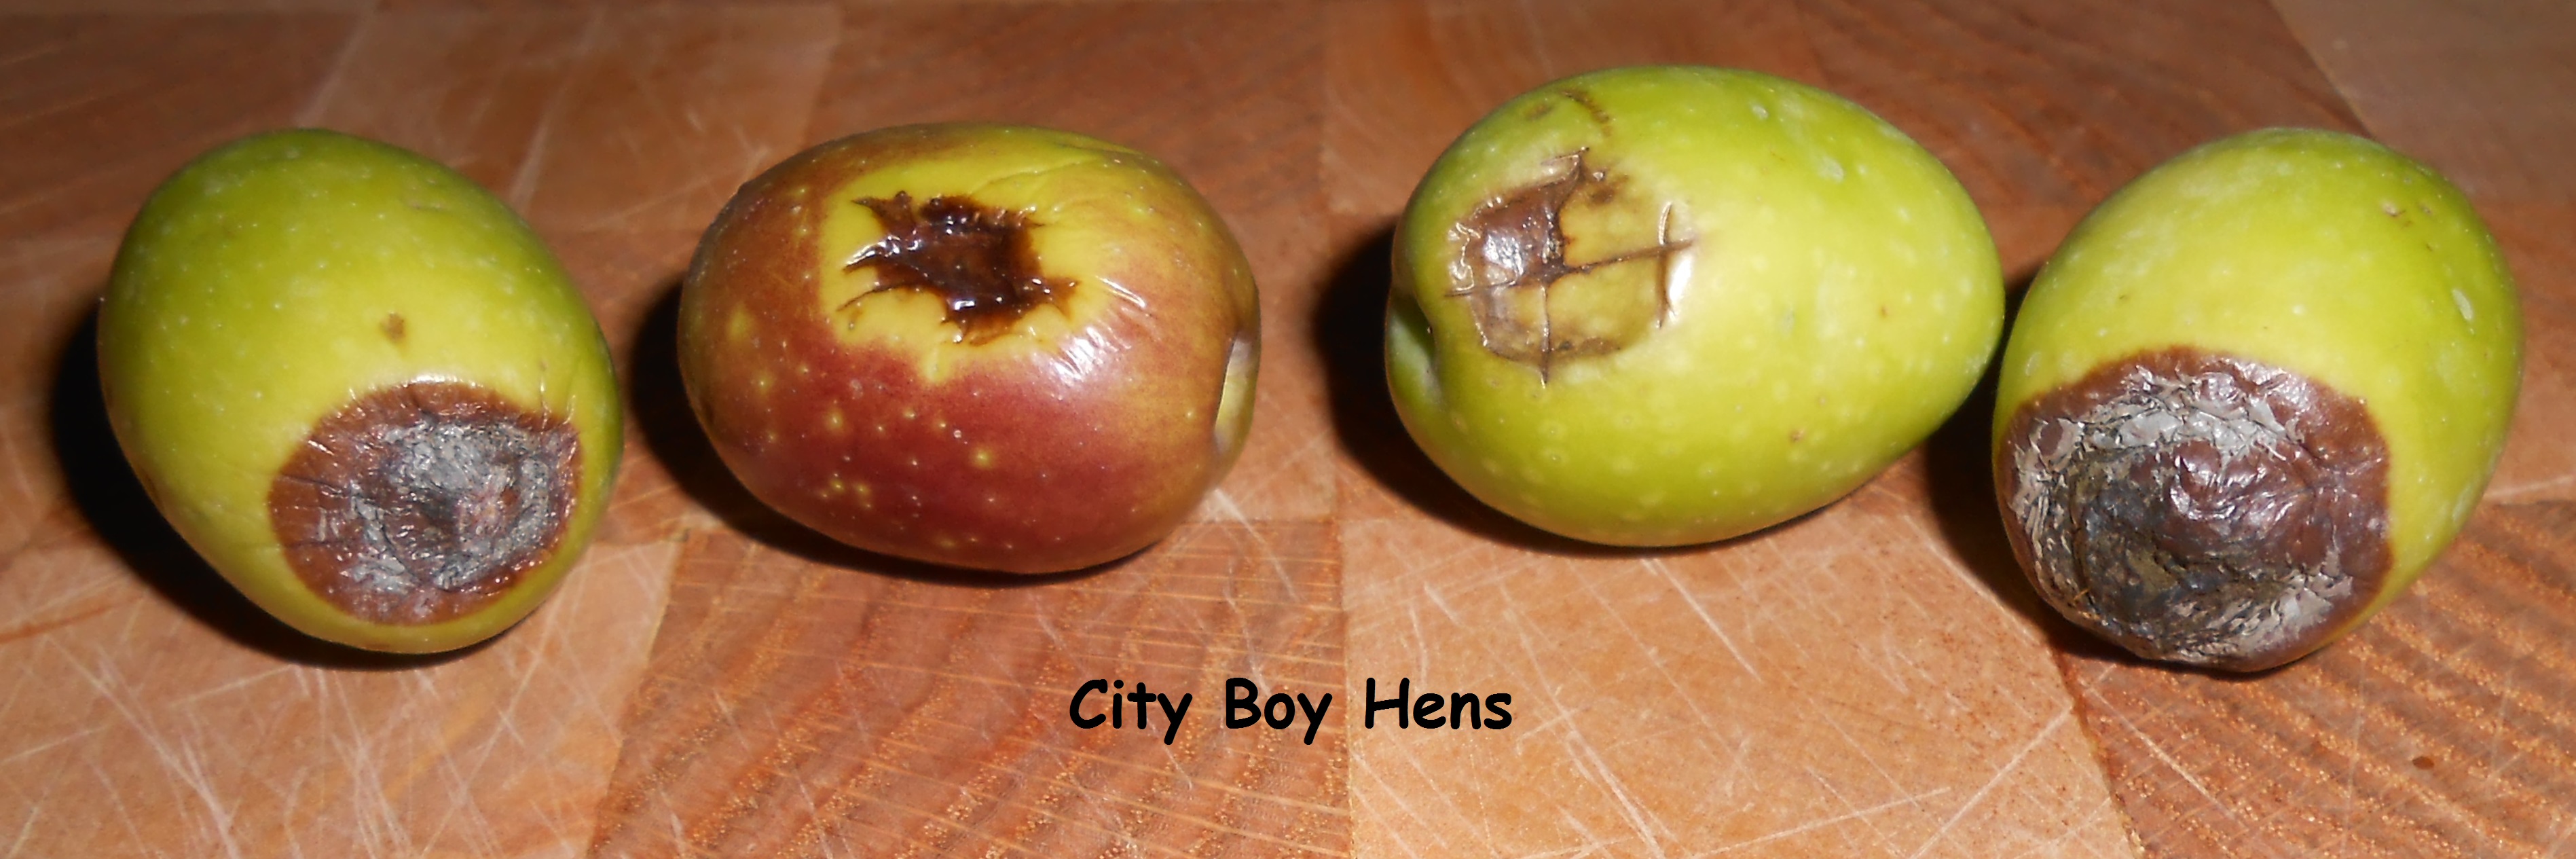 In order to make the olives palatable, the bitter element ( oleuropin), must be removed. This is done by fermenting the olives in a brine for around 18 days. This may not seem like a long time, considering that the olive is so bitter, but you are going to speed up this process by piercing the olive several times with a fork. I do this by holding the olive between my thumb and index finger and piercing it with each turn (3 times will do). Some folks like to cut slits in the olive with a knife, but I find that this takes too long. Others like to hit the olive with a hammer, but I do not like the final presentation of smashed olives in a jar. Either way, it’s entirely up to you. Just make sure to create “openings” in the olive in order to let the bitterness out. This is the only labor intensive step to making olives and it will take you about 1.5 hours to prick, slit or smash every one.

After pricking each olive, make sure to immediately drop them into a 5 gallon “food-grade”pail that has a brine solution of 1 cup pickling salt and 20 cups of water. Make sure that all of the olives are immersed in the brine solution. I have found that the best way to keep the olives immersed is to invert a 10″ dinner plate on top of the olives and weigh it down with a 1 quart mason jar that is filled with water.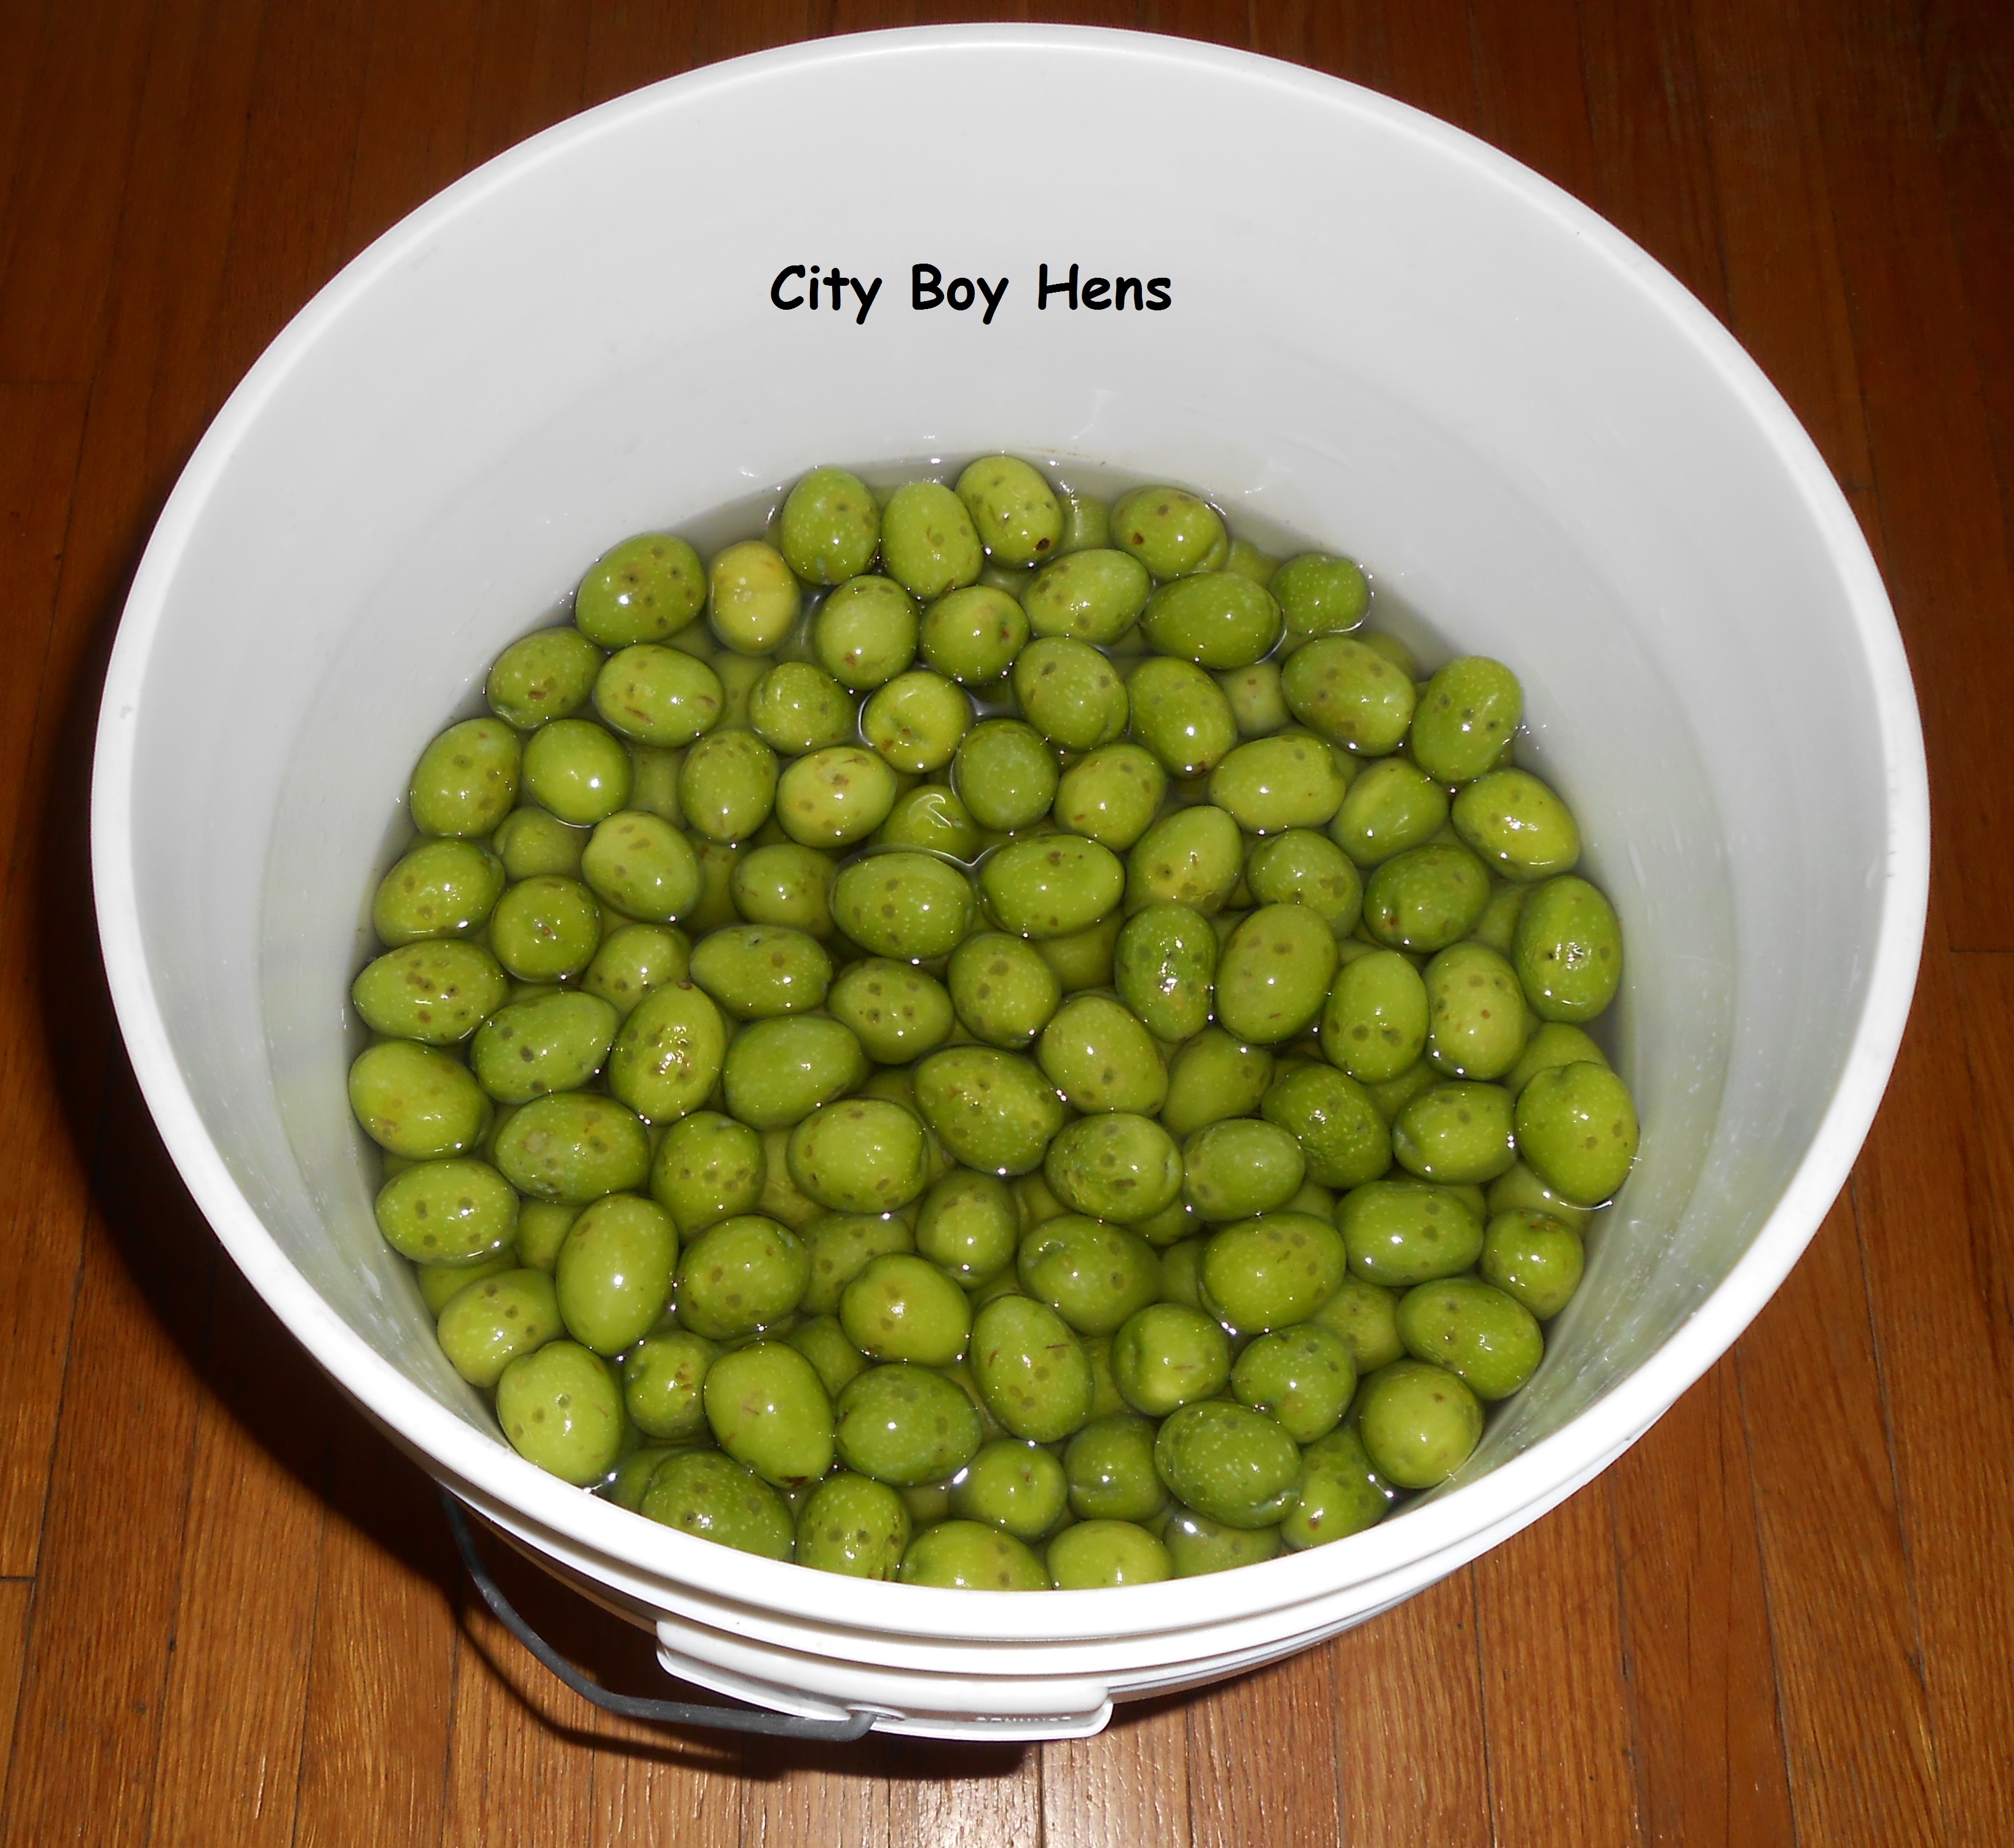

By day 2, the brine solution will begin to discolor. Dump out the brine by tipping the bucket while firmly pushing down on the dinner plate. Remove the plate and rinse the olives in the bucket. Make up your brine solution and continue to repeat this process.
By around day 5, you will begin to hear large air bubbles occasionally escaping from under the plate. This is a great sign that the olives are beginning to ferment.
Continue changing the brine ever other day until day 18. Now taste an olive. It should be firm and have a subtle salty olive rich taste. If it still taste a bit bitter, give it another few days.
This is what the color of my brine solution looked like by day 16. It is light green/yellow in color and had a rich aromatic scent.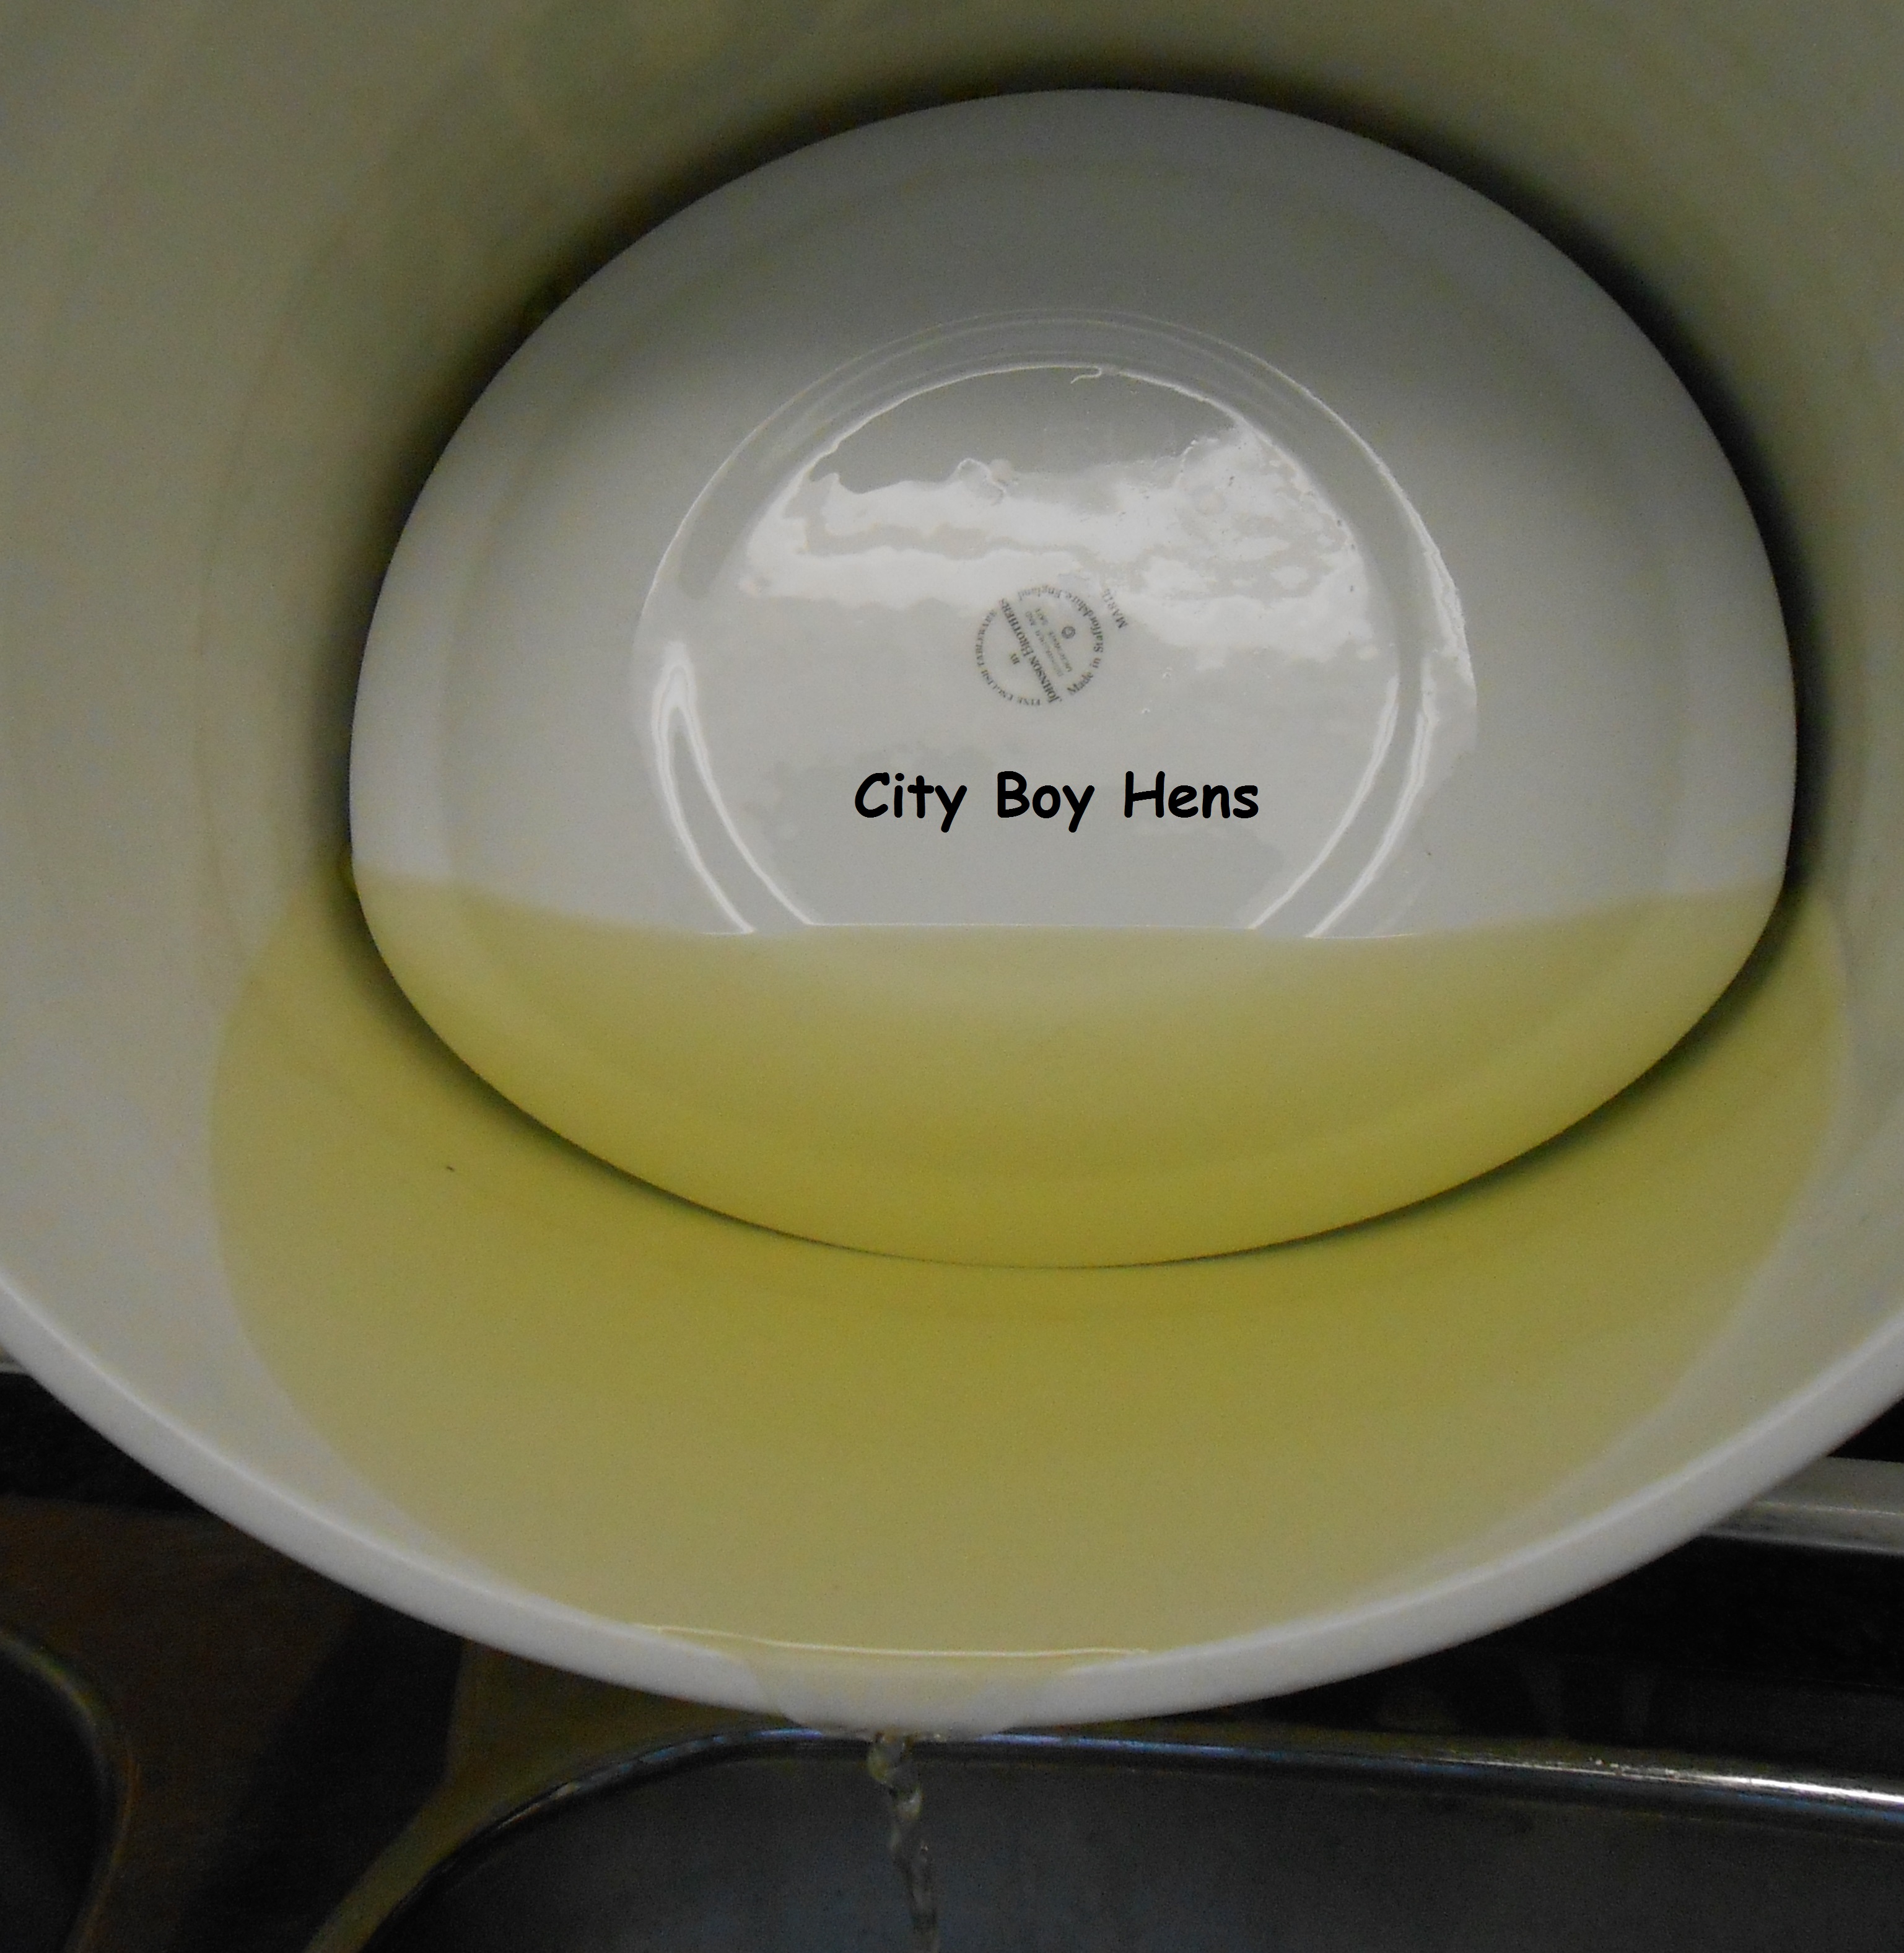
This is what my olives looked like by day 18. Notice how the color is no longer bright green, but more of a…..well….olive drab color. This is a good sign that you are almost ready to be preserve them in some mason jars.
By day 18-21, the olives should be ready to be jarred. Once again, it is not an exact science so you will have to rely on your taste buds. If they no longer taste bitter or are only slightly bitter, than it is time to pack them in mason jars. In order to extend their shelf life and ensure a safe edible product, it is necessary to increase the salt content in the brine to 1 cup of pickling salt for every 10 cups of water. I used 1 1/2 cups of pickling salt and 15 cups of water in order to make my brine. I remember hearing about a traditional “old school” method that used an egg in order to achieve the proper salinity in a brine. When the egg floated in the brine, the proper salinity was achieved!
Now sterilize your jars in the oven at 225 degrees Fahrenheit for 10 minutes. Place the canning rings and seals in a small pot of water and bring this to a simmer for 10 minutes as well. Once the jars are sterilized, put 1/2 teaspoon of chill peppers and 1-2 cloves of sliced garlic in each quart jar. Now pack the olives into the jars and pour the brine over the fruit until they are completely submerged. *Note: Some folks have recommended that the brine be heated and the sealed jars be boiled in a canner for 15 minutes. I recommend that you follow the canning practices that make you feel secure.
 Top up the jars with 1/4″ of olive oil. This will create a barrier which will prevent the air at the top of the jar from possibly contaminating the olives.
 Now seal up the jars and store them in your cantina or cupboard for the next 12 months.
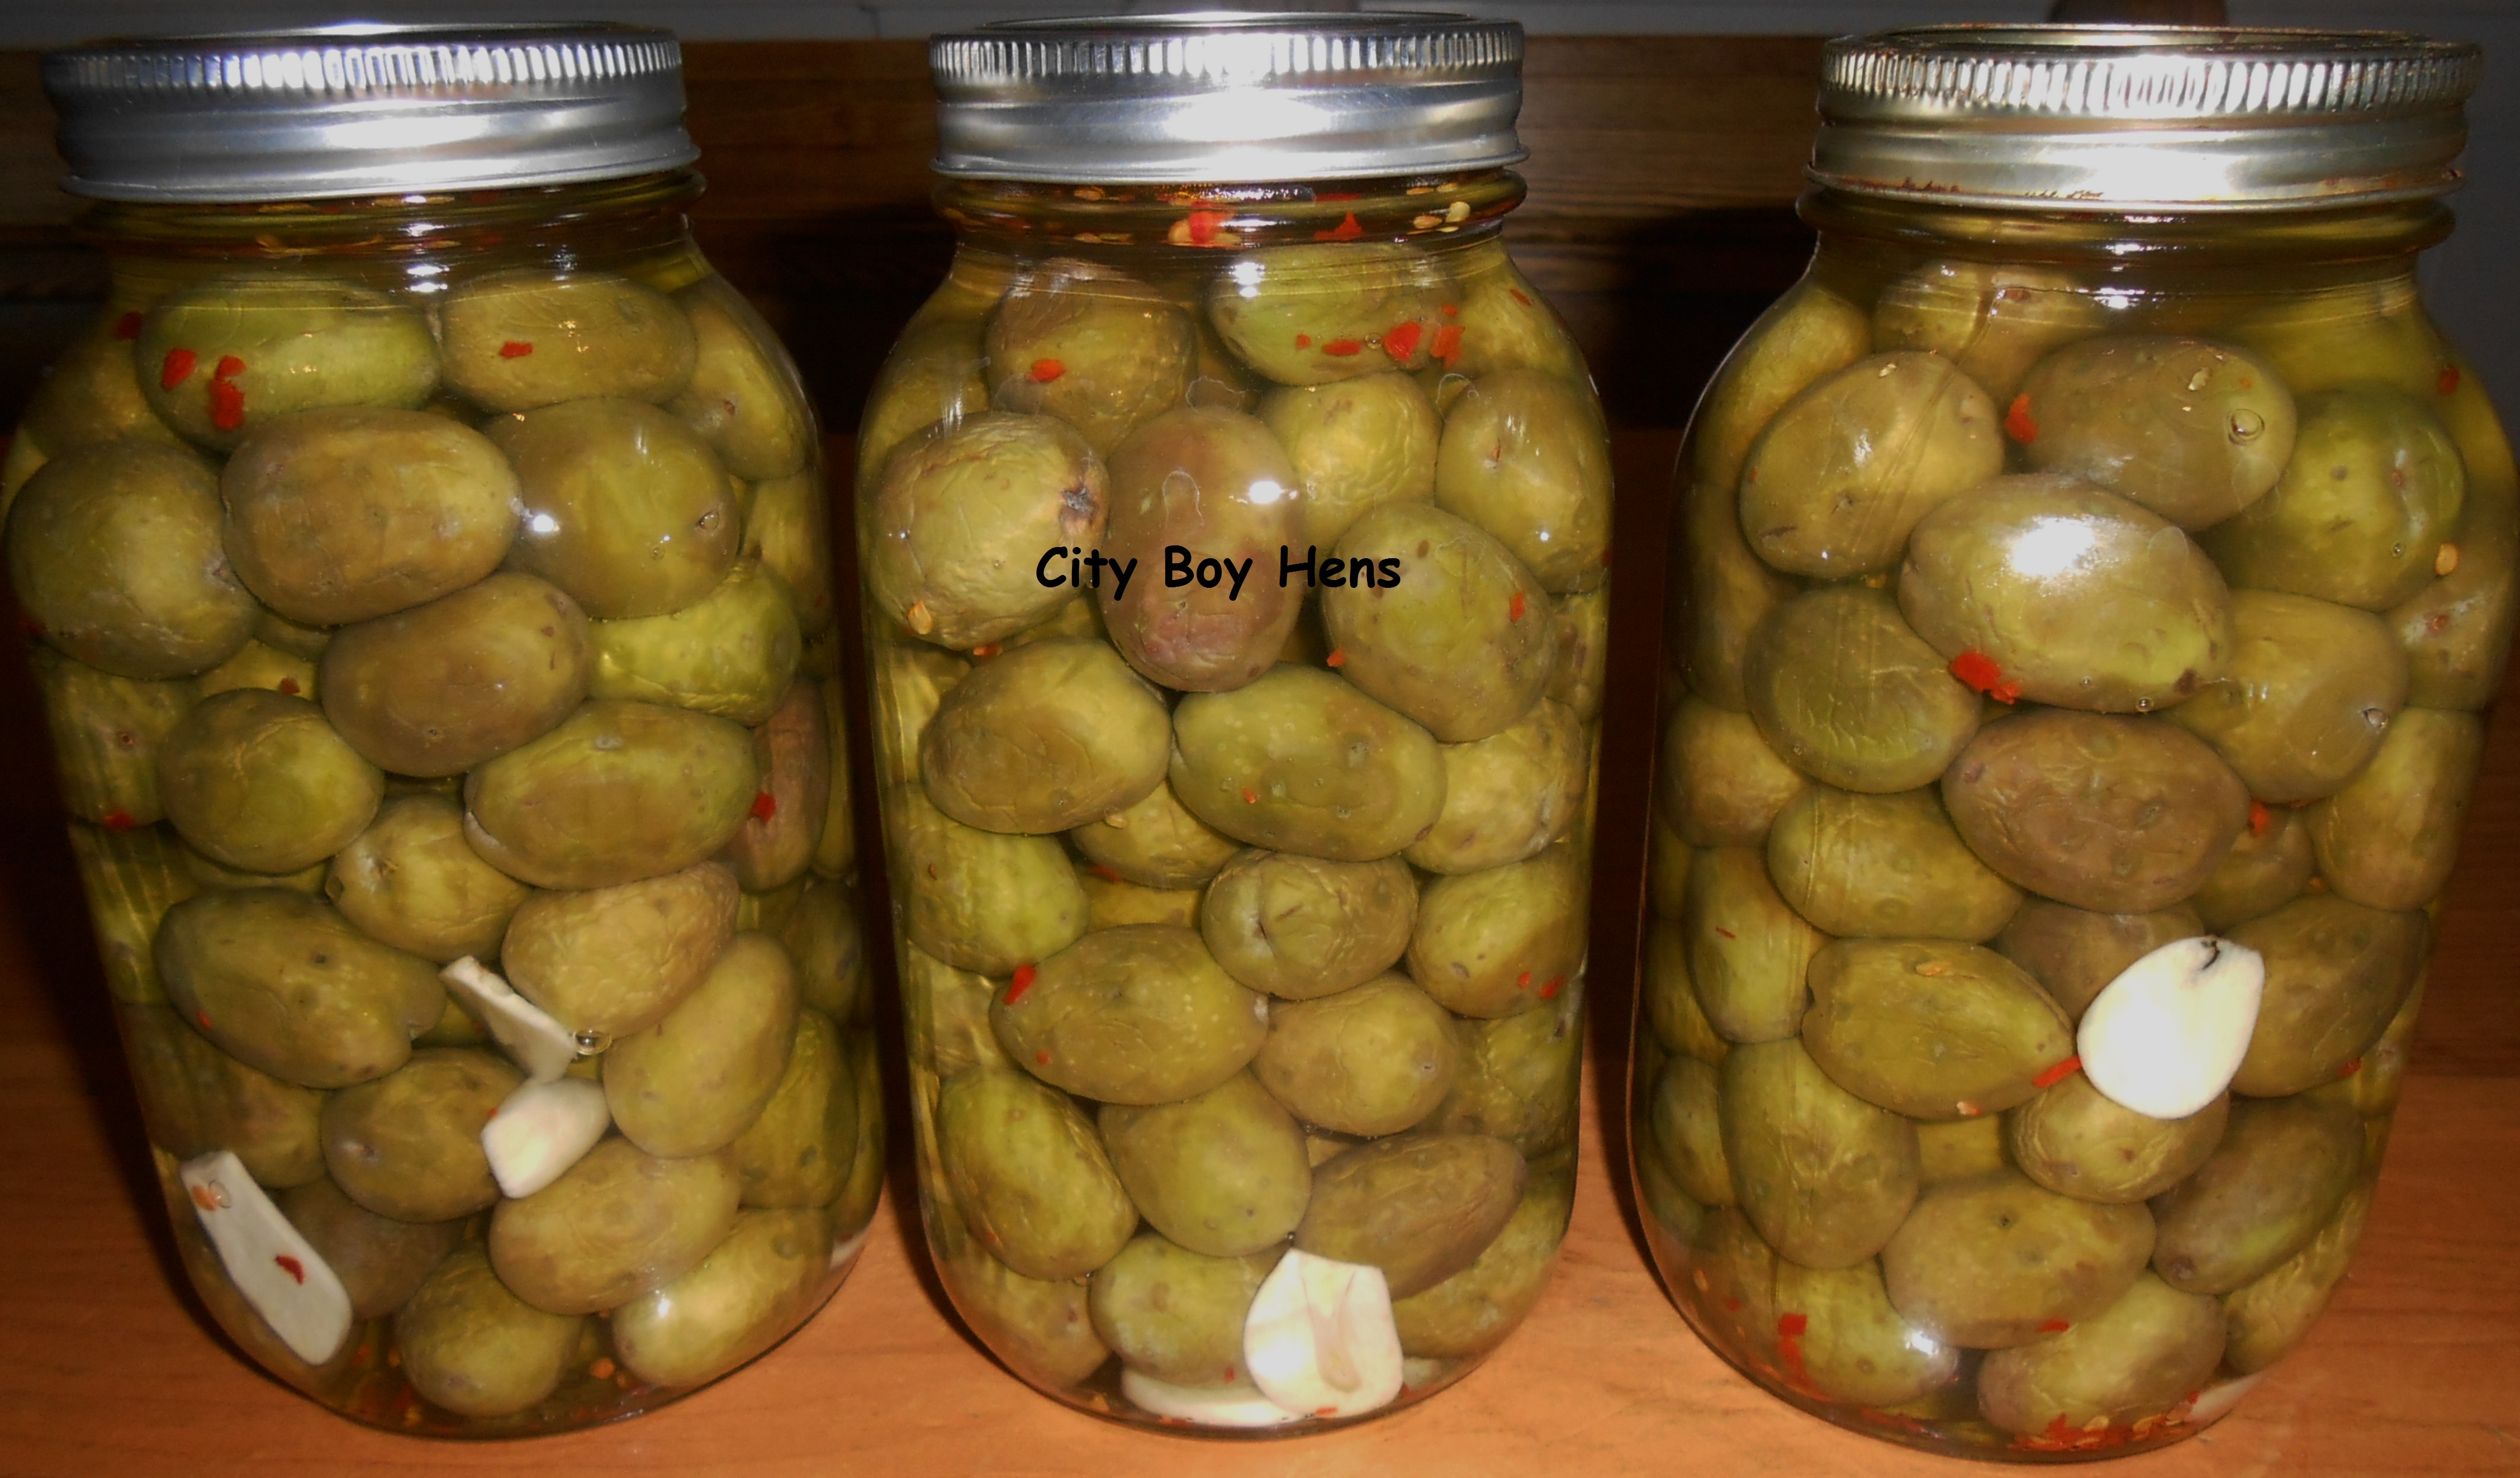
Oh……..I almost forgot…..Keep your opened jar stored in the fridge and continue to top up with olive oil. A spoonful of this flavored oil tastes amazing on your pasta dishes! I hope you’ll give it a try.
 Sweet Mixed Pickles remind me of Fridays when I was a kid. Every Friday, my Mom made grilled cheese sandwiches for our lunch and they were always served with store-bought sweet mixed pickles. I remember the pickles tasting good, but there was often a squabble between siblings over the minimal cauliflower florets and pearl onions. Well I’m here to tell you that there will be no fighting at this City Boy’s home between dutiful son & endearing daughter because our mixed pickles are chock full of cauliflower florets and pearl onions! So if you are interested in making your own sweet mixed pickles, I urge you to give this recipe a try.
Makes 10 Pint (500 ml) jars.
Ingredients:
6 lbs.. pickling cucumbers (4 quarts/approx. 40 pickling cucumbers)
2 lbs. pearl onions (5 cups), outer skin removed
1 cauliflower head
1 cup pickling salt (Don’t use table salt. It will cloud your liquid and turn your pickles to an unpleasant color.)
16 cups cold water
3 1/2 cups pickling vinegar
2 1/4 cups granulated sugar
1 tbsp. mustard seed
1 tsp. celery seed
1/2 tsp. turmeric
Directions:
Add pickling salt to the water and stir until dissolved in a large bowl. This may take a bit of stirring because the salt will not dissolve as readily in cold water.

Weigh, wash and gently scrub all cucumbers. Discard any cucumbers that appear spoiled.
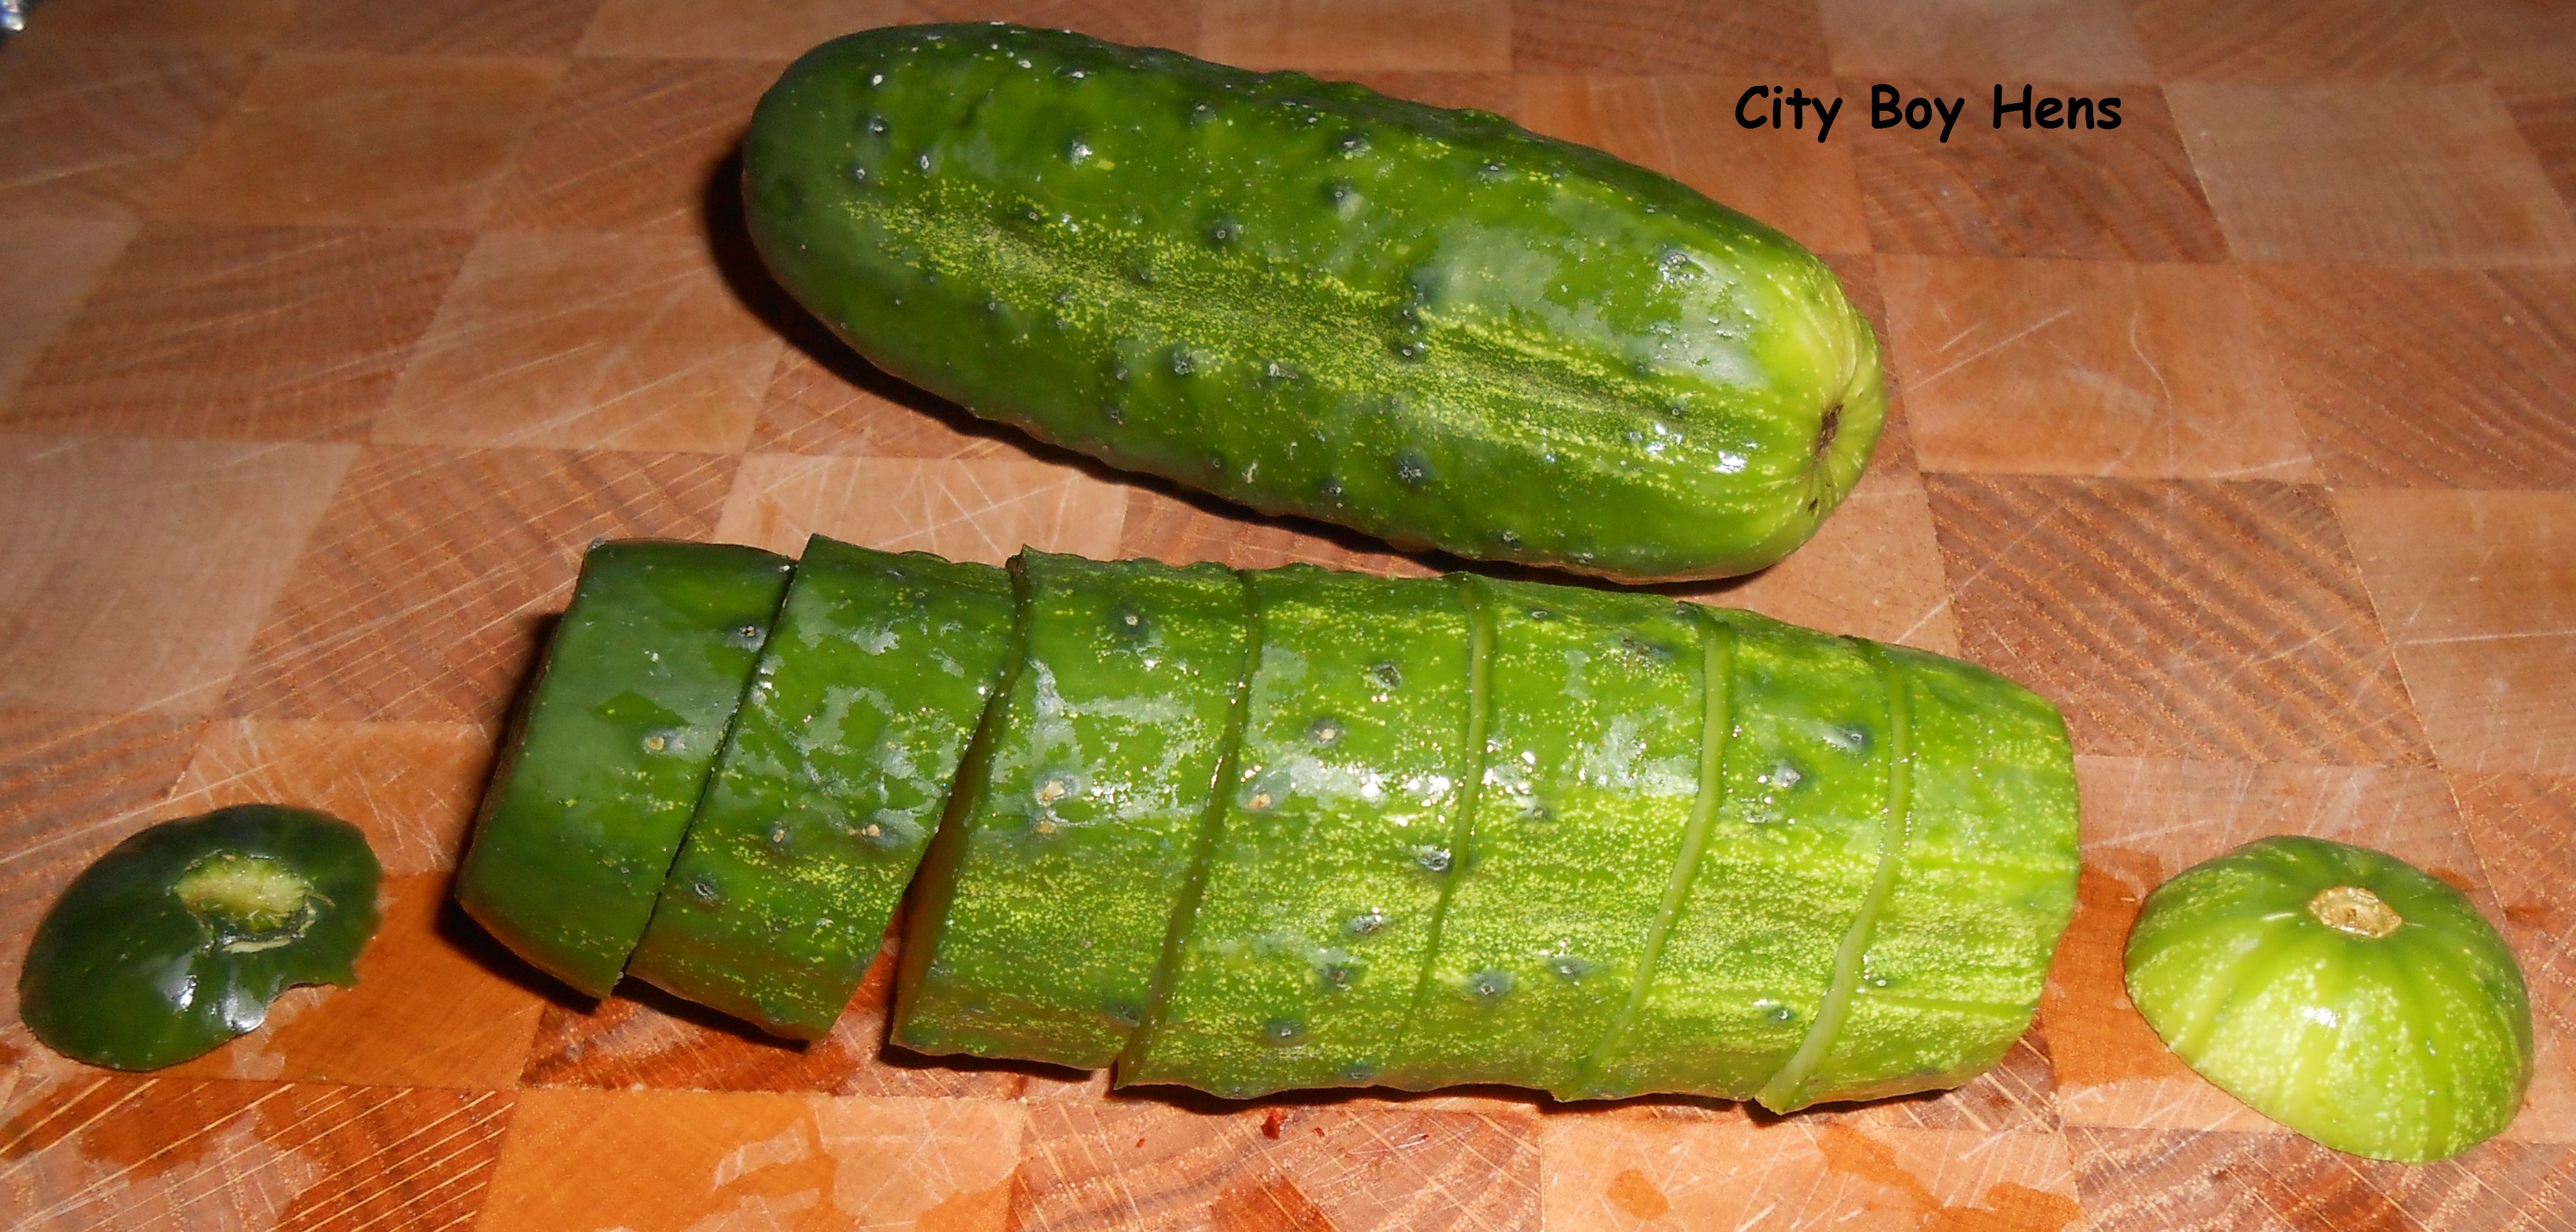 Cut approximately 1/4″ off of each end of the cucumber. It is essential that you at least cut the blossom end (not stem) because there is an enzyme at this end which will make your pickles turn mushy and possibly unsafe to eat. The blossom end is located on the right side in the above picture.
Cut your cucumbers into 1/2″ slices and place them in the large bowl.
Rinse pearl onions and soak them in hot water. This will help loosen the outer layer that must be removed on the onion. I know this is a huge pain in the butt, but it will be worth it in the end! Remember…no more fighting. Place the onions in the same bowl.
Wash and cut the cauliflower into small florets. This too must go into the really large bowl.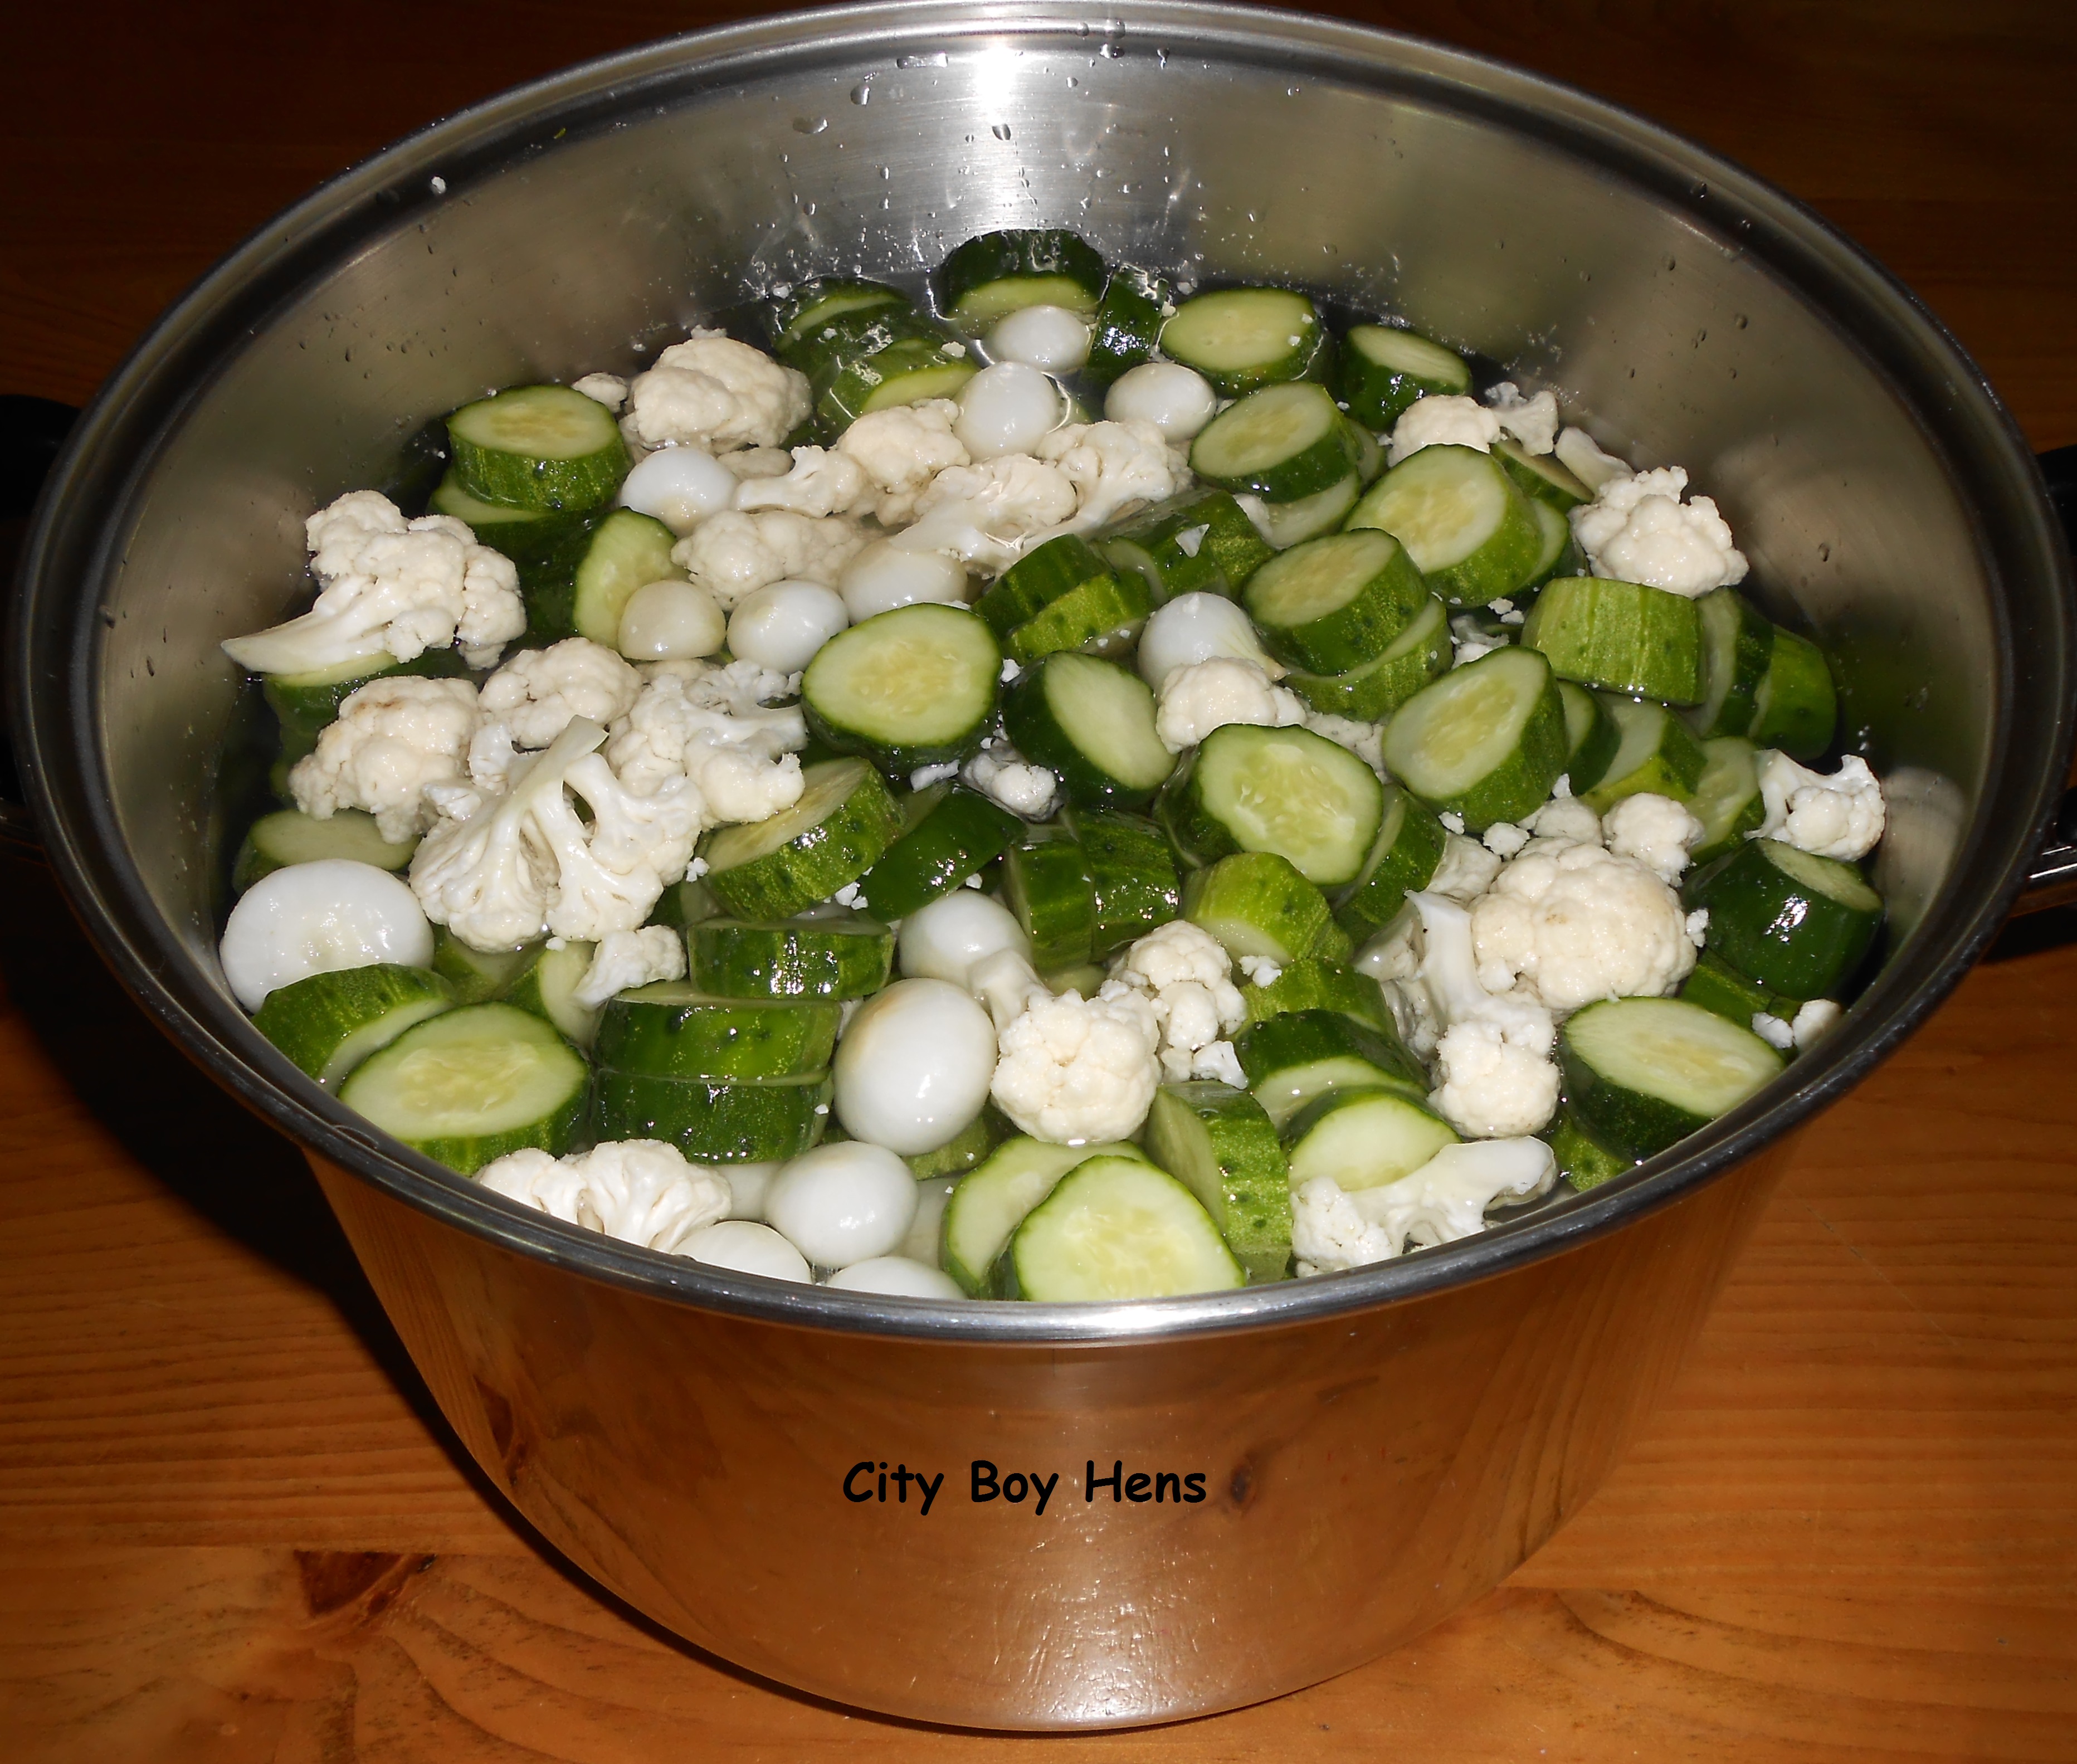
Keep the vegetables in the brine for 2-3 hours, occasionally giving it a stir.
With about a half an hour left of brining, fill your canner up with water about 2 inches higher than the height of your jars and bring the water to a boil. This will take a bit of time.
Sterilize your jars in the oven at 225 degrees Fahrenheit for 10 minutes and continue to keep them warm in the oven until they are needed.
Place canning seals and rings in a small pot and begin to warm them up.
In the mean time, combine sugar and vinegar in a large pot and bring to a boil.
Place spices into a piece of cheese cloth and tie. Place this bag in the liquid when it begins to boil.
Once the 2-3 hours of brining is complete, drain the vegetables into a colander. Fill the bowl with fresh water and rinse again.
Put the drained vegetables into your large simmering pot and bring the ingredients up to a boil.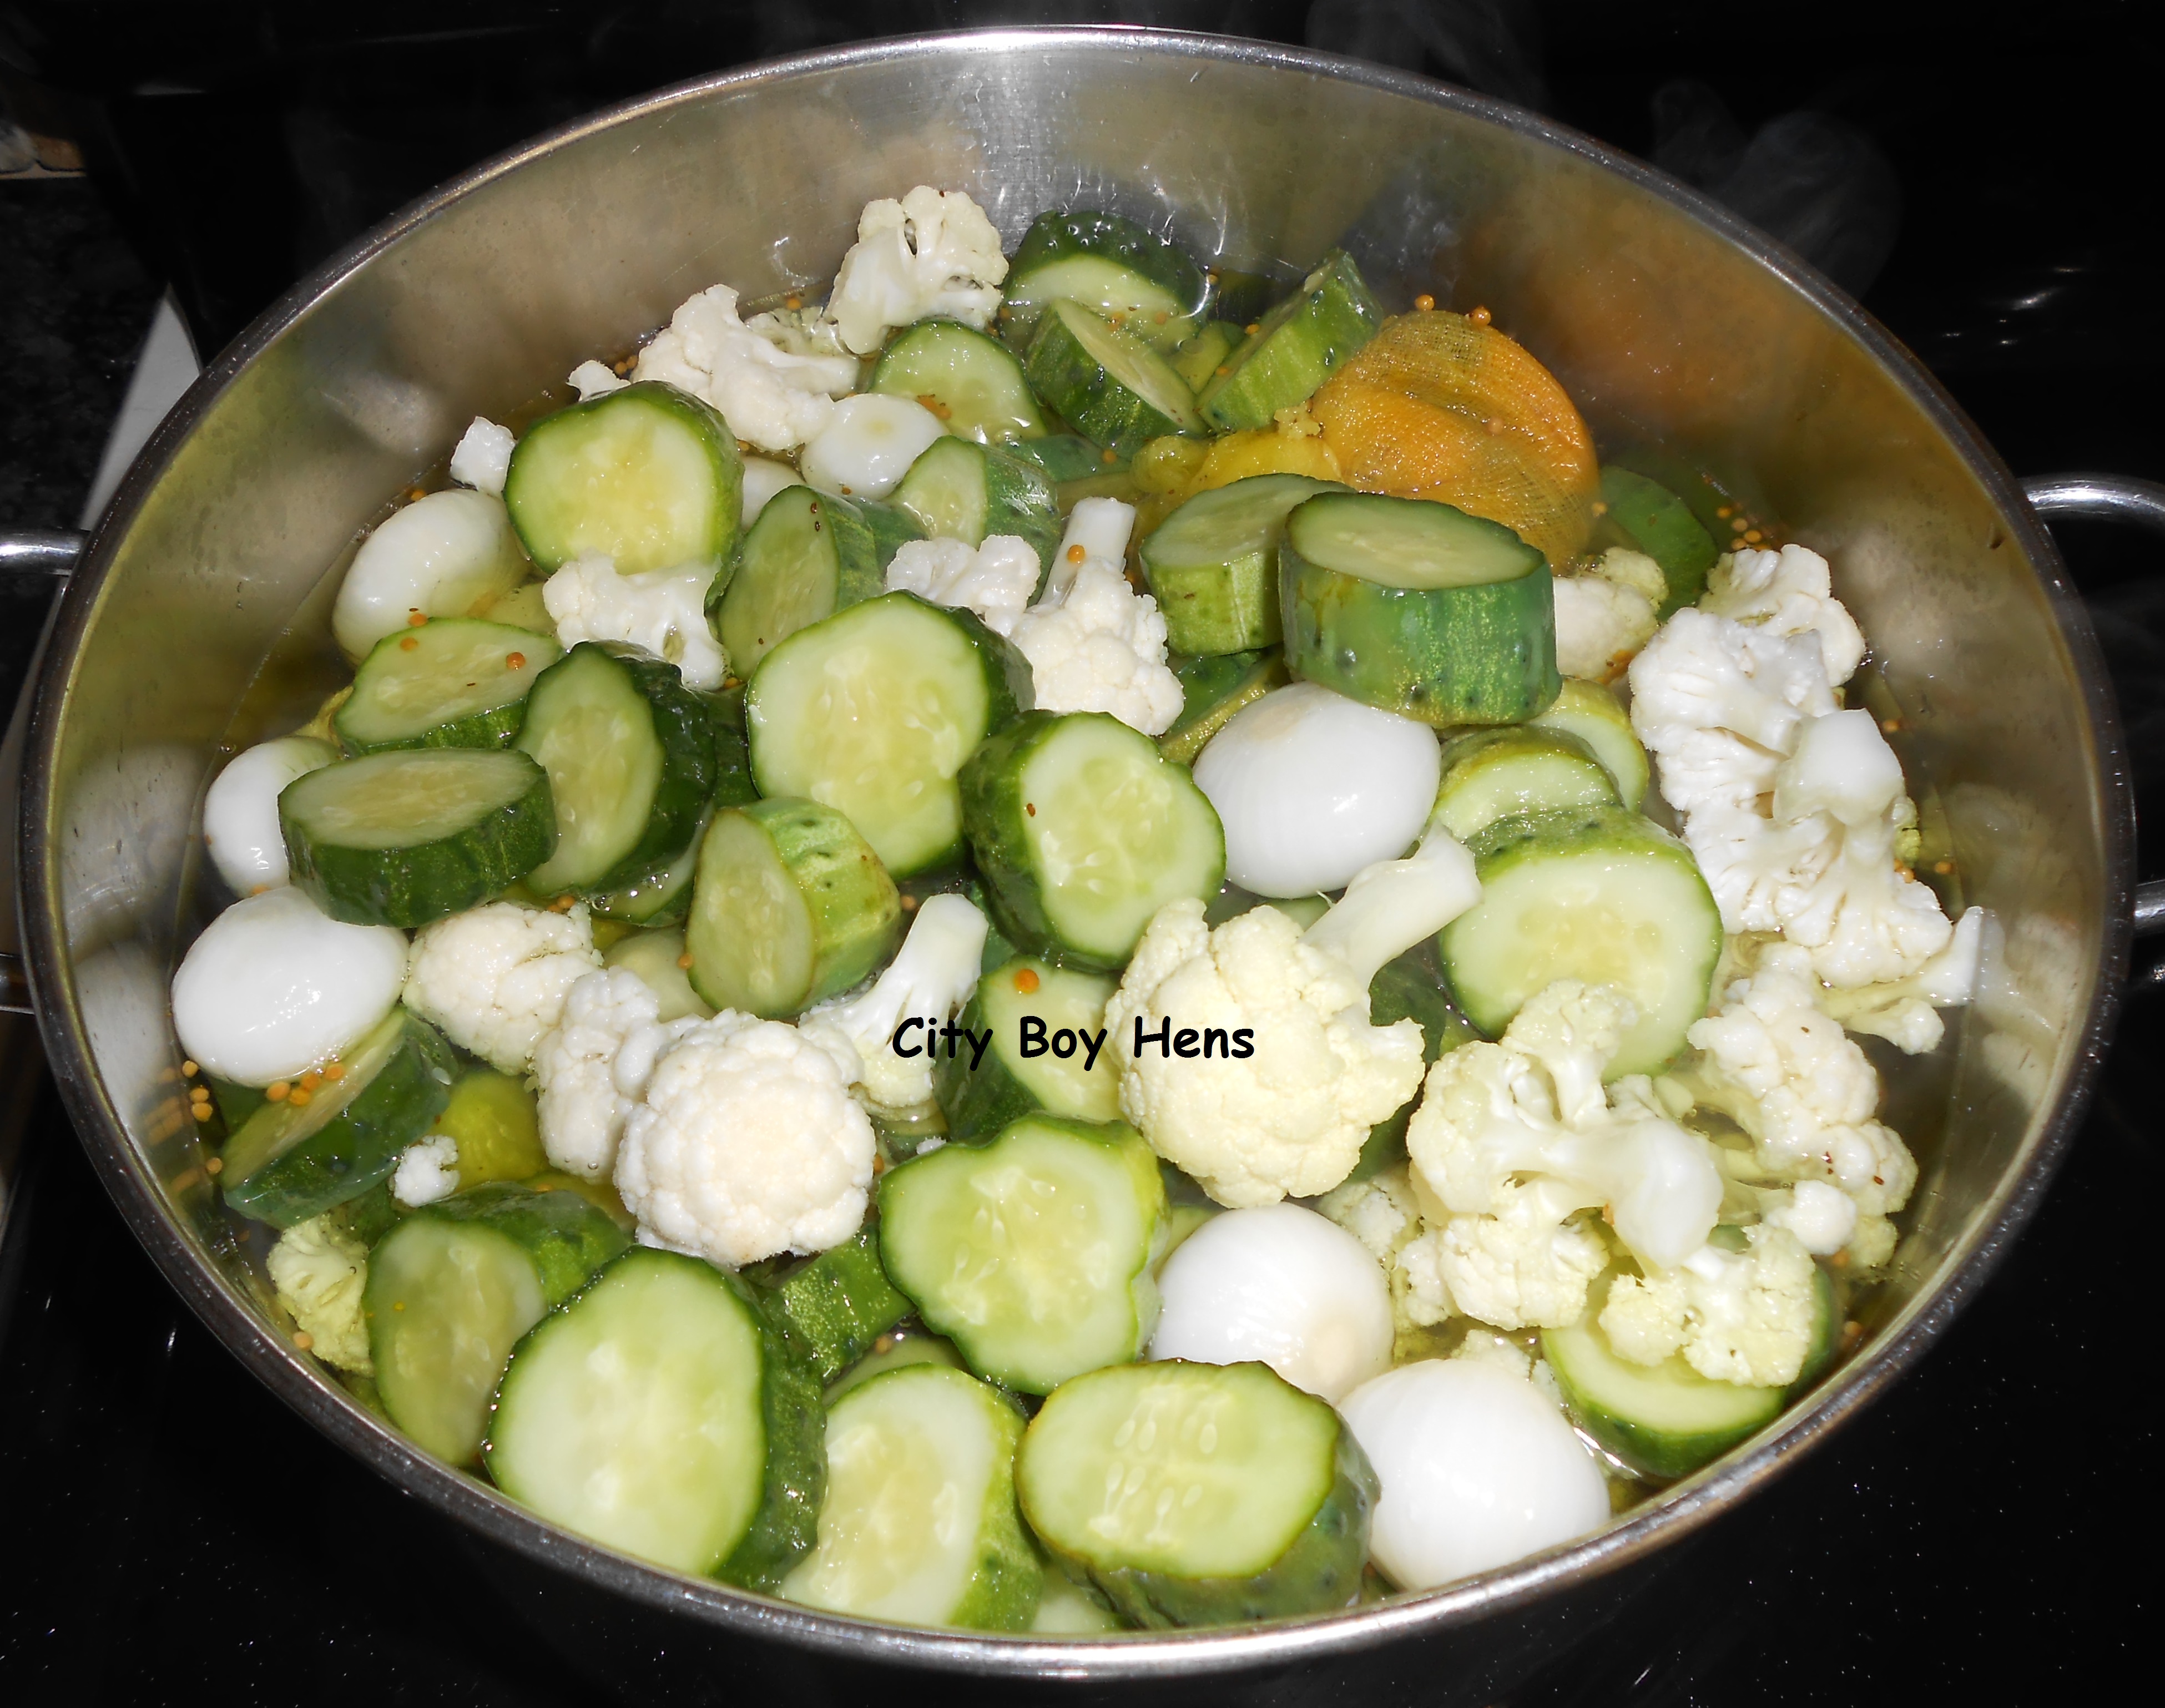
Using a canning funnel, pack your mixture into your canning jars, leaving 1/2″ head space. I found it easier to fill all the jars first with the “solids” and then distribute the liquid after.
Using a non-metal utensil, remove the air bubbles from the jar. Add more liquid to the 1/2″ head space level if required.
Wipe the lip of each jar with a wet paper towel. This will ensure that no residue is left on the lip of the jar which will prevent a good seal.
Using tongs, place your seals and rings on each jar.
Using canning tongs, carefully place each sealed jar into the canner and process in boiling water for 10 minutes.
Using the canning tongs, carefully remove each jar from the boiling water and leave to cool on a rack.
Soon you will hear the successful ping of each jar as it seals. Now tuck those babies away in the cantina or cold cellar until the colder months when you’ll need a reminder of the summer! If you can’t wait until then……just give them a few weeks to flavor!
.
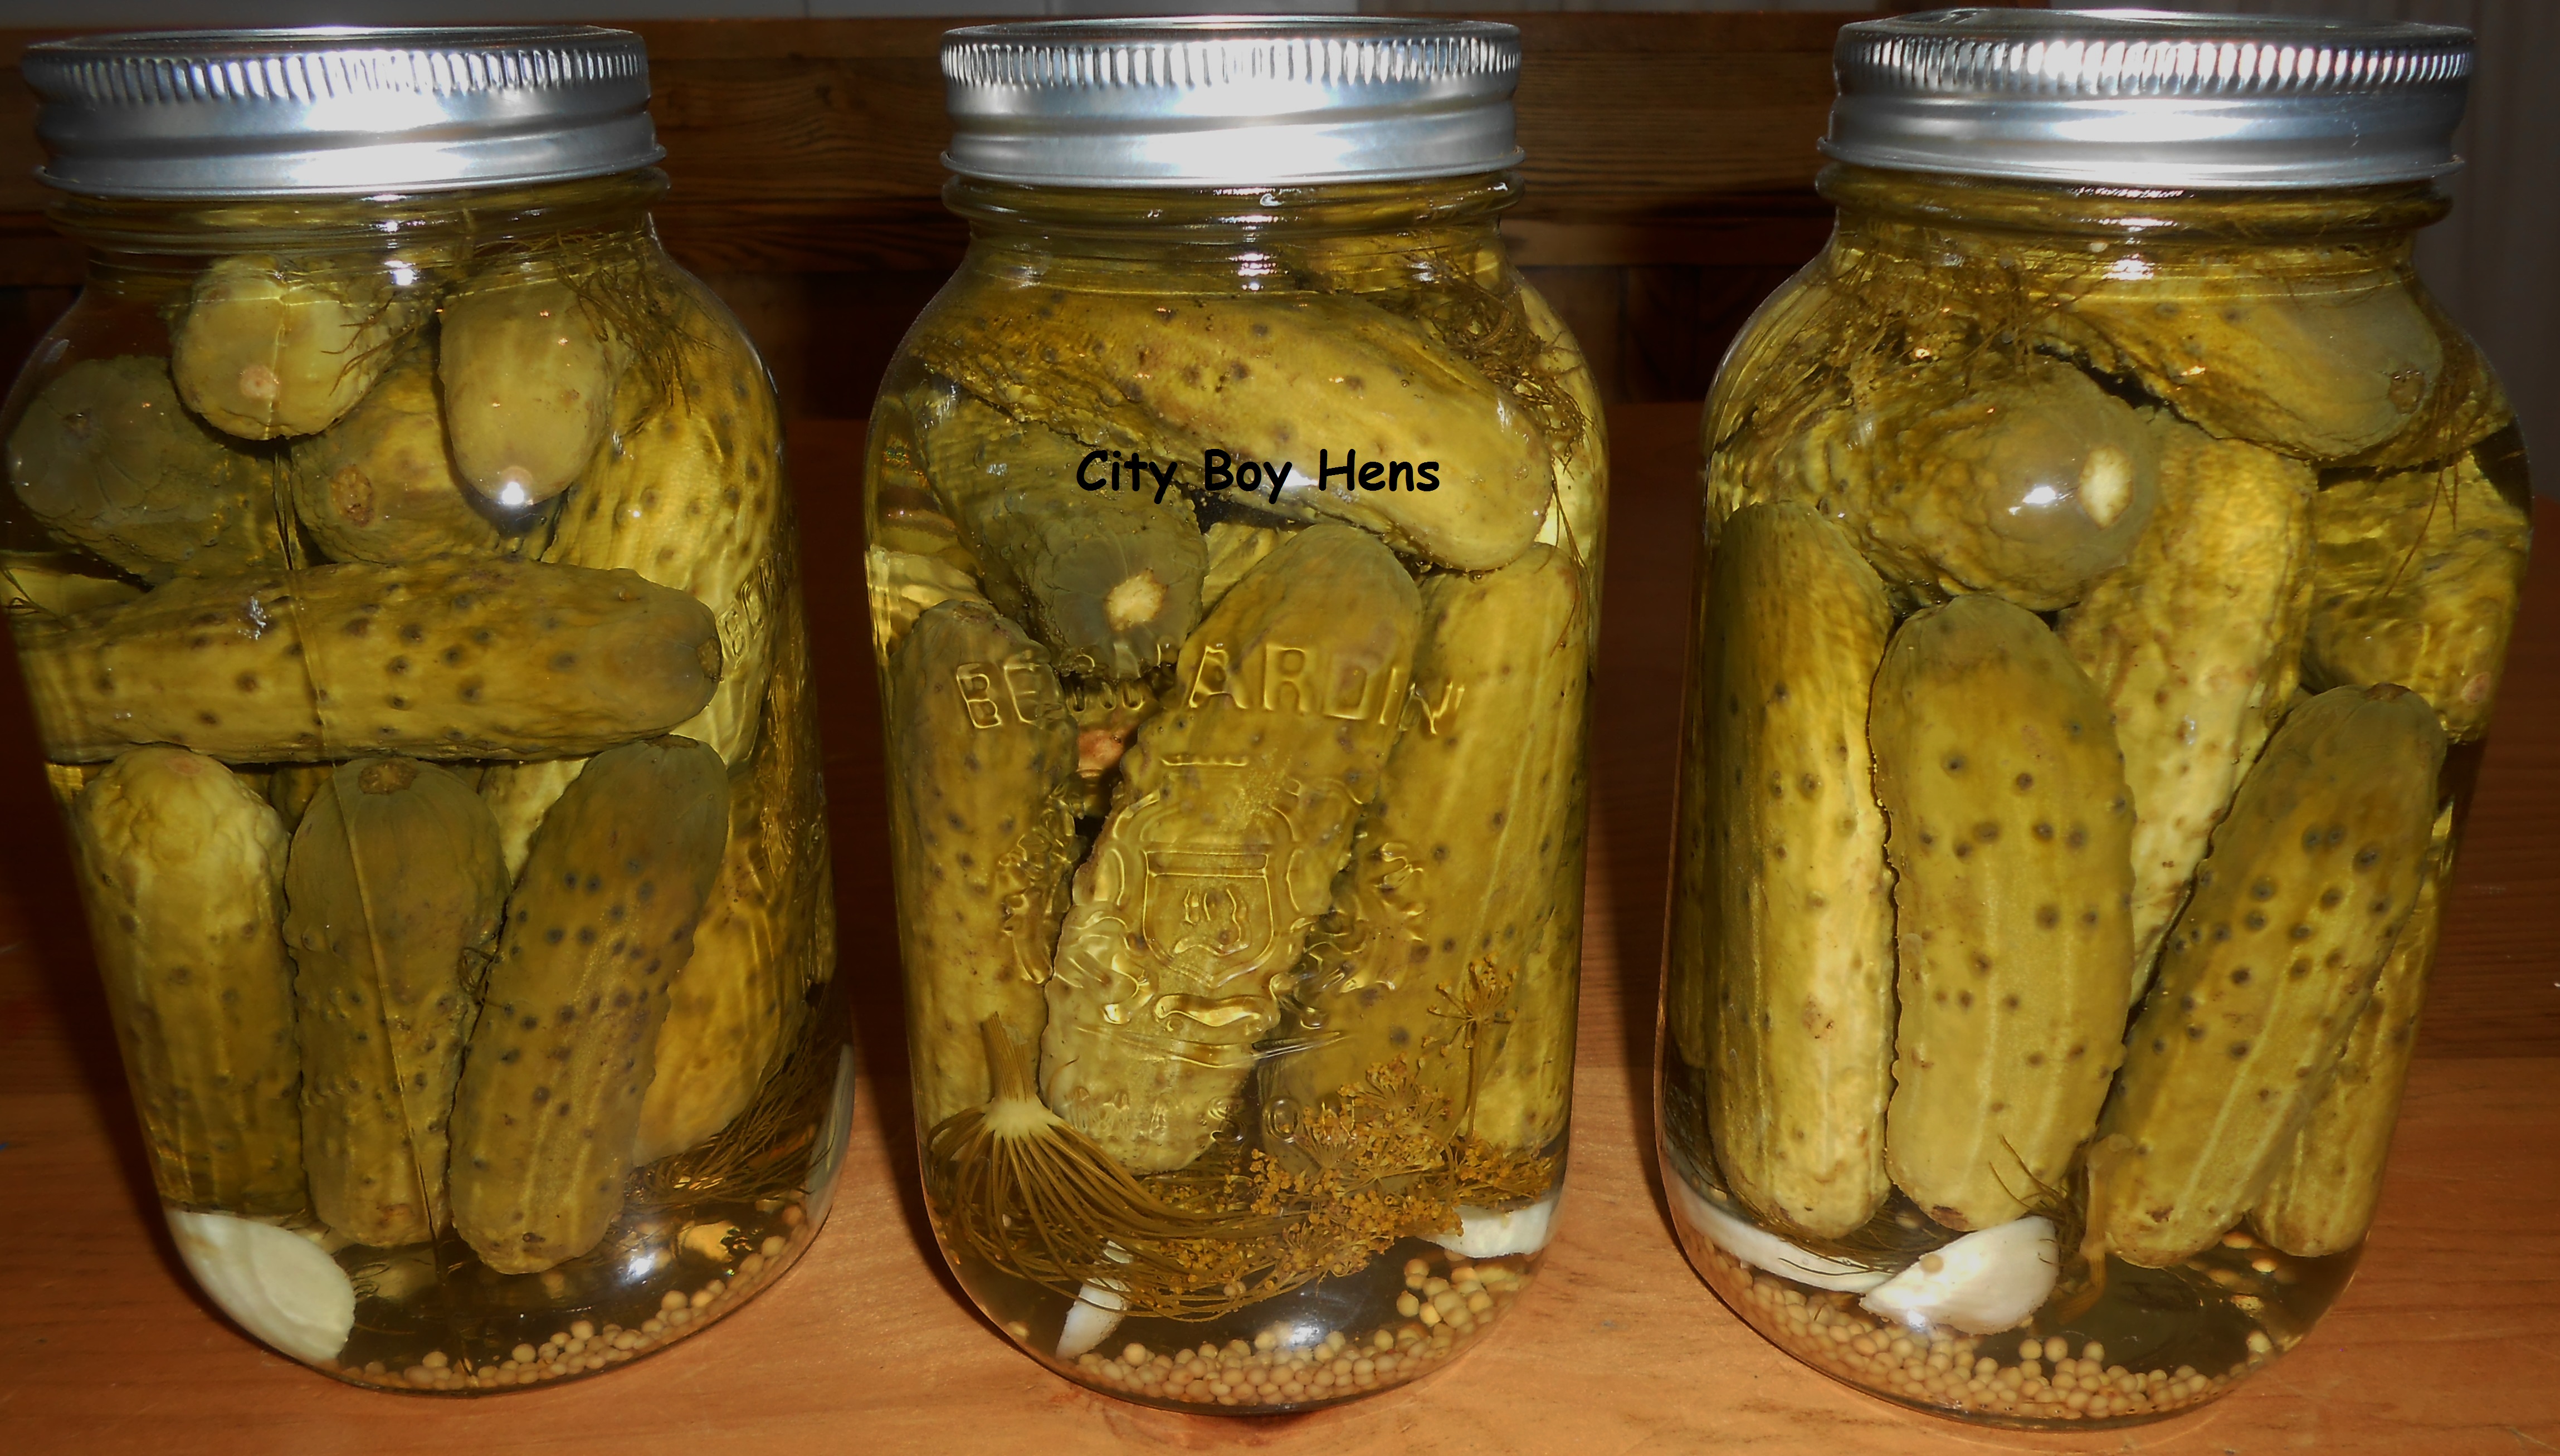
From what I have read, Bread & Butter Pickles originated in the Great Depression. Since times were tough and meat was a luxury, thrifty folks came up with tasty alternatives for sandwich fillers. On of these alternatives was the cucumber. This vegetable was easy to grow and was successfully pickled so that it could be enjoyed in the non-growing seasons. So….maybe the name came about something like this…… “Hey Ester, what are we havin’ for lunch?”, said Wilbur. “Well, since you ain’t got no job and you lost the pig in that card game…….all’s I got in the cellar are some sweet pickles from last summer. Be happy that you got two slices of bread and a bit of butter to go with it. Now eat that pickle sandwich before I take this skillet to your head!” “Mmmmmmmm, said Wilbur. That’s a mighty tasty sandwich.” “Hey Ester, whad’ you call these there pickles you got in this here sandwich?”…… “I don’t know, you old coot. Call’em whatever you want”. “Well, in that case, I’m gonna’ call “em Bread & Butter Pickles!”……….And that’s how these pickles got their name. Well….that’s the story I’m sticking with!
These pickles are easy to make and follow the general canning guidelines of most pickles.
Makes 5 Pint (500ml) jars.
Ingredients:
3 lbs. pickling cucumbers
3 medium onions, thinly sliced
1/2 cup pickling salt (Don’t use table salt. It will cloud your liquid and turn your pickles to an unpleasant color.)
6 cups cold water
3 cups cider vinegar
2 cups firmly packed brown sugar
2 tbsp. mustard seed
1 tsp. celery seed
1 tsp. ground cloves
1 tsp. turmeric
Directions:
Weigh, wash and gently scrub all cucumbers. Discard any cucumbers that appear spoiled.
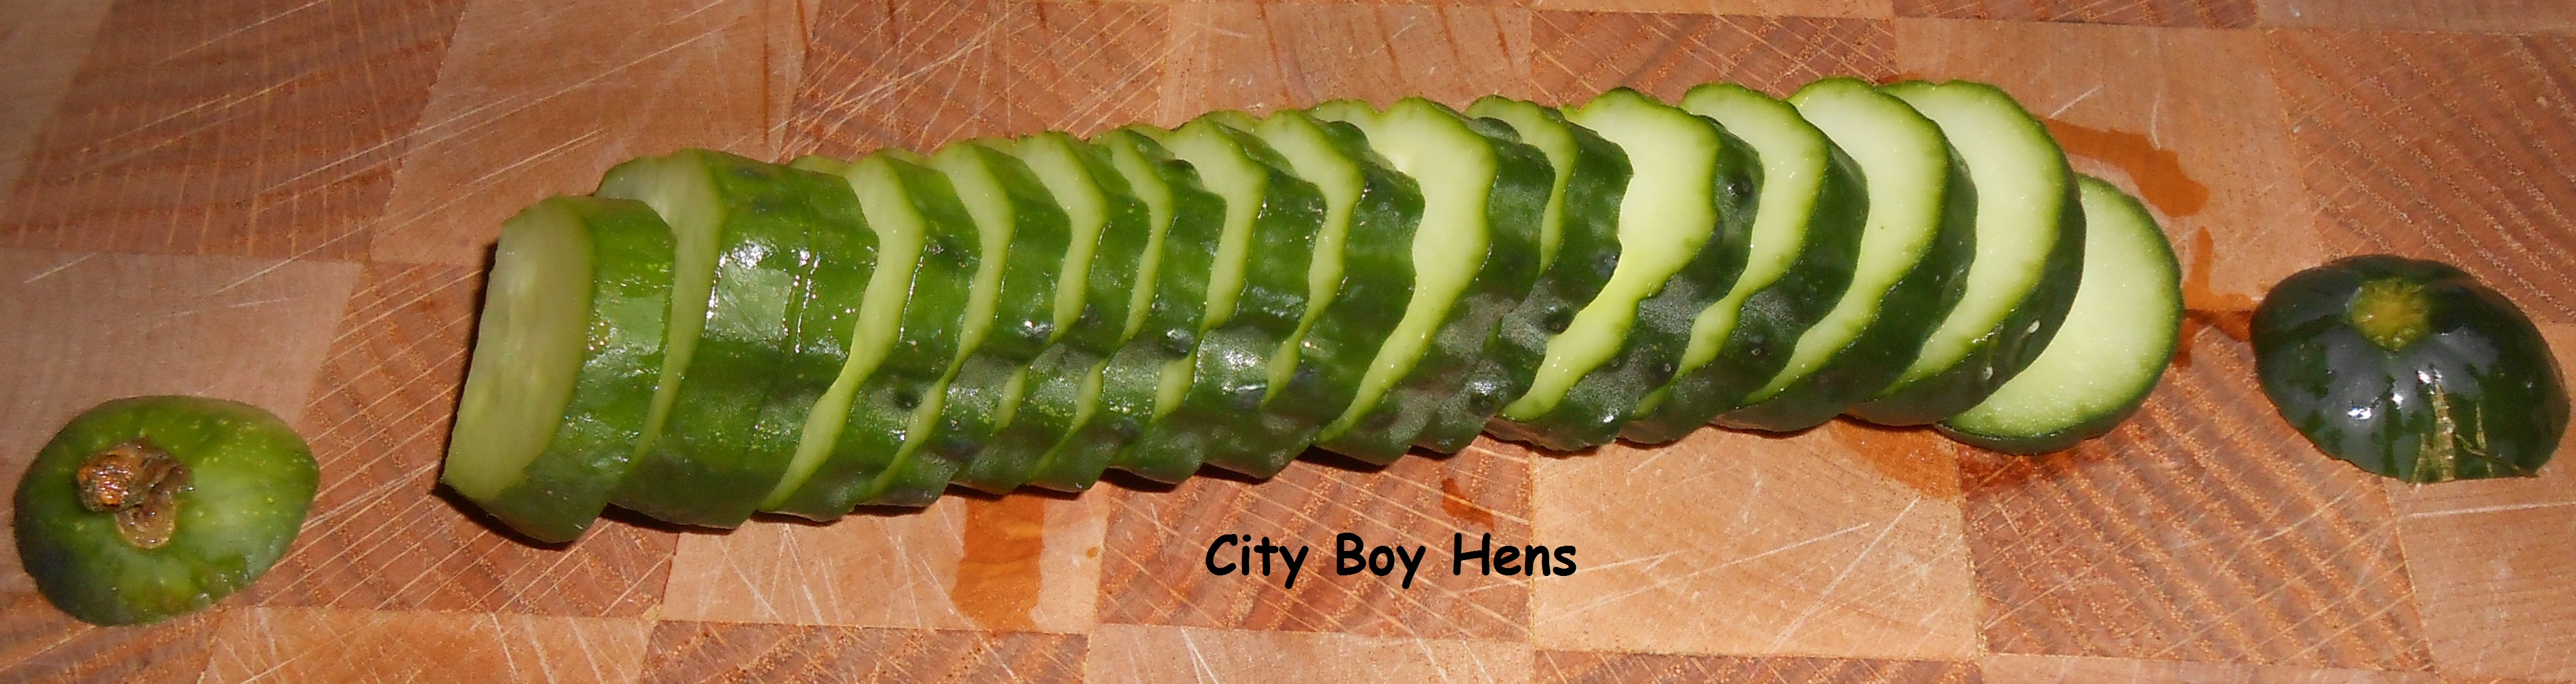 Cut approximately 1/4″ off of each end of the cucumber. It is essential that you cut the blossom end (not stem) because there is an enzyme at this end which will make your pickles turn mushy and possibly unsafe to eat. The blossom end is located on the left side in the above picture.
Cut your cucumbers into 1/4″ slices and place them in a large bowl.
Thinly slice 3 onions and place them in the same bowl.
Add pickling salt to the water and stir until dissolved. This make take a bit of stirring because the salt will not dissolve as readily in cold water. Add the solution to your cucumbers and onions and let it rest for 2 hours. I occasionally give it a stir during this time period.
With about a half an hour left of brining, fill your canner up with water about 2 inches higher than the height of your jars and bring the water to a boil. This will take a bit of time.
Sterilize your jars in the oven at 225 degrees Fahrenheit for 10 minutes and continue to keep them warm in the oven until they are needed.
Place canning seals and rings in a small pot and begin to warm them up.
In the mean time, add brown sugar, cider vinegar and spices into a large pot and bring to a boil. Stir occasionally.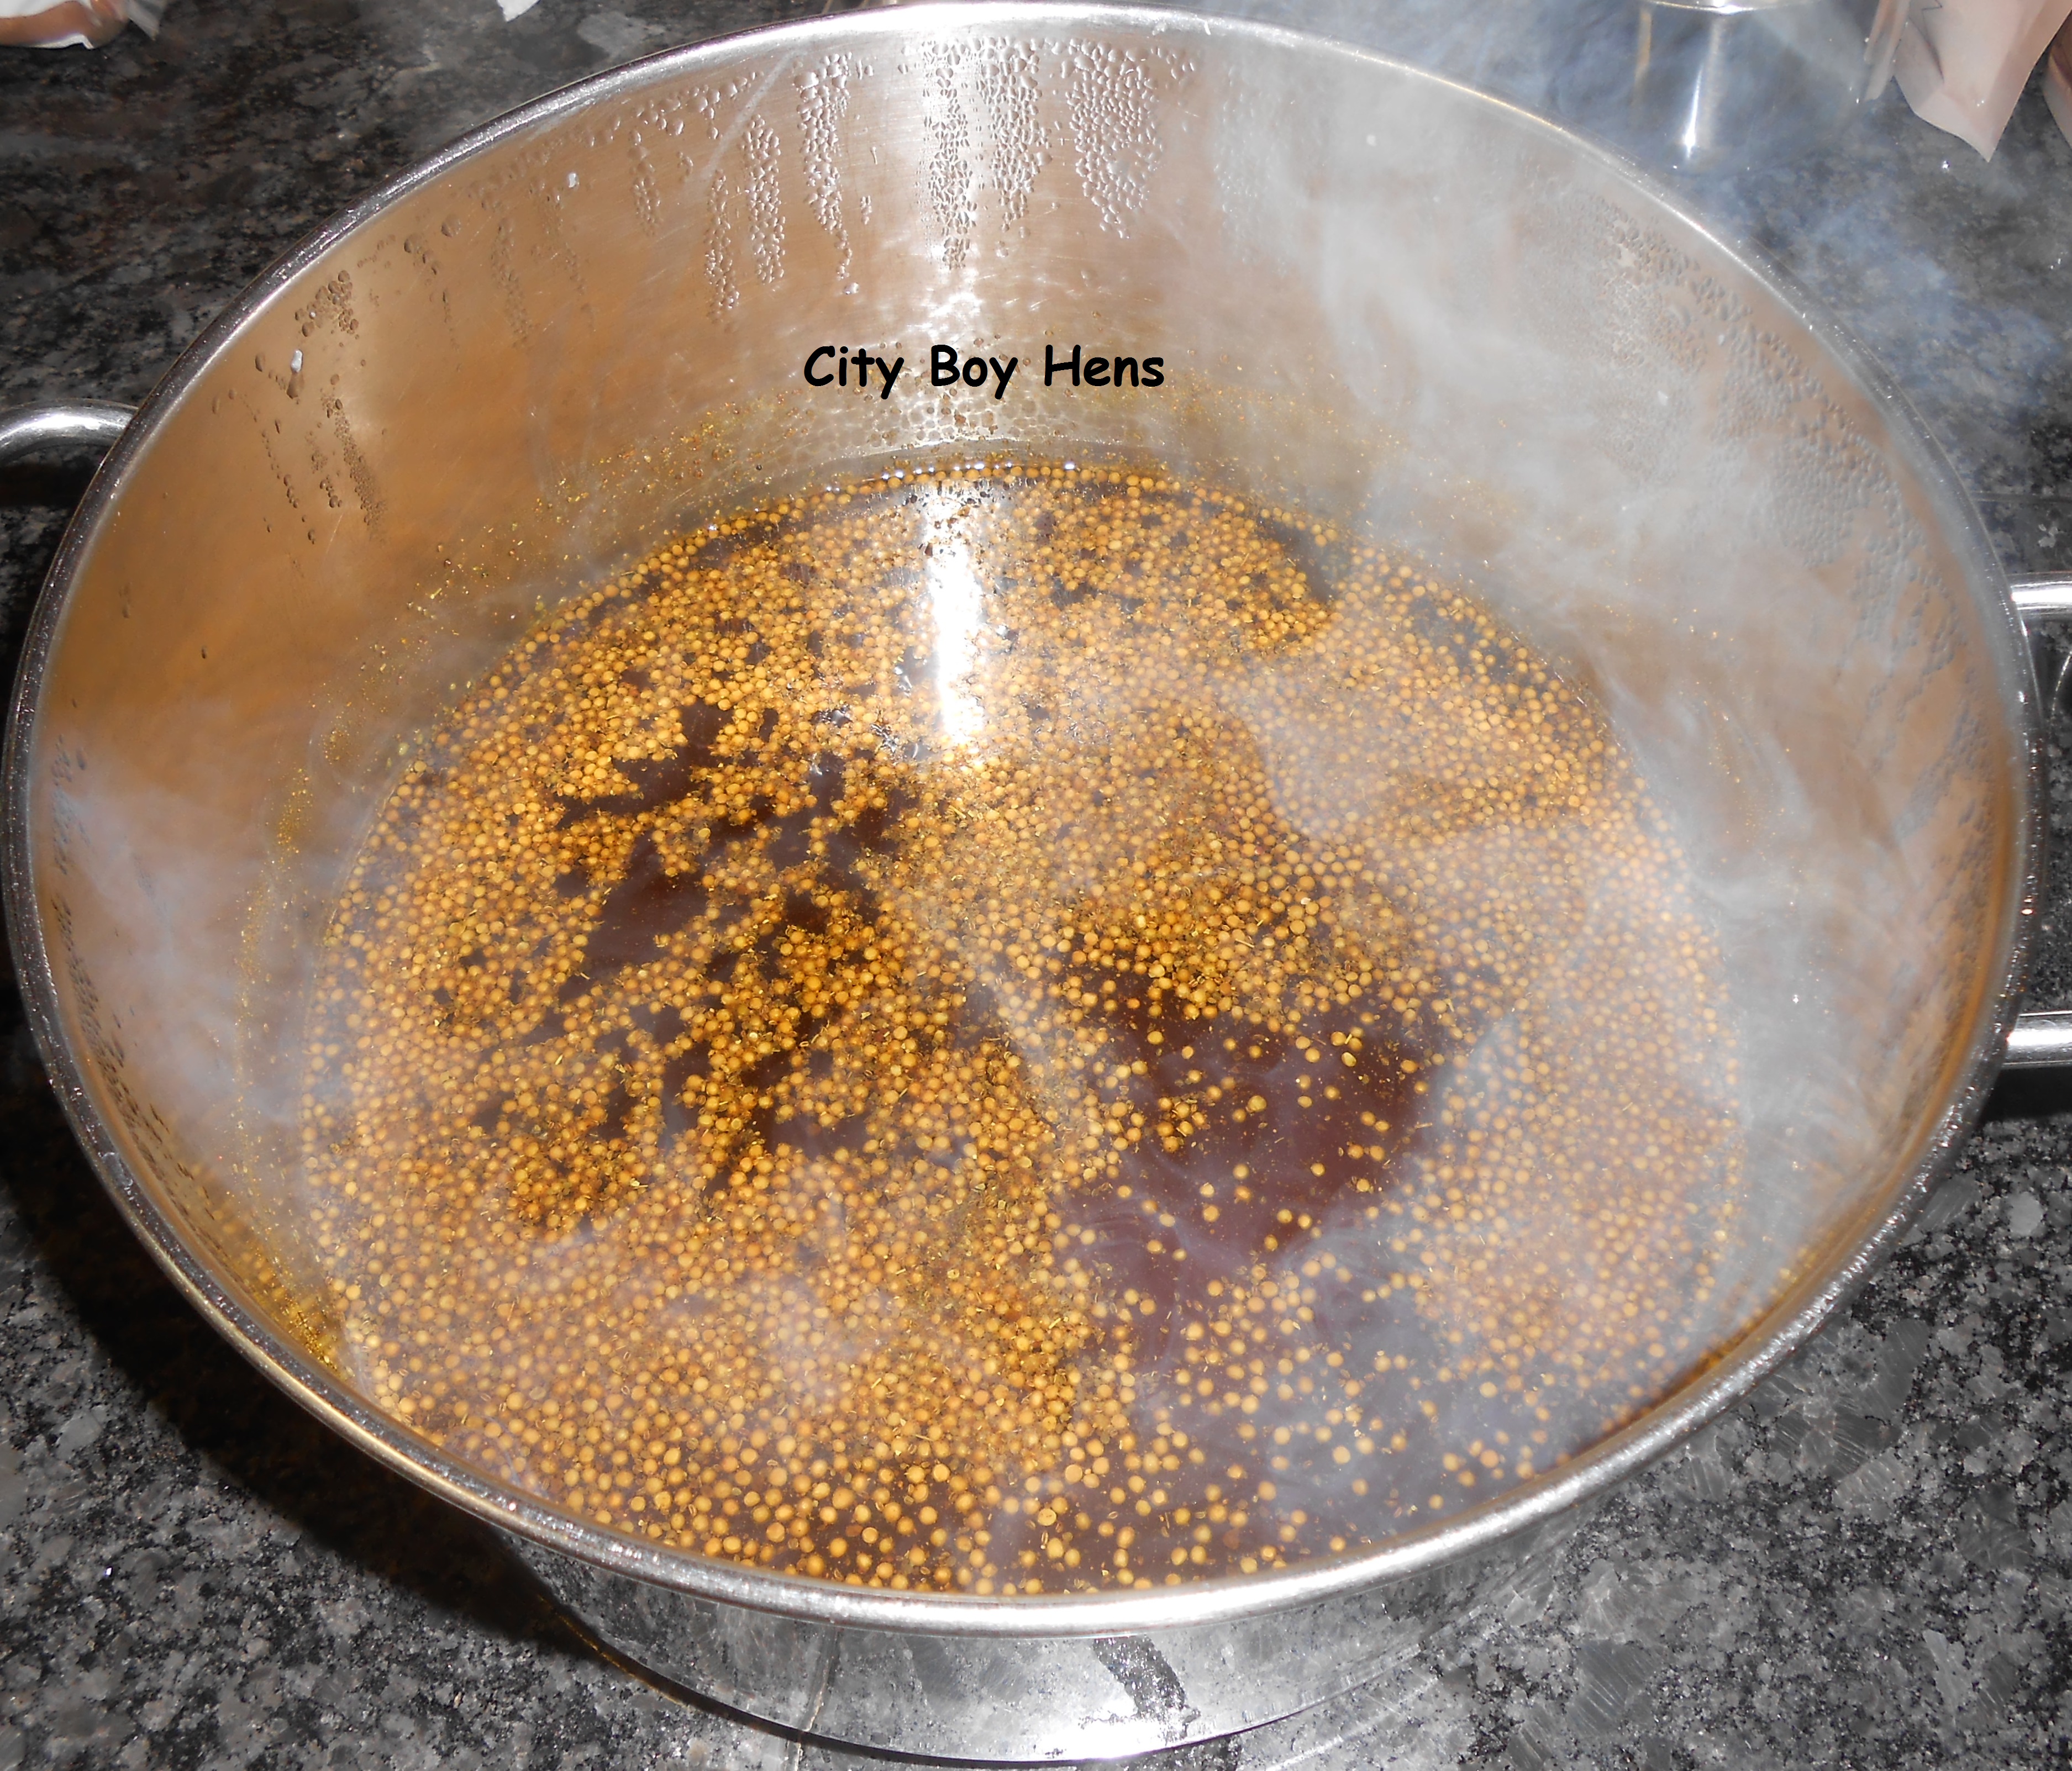
Once the 2 hours of brining is completed, drain the cucumbers and onions into a colander. Fill the bowl with fresh water and rinse again.
Put the drained cucumber and onion mixture into your large simmering pot and bring the ingredients up to a boil.
Using a canning funnel, pack your mixture into your canning jars, leaving 1/2″ head space. I found it easier to fill all the jars first with the “solids” and then distribute the liquid after.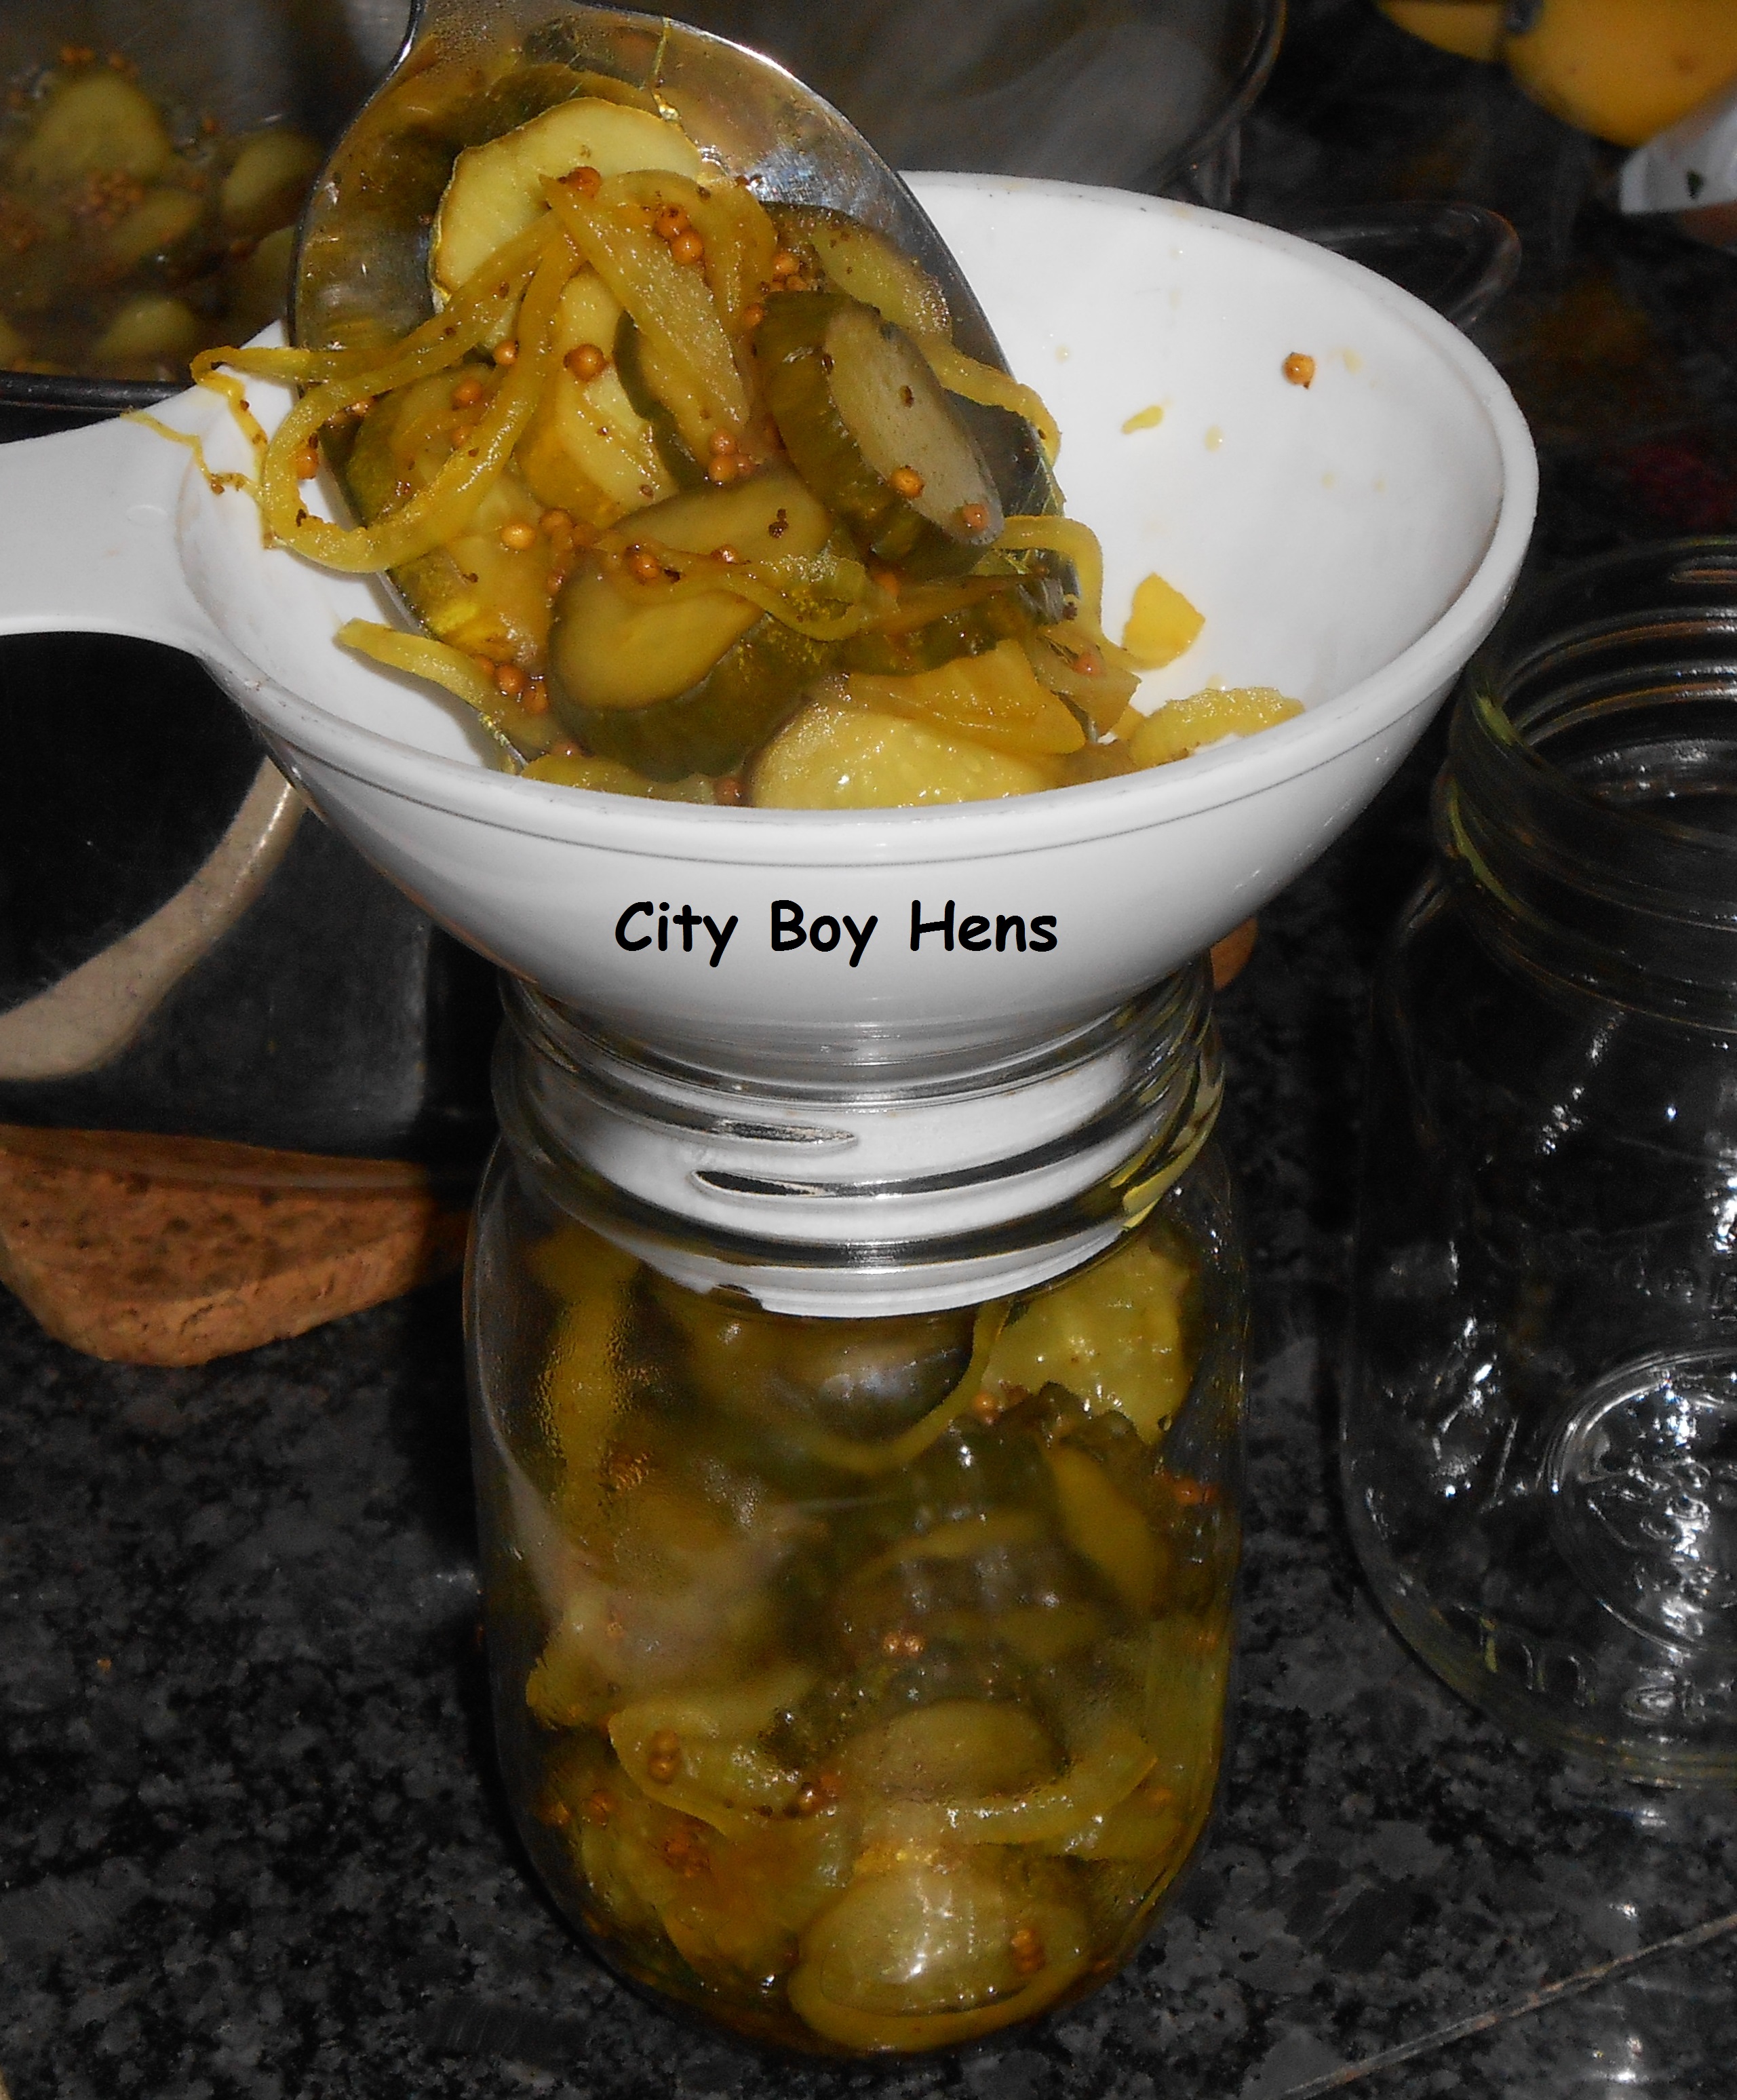
 Using a non-metalic utensil, remove the air bubbles from the jar. Add more liquid to the 1/2″ head space level if required.
Wipe the lip of each jar with a wet paper towel. This will ensure that no residue is left on the lip of the jar which will prevent a good seal.
Using tongs, place your seals and rings on each jar.
Using canning tongs, carefully place each sealed jar into the canner and process in boiling water for 10 minutes.
Using the canning tongs, carefully remove each jar from the boiling water and leave to cool on a rack.
Soon you will hear the successful ping of each jar as it seals. Now tuck those babies away in the cantina or cold cellar until the colder months when you’ll need a reminder of the summer! If you can’t wait until then……just give them a few days to flavor!
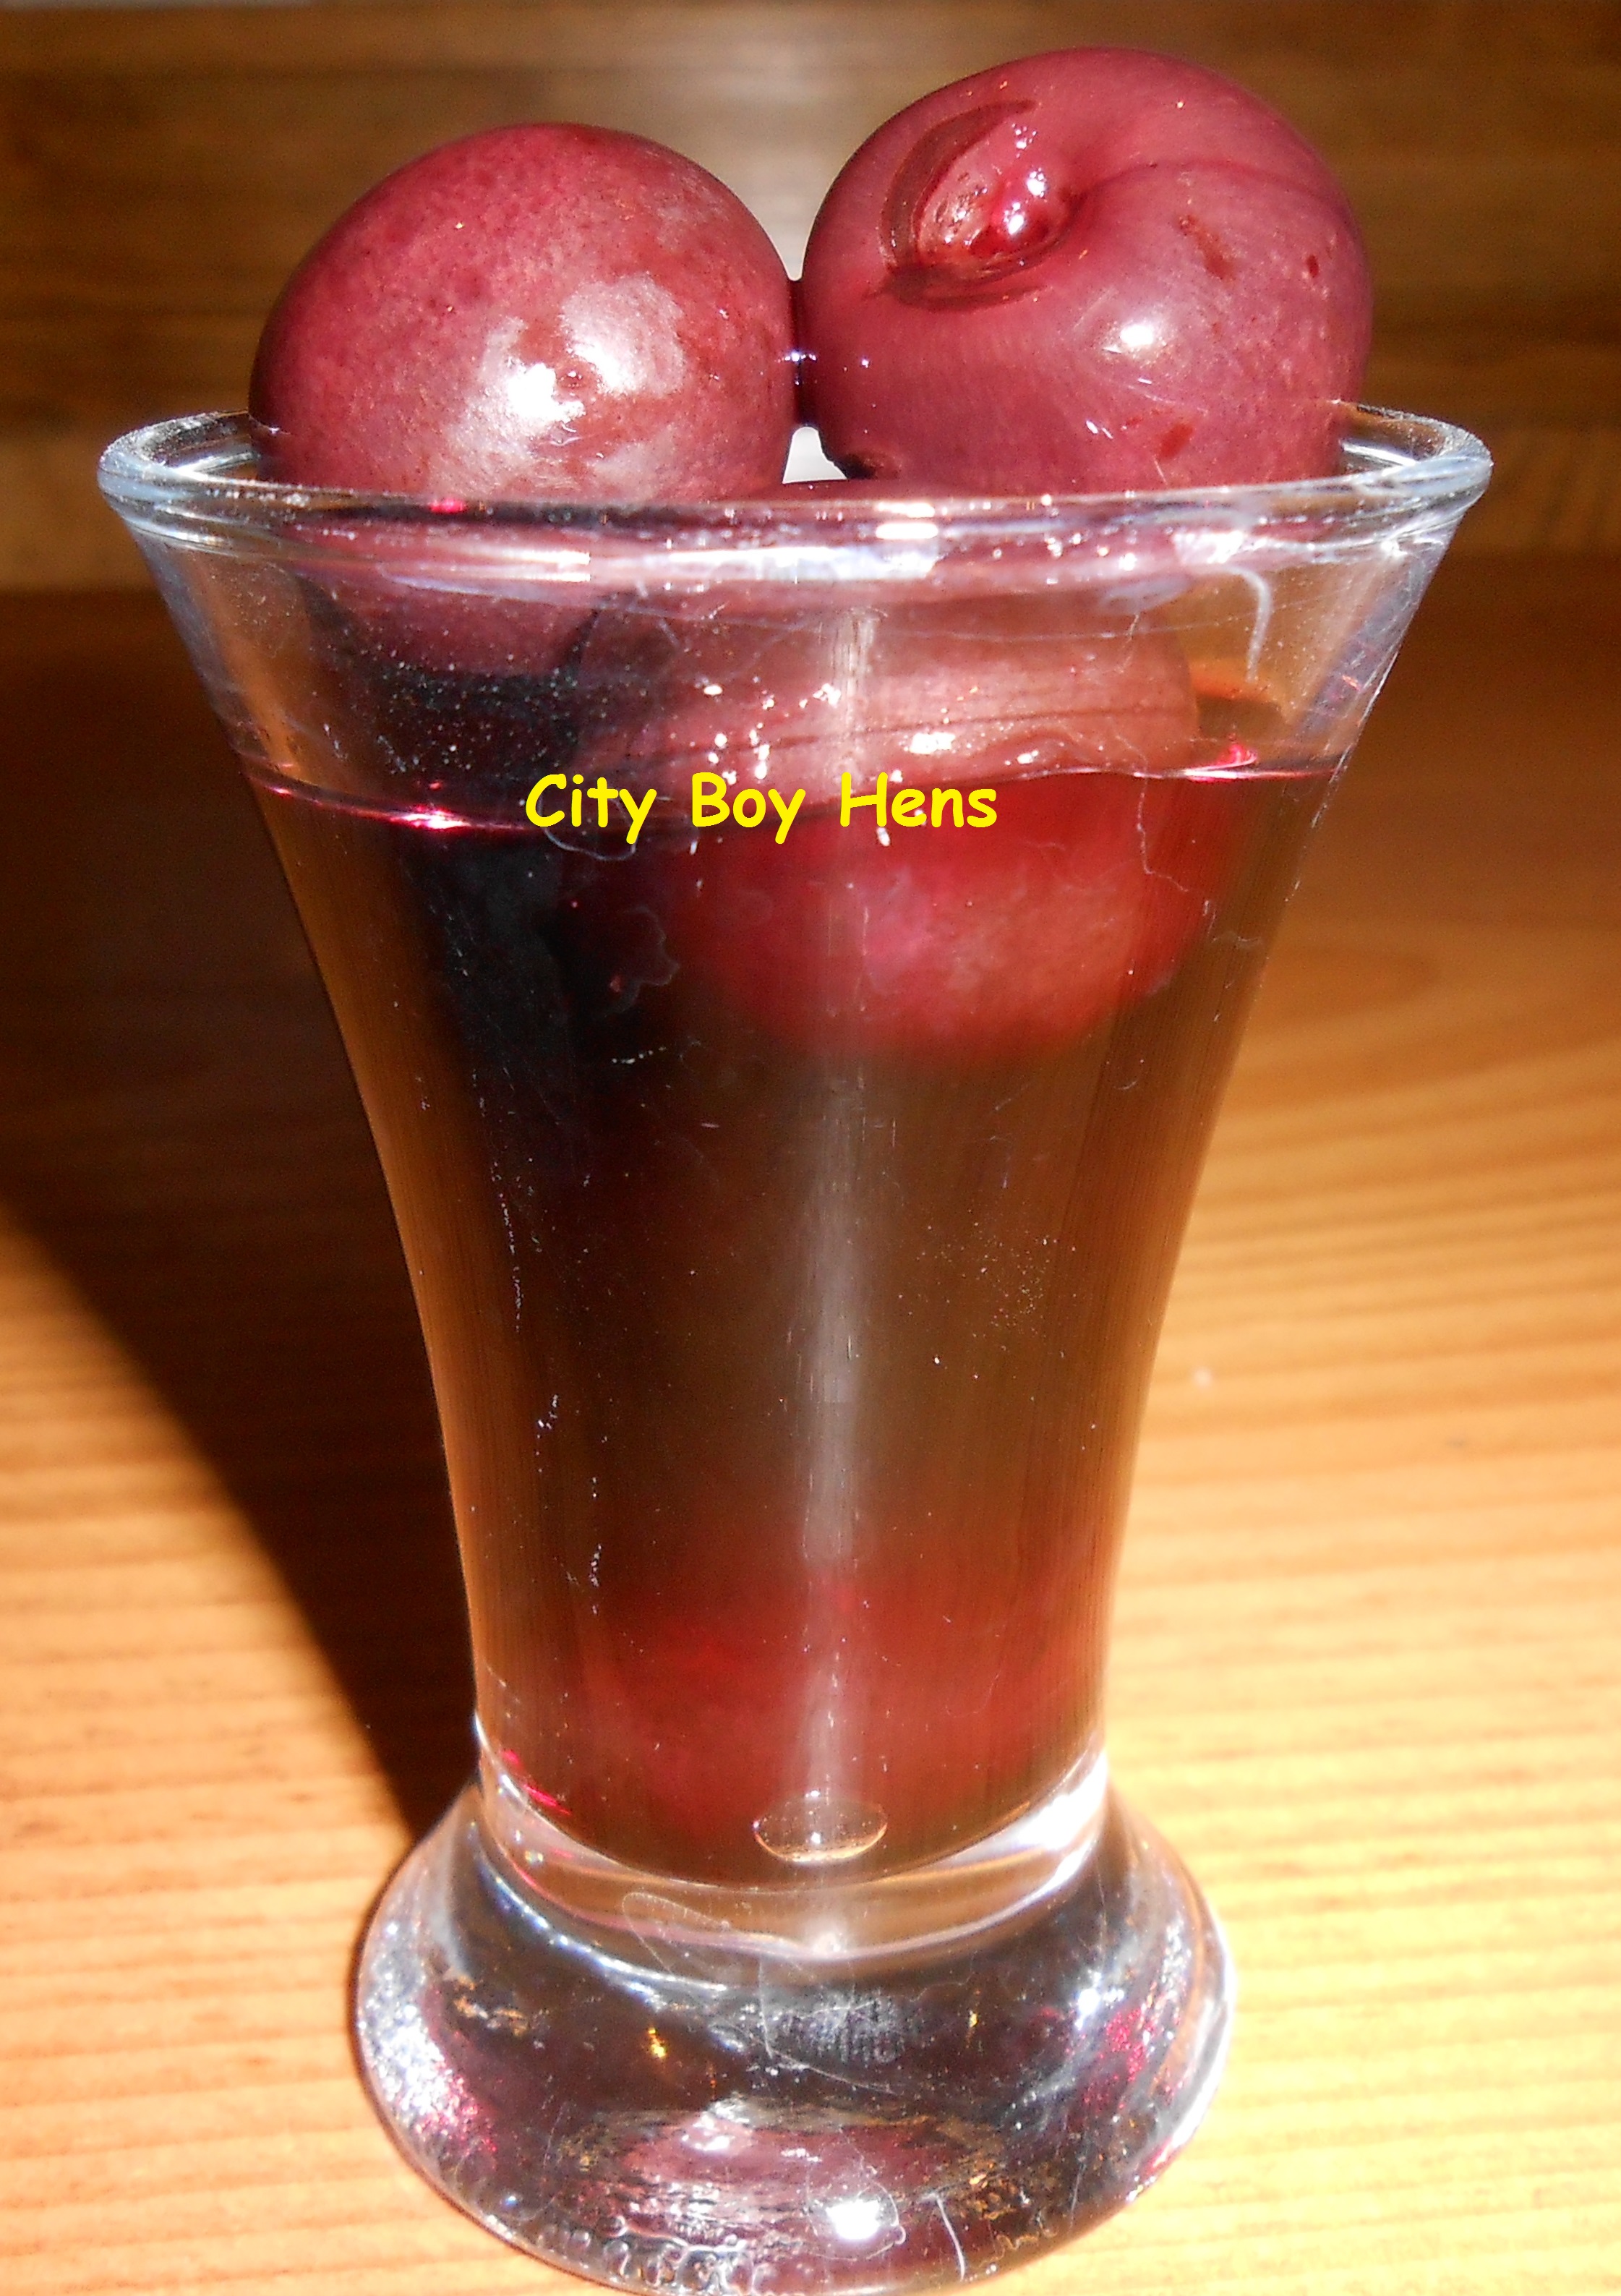
 Ontario cherries are now at farmer’s markets. They are great to eat fresh and even better to jar for the winter in some vodka. I’ve been making these flavored cherries for a few years and they are always a great companion to dessert on special occasions. We always wait until Christmas Eve to open the first jar from the previous summer and share it amongst the adults at our table. You are going to be AMAZED at the sweetness in the vodka. In fact it tastes like a sweet cherry juice with a hint of vodka, minus the harsher alcohol taste of vodka “straight up”. Just be carfeull………it may be hard to stop wanting more and NO……This DOESN’T count towards a serving of fruit!
First, wash and remove the stems from your cherries. Discard any bruised or blemished fruit.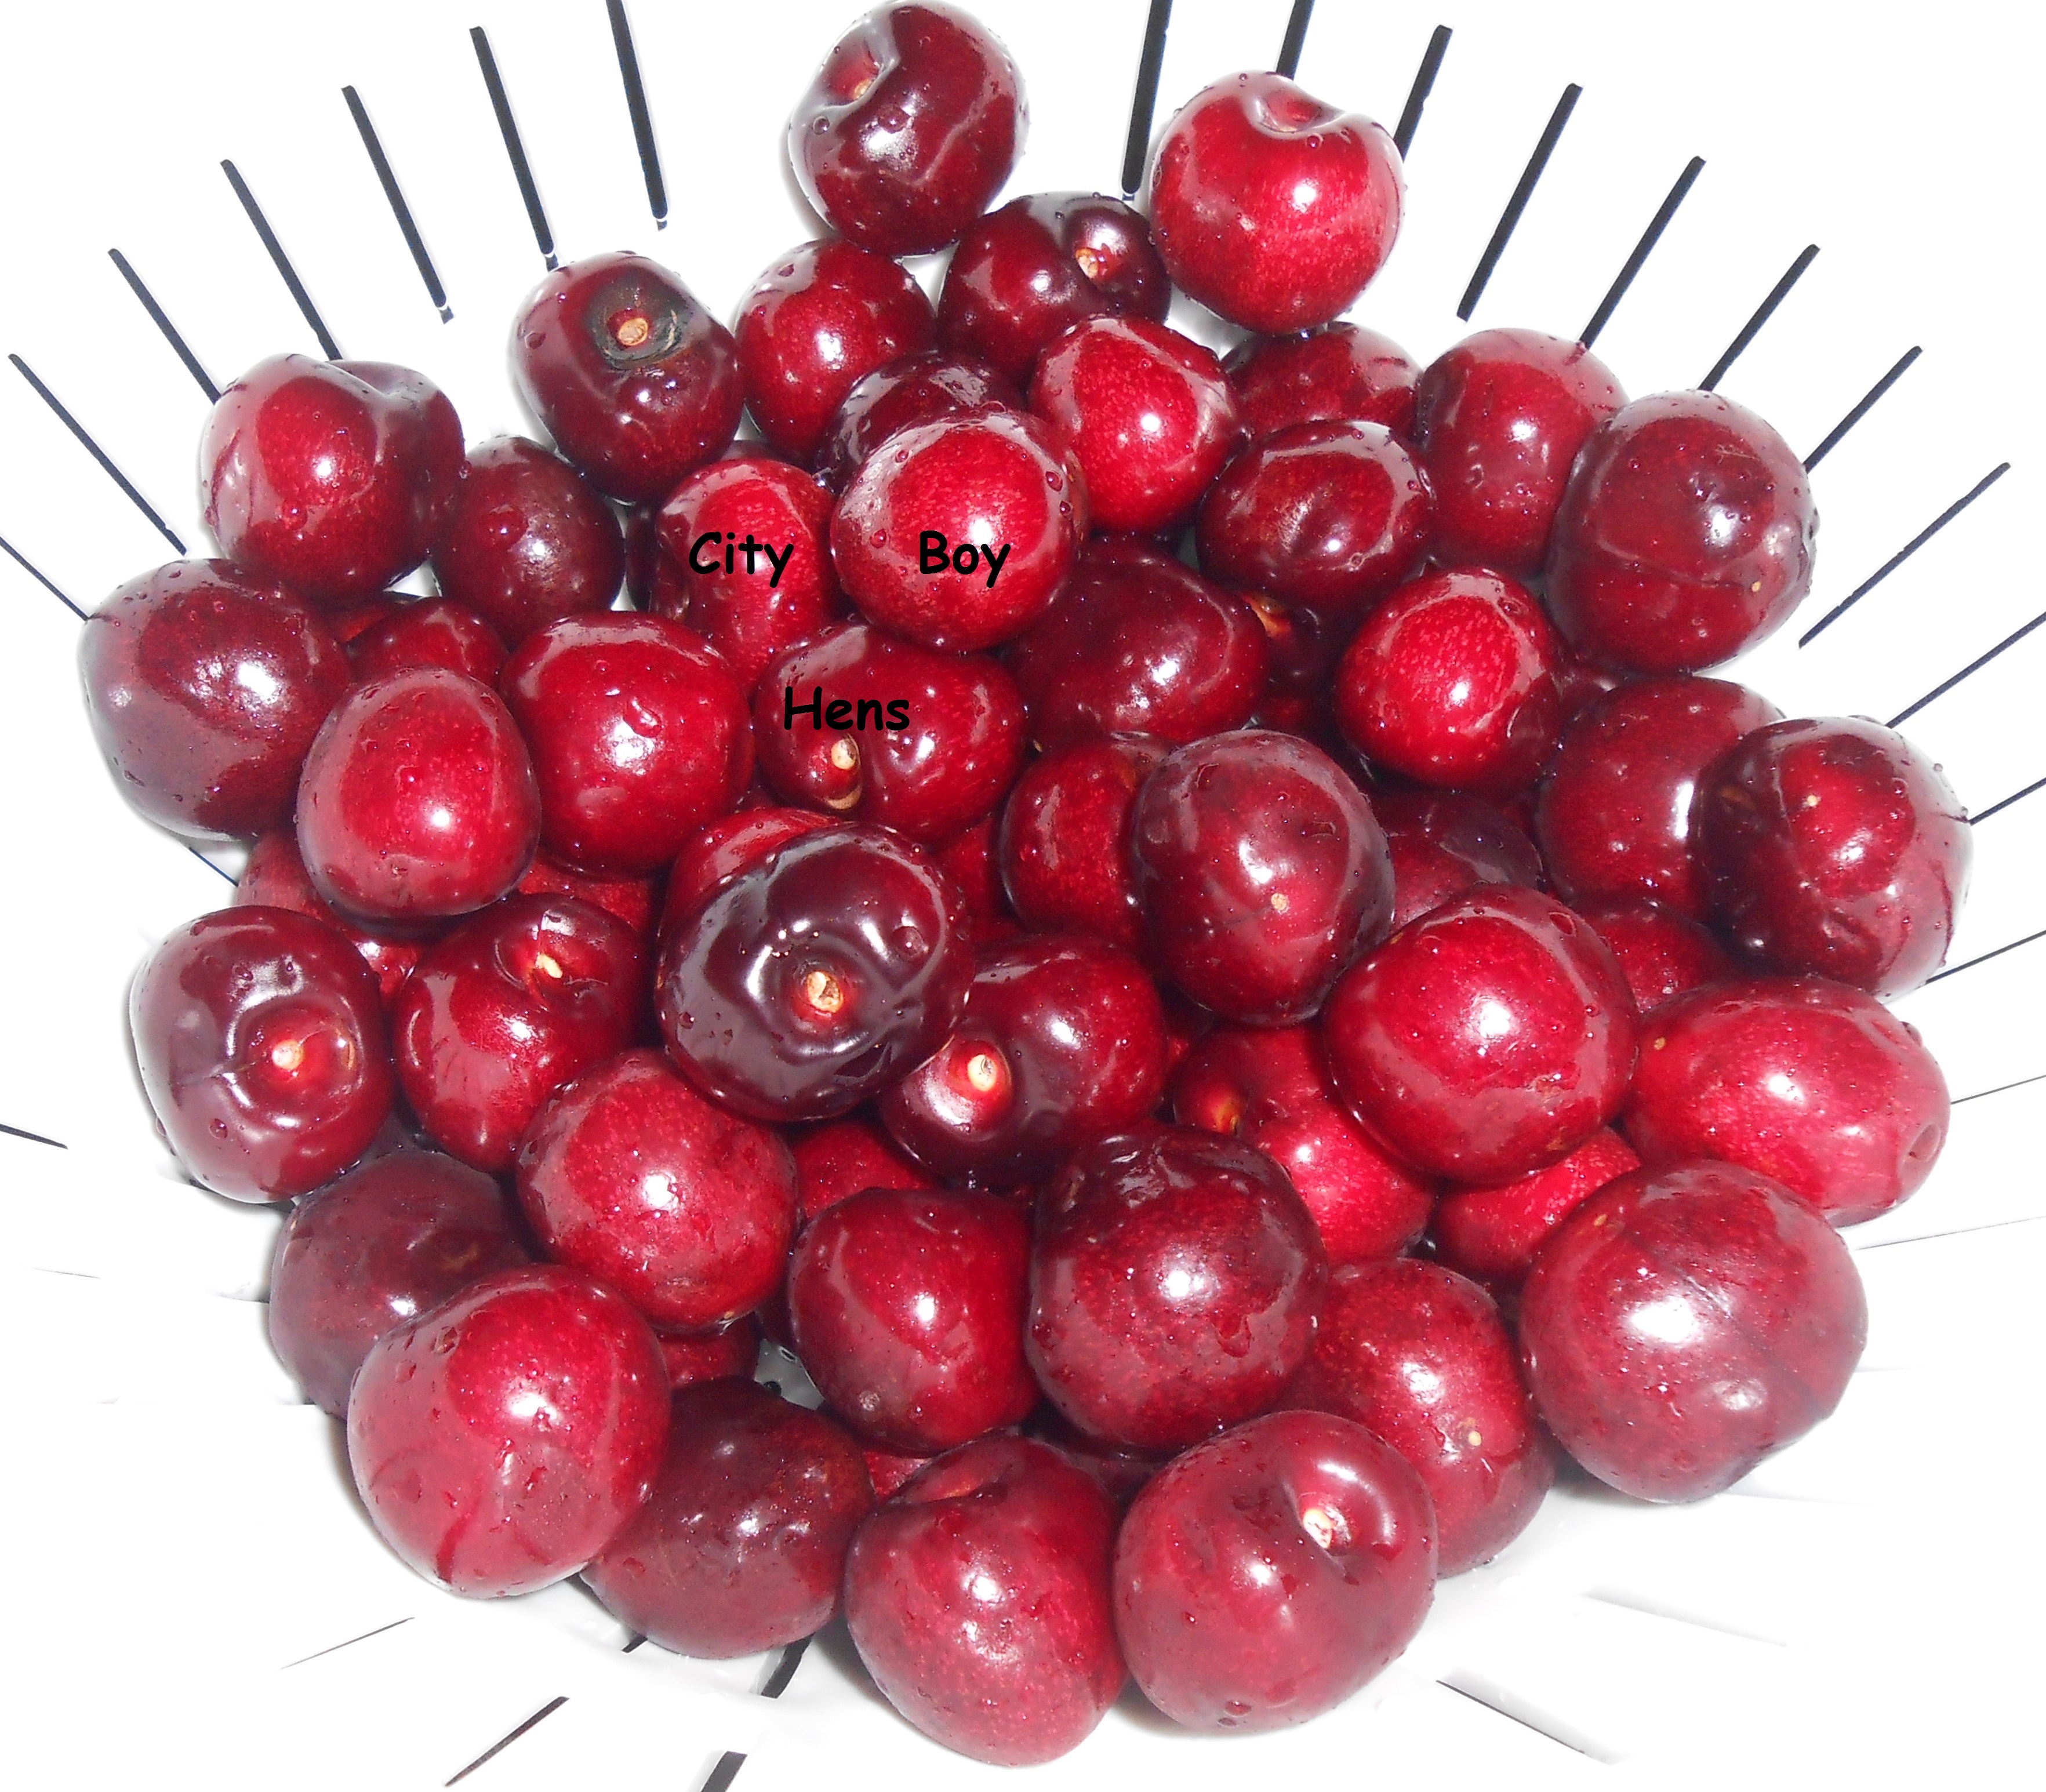
Using a canning funnel (just because it’s easier), drop your cherries into a clean mason jar.
Firmy pack as many cherries as you can into the jar without smashing up the fruit.
Fill the jar with vodka, leaving a 1/4″ headspace. Seal up the jar. Note: There is no need to sterilize the jar because the vodka will act as a preservative for the fruit.
Now, put it aside in your cantina or cold cellar and WAIT! You have to give those babies at least 4 months to flavor the vodka. You will know that the cherries are ready when the vodka turns a deep dark red.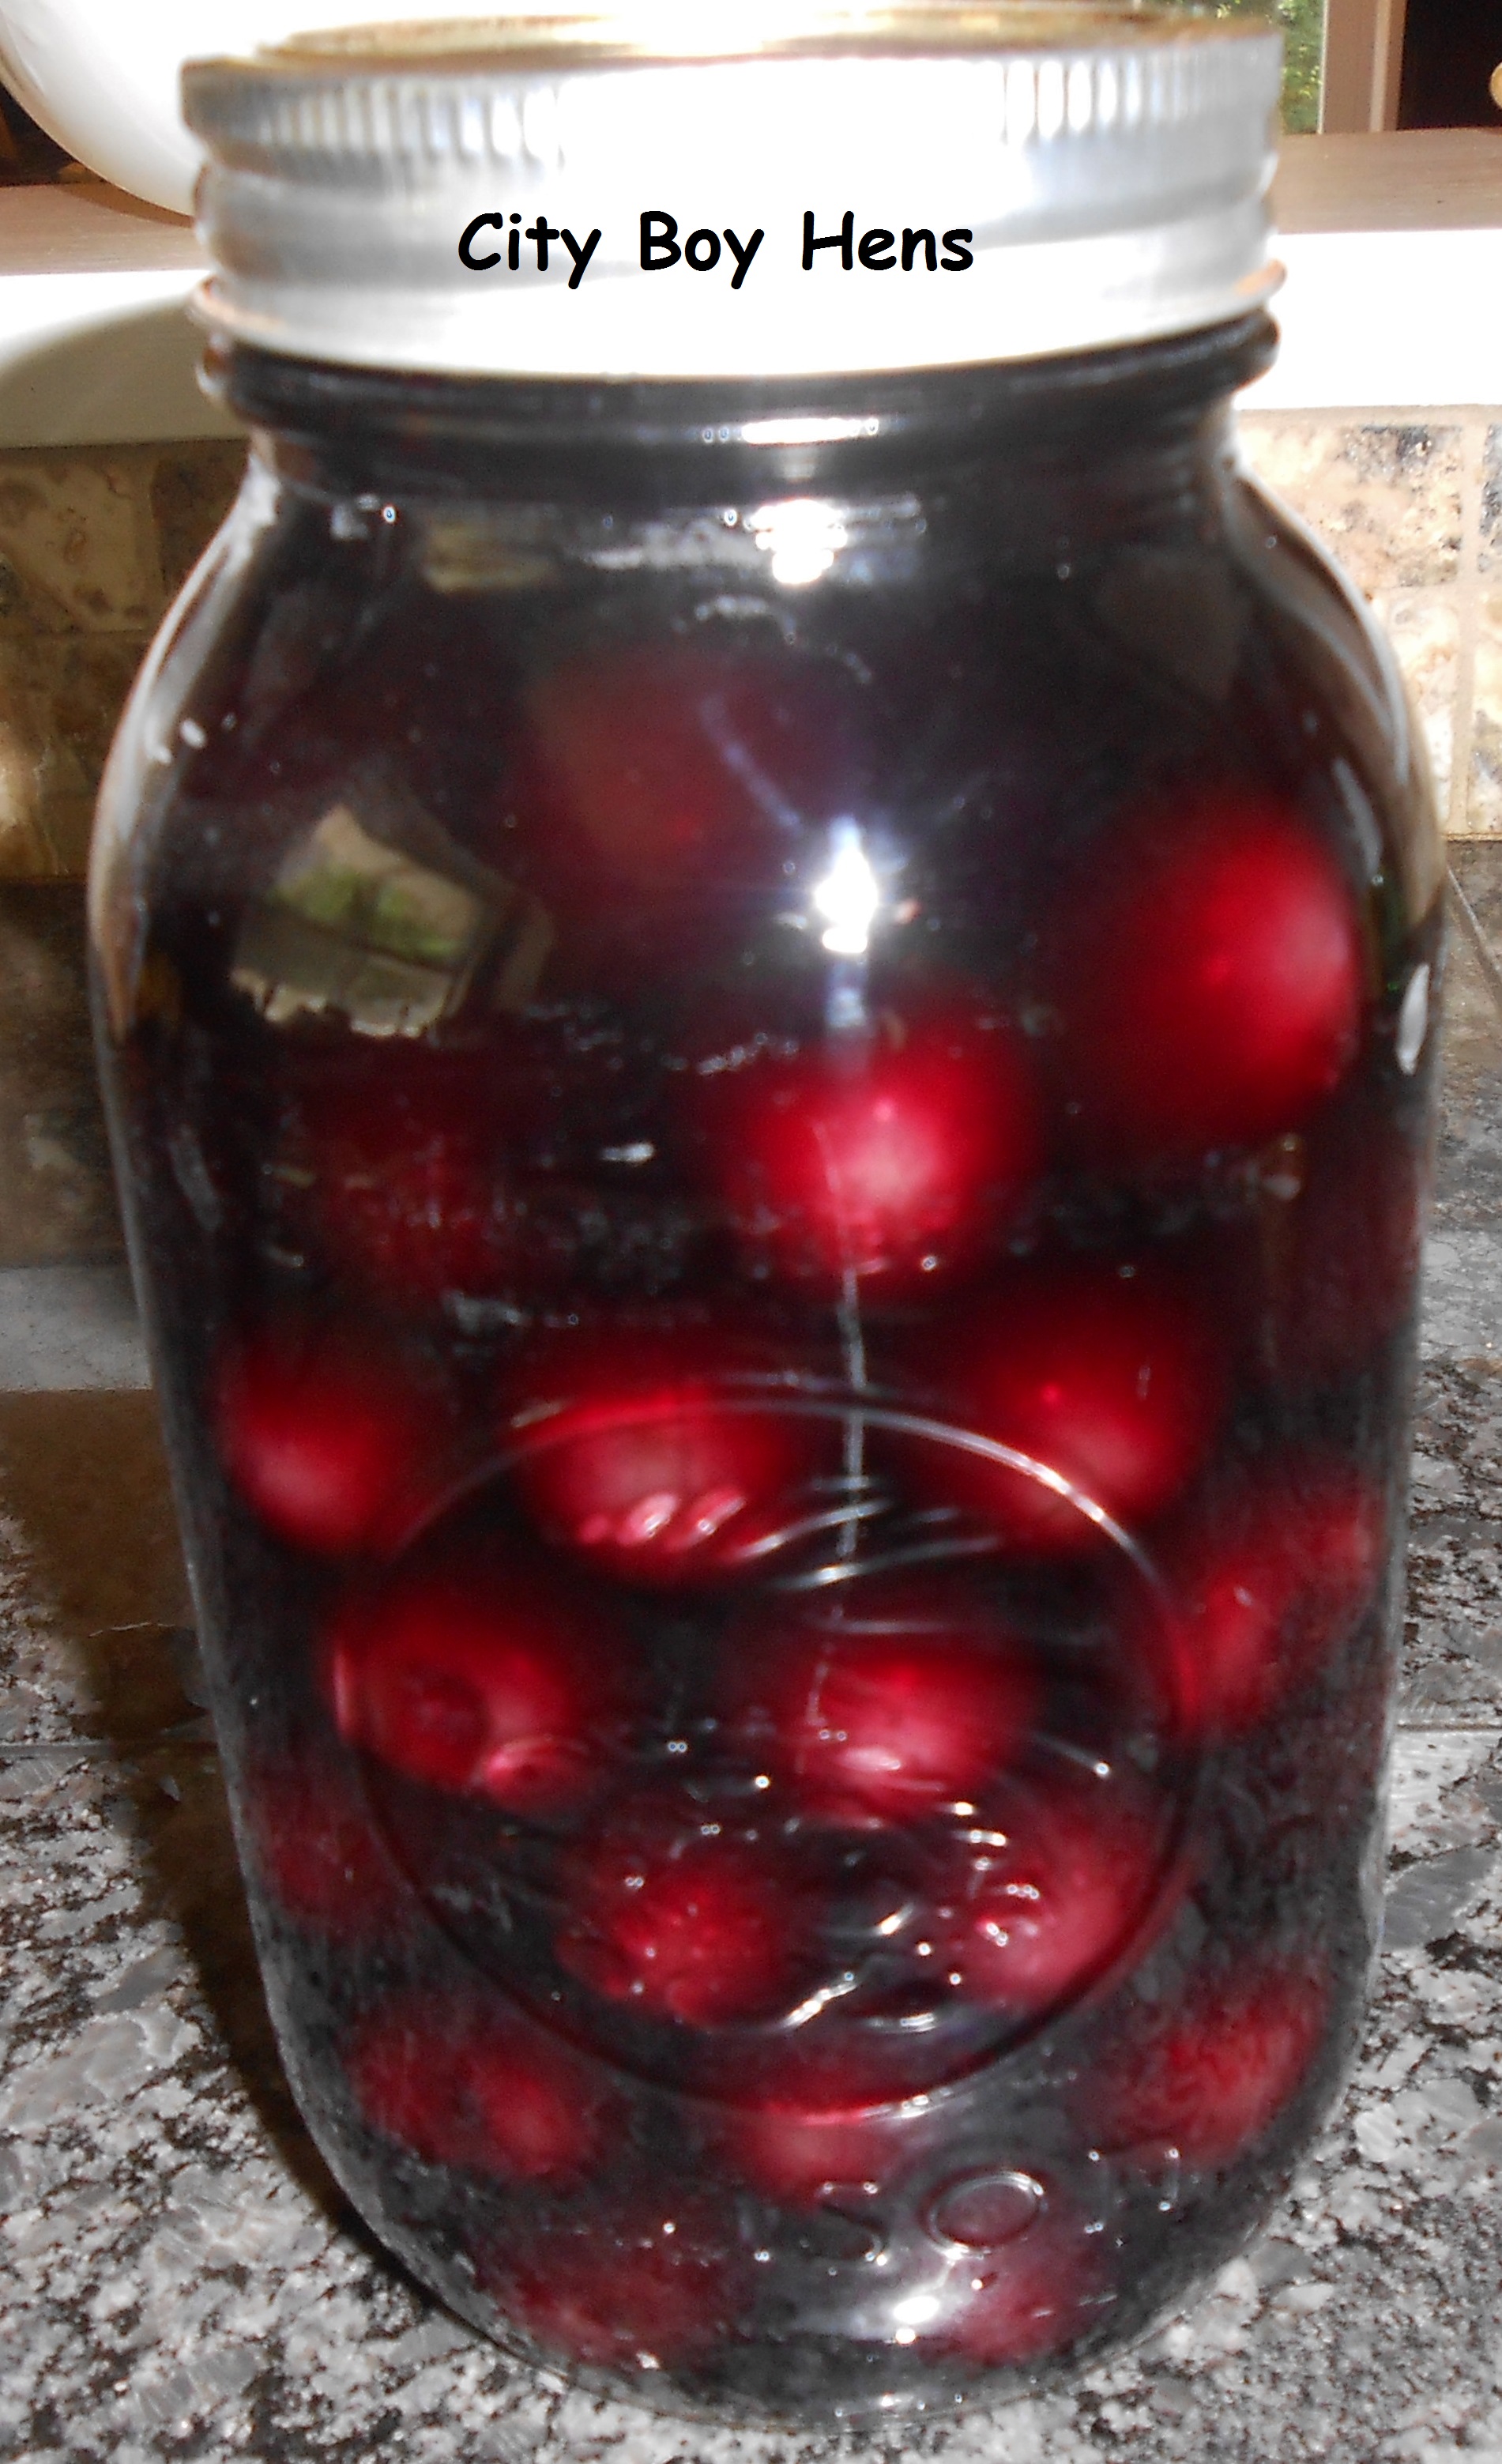
Serve 3-4 cherries in a liqueur glass with a toothpick. Your family & friends are going to love them! Enjoy responsibly!