Sweet Mixed Pickles remind me of Fridays when I was a kid. Every Friday, my Mom made grilled cheese sandwiches for our lunch and they were always served with store-bought sweet mixed pickles. I remember the pickles tasting good, but there was often a squabble between siblings over the minimal cauliflower florets and pearl onions. Well I’m here to tell you that there will be no fighting at this City Boy’s home between dutiful son & endearing daughter because our mixed pickles are chock full of cauliflower florets and pearl onions! So if you are interested in making your own sweet mixed pickles, I urge you to give this recipe a try.
Makes 10 Pint (500 ml) jars.
Ingredients:
6 lbs.. pickling cucumbers (4 quarts/approx. 40 pickling cucumbers)
2 lbs. pearl onions (5 cups), outer skin removed
1 cauliflower head
1 cup pickling salt (Don’t use table salt. It will cloud your liquid and turn your pickles to an unpleasant color.)
16 cups cold water
3 1/2 cups pickling vinegar
2 1/4 cups granulated sugar
1 tbsp. mustard seed
1 tsp. celery seed
1/2 tsp. turmeric
Directions:
Add pickling salt to the water and stir until dissolved in a large bowl. This may take a bit of stirring because the salt will not dissolve as readily in cold water.

Weigh, wash and gently scrub all cucumbers. Discard any cucumbers that appear spoiled.
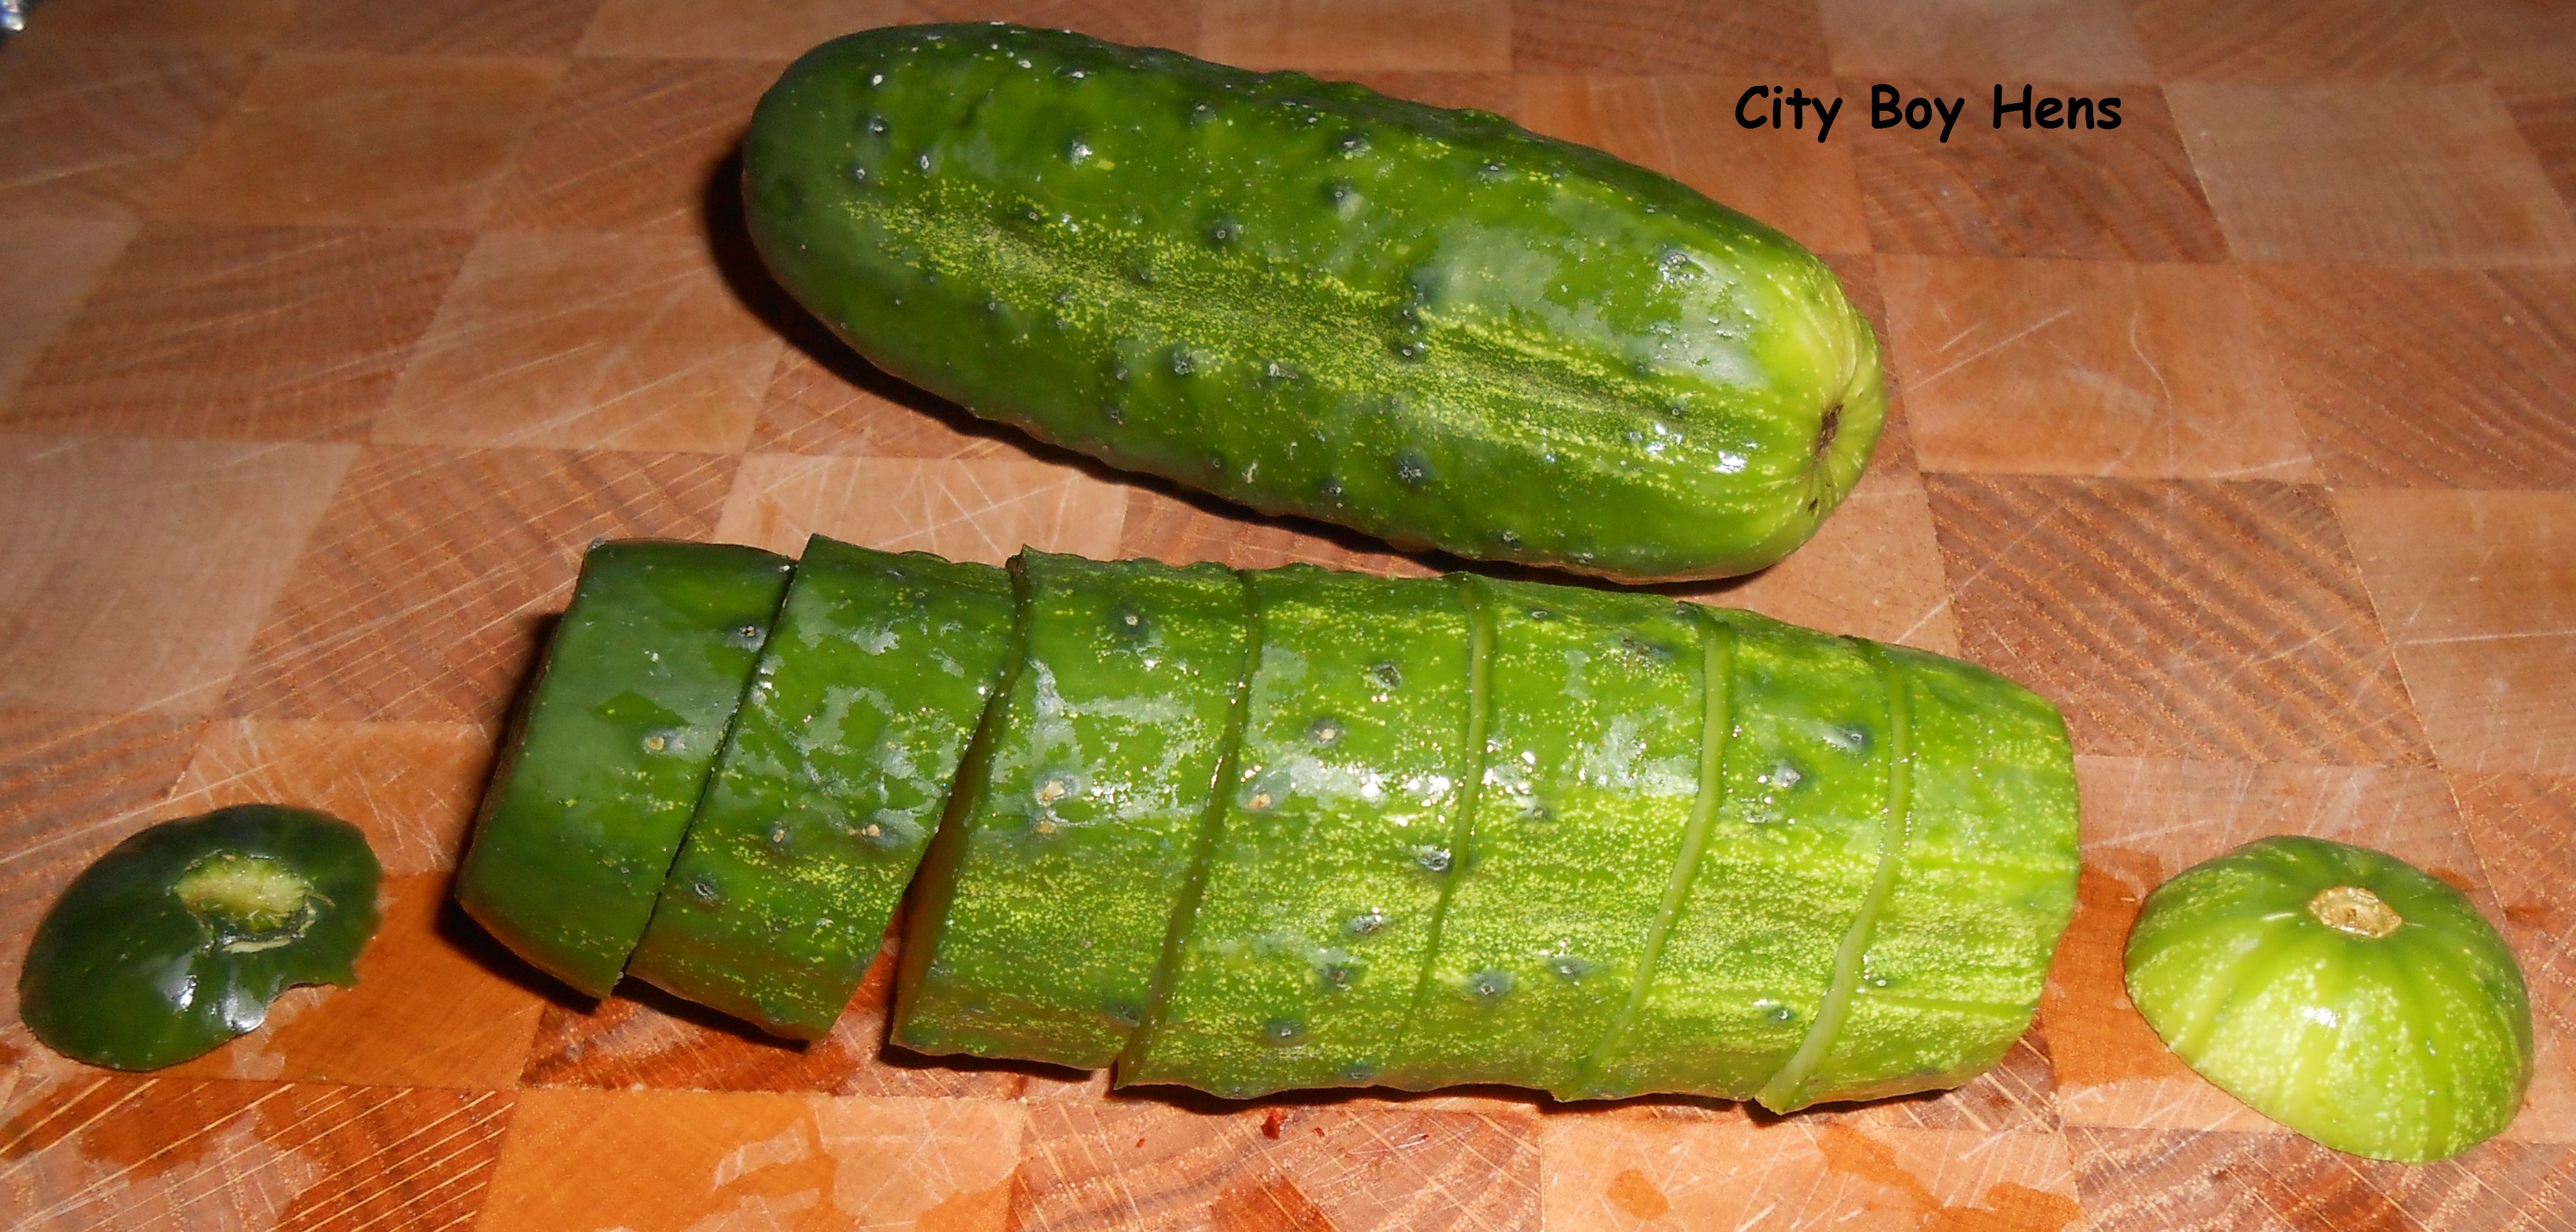 Cut approximately 1/4″ off of each end of the cucumber. It is essential that you at least cut the blossom end (not stem) because there is an enzyme at this end which will make your pickles turn mushy and possibly unsafe to eat. The blossom end is located on the right side in the above picture.
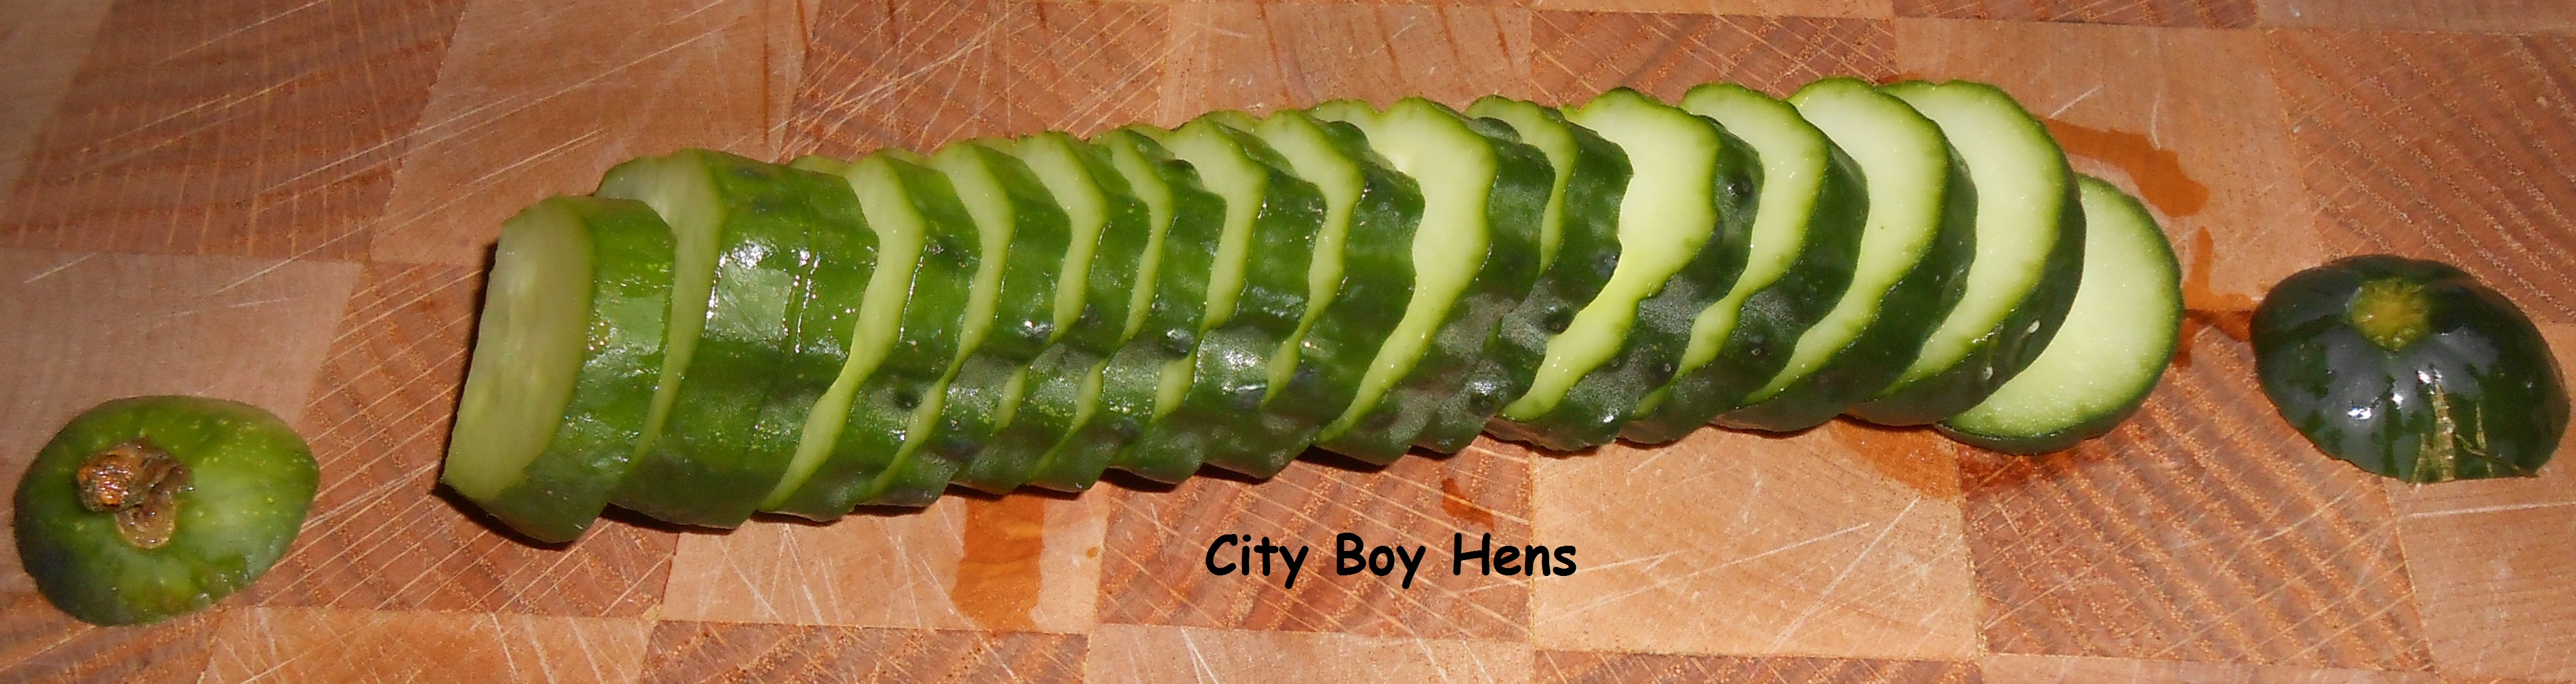
Cut your cucumbers into 1/2″ slices and place them in the large bowl.
Rinse pearl onions and soak them in hot water. This will help loosen the outer layer that must be removed on the onion. I know this is a huge pain in the butt, but it will be worth it in the end! Remember…no more fighting. Place the onions in the same bowl.
Wash and cut the cauliflower into small florets. This too must go into the really large bowl.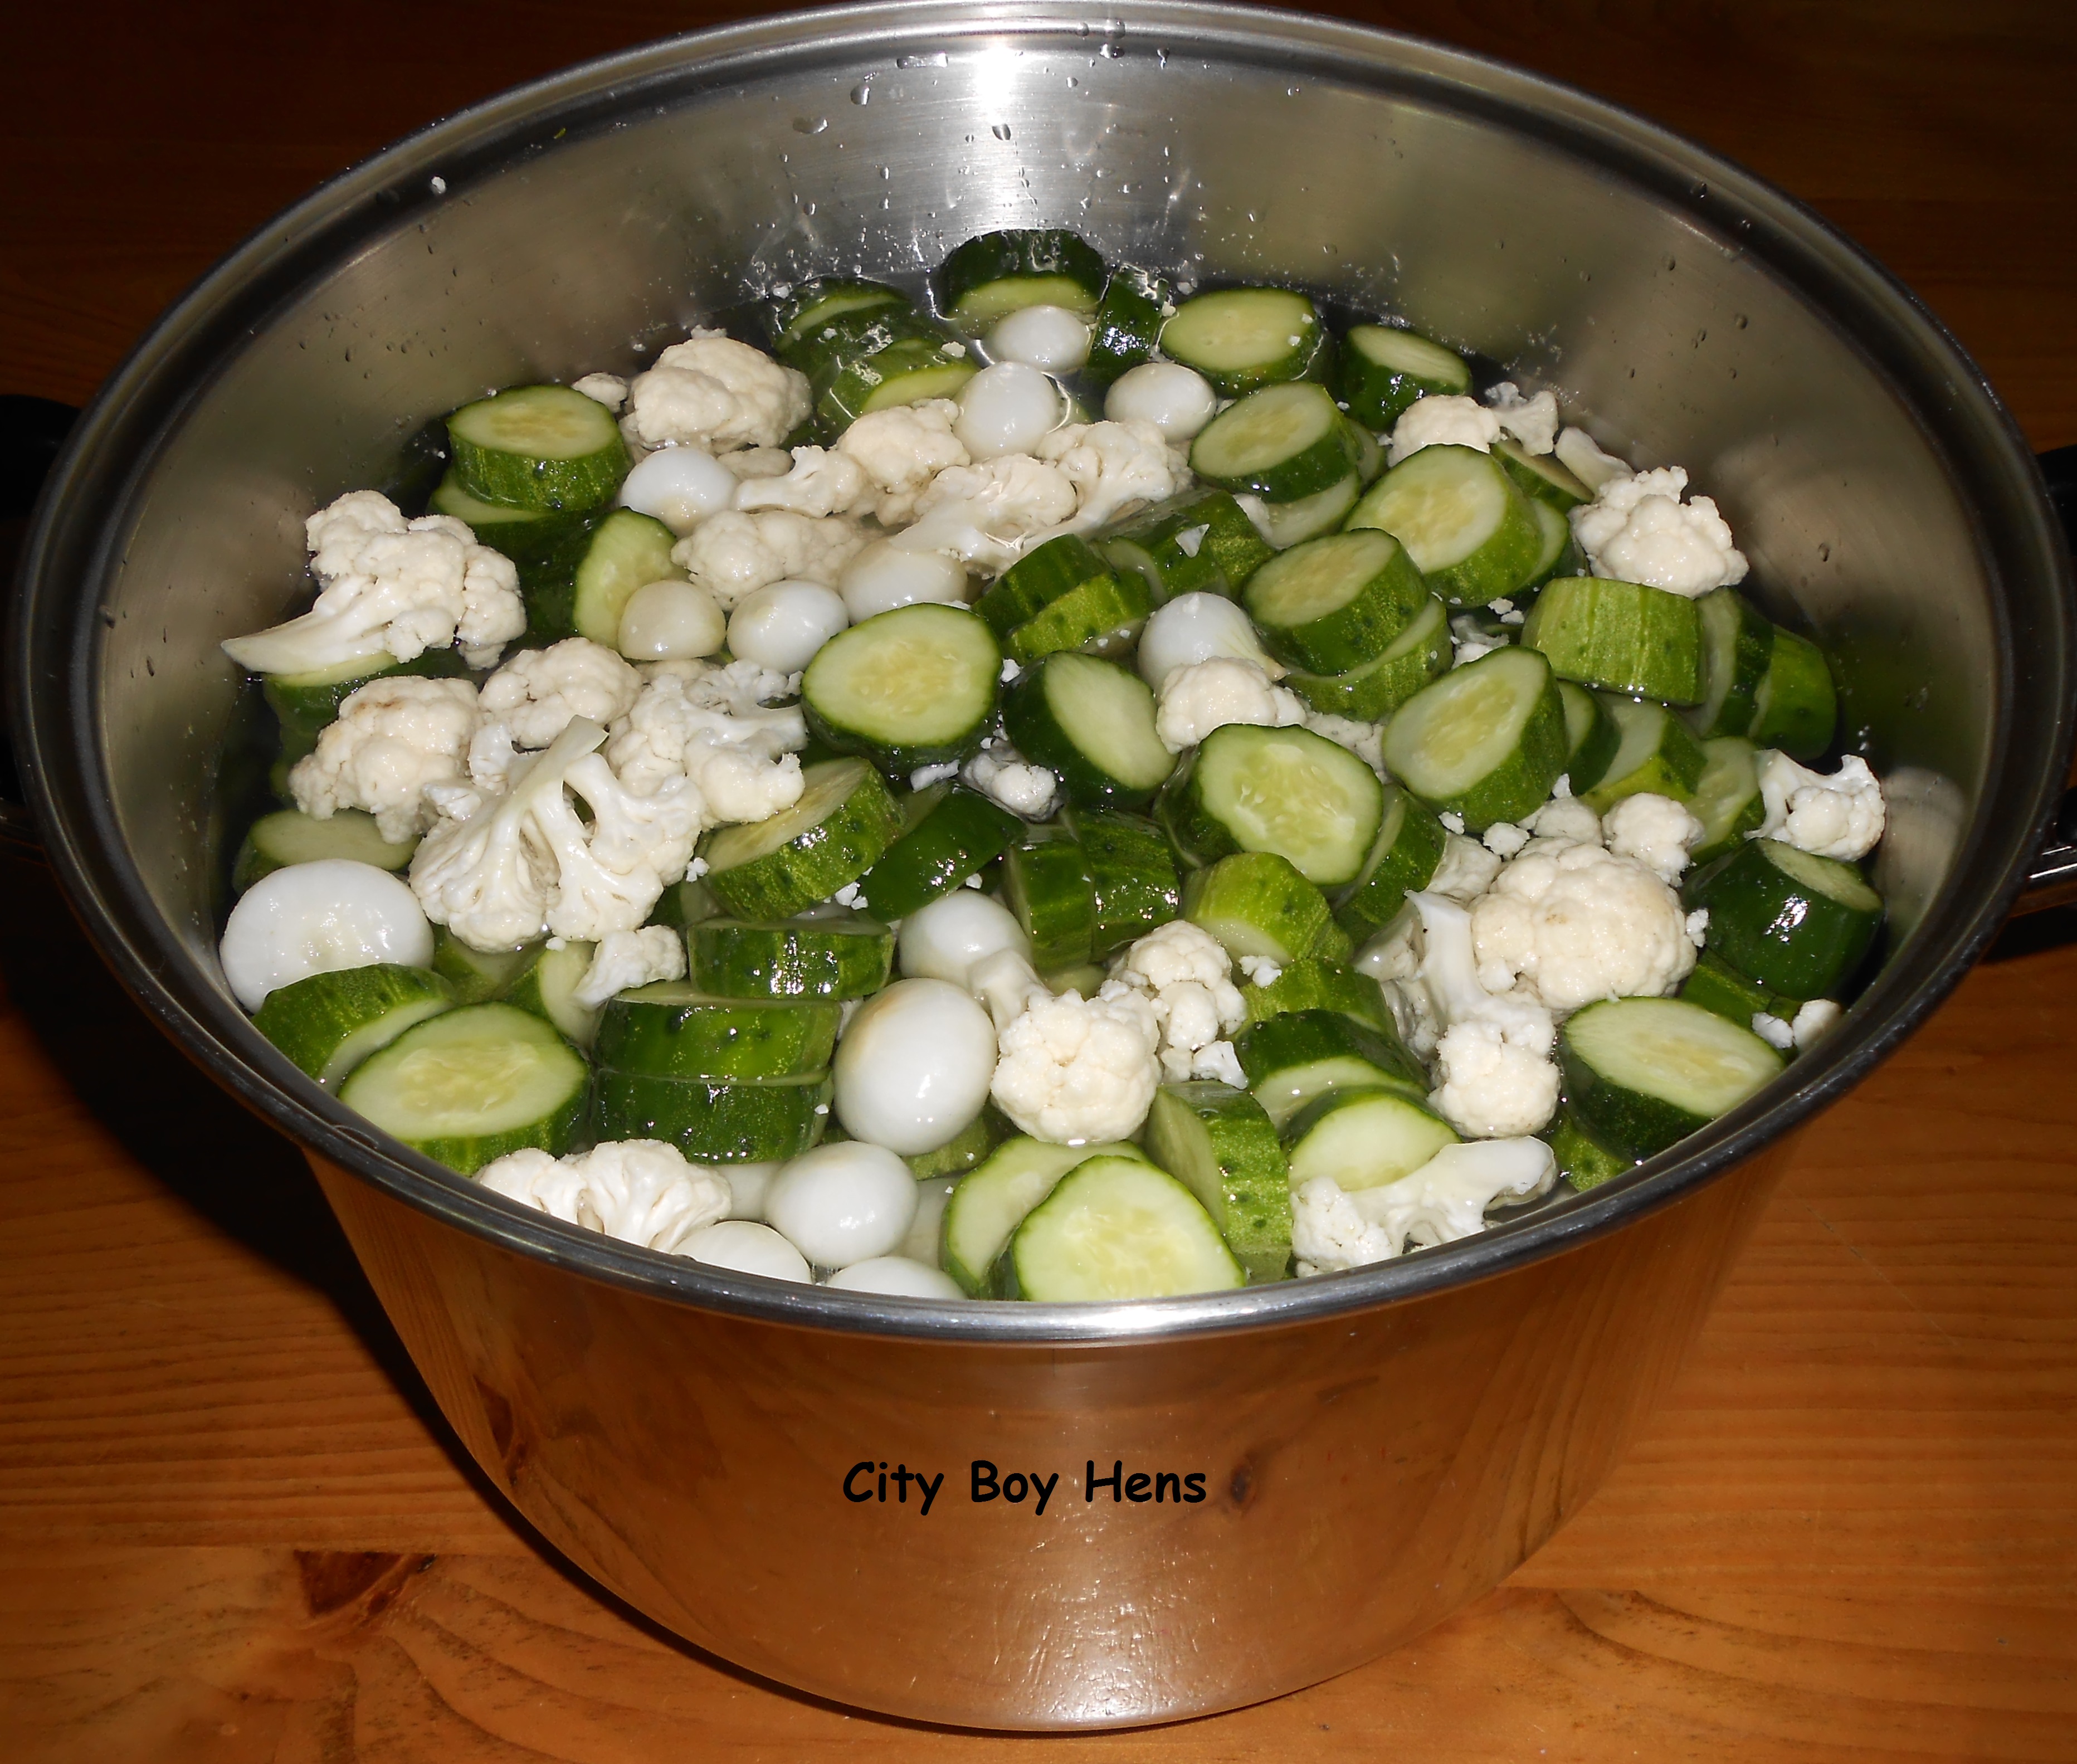
Keep the vegetables in the brine for 2-3 hours, occasionally giving it a stir.
With about a half an hour left of brining, fill your canner up with water about 2 inches higher than the height of your jars and bring the water to a boil. This will take a bit of time.
Sterilize your jars in the oven at 225 degrees Fahrenheit for 10 minutes and continue to keep them warm in the oven until they are needed.
Place canning seals and rings in a small pot and begin to warm them up.
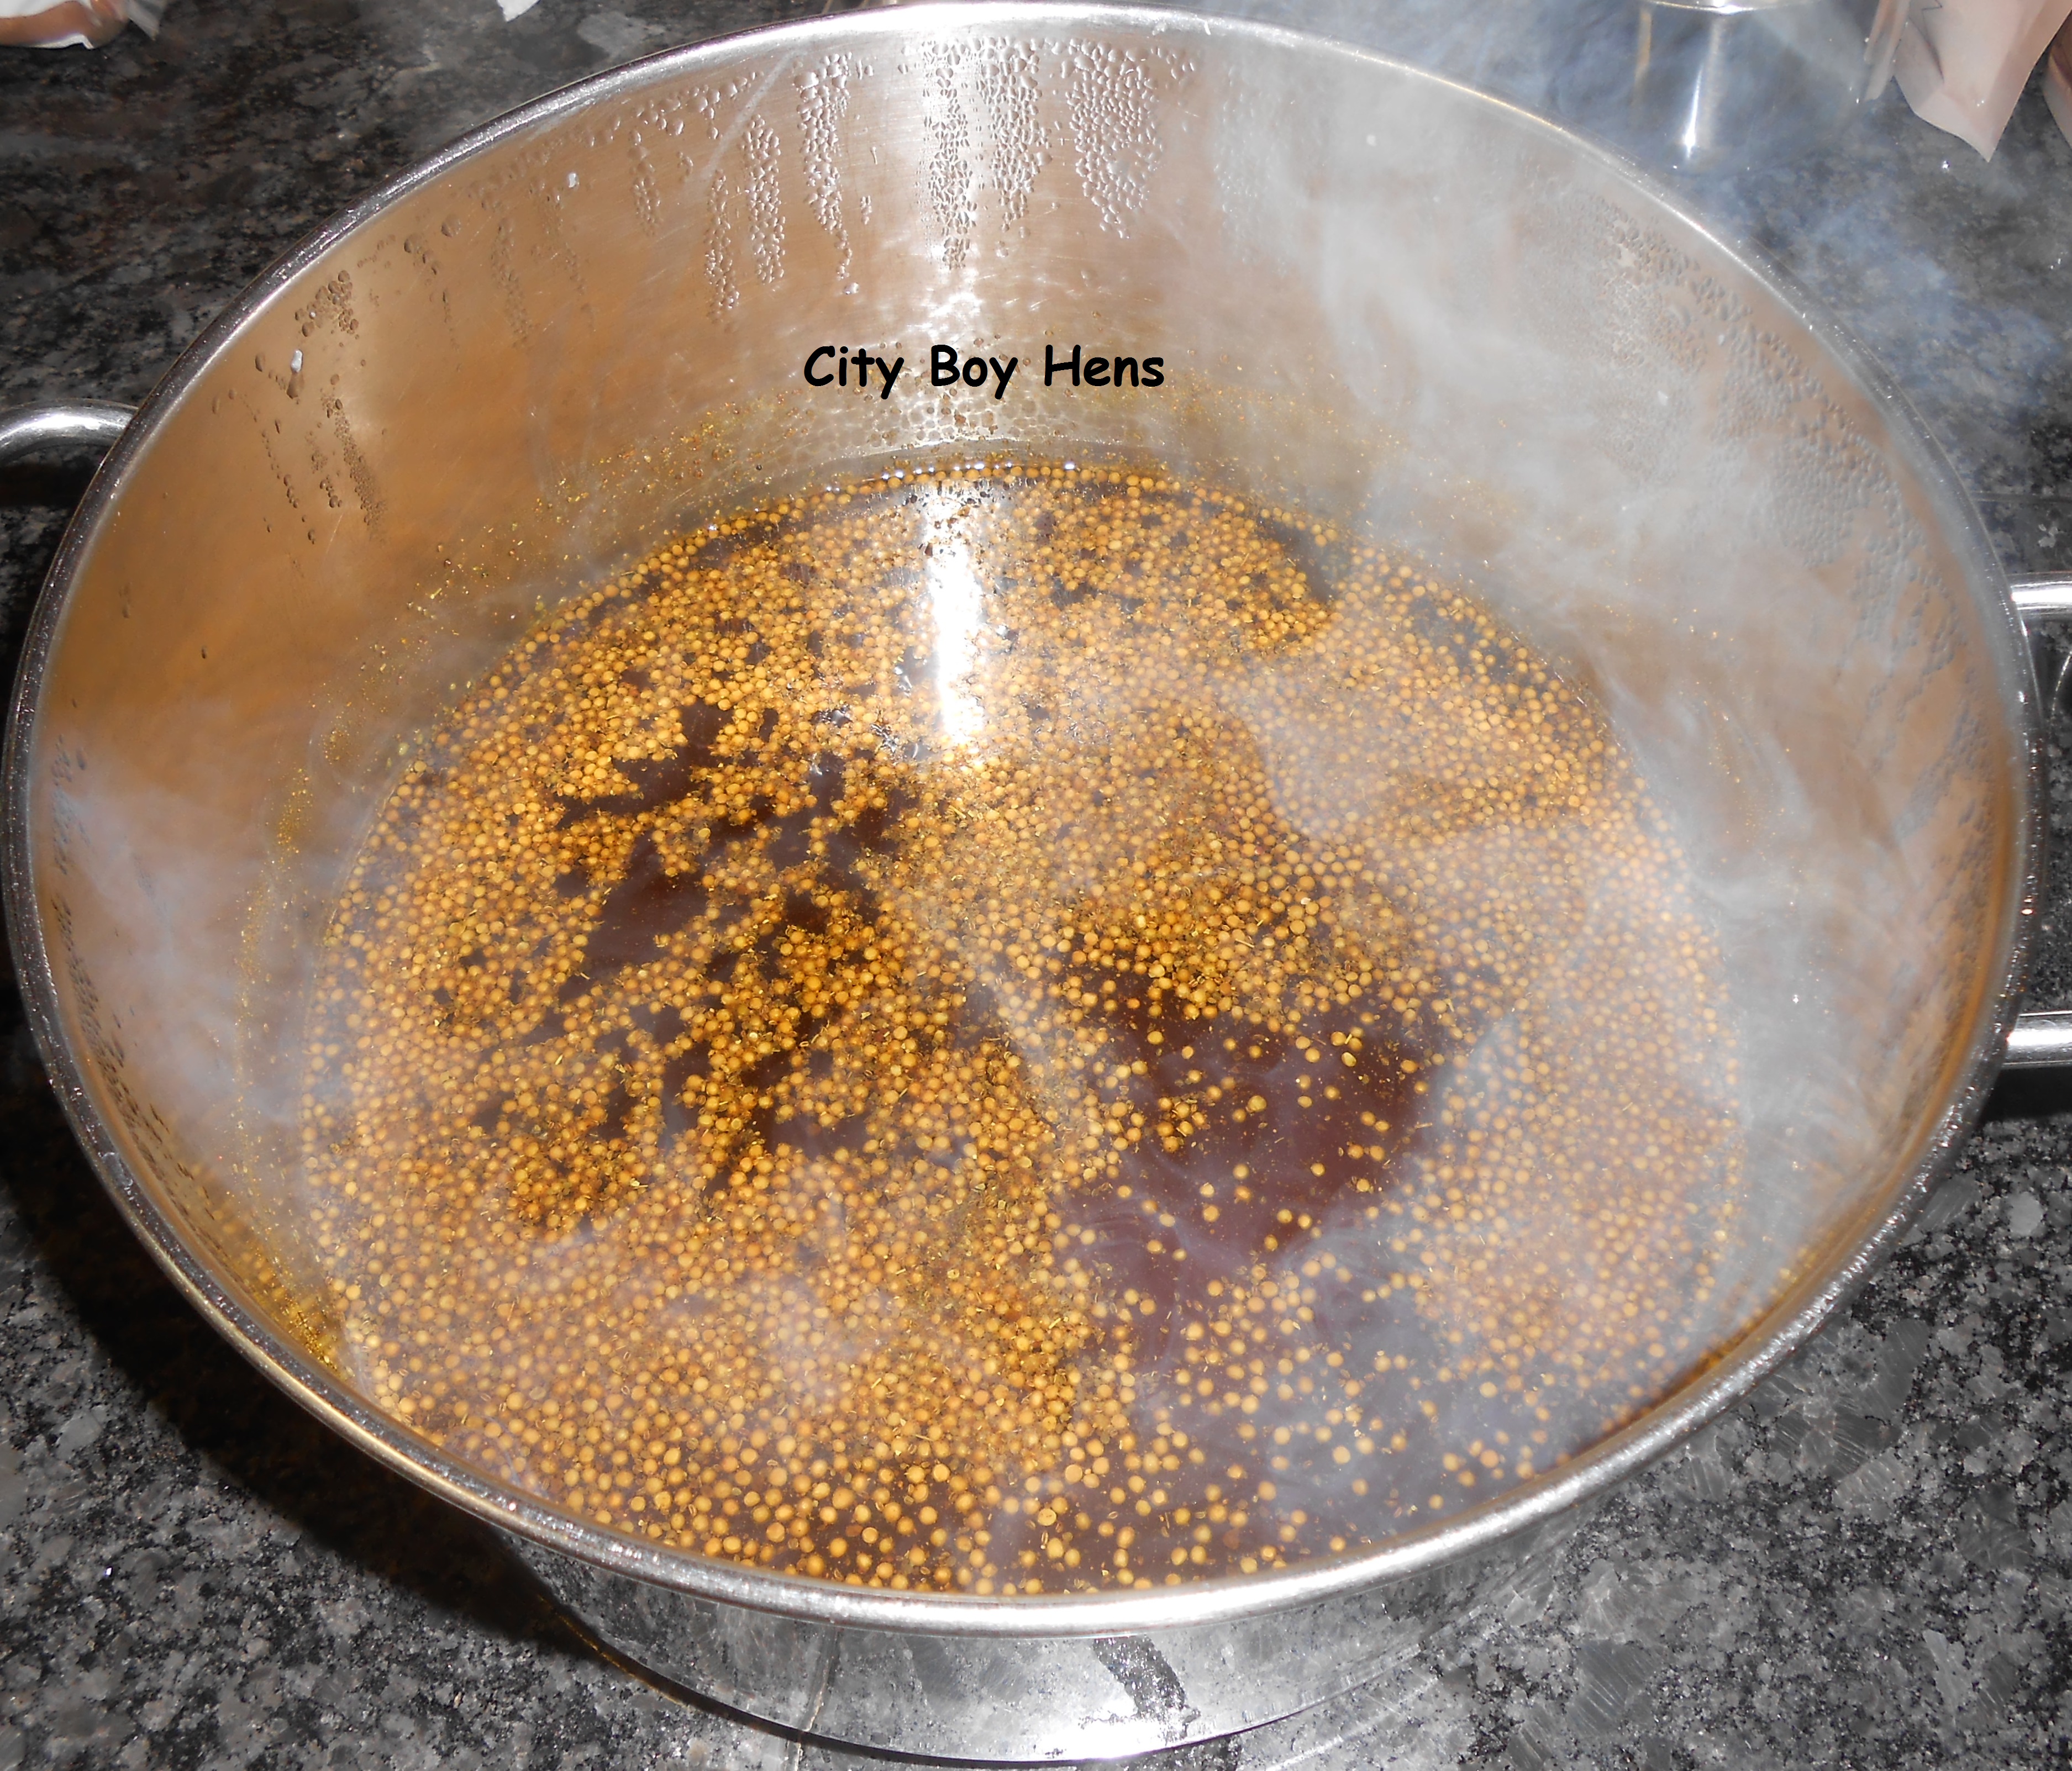
In the mean time, combine sugar and vinegar in a large pot and bring to a boil.
Place spices into a piece of cheese cloth and tie. Place this bag in the liquid when it begins to boil.
Once the 2-3 hours of brining is complete, drain the vegetables into a colander. Fill the bowl with fresh water and rinse again.
Put the drained vegetables into your large simmering pot and bring the ingredients up to a boil.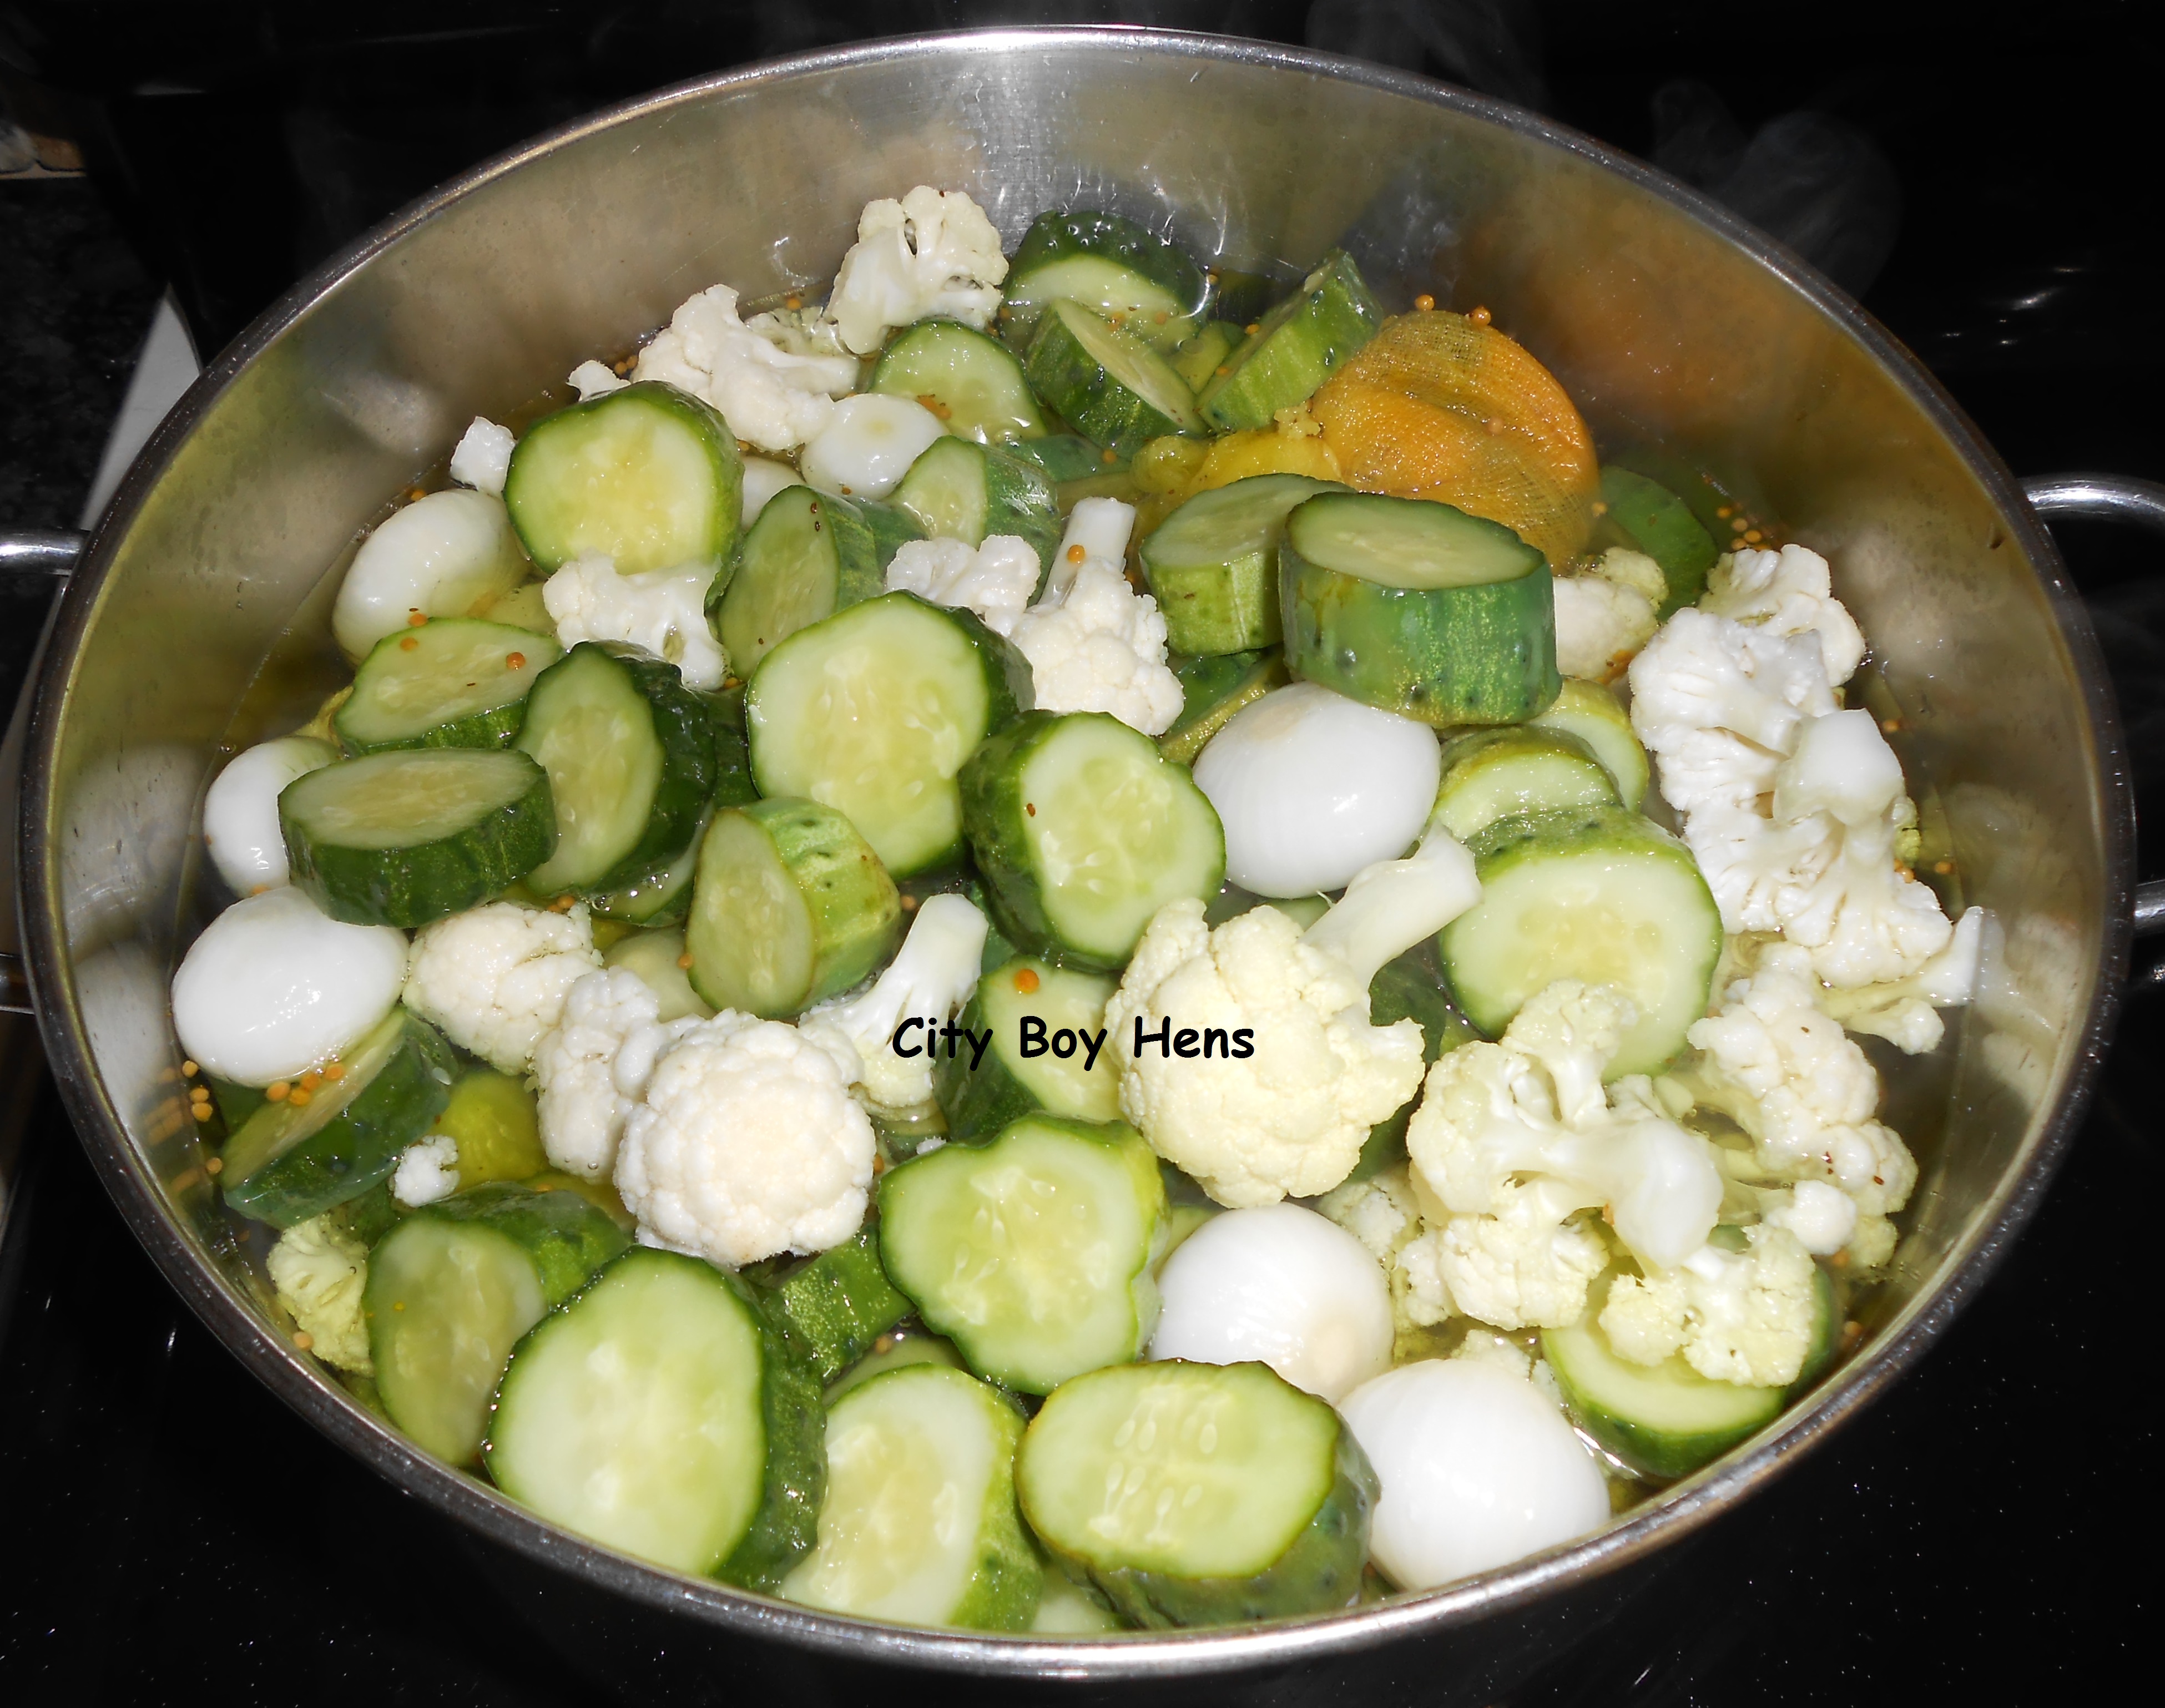
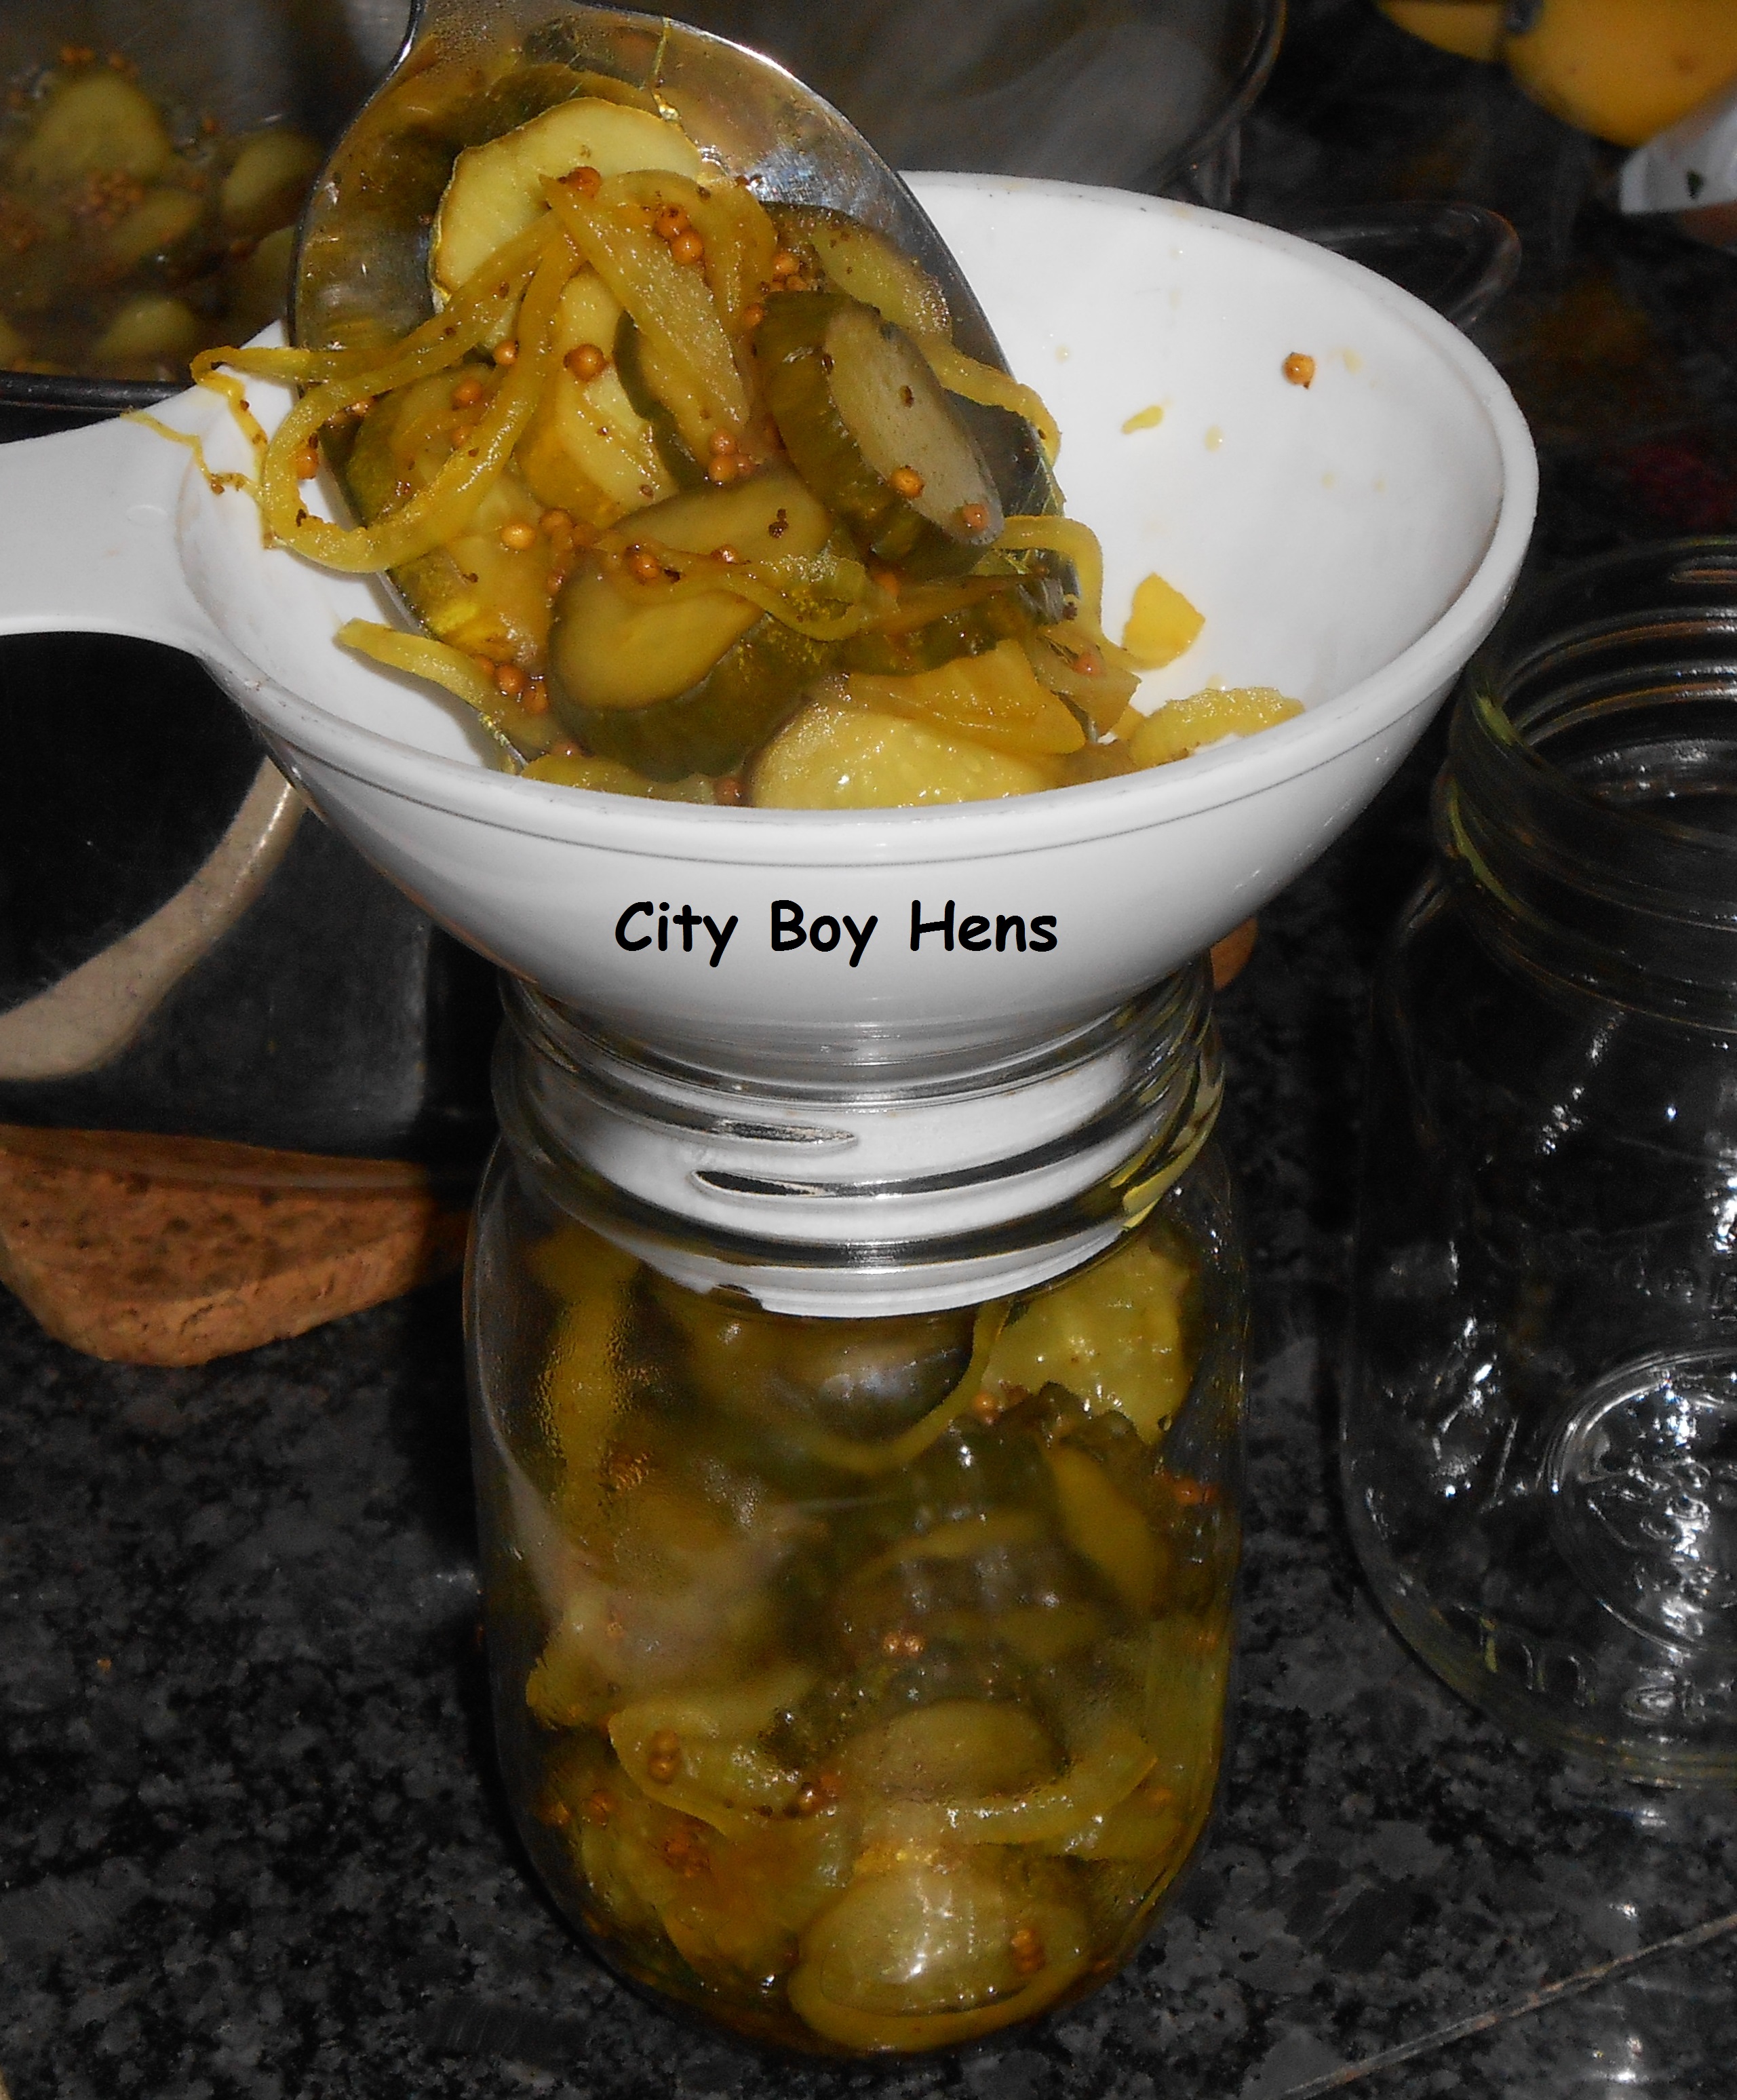
Using a canning funnel, pack your mixture into your canning jars, leaving 1/2″ head space. I found it easier to fill all the jars first with the “solids” and then distribute the liquid after.
Using a non-metal utensil, remove the air bubbles from the jar. Add more liquid to the 1/2″ head space level if required.
Wipe the lip of each jar with a wet paper towel. This will ensure that no residue is left on the lip of the jar which will prevent a good seal.
Using tongs, place your seals and rings on each jar.
Using canning tongs, carefully place each sealed jar into the canner and process in boiling water for 10 minutes.
Using the canning tongs, carefully remove each jar from the boiling water and leave to cool on a rack.
Soon you will hear the successful ping of each jar as it seals. Now tuck those babies away in the cantina or cold cellar until the colder months when you’ll need a reminder of the summer! If you can’t wait until then……just give them a few weeks to flavor!
.