
 Over the last few months, I’ve spent a fair bit of time reading about making a water source for my bees. I’ve read about folks using bird baths, slow dripping faucets and garden ponds. I’ve also learnt that bees have an uncanny ability to find water and once they “lock” onto a source, it’s pretty hard (if not impossible) to make them change their pattern.
Being a consciences urban homeowner, I do my best to respect the rights of my neighbors and fully understand that my bees will not be a welcomed addition to anyone’s backyard space. For those beekeepers that have neighbors with pools, the aforementioned is even more apparent, considering that bees really like chlorine and salt.
So…….I began to think about how to make a water source for my bees. I had 5 criteria that had to be met:
1) It had to look good. I’ll be looking at my apiary most days and I want it to tie in with the appearance of my backyard.
2) I don’t want to replenish the water source every day. If I decide to go on vacation, I don’t want to rely on a neighbor to “top up” my water source during my absence.
3) I don’t want my chickens to be able to get into the water source while they are free ranging.
4) I don’t want my bees to drown while they are using the source.
5) I don’t want my water source to become a breeding ground for mosquitos.
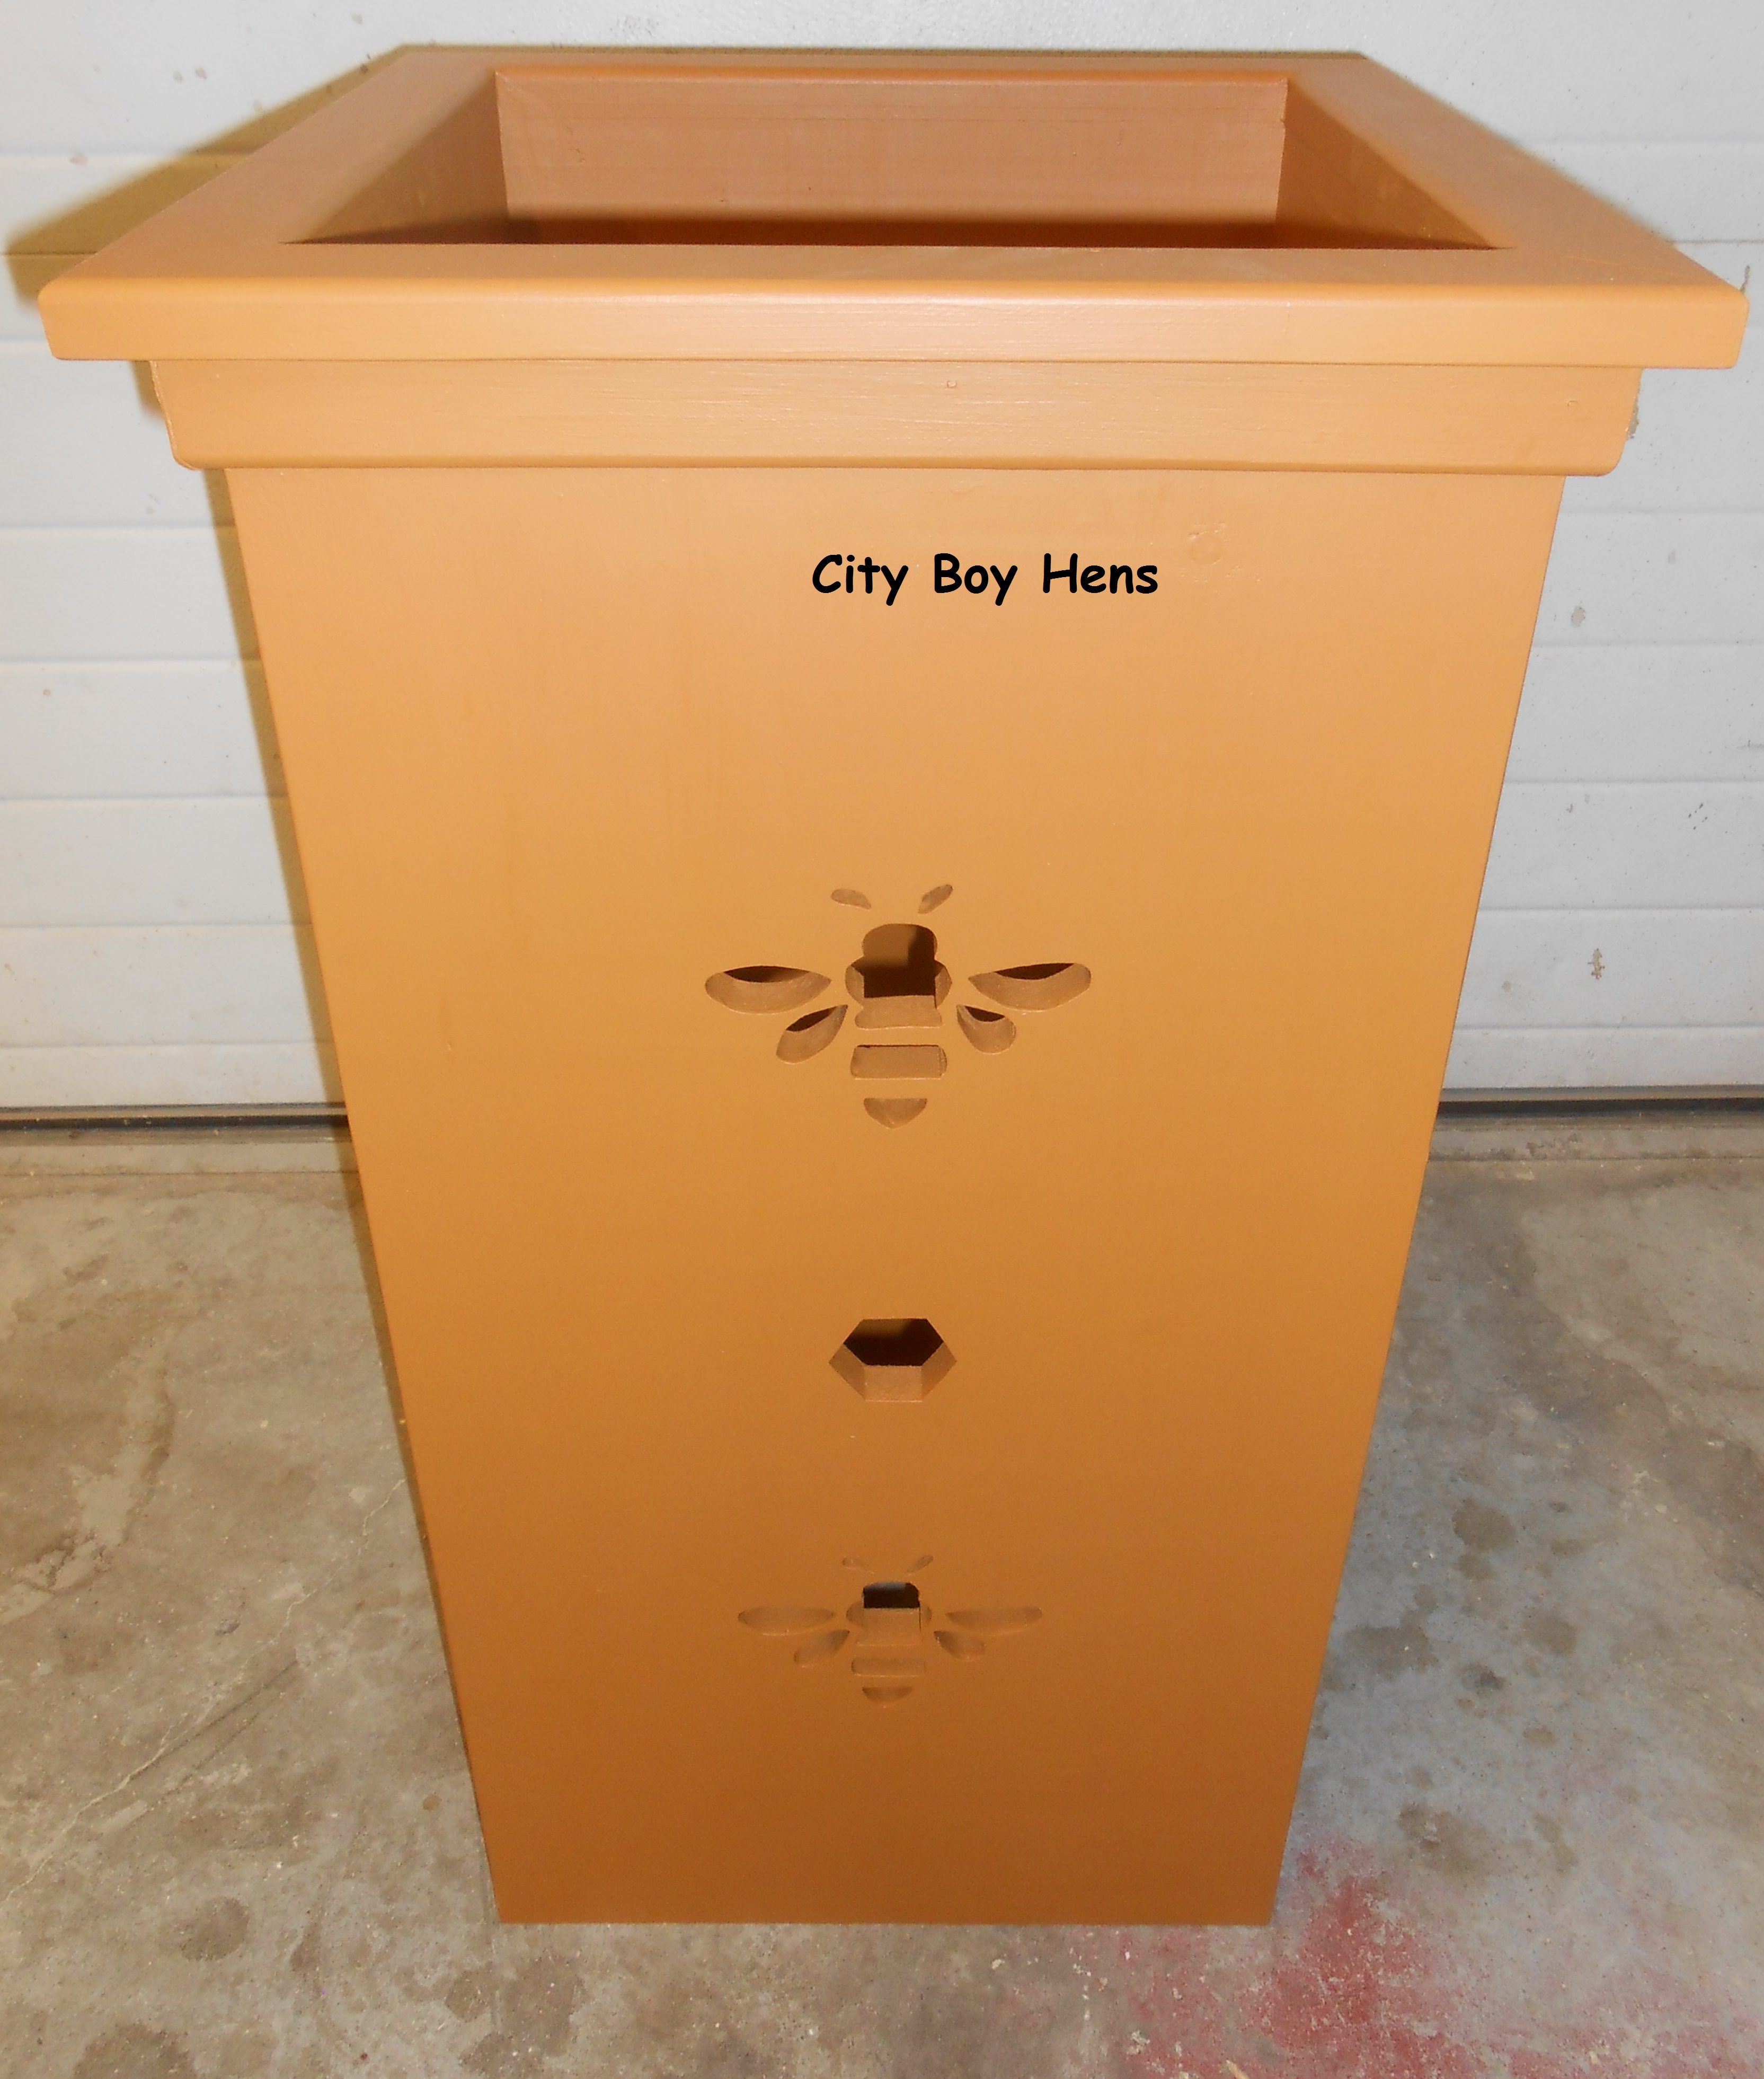
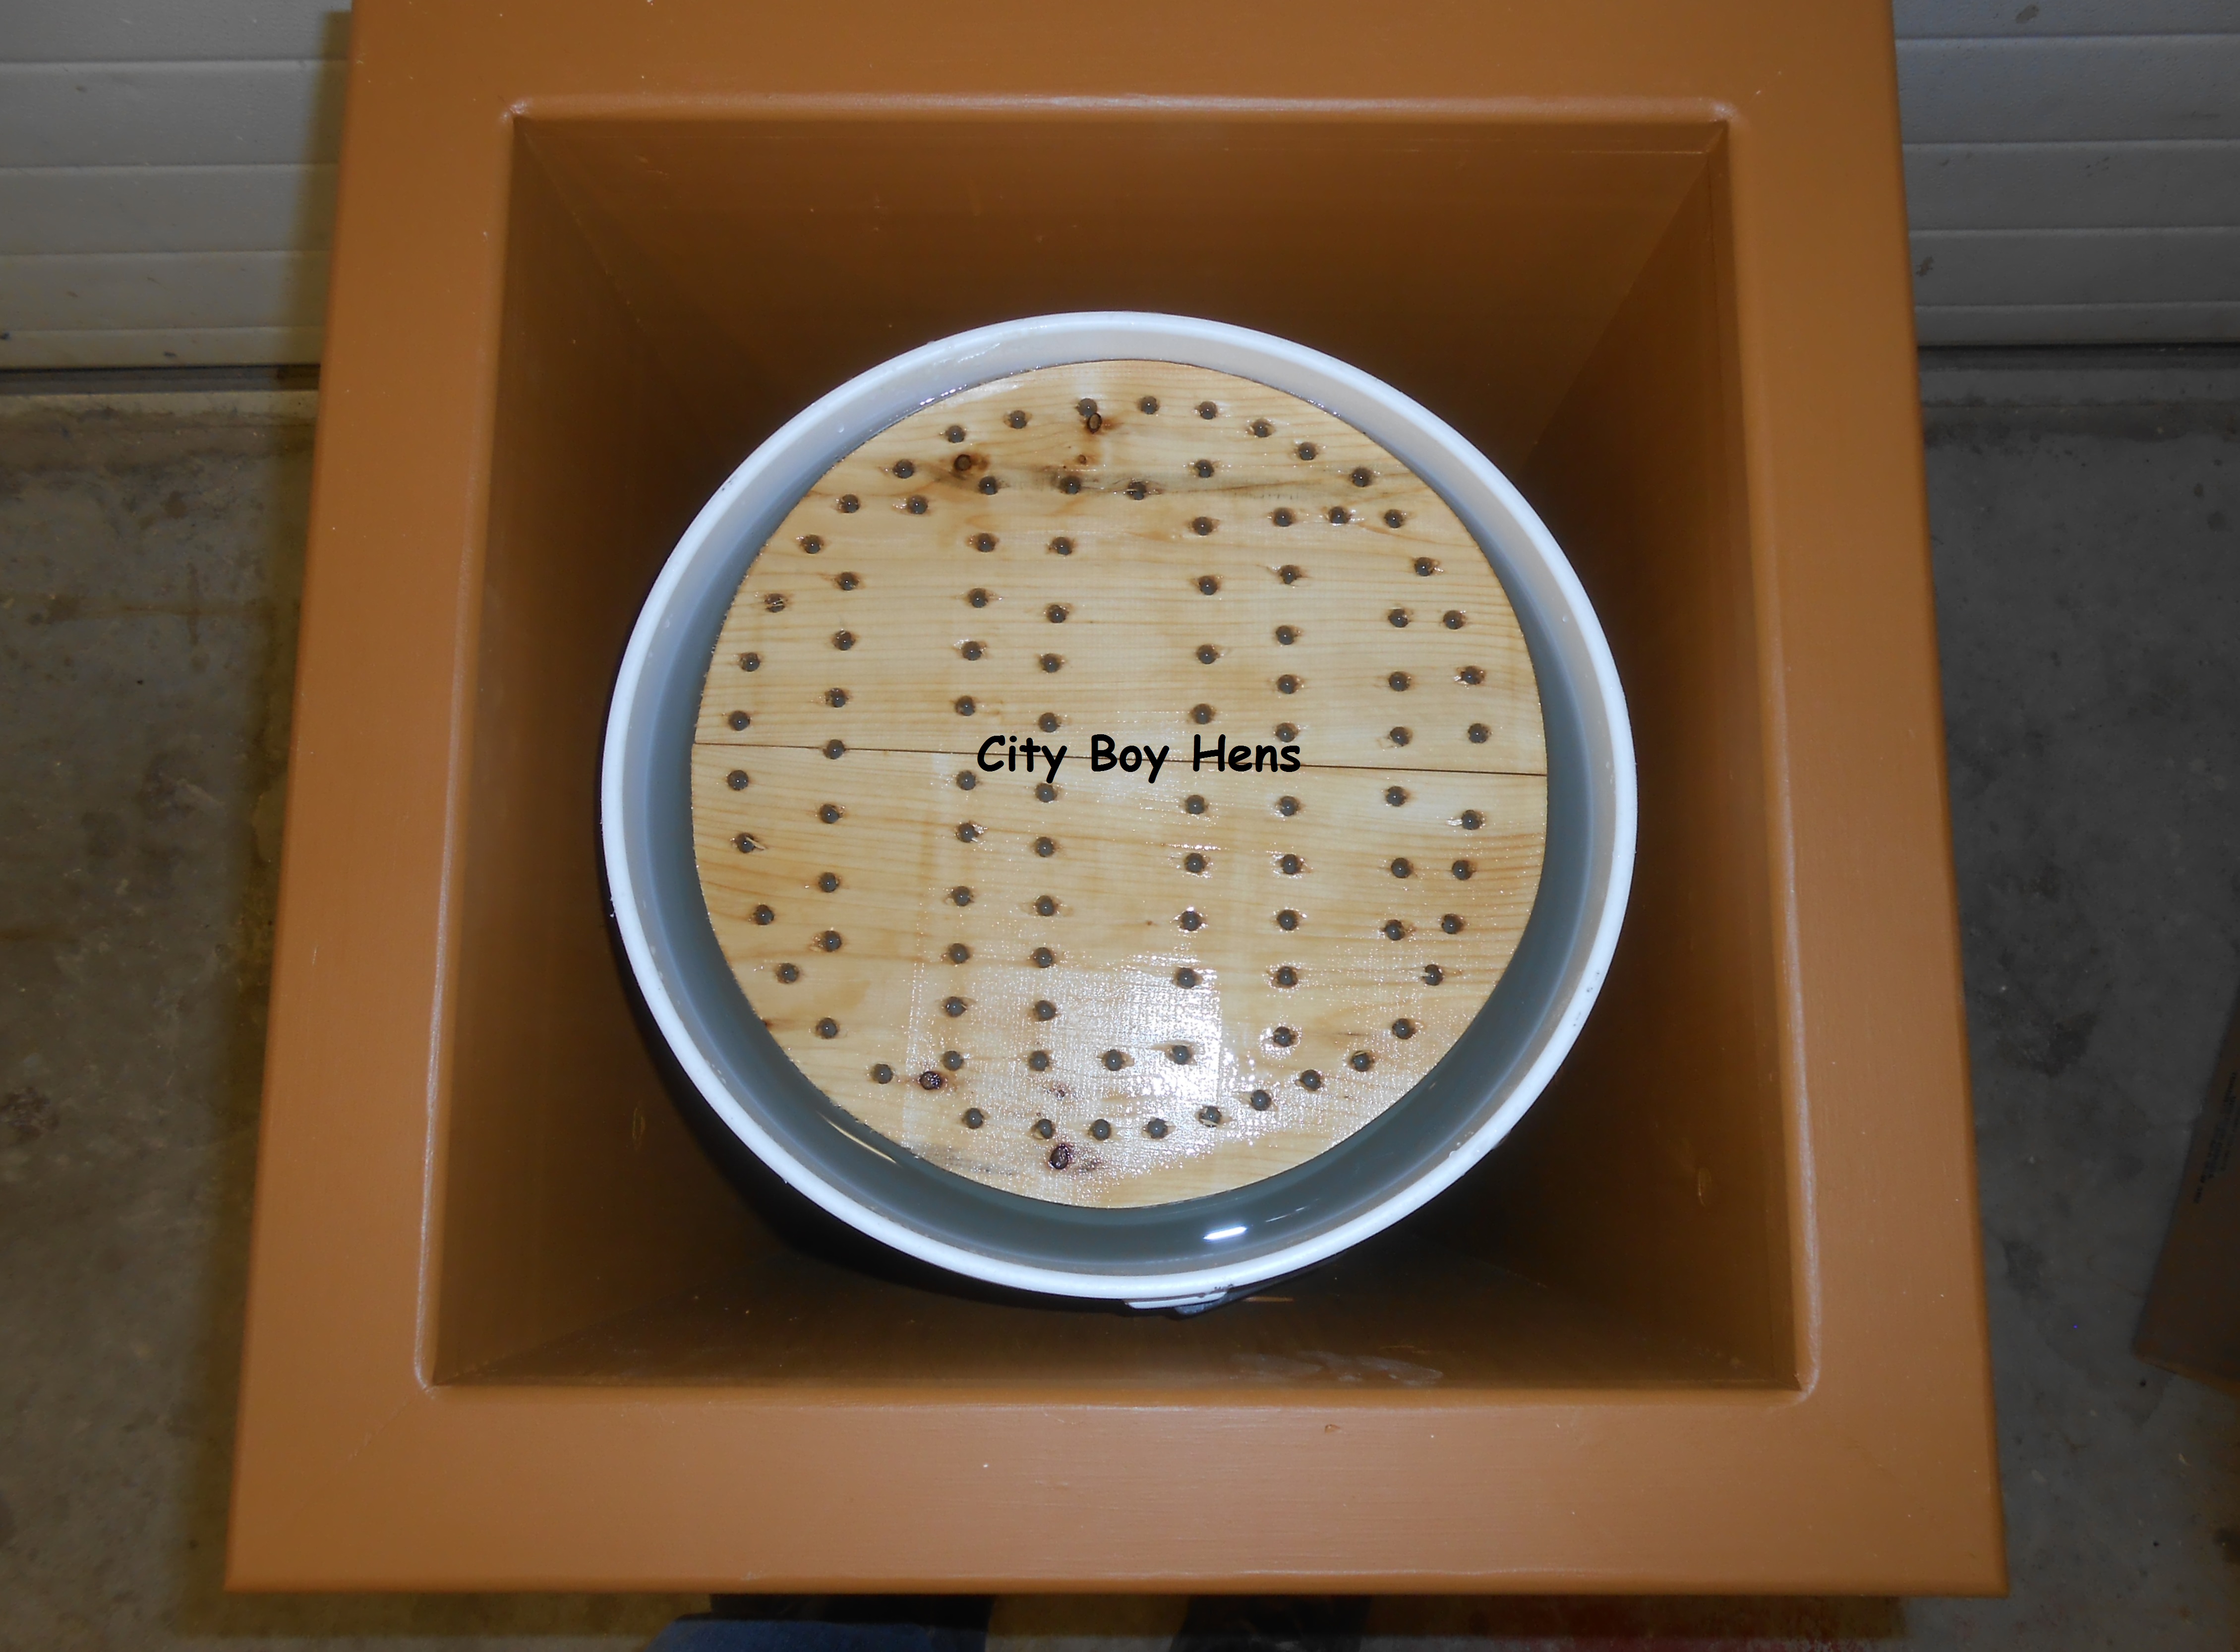
So………I constructed a tall box that would not have a top or bottom. Inside the box will be a 16″ cinderblock (standing on its end) and a 5 gallon (food grade) plastic pail resting on the block. Floating at the top of the water will be a landing pad for the bees to safely access the water.
The front & back of the box are 3/4″ thick x 15″ wide x 30″ high. The sides are 3/4″ thick x 13 1/2″ wide x 30″ high. All material is pine and assembled with a simple butt joint and glued and screwed together. If you want to get a bit more fancy, you can:
A) Use a scroll saw to cut out a design in the front
B) Counter-sink the screw hole locations and (once assembled) fill the hole with a wood plug which will be trimmed off and sanded.

C) Add some mitered trim to the top of the box.
In order to make the “landing pad”, I cut a circle out of some 1/2″ thick cedar and drilled lots of 1/4″ holes in the circle. Because the bucket has a slight taper, I made the circumference of the landing pad to be the same as the bottom of the pail. This will allow for the “landing pad” to descend as the volume diminishes in the bucket. I didn’t have a wide enough board to make the entire circle, so I screwed (not glued) two pieces together with a few cleats.

This landing pad will work well because the cedar floats and the water wicks up from the holes making for safe and easy access for the bees.
After a quick search, I discovered that a mosquito takes around 7-10 days to develop from egg to adult. By replacing the water every week, I will not be “helping” mosquitos to further populate in this water.
So….there you have it……….my water source for my bees. I just hope it works and my neighbor Vito doesn’t come traipsing over to my house in July dressed only in his 1978 Speedo bathing suite complaining about some bees in his pool!!!!!!!!!!!!!
