
 Ah…the peach……it is said to have originating in China in 1100 BCE. It has become famous in paintings by the likes of Caravaggio, Renoir, Monet & Van Gogh. The characteristics of it’s sweet flesh and soft skin have become notable in the English language for such sayings as “peach fuzz”,” “peachy keen”, and “life’s a peach”. It is used as a main ingredient in pies, cobblers, ice-cream, jams & salsa or just eaten fresh off the tree on hot August days! But most of all…..the peach taste best when canned in August & September and eaten during the Winter months when the temperatures dips down below freezing. There’s nothing like homemade canned peaches to bring you back to the dog days of summer when there’s a couple of feet of snow out in the yard!
Now….if you like your canned peaches to be mushy and brownish in color, then you should stop reading and go find a site that will give you that terrible information. But…If you want to eat firm peaches that remain bright in color, than I urge you to keep on reading.
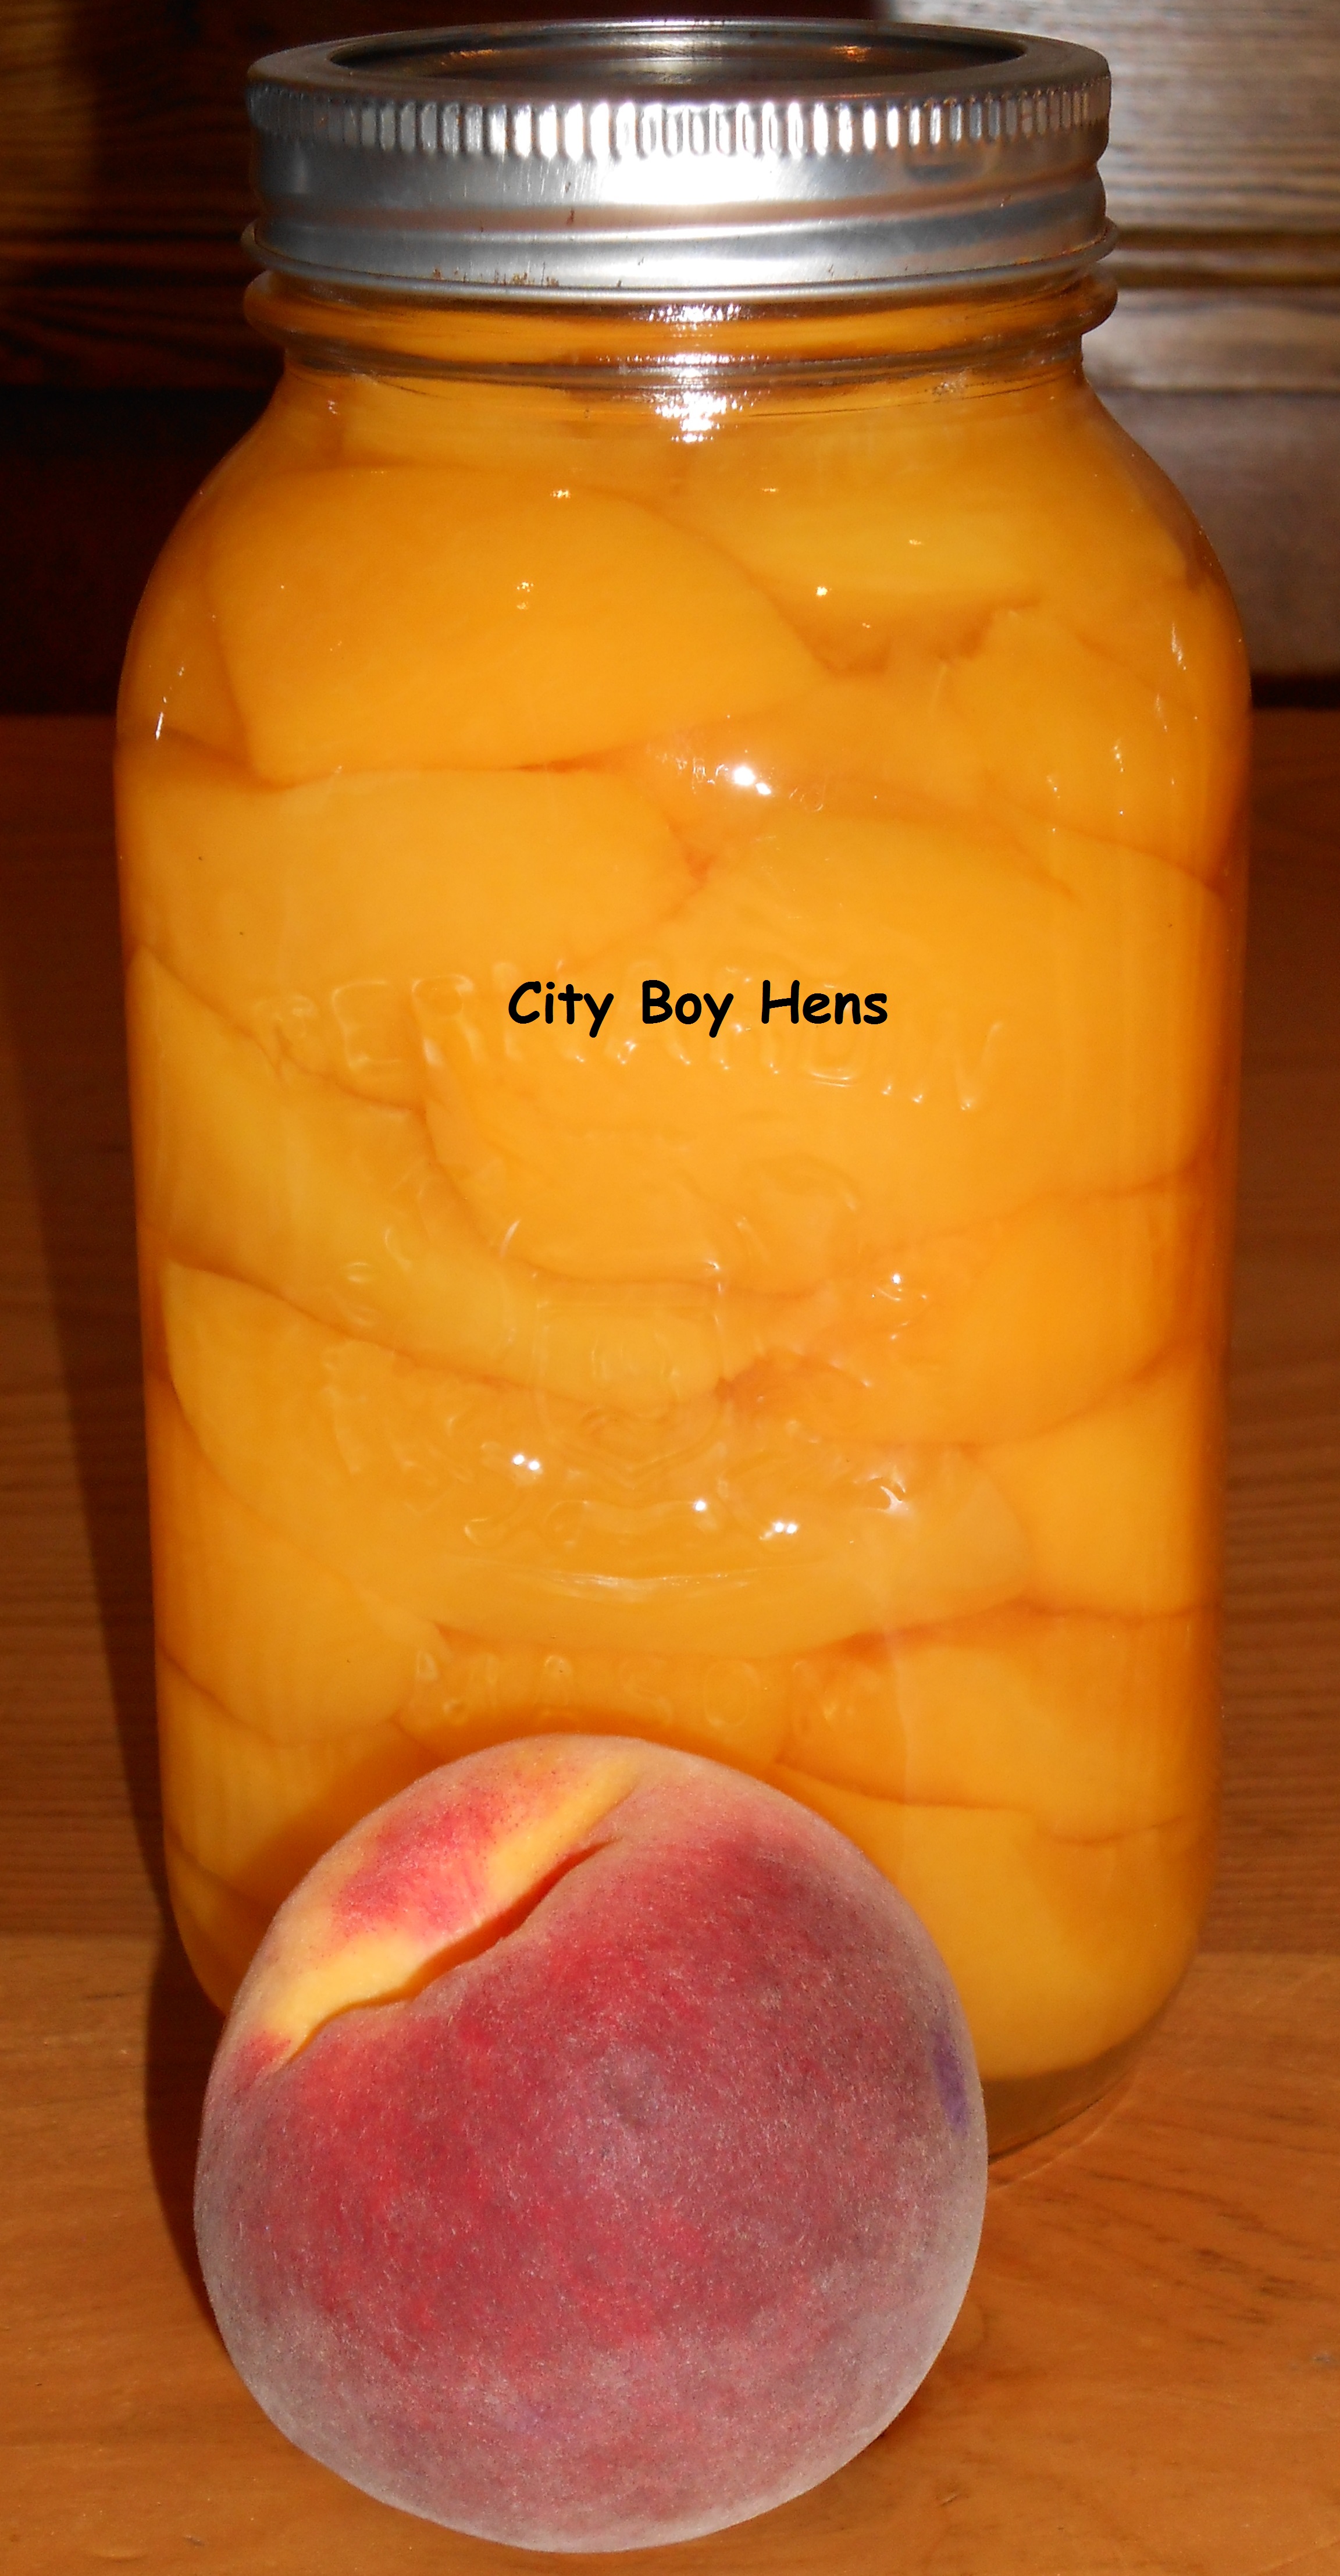
First and foremost, you must use a canning peach for processing. If you use a free-stone peach, it will turn mushy. I only use Baby Gold #5 variety for my canning. Year after year I continue to get great results from these peaches, even after they have been stored in my cantina for well over 12 months. Secondly, if you want to prevent your peaches from turning brown, they must be immersed in a water bath which contains ascorbic acid. Now before you freak out, ascorbic acid is a naturally occurring compound that is found in Vitamin C. Up here in Canada, it is made by Bernardin (USA’s answer to Ball) and goes under the name Fruit Fresh.
So…. if you want to make the Best homemade peaches that will create the WOW factor for your family & guests than you gotta’ make City Boy Peaches….. Ok…… let’s get started!
This recipe is based on 1/2 bushel (approx.. 50 large peaches) and will yield 11-12 quart jars.
Directions:
Fill your canner up to the required height and begin heating the water. This will take a bit of time.
Sterilize your jars in the oven at 225 degrees Fahrenheit for 10 minutes and continue to keep them warm in the oven until they are needed. Place canning seals and rings in a small pot and begin to warm them up.
 Wash, peel and remove any bruises or blemishes from the peach. The first year that I canned peaches, I tried blanching the peach in order to remove the skin. This was a complete waste of time which yielded poor and frustrating results. Give it a try if you don’t believe me, but I promise you’ll go back to the peeler. Blanching works great for removing the skin off of very ripe free stone peaches, but it is not suitable for a canning peach.
Once you have removed the skin from a few peaches, it is necessary to cut the peach into wedges in order that it can become immersed in the “fruit fresh” bath. This will prevent the browning that characterizes so many homemade canned peach recipes.. Because these peaches are “cling-stone”, you will have to work hard to cut away the stone. This step is a huge pain in the butt because it is time consuming, but you will get firm peach wedges for your trade-off with hard work. Remember….the end result will be great! During this step, I first cut a small wedge from the peach. Using a rigid blade knife, I carefully pry the wedge from the stone. This will expose a part of the stone and I then use a pairing knife to cut segments around the stone.
 Keep on repeating this process until you have peeled, cut and pitted about half of the peaches.
When you want to take a break from cutting up the peaches, begin to make the syrup. In total, you will use 10 cups of water and 5 cups of granulated sugar. I divide this in two batches because I do not have a pot that is large enough for this volume. Begin heating the mixture and occasionally stirring until the sugar is dissolved.
Once the syrup begins to boil, begin putting the drained peaches into the pot. A metal basket spoon works great for this job. Keep the peaches in the boiling syrup for 3 minutes.
Using a canning funnel, begin putting the peaches into your sterilized jars.  Add syrup, leaving 1/2 inch head space. Using a nonmetallic utensil, remove air bubbles and adjust head space, if required.
Wipe jar lid in order to ensure that no syrup is left on the lip of the jar. This will prevent your jars from sealing correctly.
Center hot sealing disk on your jar and tightly screw band ring down.
Using canning tongs, place your jars in the canner and process for 20 minutes. Carefully remove your jars from the canner and let them cool on a rack for 24 hours. Soon, you will hear the “pop” of success as those jars of delicious peaches seal up and ensure a safely canned product.
Now…tuck those babies in the cantina or cold cellar and wait for those cold winter days when you will need a reminder of the dog days of summer! Oh…I almost forgot………..keep the peels for the compost and the pits for the chickens!

What do you mean by “freestone” v. “canning peaches”? I thought “freestone” were canning peaches. And I understood “clingstone” peaches were difficult to can without commercial equipment.
Thanks.
Hi Patti-Ann,
Free-stone peaches will give you a mushy product. You will have to work a bit to remove a cling stone, but the reward will be in firm canned peaches.
All the best.
Regards,
CB
Hi CB: Thank you for the reply. I appreciate the information! “pa”
Yum 🙂 Thanks for sharing on the HomeAcre Hop!
Those look like they would be perfect! Would you like to share this at my Healthy Tuesday Hop? ahumblebumble.blogspot.com
Hi Becca,
Thanks for the opportunity.
Regards,
CB
Lovely, beautiful peaches. Thanks for the recipe and showing us how to make peaches. I would love to can some peaches. I am going to pin this for the future. Andi
Thanks Andi,
Hope you’ll drop by again.
Regards,
CB
Your peaches really do look lovely. I haven’t heard of using ascorbic acid, neat trick! My mother bottled her peaches in a similar manner. So of course, I’ve followed in her footsteps. I haven’t bottled them for quite a few years though. I have the best recipe for peach cobbler using your bottled peaches. YUM! My daughter put some up last year and gave me a few bottles to make it. Thanks for sharing with SYC.
Jann
Love, fresh, homemade canned peaches – wonderful tips and information!
I am delighted that you shared with Home and Garden Thursday,
Kathy
Hi Kathy,
Thanks for your comments!
Regards,
CB
I love your sense of humor. I have never done peaches (don’t really like them) but at least now I know I can! LOL Thanks for sharing at Tuesdays with a Twist. Can’t wait to see what you share this week.
Mindie
The (mis)Adventures of a “BornAgain” Farm Girl
http://bornagainfarmgirl.blogspot.com/
Great post! There’s not much more wonderful than home canned peaches! I do appreciate you sharing with Home and Garden Thursday,
Kathy
Just saw this post and now I can’t wait until summer so I can try this. I’m not sure which will taste better–fresh off the tree is pretty hard to beat. Thanks for the info.
Hi Carla,
Fresh in season is always great but canned in January in minus temps is pretty darn good as well!
Hope you’ll give it a try next summer.
Regards,
CB
We can 10 bushels of free stone Red Haven peaches every year for eating in our home made yogurt. We do blanch to peel, cut into smaller wedges and can in their own juice, which forms when slicing (especially when the 4, 7 and 9 year olds help). We don’t mind the softer peaches, flavor is fantastic!, and color stays bright the first year of storage, then pales slightly by the second. Just couldn’t possibly can that many of the cling stone which need hand peeling and pit prying. We try to can a half year extra just in case of a bad crop year so we don’t have to do without.
Hi MC,
Thanks for your comments. That’s a lot of peaches! When it’s cold like RIGHT NOW….there’s nothing like a canned peach to remember summer.
Best of success.
CB
I have a peach tree and I don’t know what kind of peach tree it is. They are small to medium size. How do I know if they are right for canning?
Hi V,
It’s best not to have a “cling free” peach (the flesh doesn’t stick to the stone). Those peaches tend to go mushy when canned. Hope this helps.
Regards,
CB
Hi CB,
Have you heard of canned “pickled” peaches? When I was young my grandmother made them every year and they are wonderful. Sadly I never thought to ask her for the recipe and when she passed I never found it. I have searched web to no avail. Ideas?
Thank you,
MR
Hi Michele,
I have never pickled peaches, though a quick search DID yield a lot of recipes.
Maybe have a look again.
Regards,
CB
Use the pits and skins to make Peach Pit Jelly. It’s awes ok me.
HI Rita,
Great tip. Thanks for sharing.
Regards,
CB
Peels and pits can be cooked in water 30 ro 45 mind to make a juice that you can make jelly with. That is what I do with mine.
HI Carol,
Thanks for that great suggestion.
Regards,
CB