Winter is knocking at the door up here in Southern Ontario. The leaves on the trees have pretty much disappeared, daylight hours continue to decrease and the night-time temperatures are toying with freezing. With that said, this City Boy needs to make a few changes to our coop/run in order to keep “the ladies” healthy and productive through the long cold months ahead.
1) Minimize Drafts
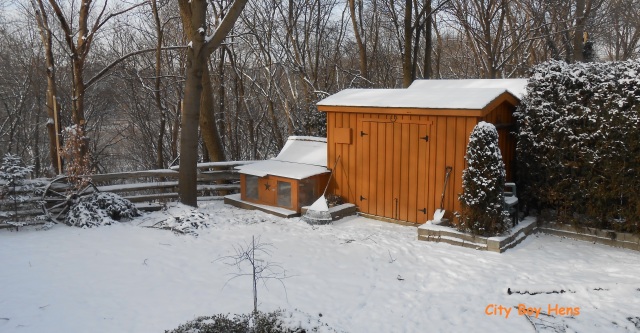
My 3 hens have a 60 square foot run that is enclosed with hardware cloth. This makes for a great predator-proof and airy environment in the warmer months, but too much wind does not bode well for chickens in the colder months. Like you and me, they also really start to feel the cold when that Northern wind starts blowing. Even with that thick coat of down feathers, too much energy will be used to keep warm in winter when those prevailing Northern winds continue to blow. In order to remedy this problem, most of my run is covered with plexiglass in the winter. I emphasize most, because you still want some fresh air to circulate throughout the run in winter. You just don’t want the strong cold winds to accompany them.
The upside to plexiglass is that it is transparent. In other words, I can still keep an eye on the chickens in the comfort of my warm home as I write this post. The down side is that it is expensive. If this is an issue, then consider using plastic vapor barrier as an alternative. The down side is that it is not really transparent, but it is relatively inexpensive. Just make sure not to seal everything up too tight and prevent air from circulating within the run. I recommend securing the vapor barrier on the outside of the hardware cloth with some 1×2 strapping.
2) Heat & Light In The Coop
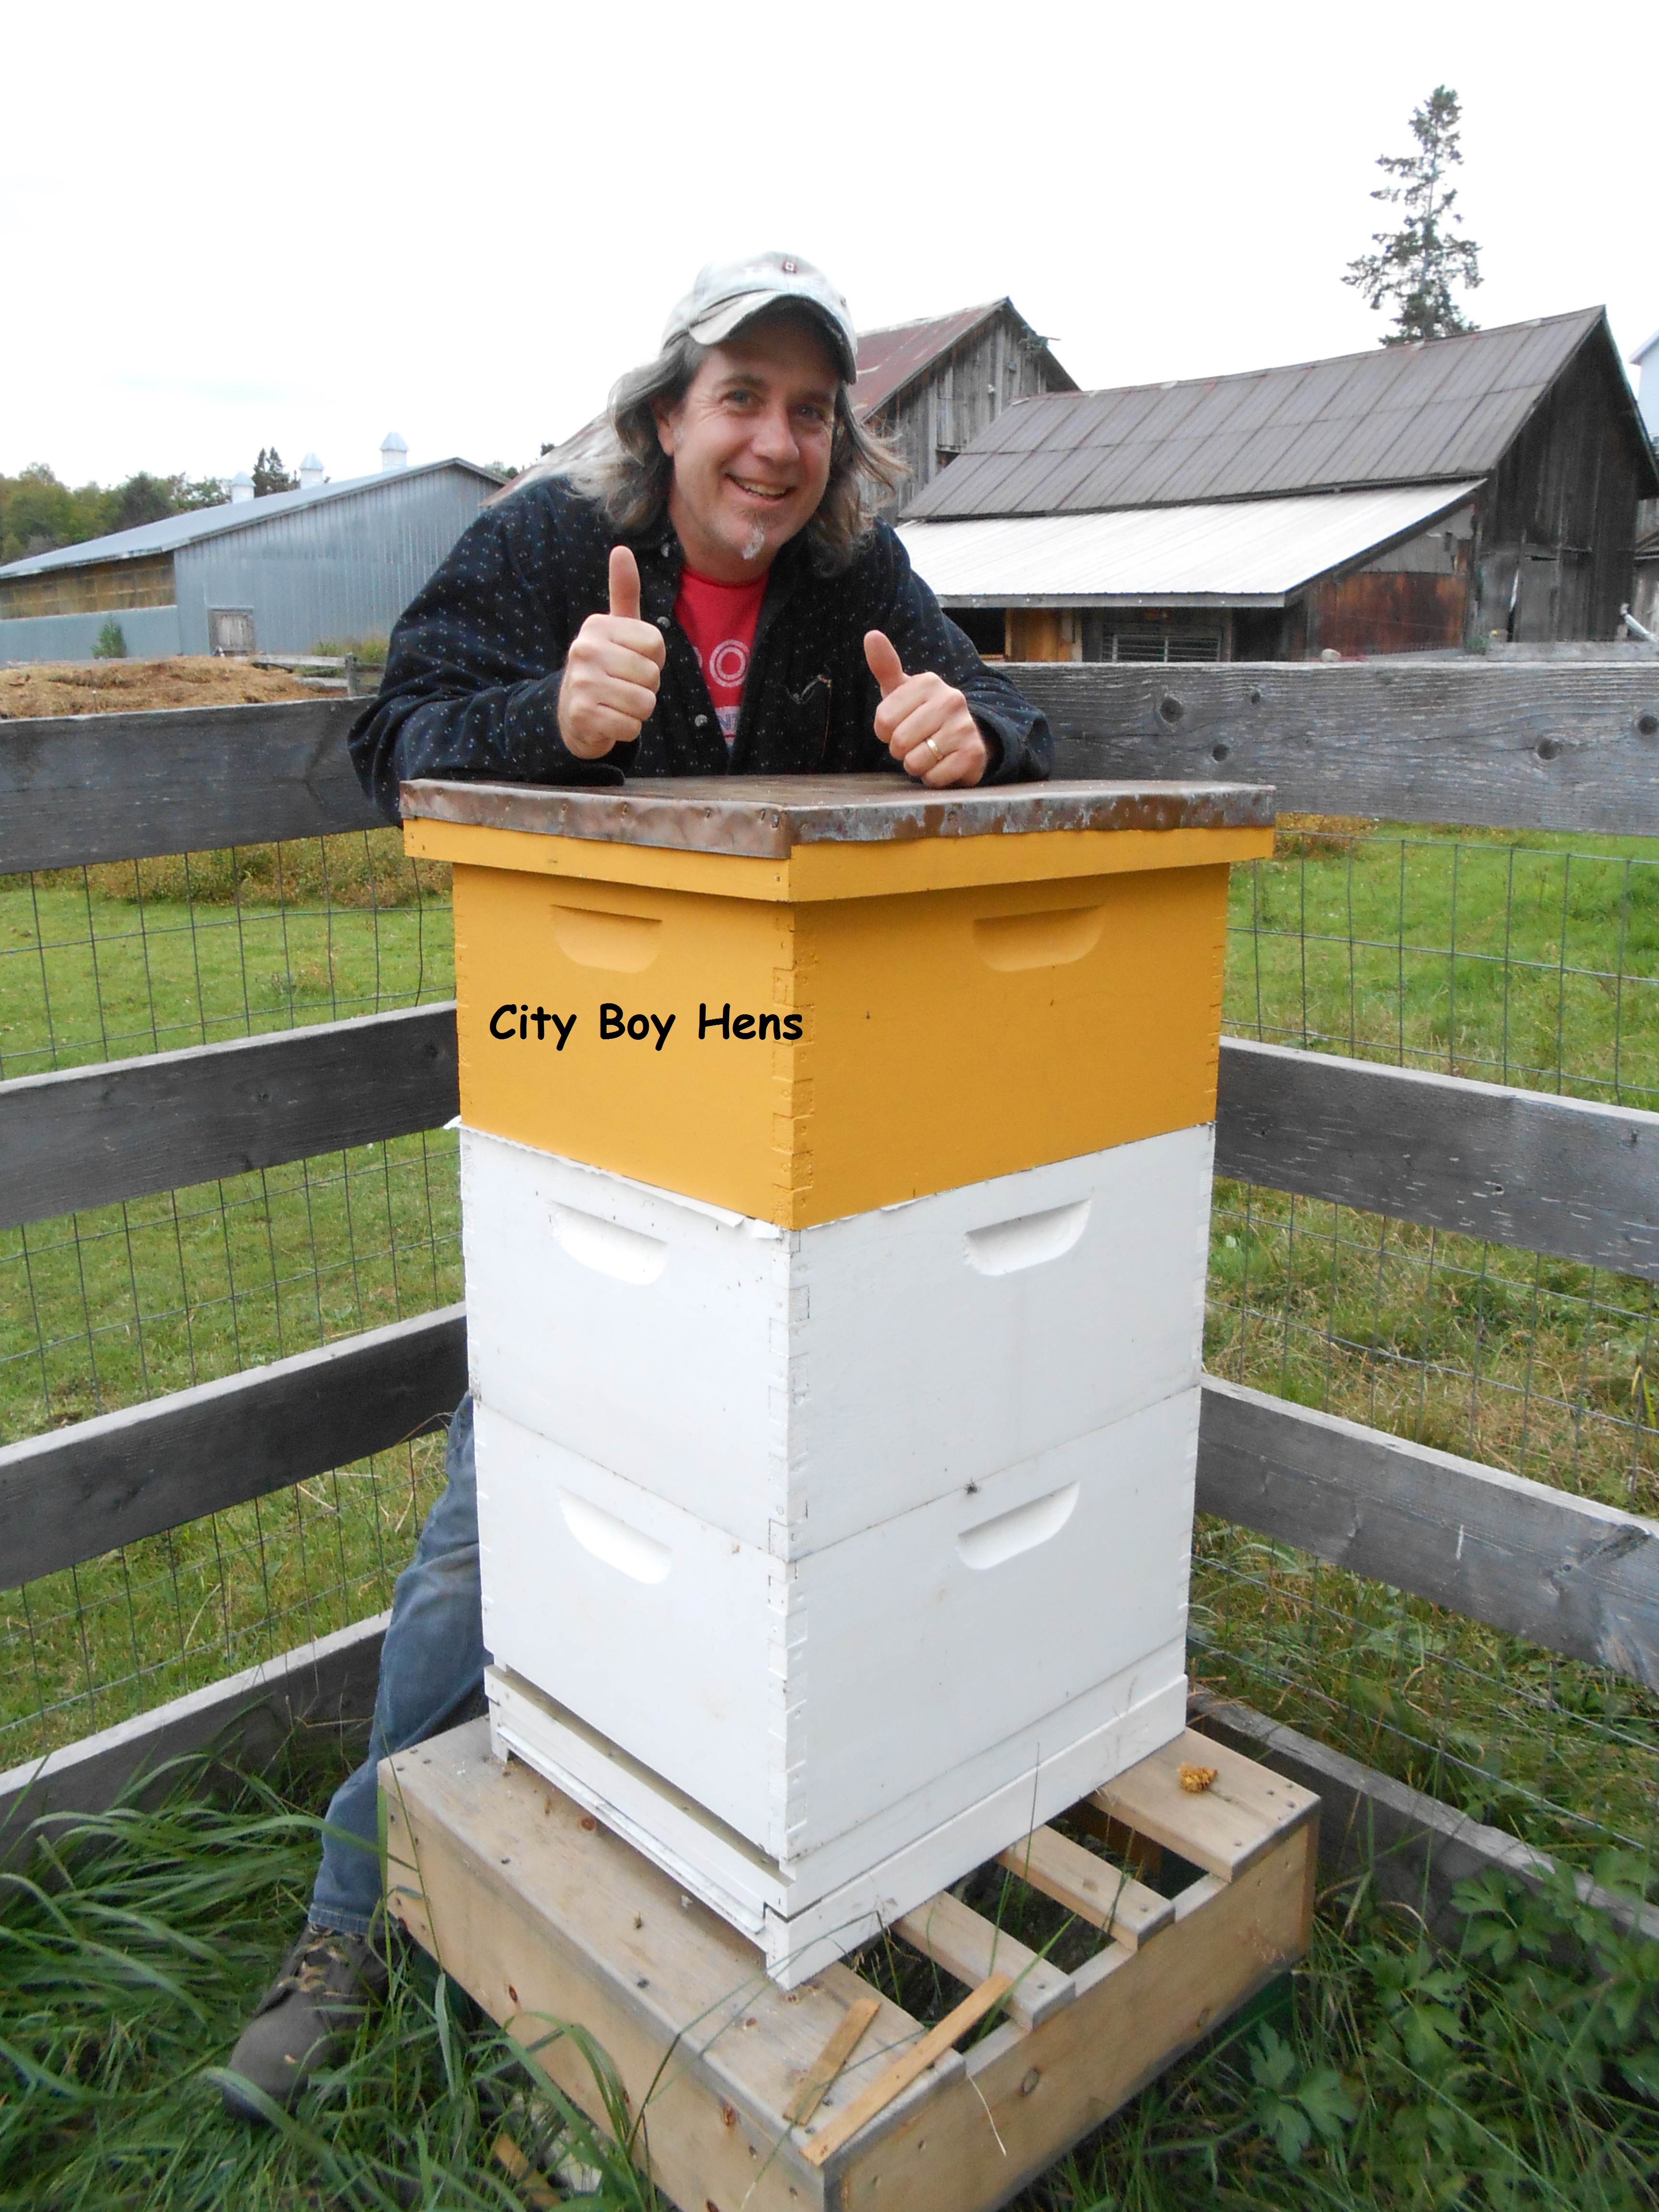
I heat and light my coop with a 100 watt incandescent bulb that is screwed into a secured brooder lamp (note: the safety screen on the lamp was temporarily removed in order to show the entire coop in the above photo). I didn’t go to the effort of running electricity out to the shed in order to keep the hens warm. I did it so that the drinker and eggs would keep from freezing. The cost sure outweighs schlepping water out to the coop a few times a day because the drinker has frozen again. I am also a believer in getting eggs all year-long so I do provide my hens with additional “artificial” light in order to stimulate their pituitary gland and keep those eggs coming every day. I also went to the trouble of completely insulating the coop with 2 inch Styrofoam when I built it a few years back. Between the insulation and the light bulb, I have never had an egg or the drinker freeze in the last two years. * Note:If you choose to light your coop, make sure to wipe the cooled bulb from time to time and NEVER use a “coated (shatter-resistant) bulb”. I read that the chemical that is used to coat these bulbs gives off a toxic gas that can become lethal to chickens who are confined in a small area.
3) Make a Dust Bath
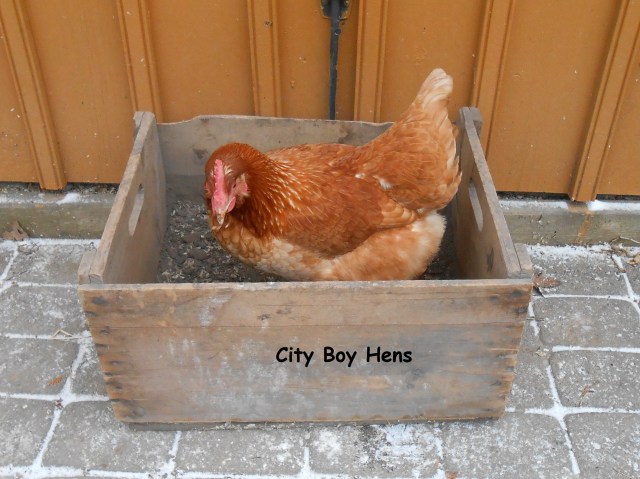
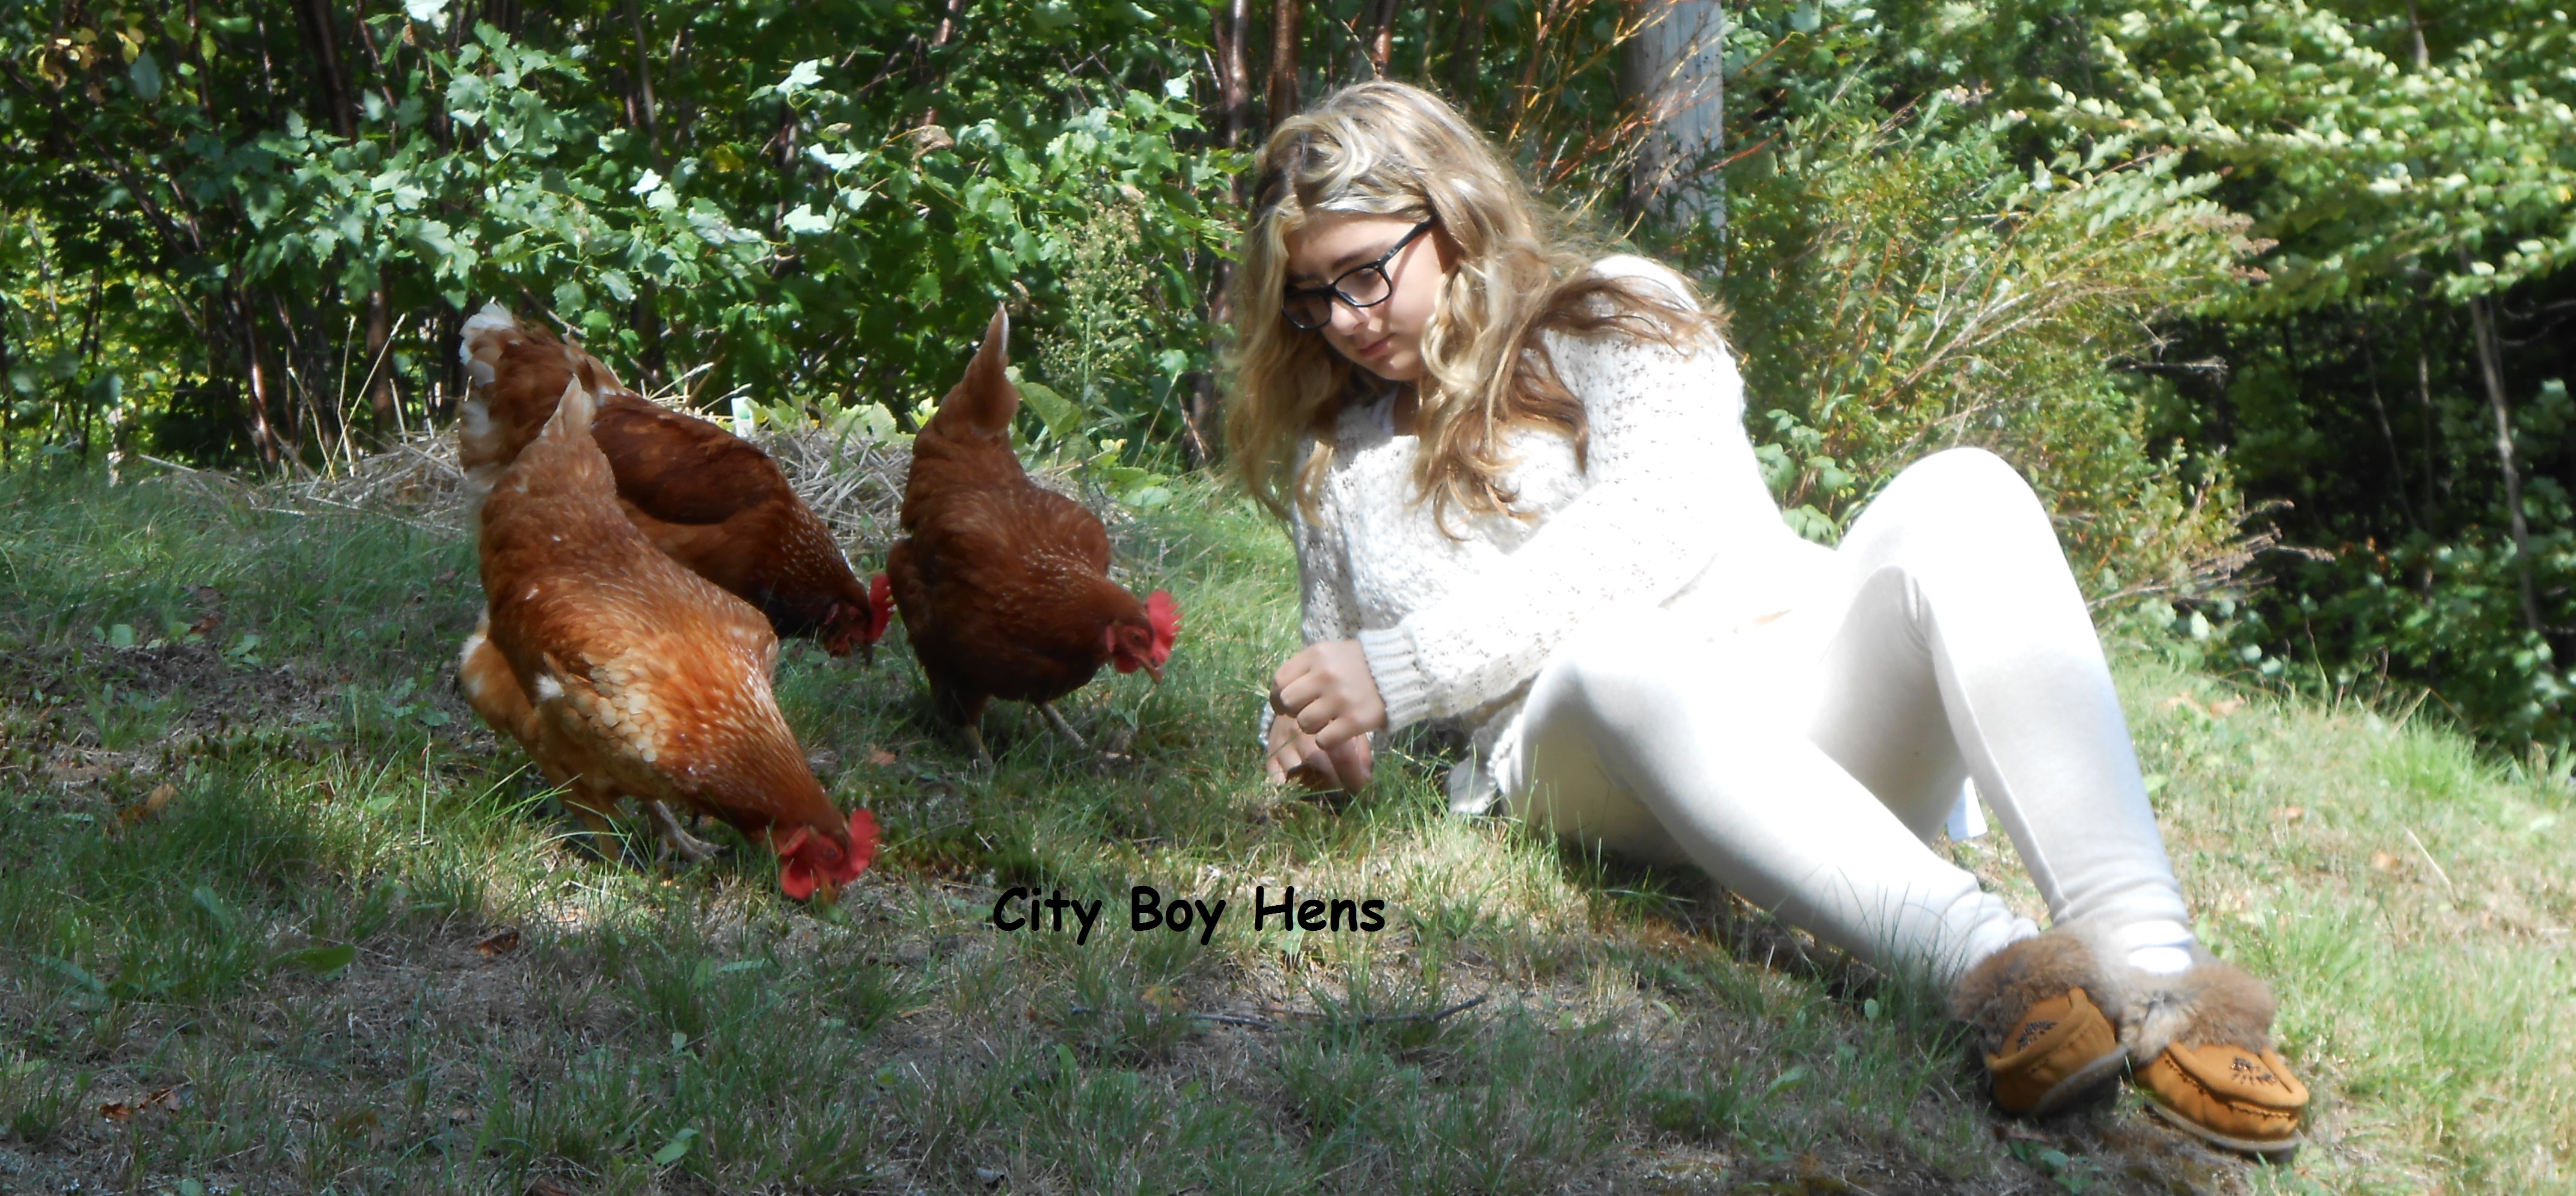
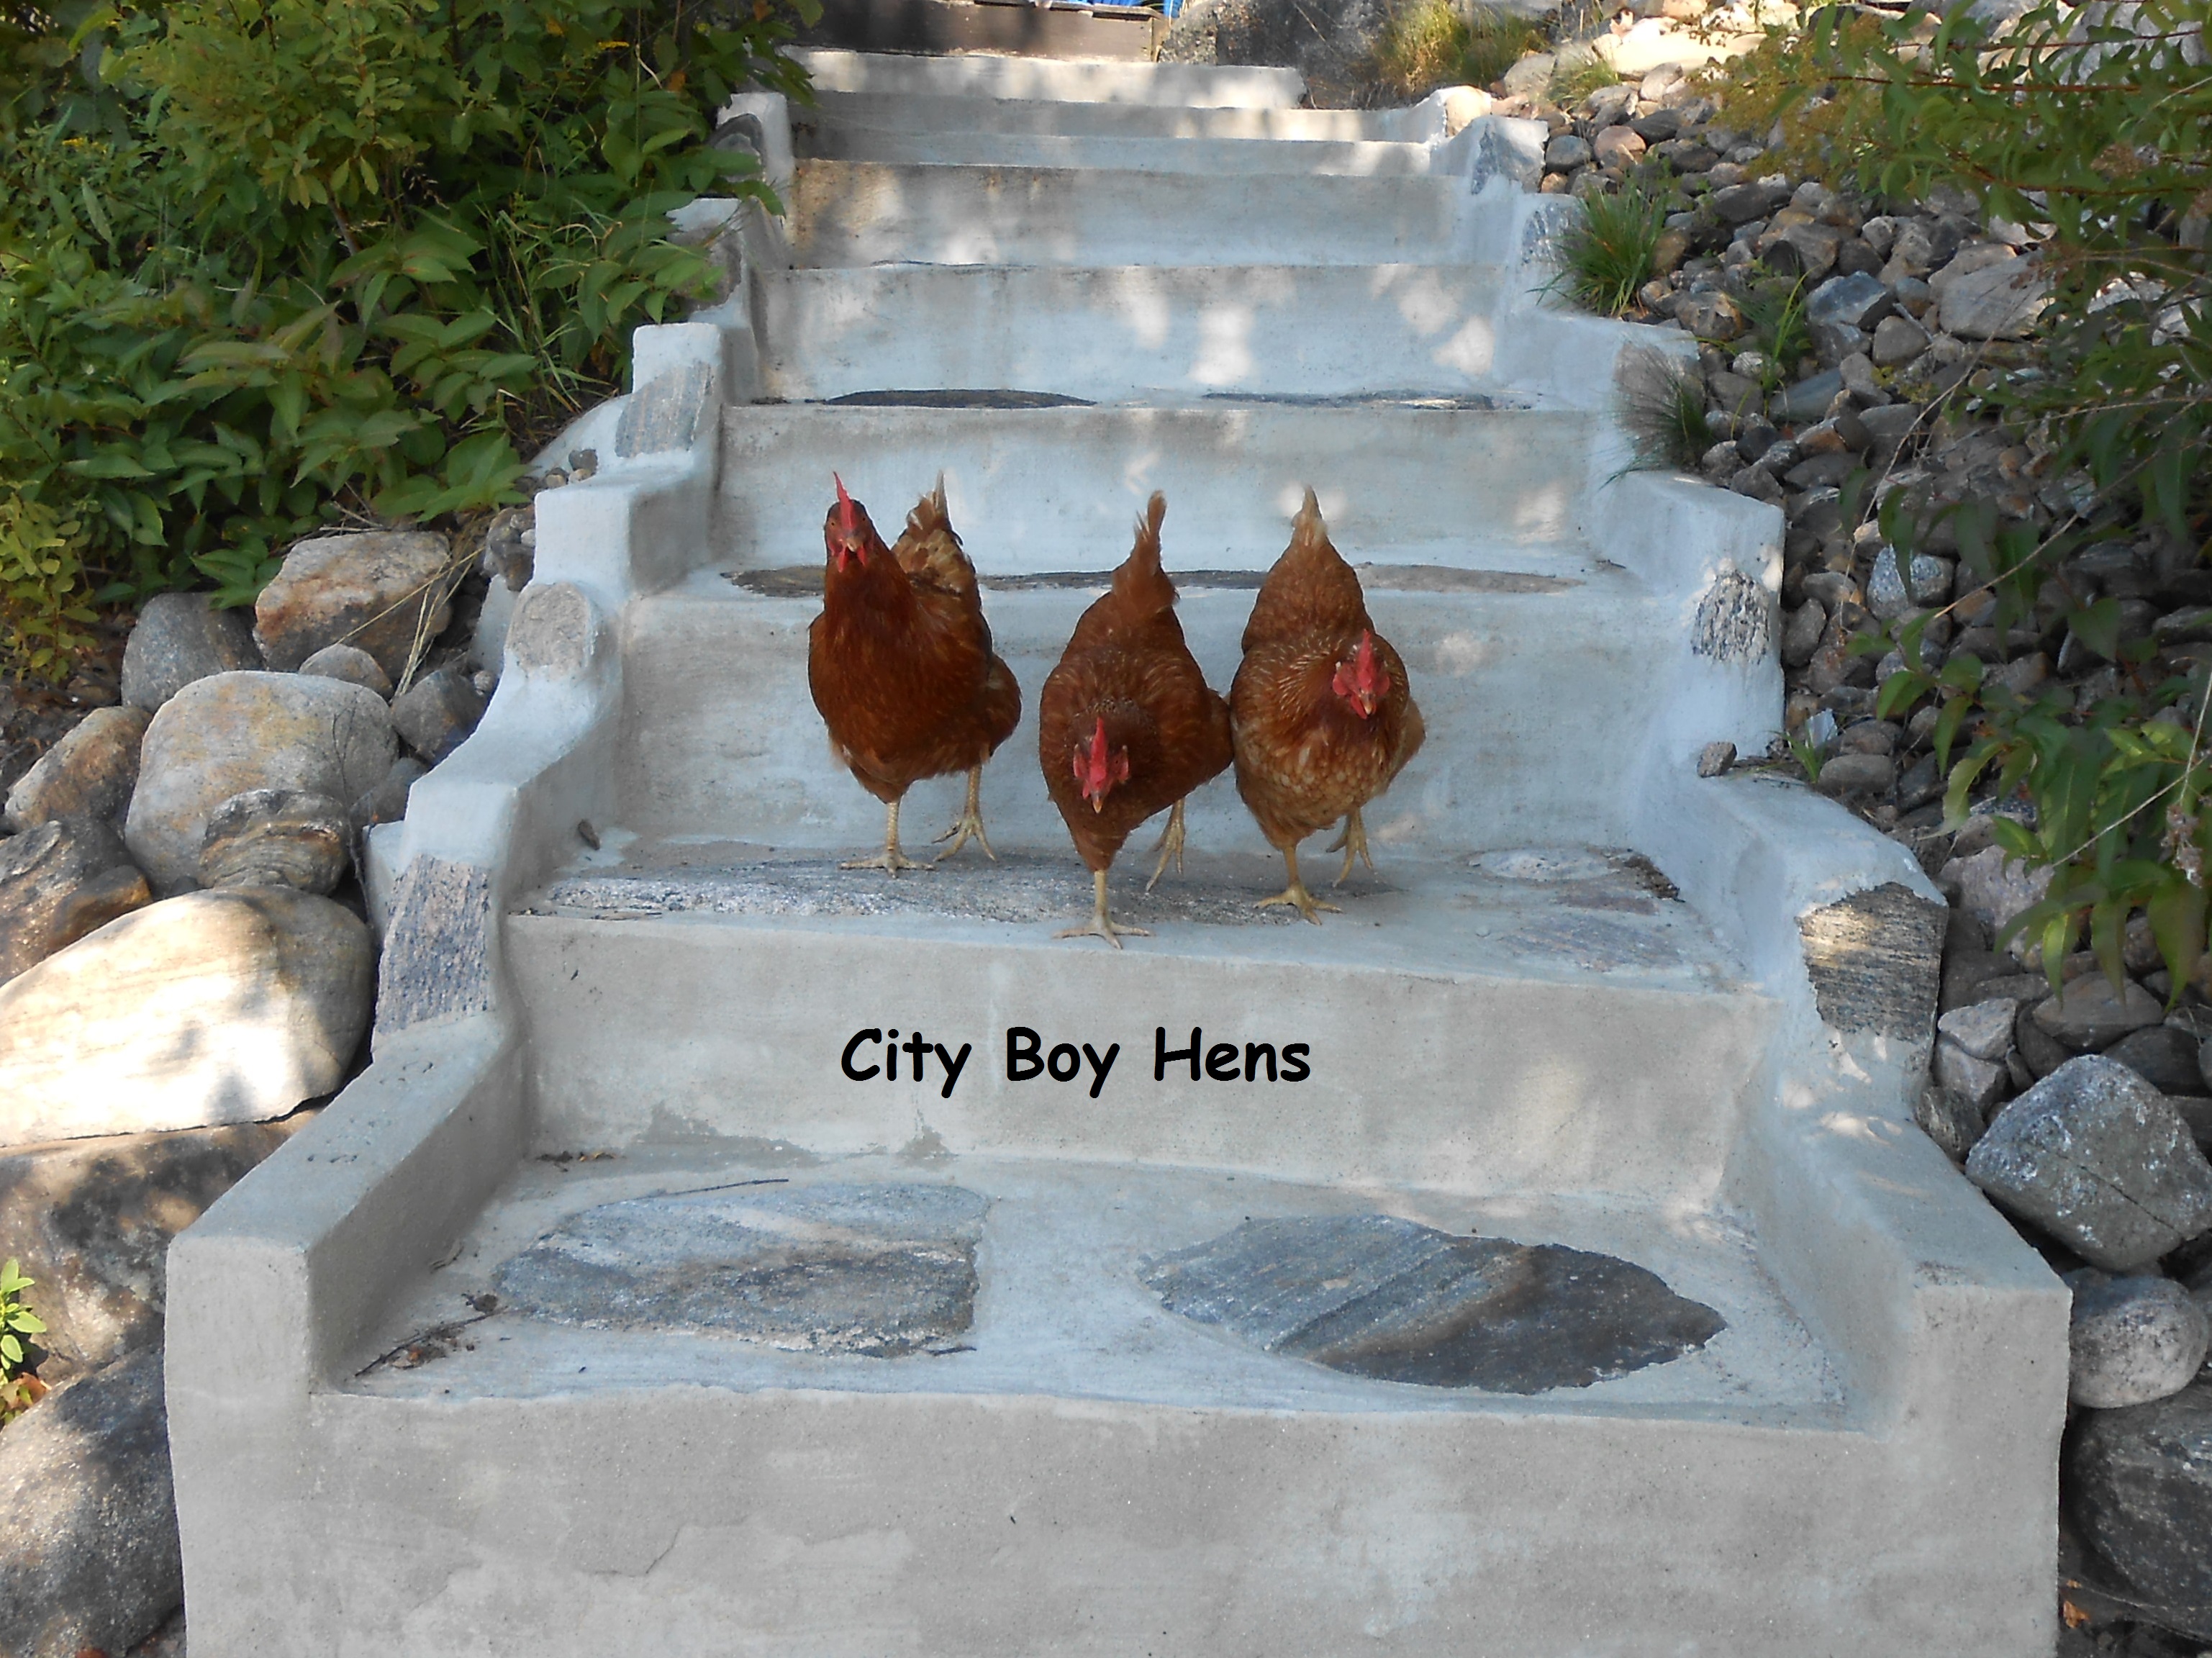
If you let your chickens free range, I’m sure you are aware of their need to tear up your favorite garden and enjoy a dust bath. You can’t blame them. It’s ingrained in their DNA and they perform this incredibly euphoric act to not only clean themselves, but also rid themselves from the potential for lice and mites. Don’t know about you, but free ranging is severely curtailed in the winter at City Boy Hens and the ground becomes hard as a rock. So..in order to satisfy their need, I made the chickens a dust bath for their run. They use it daily and wait patiently to take their turn! If you would like a few ideas on making a dust bath, CLICK HERE.
4) Keep Them Busy.
Snackin’
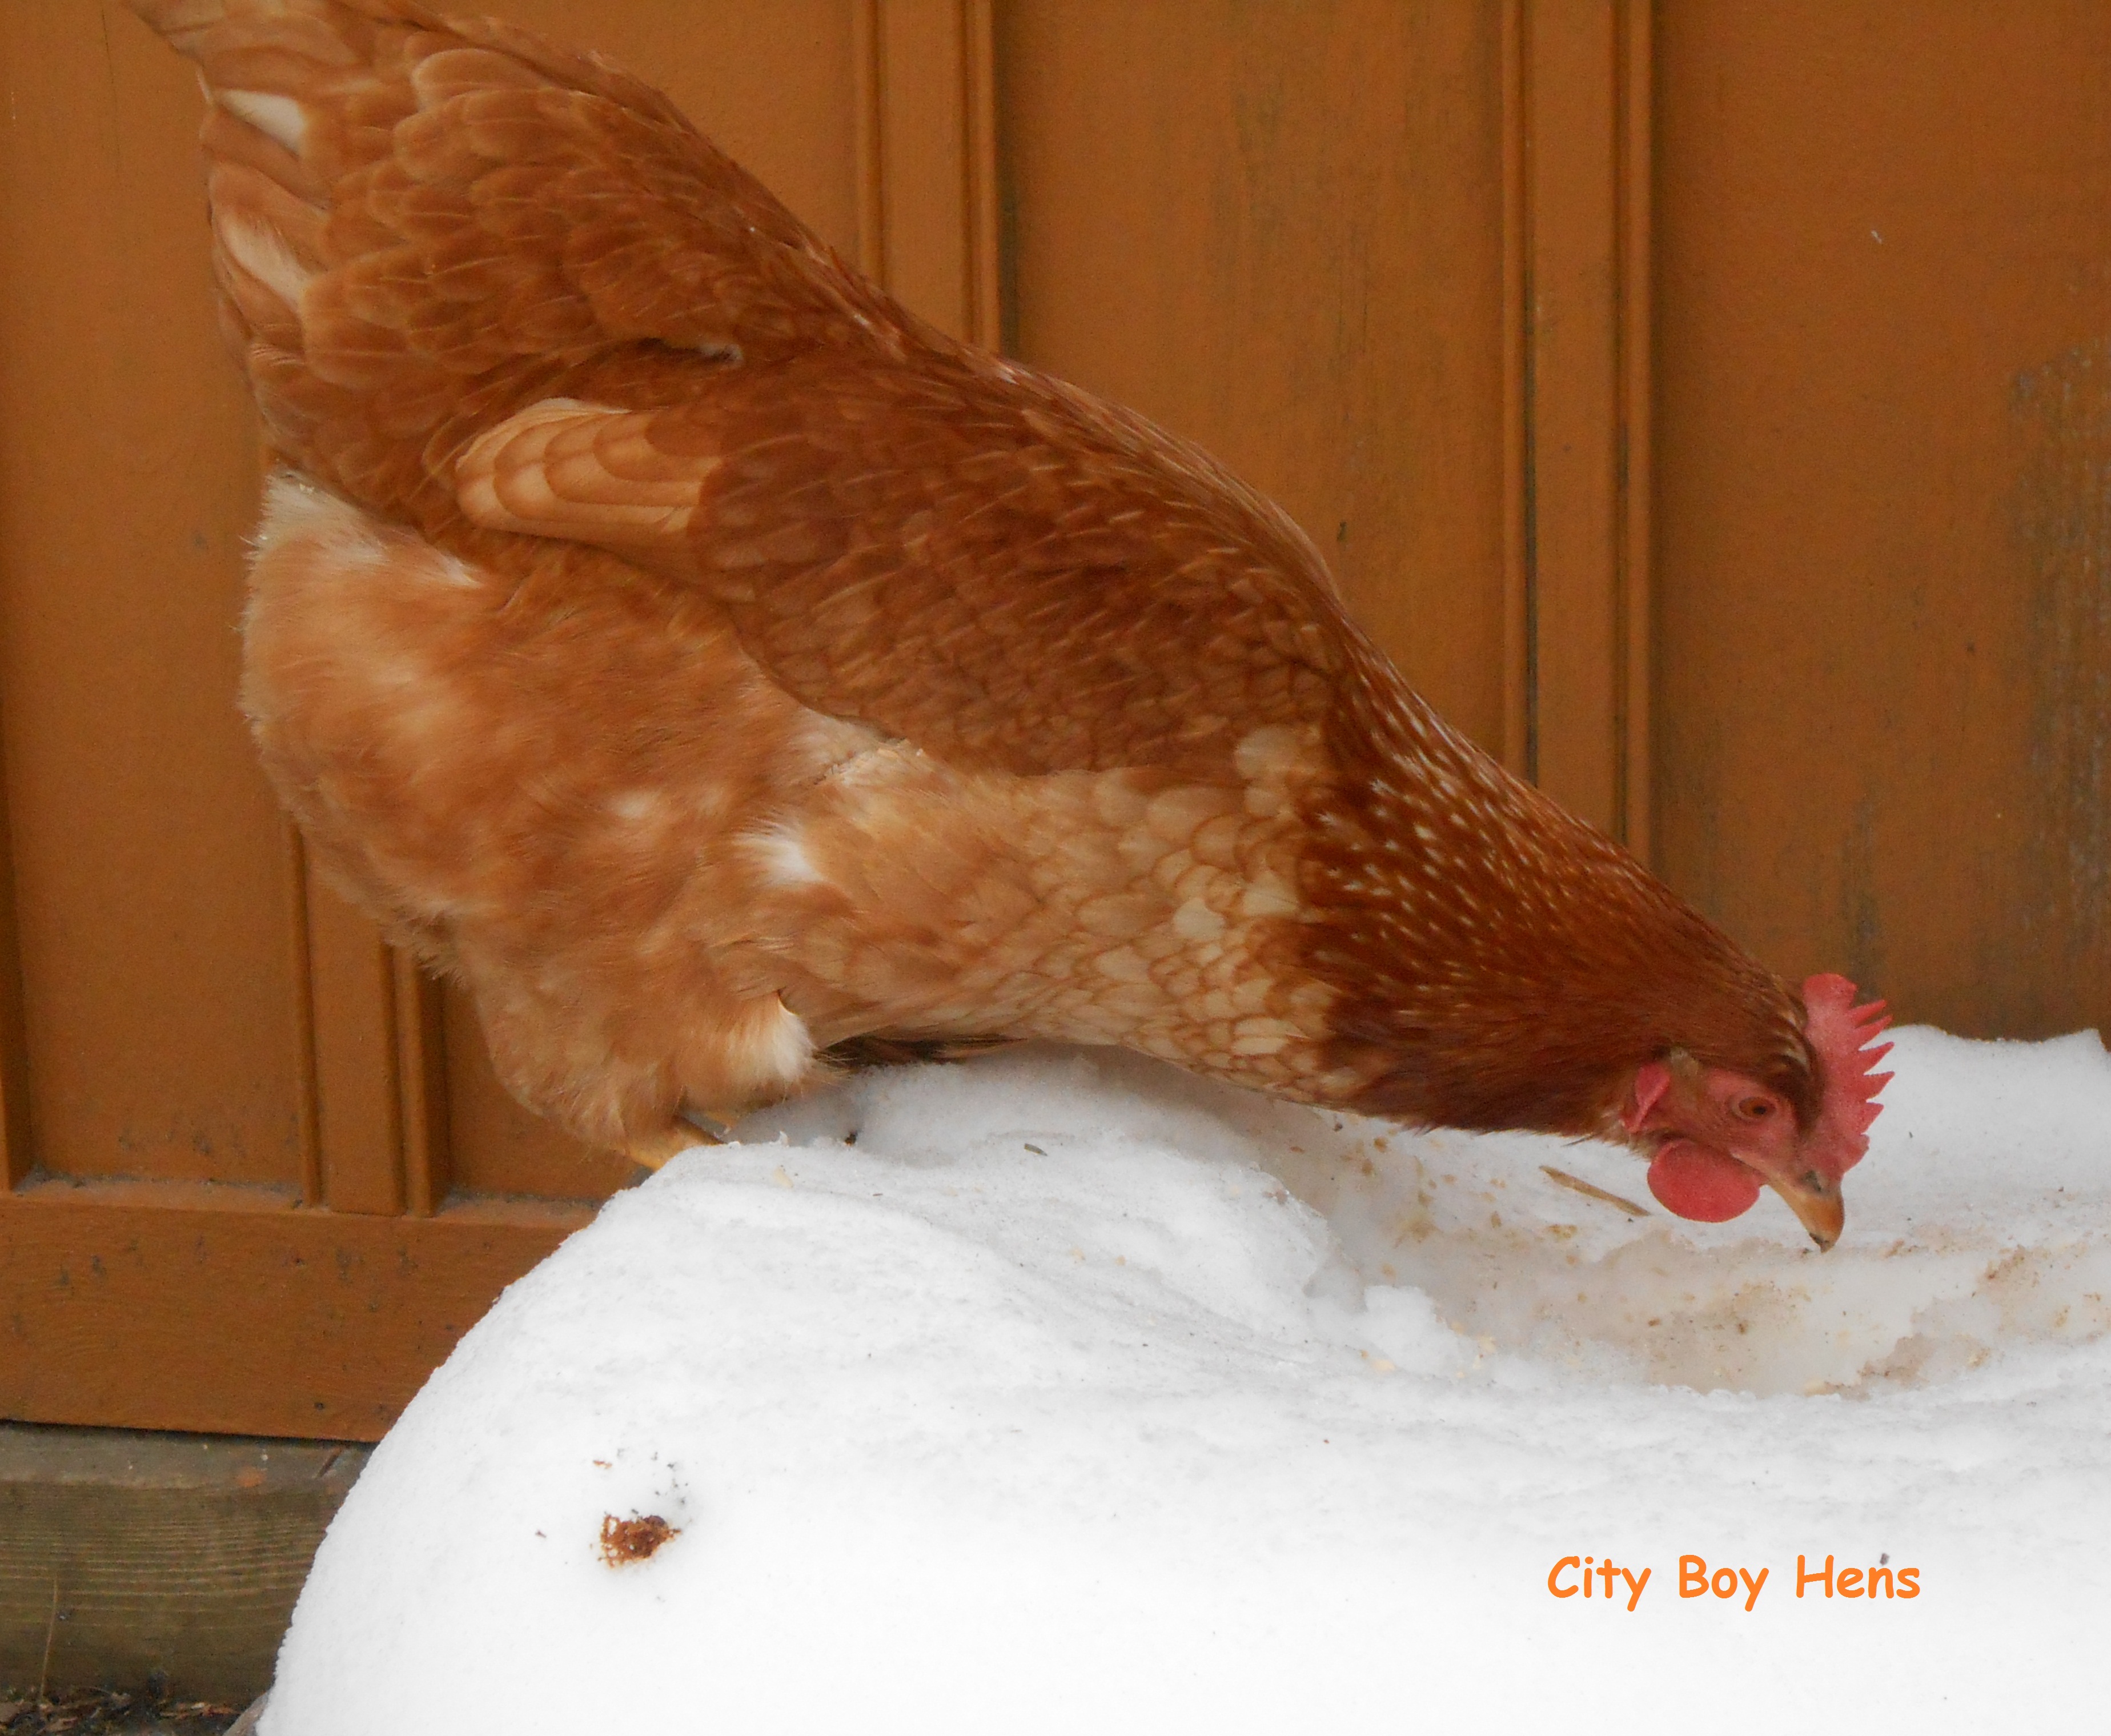
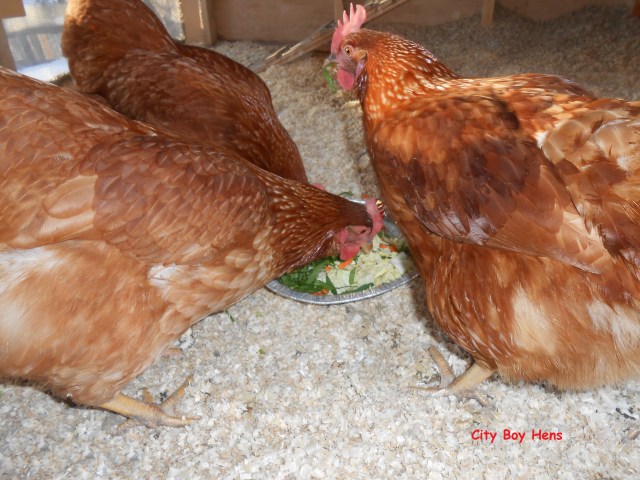
Chickens are always on the move looking for the next blade of grass or bug. It’s pretty hard to find either when snow is covering the ground. Unfortunately, idle time can sometimes lead to bullying and this can open a whole new can of worms. So why not give your hens some extra treats in the winter in order to keep them occupied? Every morning, I scatter a handful of scratch onto the floor of the run. The scratch gets “lost” in the wood shavings and the chickens spend lots of time “scratching” for it. This serves a few purposes. First, the scratch metabolizes fast and gives them a quick energy boost for heat. Second, it helps “satisfy” their need to forage. Lastly, it helps keep their toe nails trimmed which will prevent overgrown nails and potentially distorted feet in the future. But remember, scratch should only be used as a treat. It does not have the same nutritional requirements as regular layer feed.
I also supplement their layer feed with chopped up spinach, carrot peelings and tomatoes. This is a great “nutritional” treat that will help to keep your chickens healthy in those non-free ranging months. I’ve also strung a cabbage up in the run from time to time and the chickens love to peck at it for hours. Just remember, these foods should be given as “treats” with the primary food still being layer feed.
5) Humidity
Animals in confined quarters that poop with the frequency of chickens can sure raise the humidity level in a coop. Unfortunately, this can lead to frost bite on combs and wattles if the temperature is too low and the humidity is too high. As stated earlier, it is essential that fresh air is circulated in the coop. You don’t need a lot, just a bit of movement that replaces the stale moist air with fresh “drier” air.
Humidity can also be decreased by regularly cleaning up of poop in the coop. Some folks use a drop board under the roost and that works great. I just pick it up with a cat litter scooper every morning before heading off to work.
But if you really want to keep track of the humidity level in your coop, you could purchase a portable weather station and keep a sensor in the coop. This will, not only let you read the relative humidity, but also inform you of the temperature in the coop. I’m not embarrassed to say that I have checked the read out a few times on those nights when the temperature dipped down well below freezing!
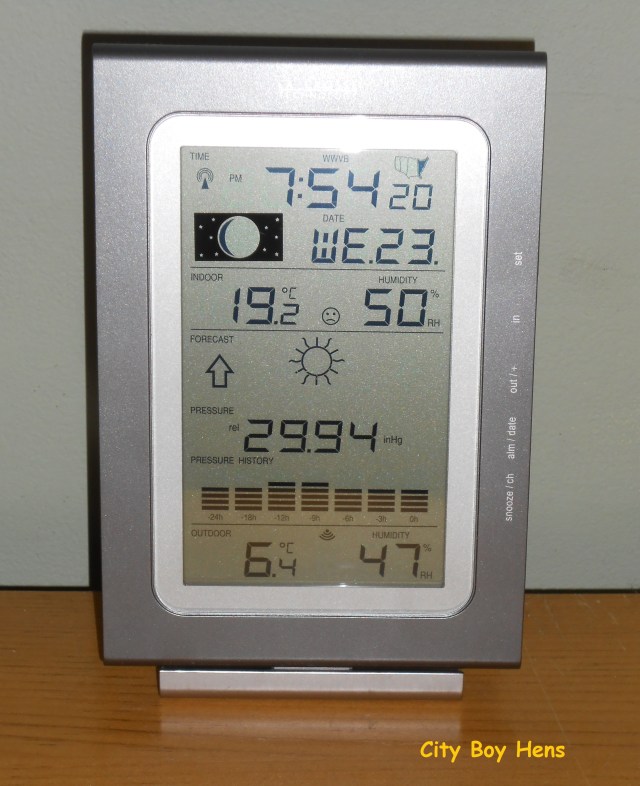
-10C outside and 6.4C inside the coop at 7:54pm.
So….there you have it………..my 5 recommendations for healthy & productive hens throughout this coming winter. I’m going into my second winter at City Boy Hens and I’m glad that my experiences from last year have taken a lot of the surprise out of Old Man Winter’s bag of tricks. I’m no expert, but I’ve learnt a lot from the Winter of 2012. “So……… bring it on Old Man Winter! We’re Ready! Oh…and ladies….don’t you be worrying. Just keep pumpin’ out those eggs……I ‘ve got you covered!”
*If you would like would like more information on my coop/run CLICK HERE. Feel free to drop me a line if you have any further questions! I will do my best to get back to you in a timely and knowledgeable manner.


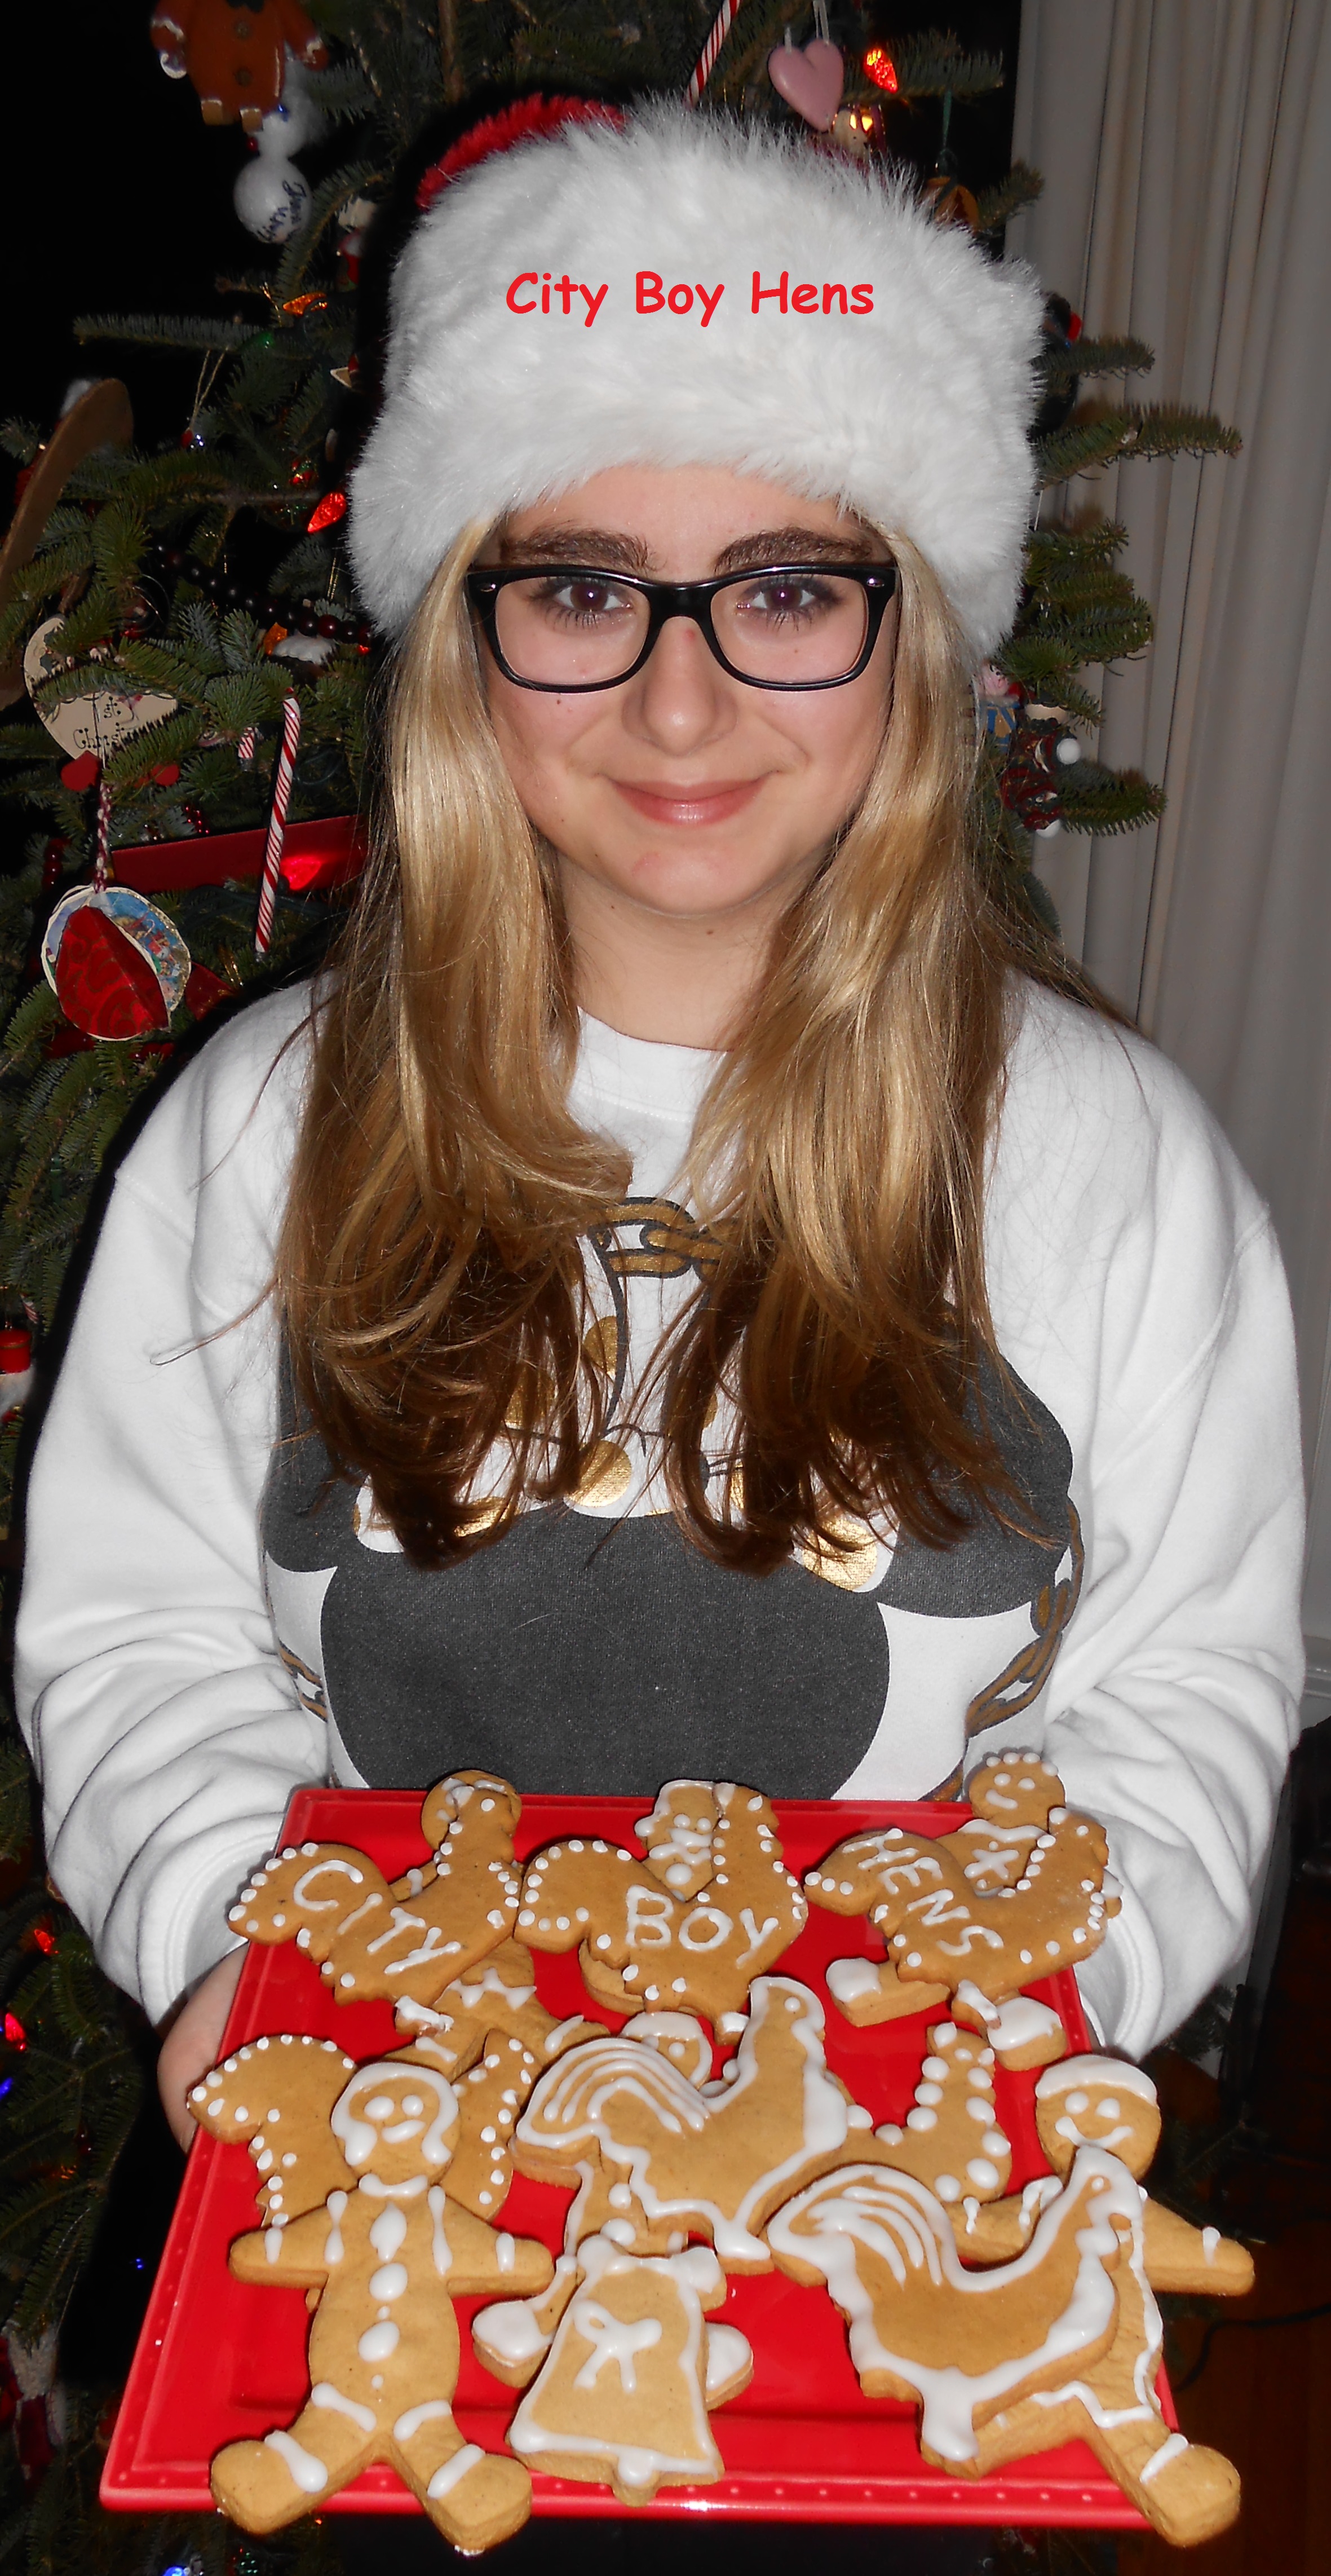
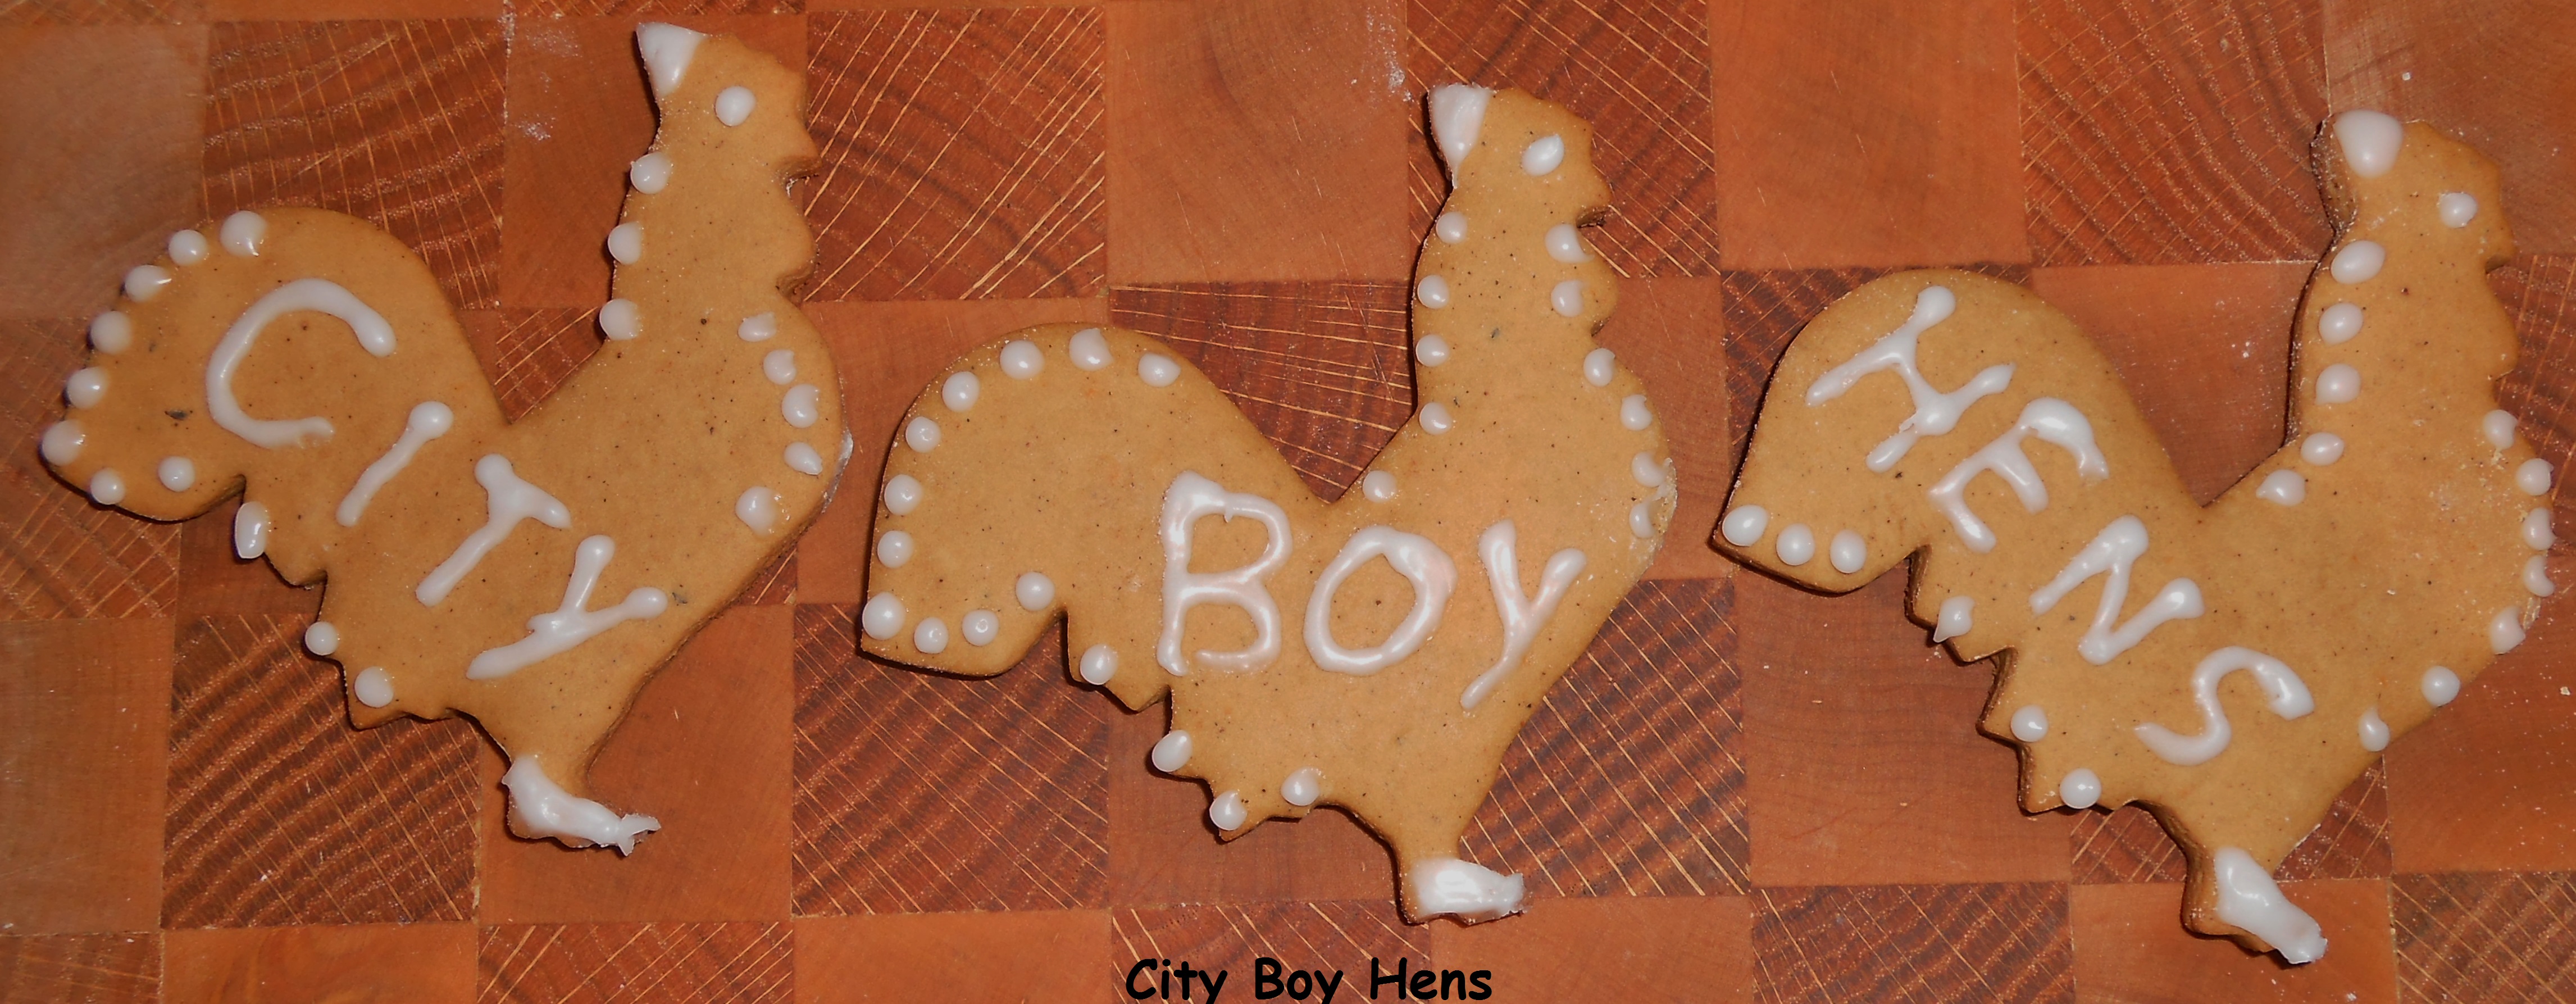 “Run, run as fast as you can. You can’t catch me…… I’m the Gingerbread Man!”…………… “Wanna’ bet” said the Gingerbread CHICKENS.
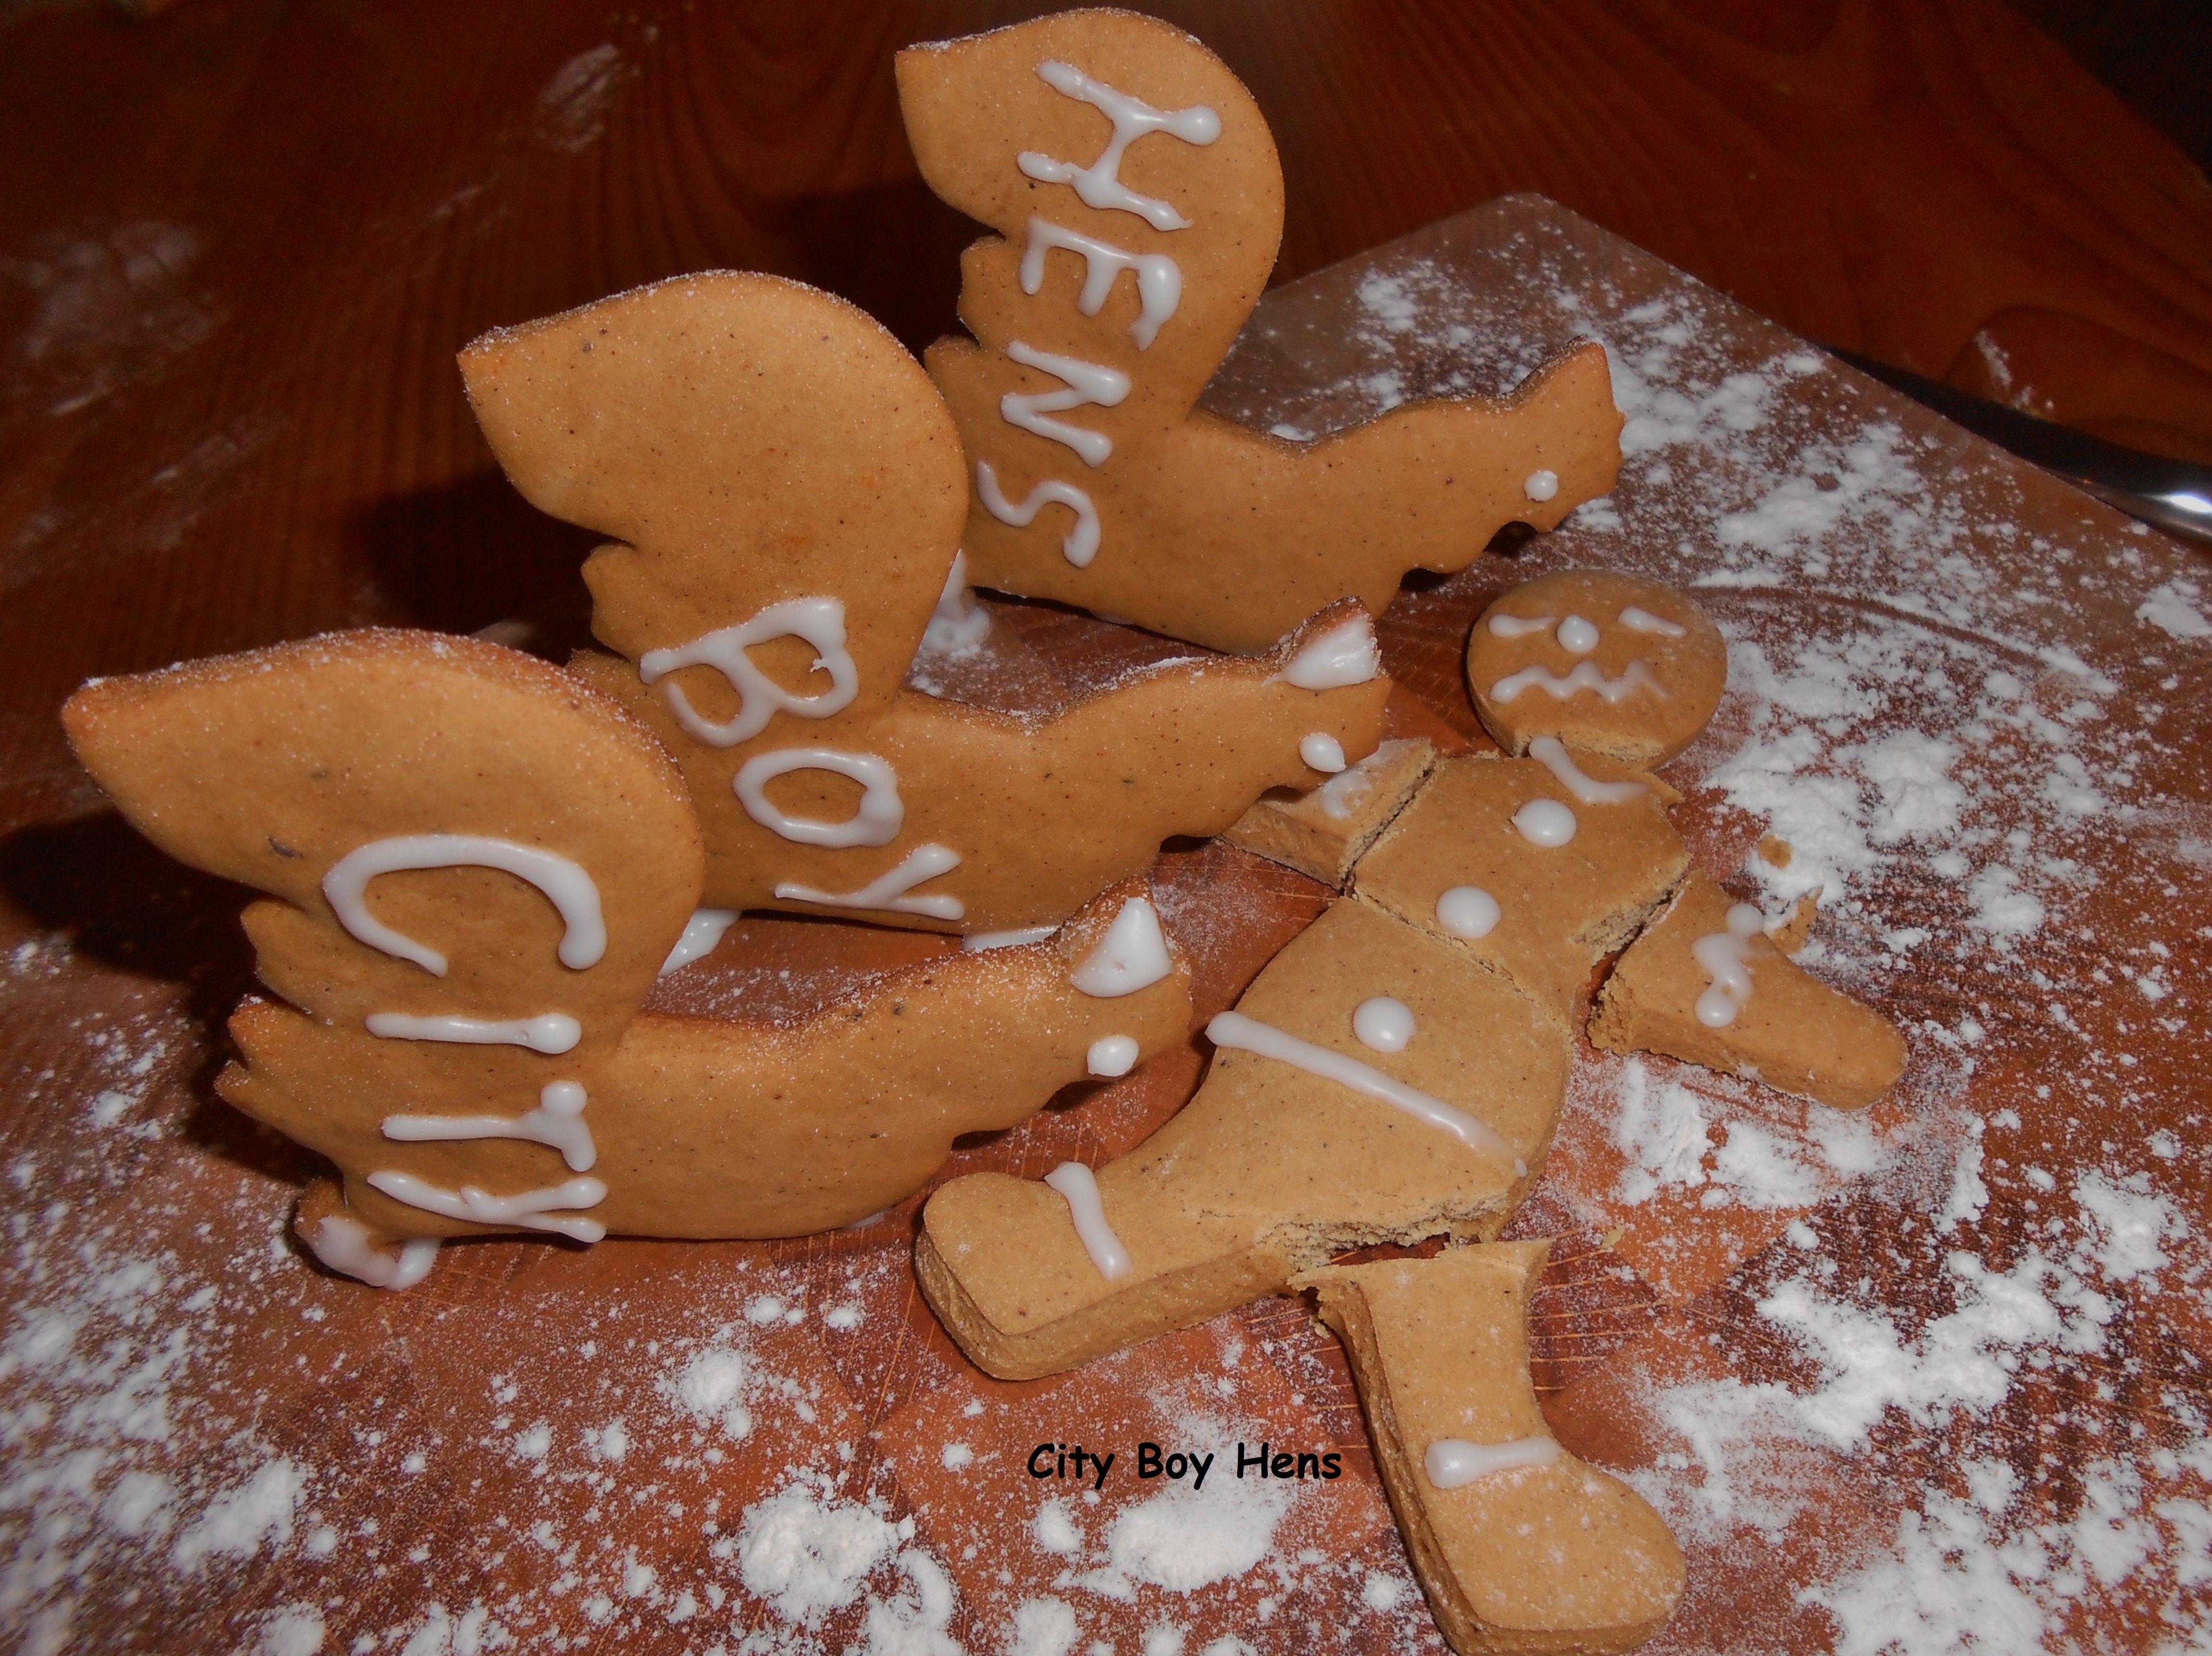

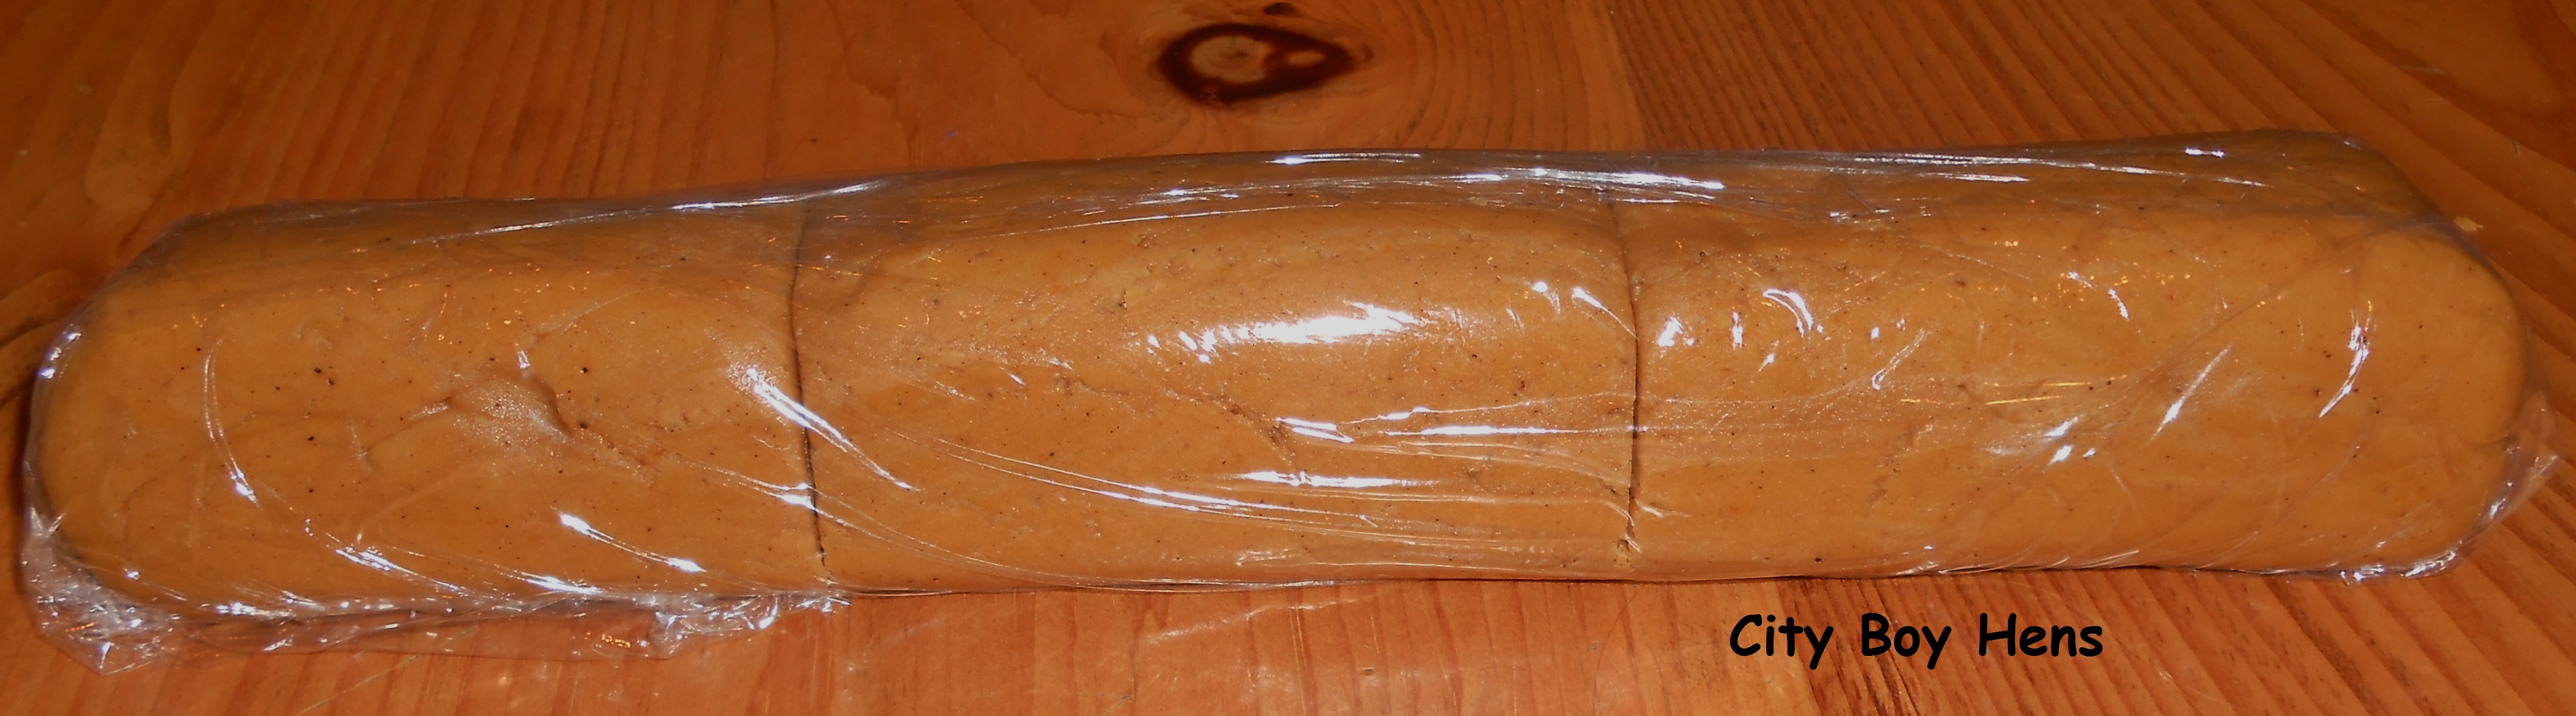
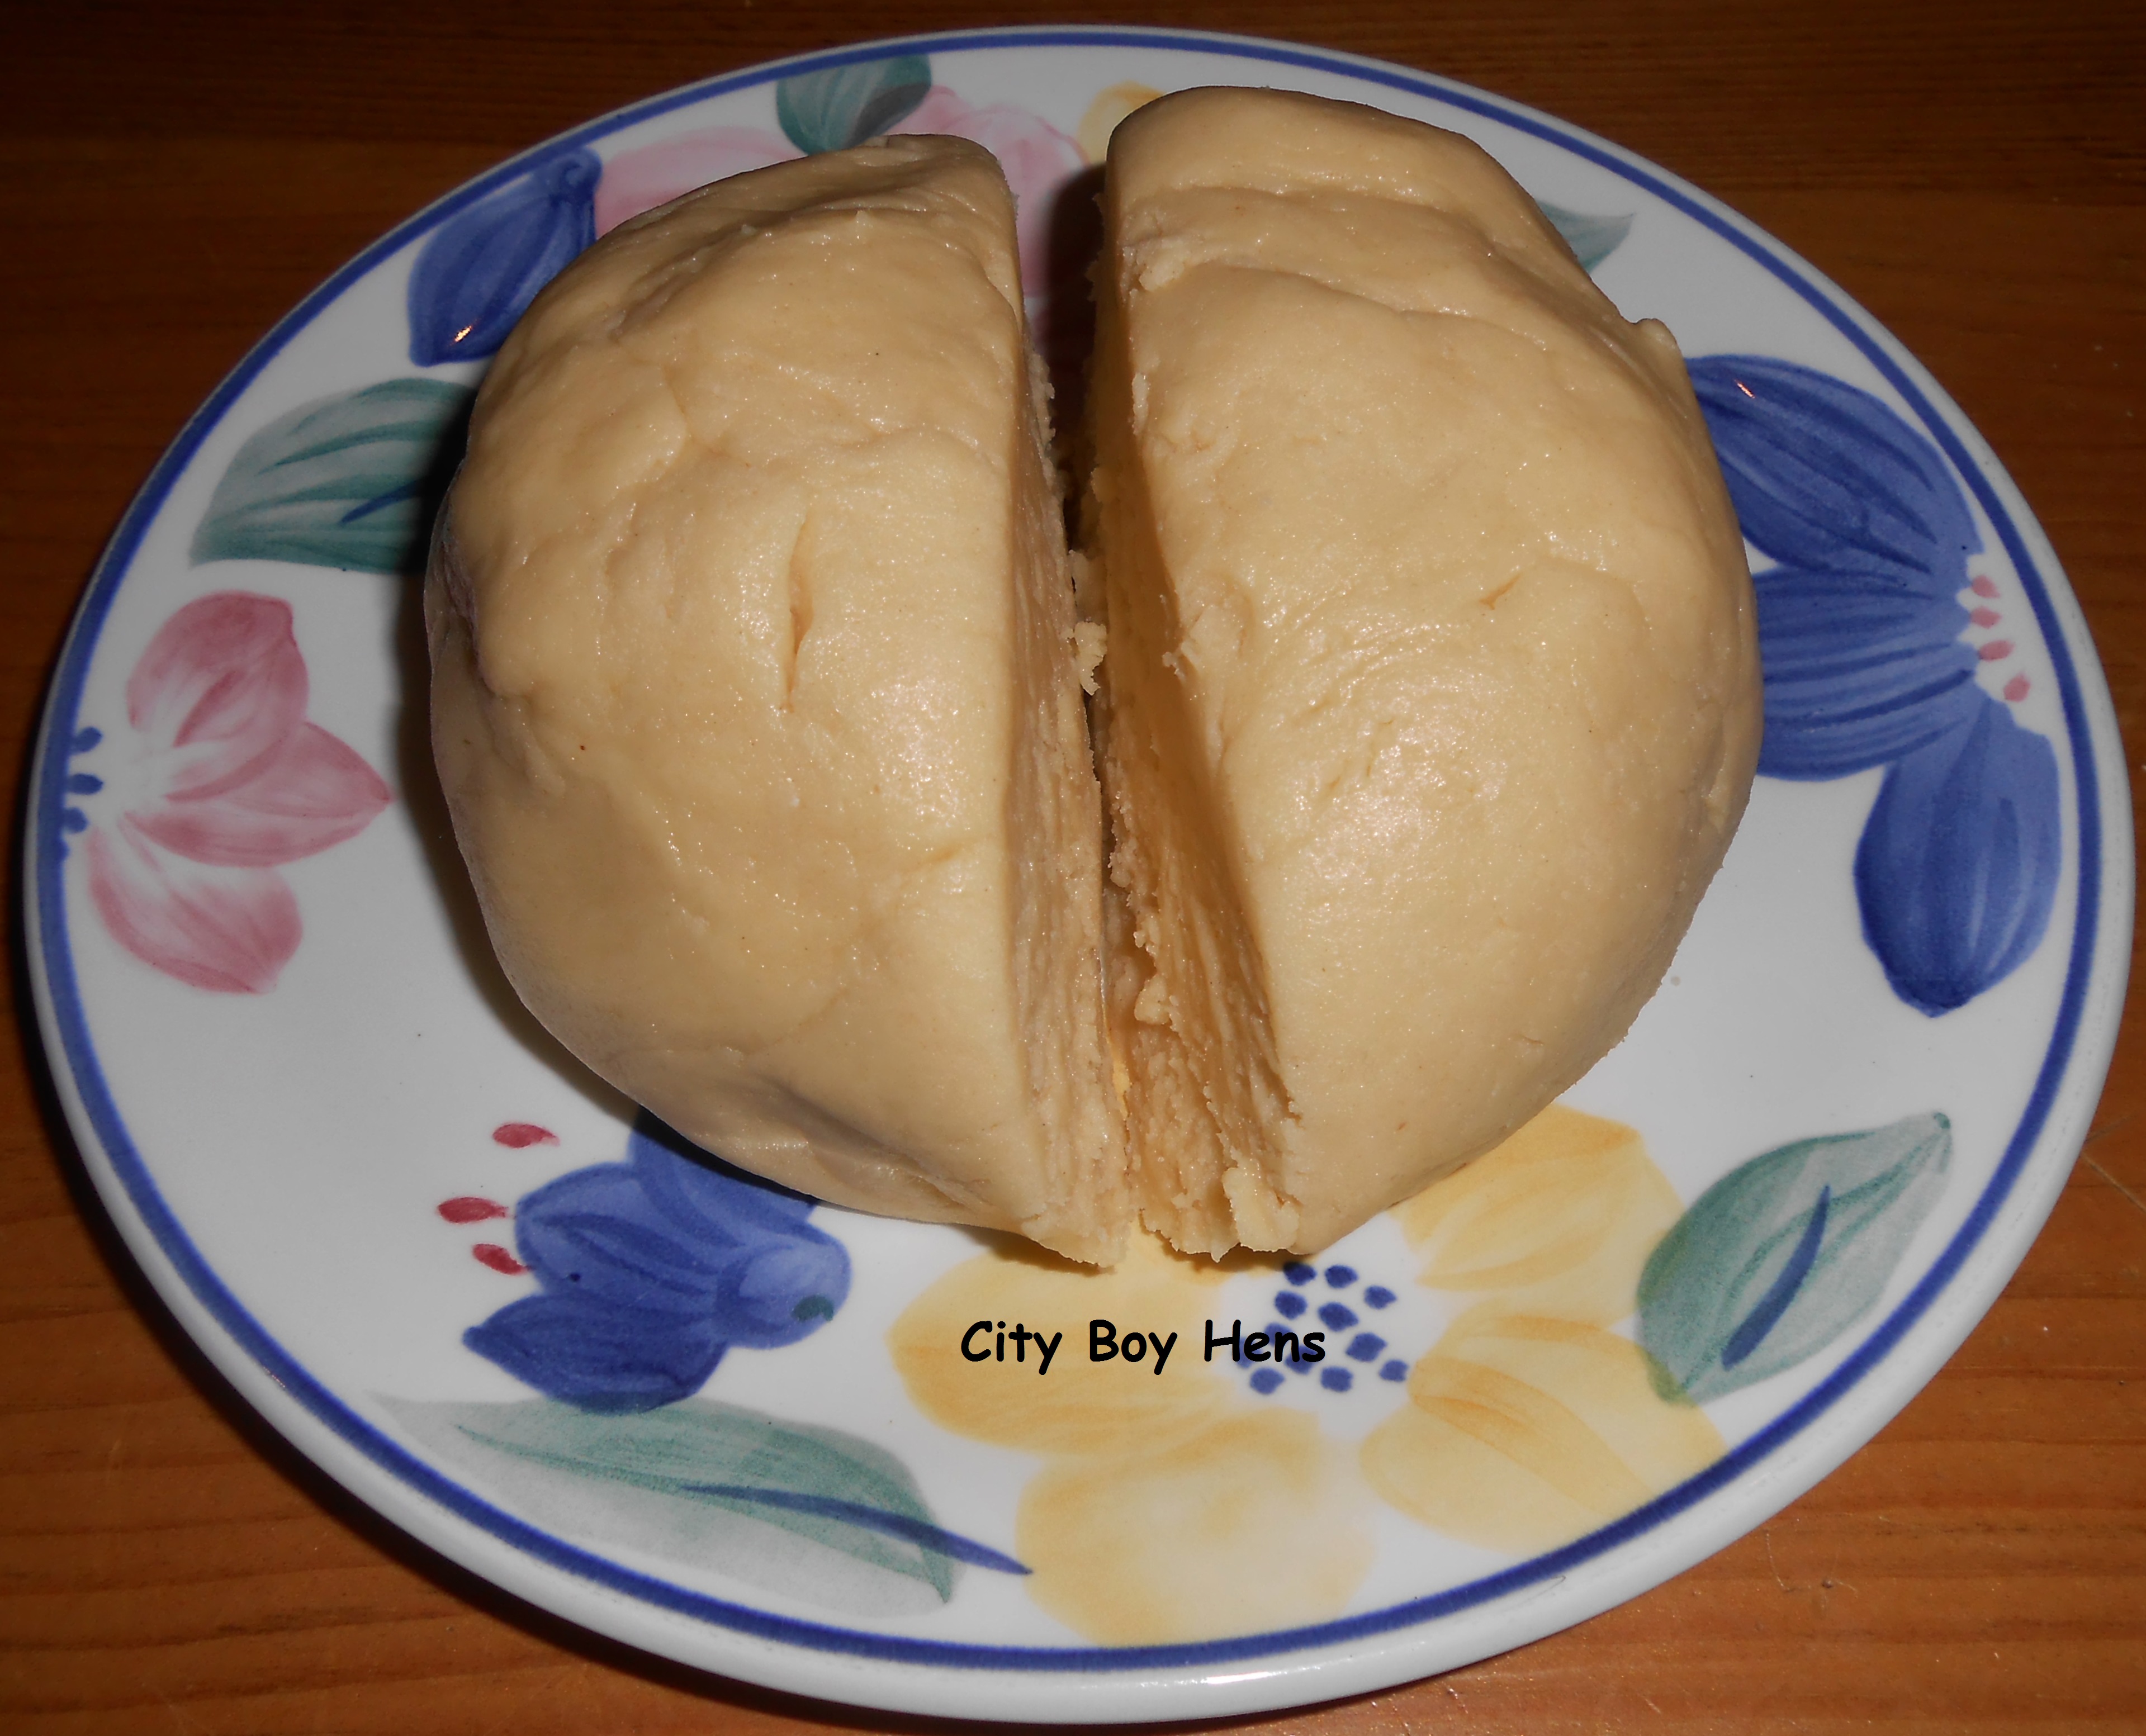
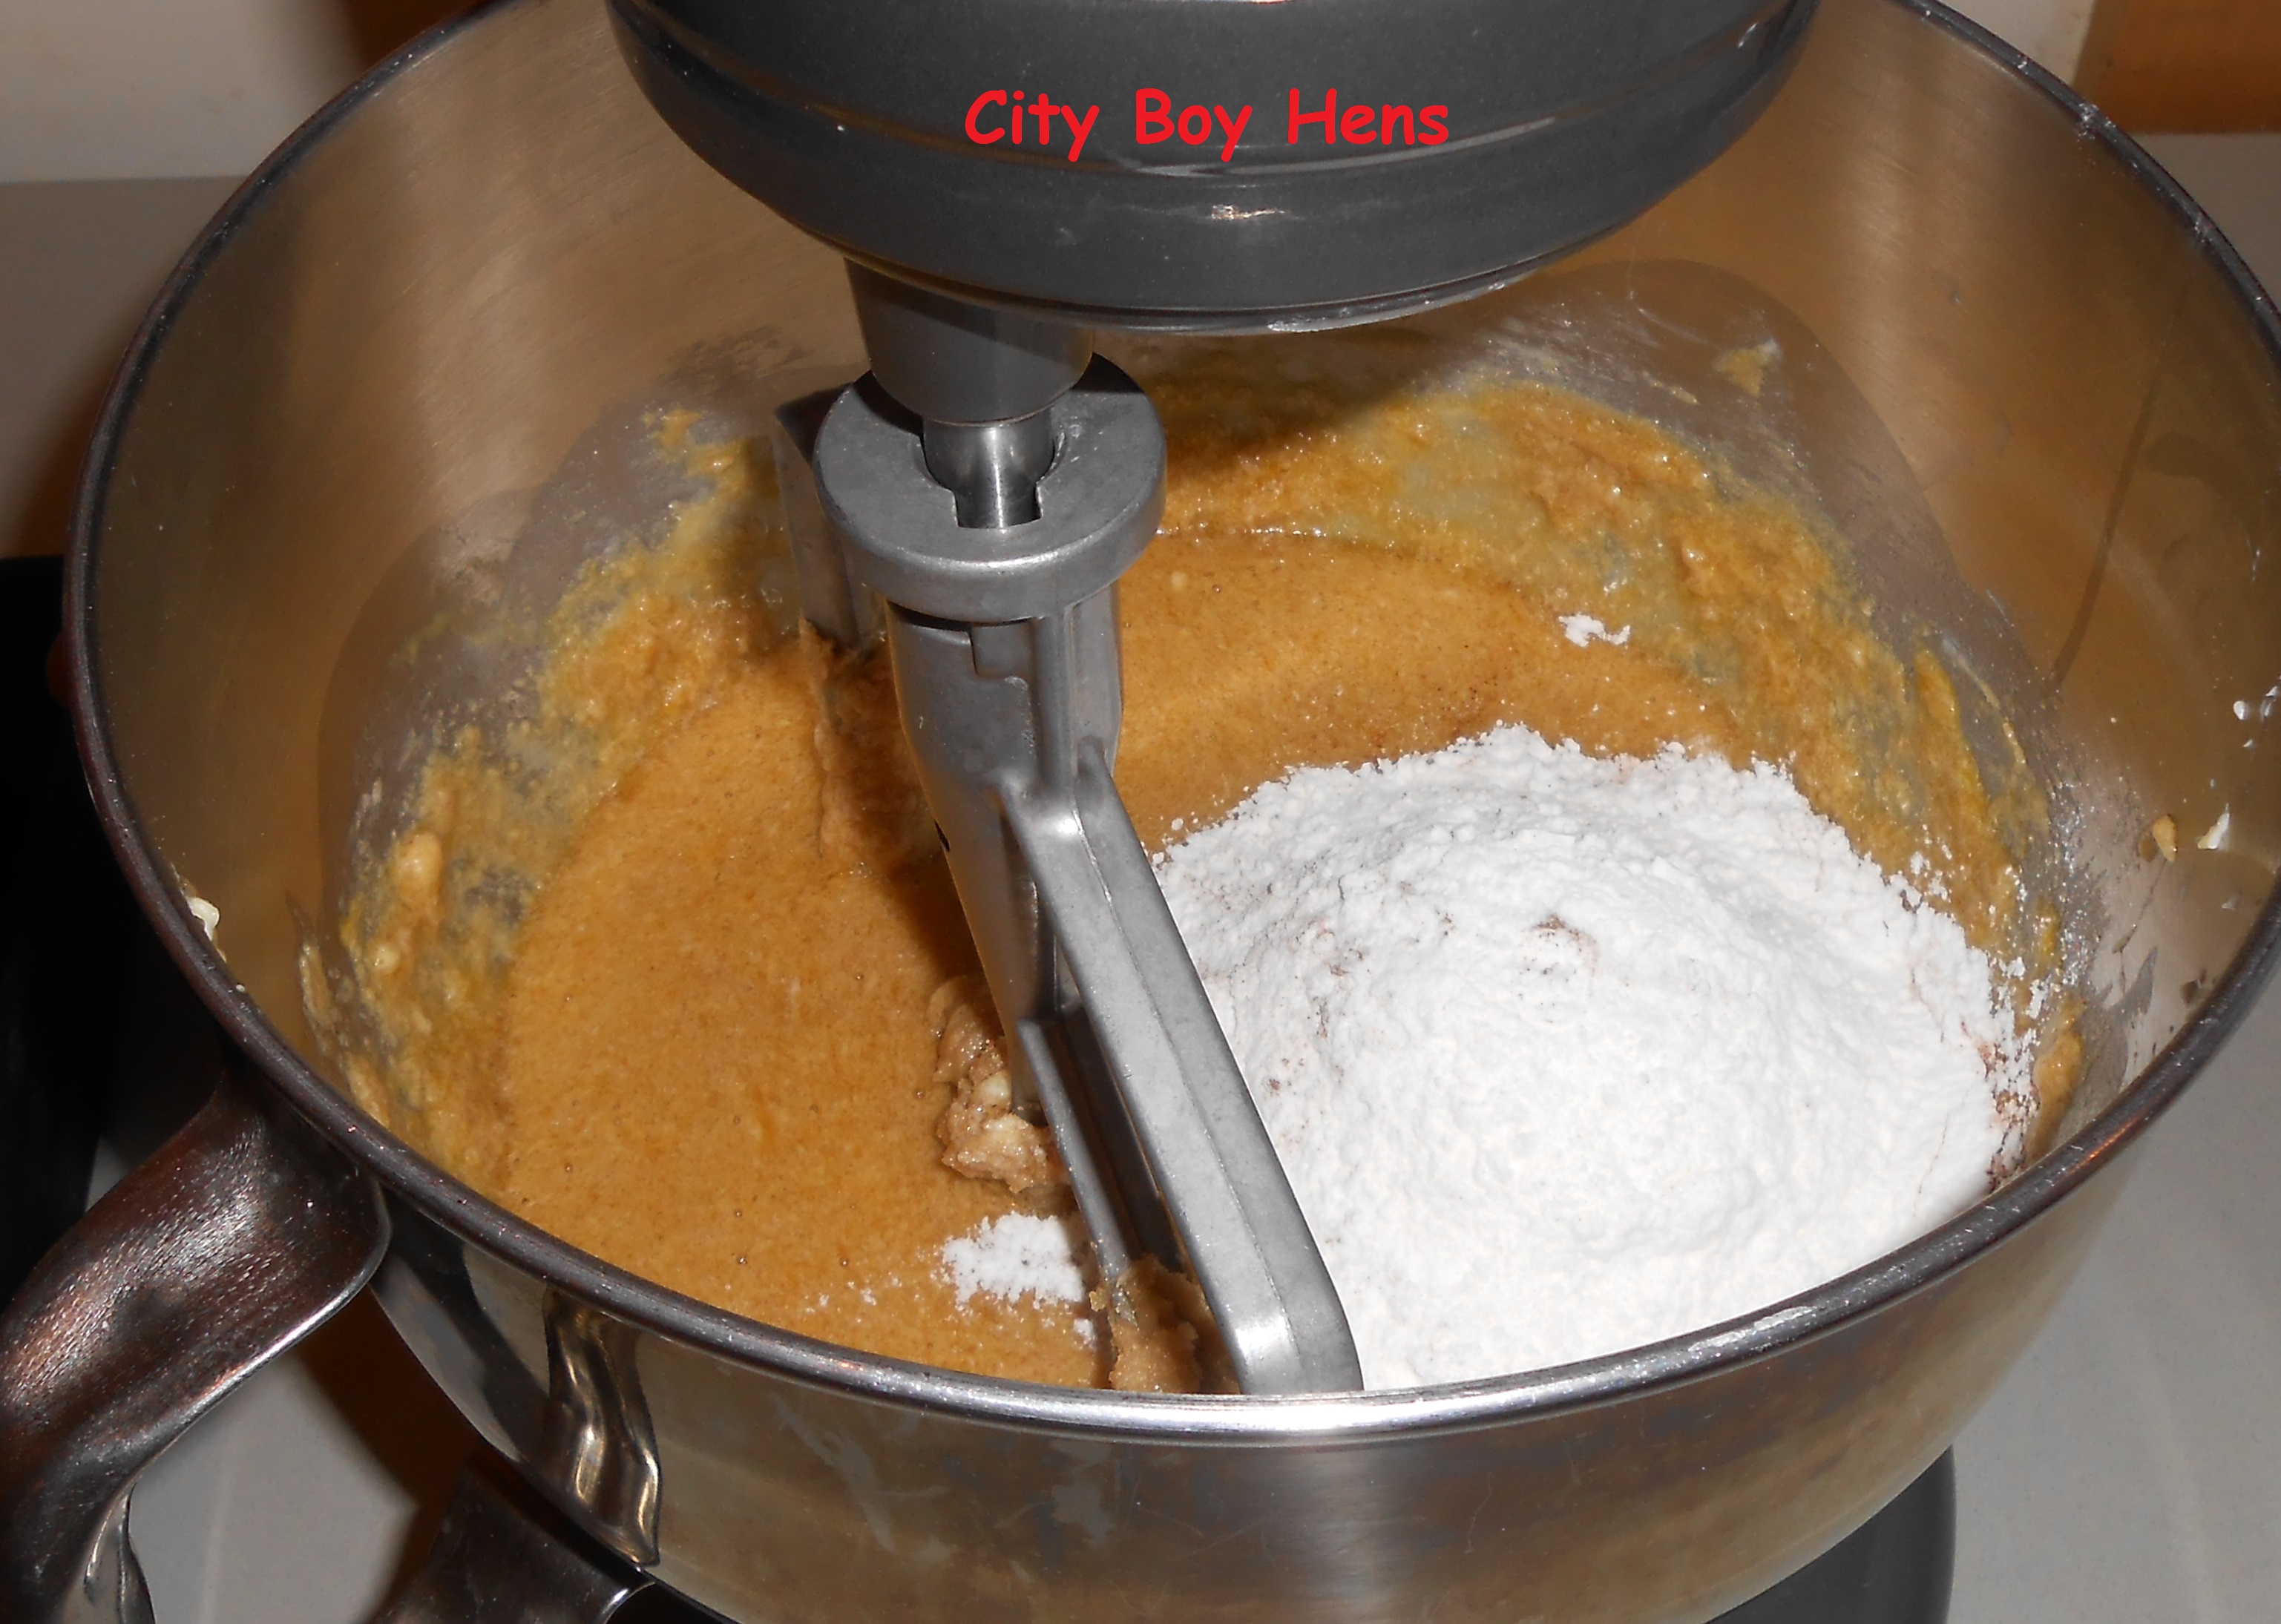
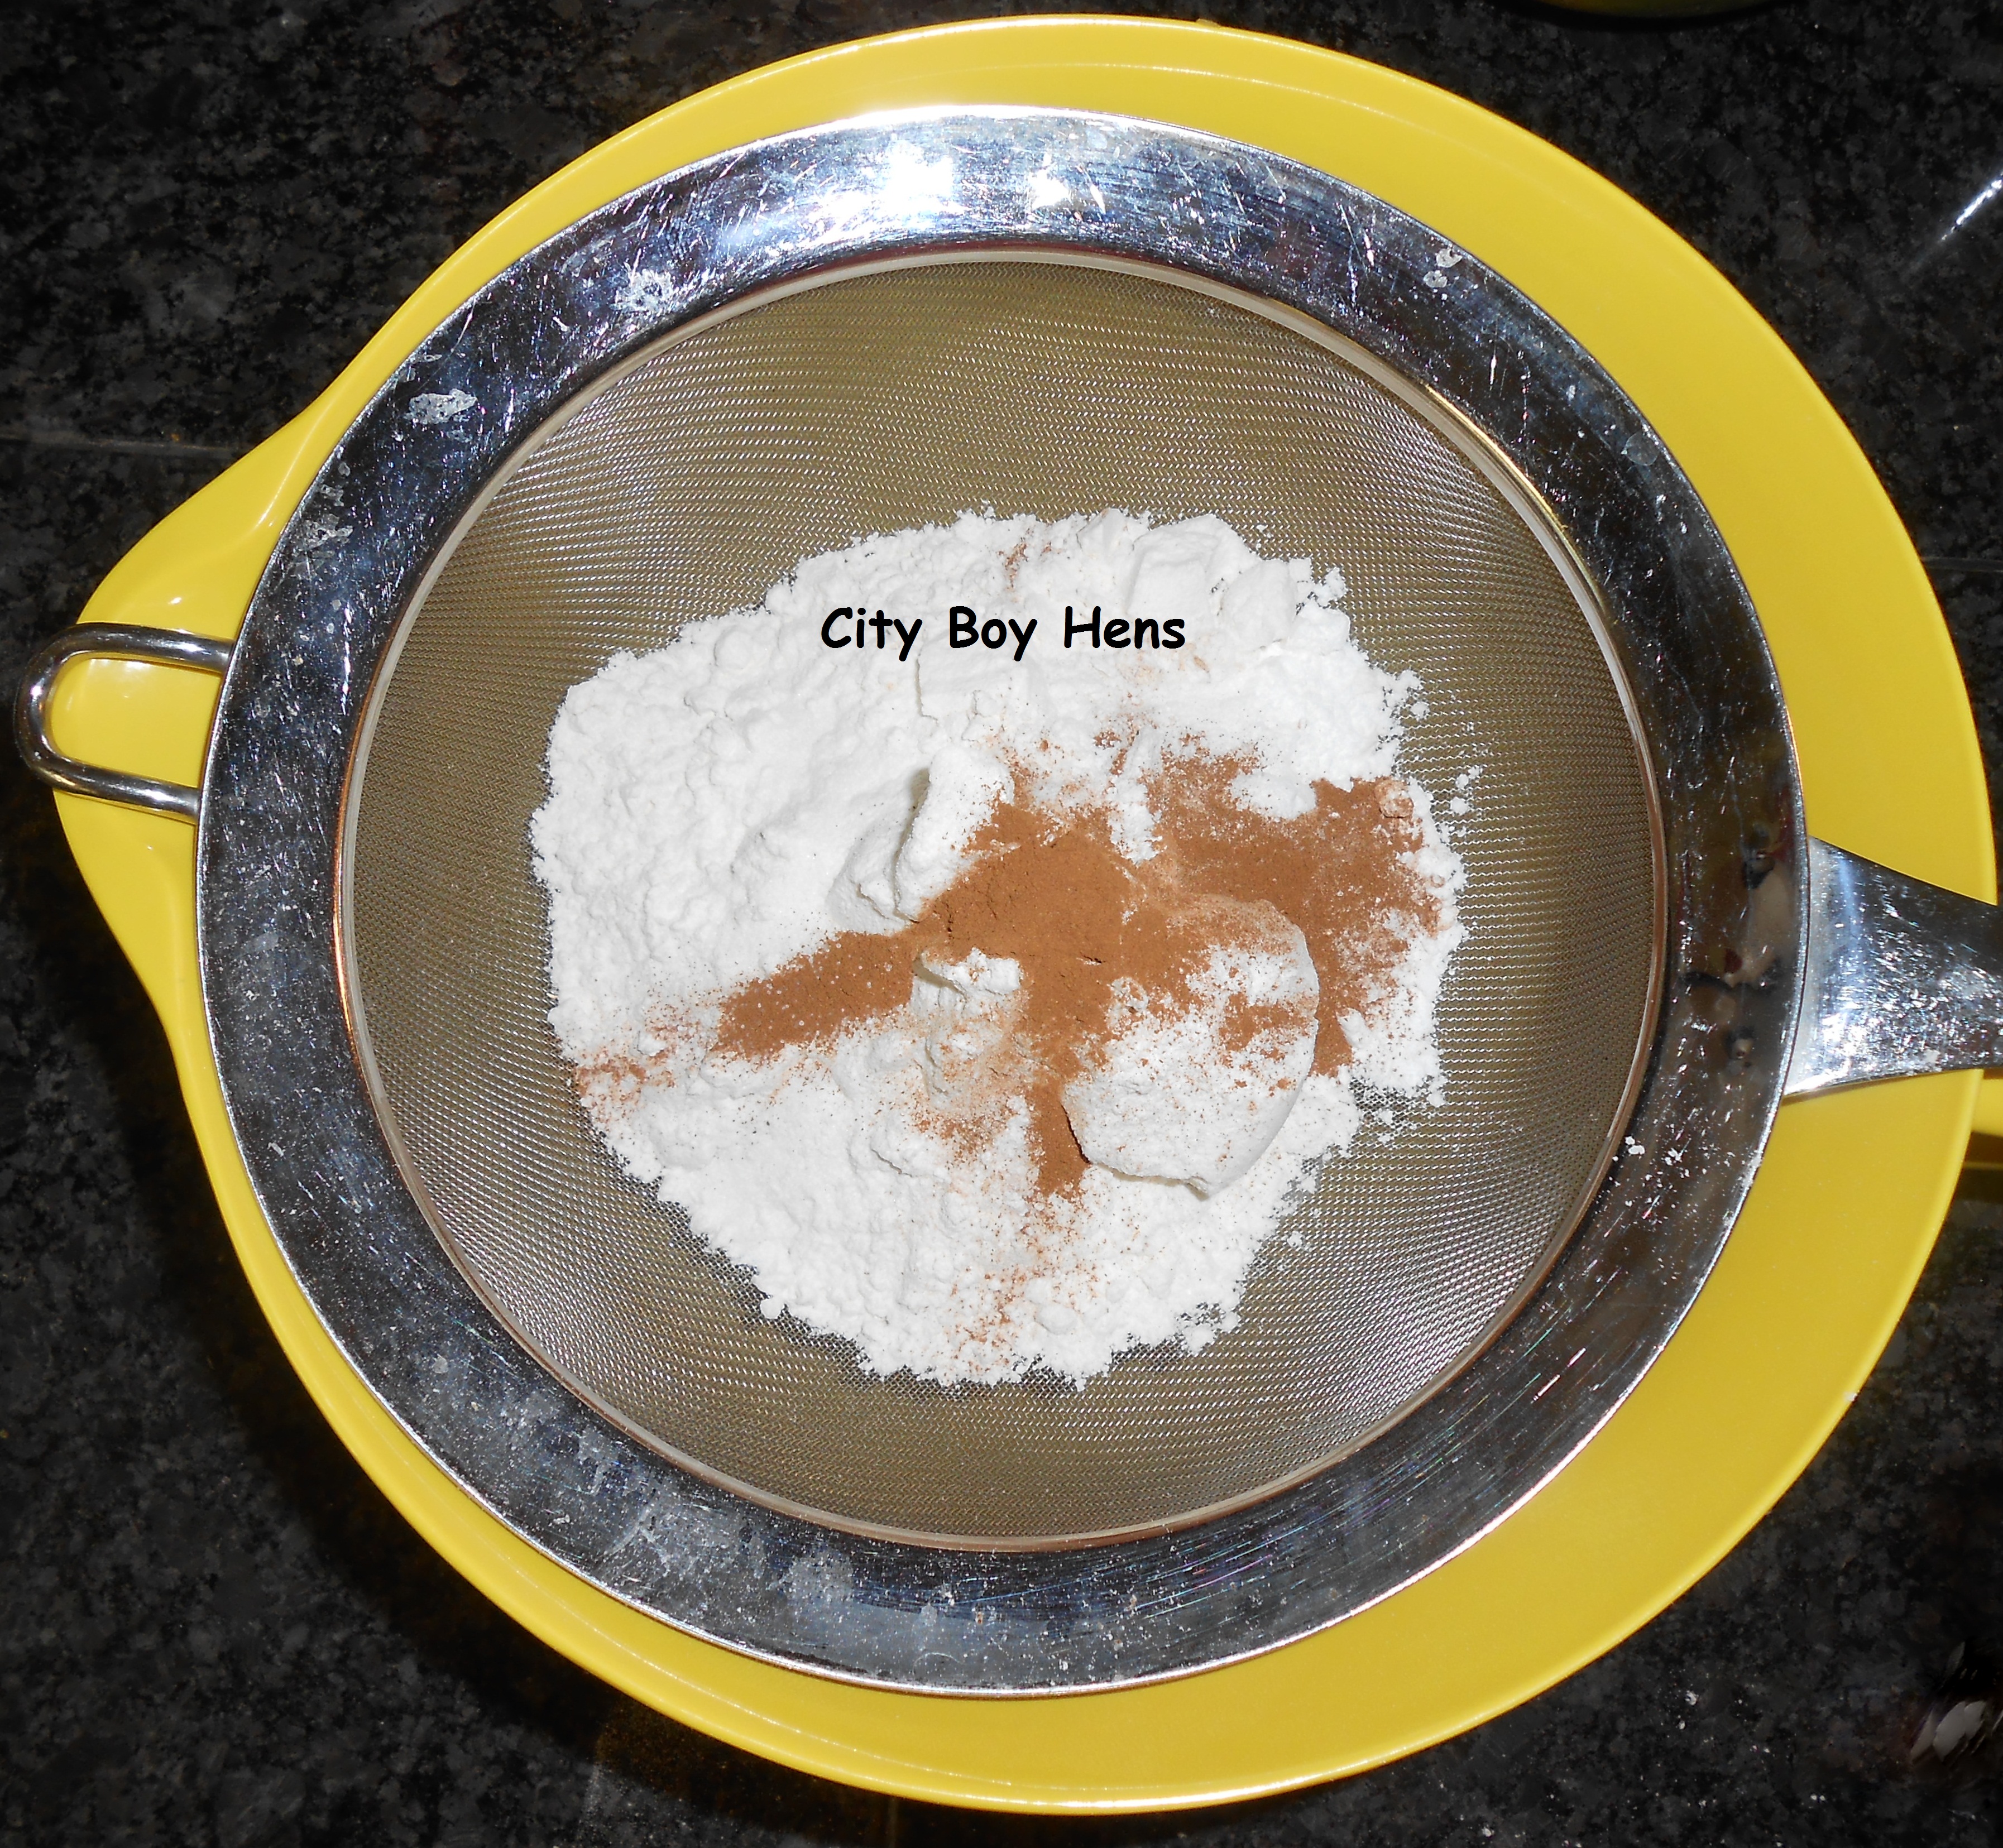
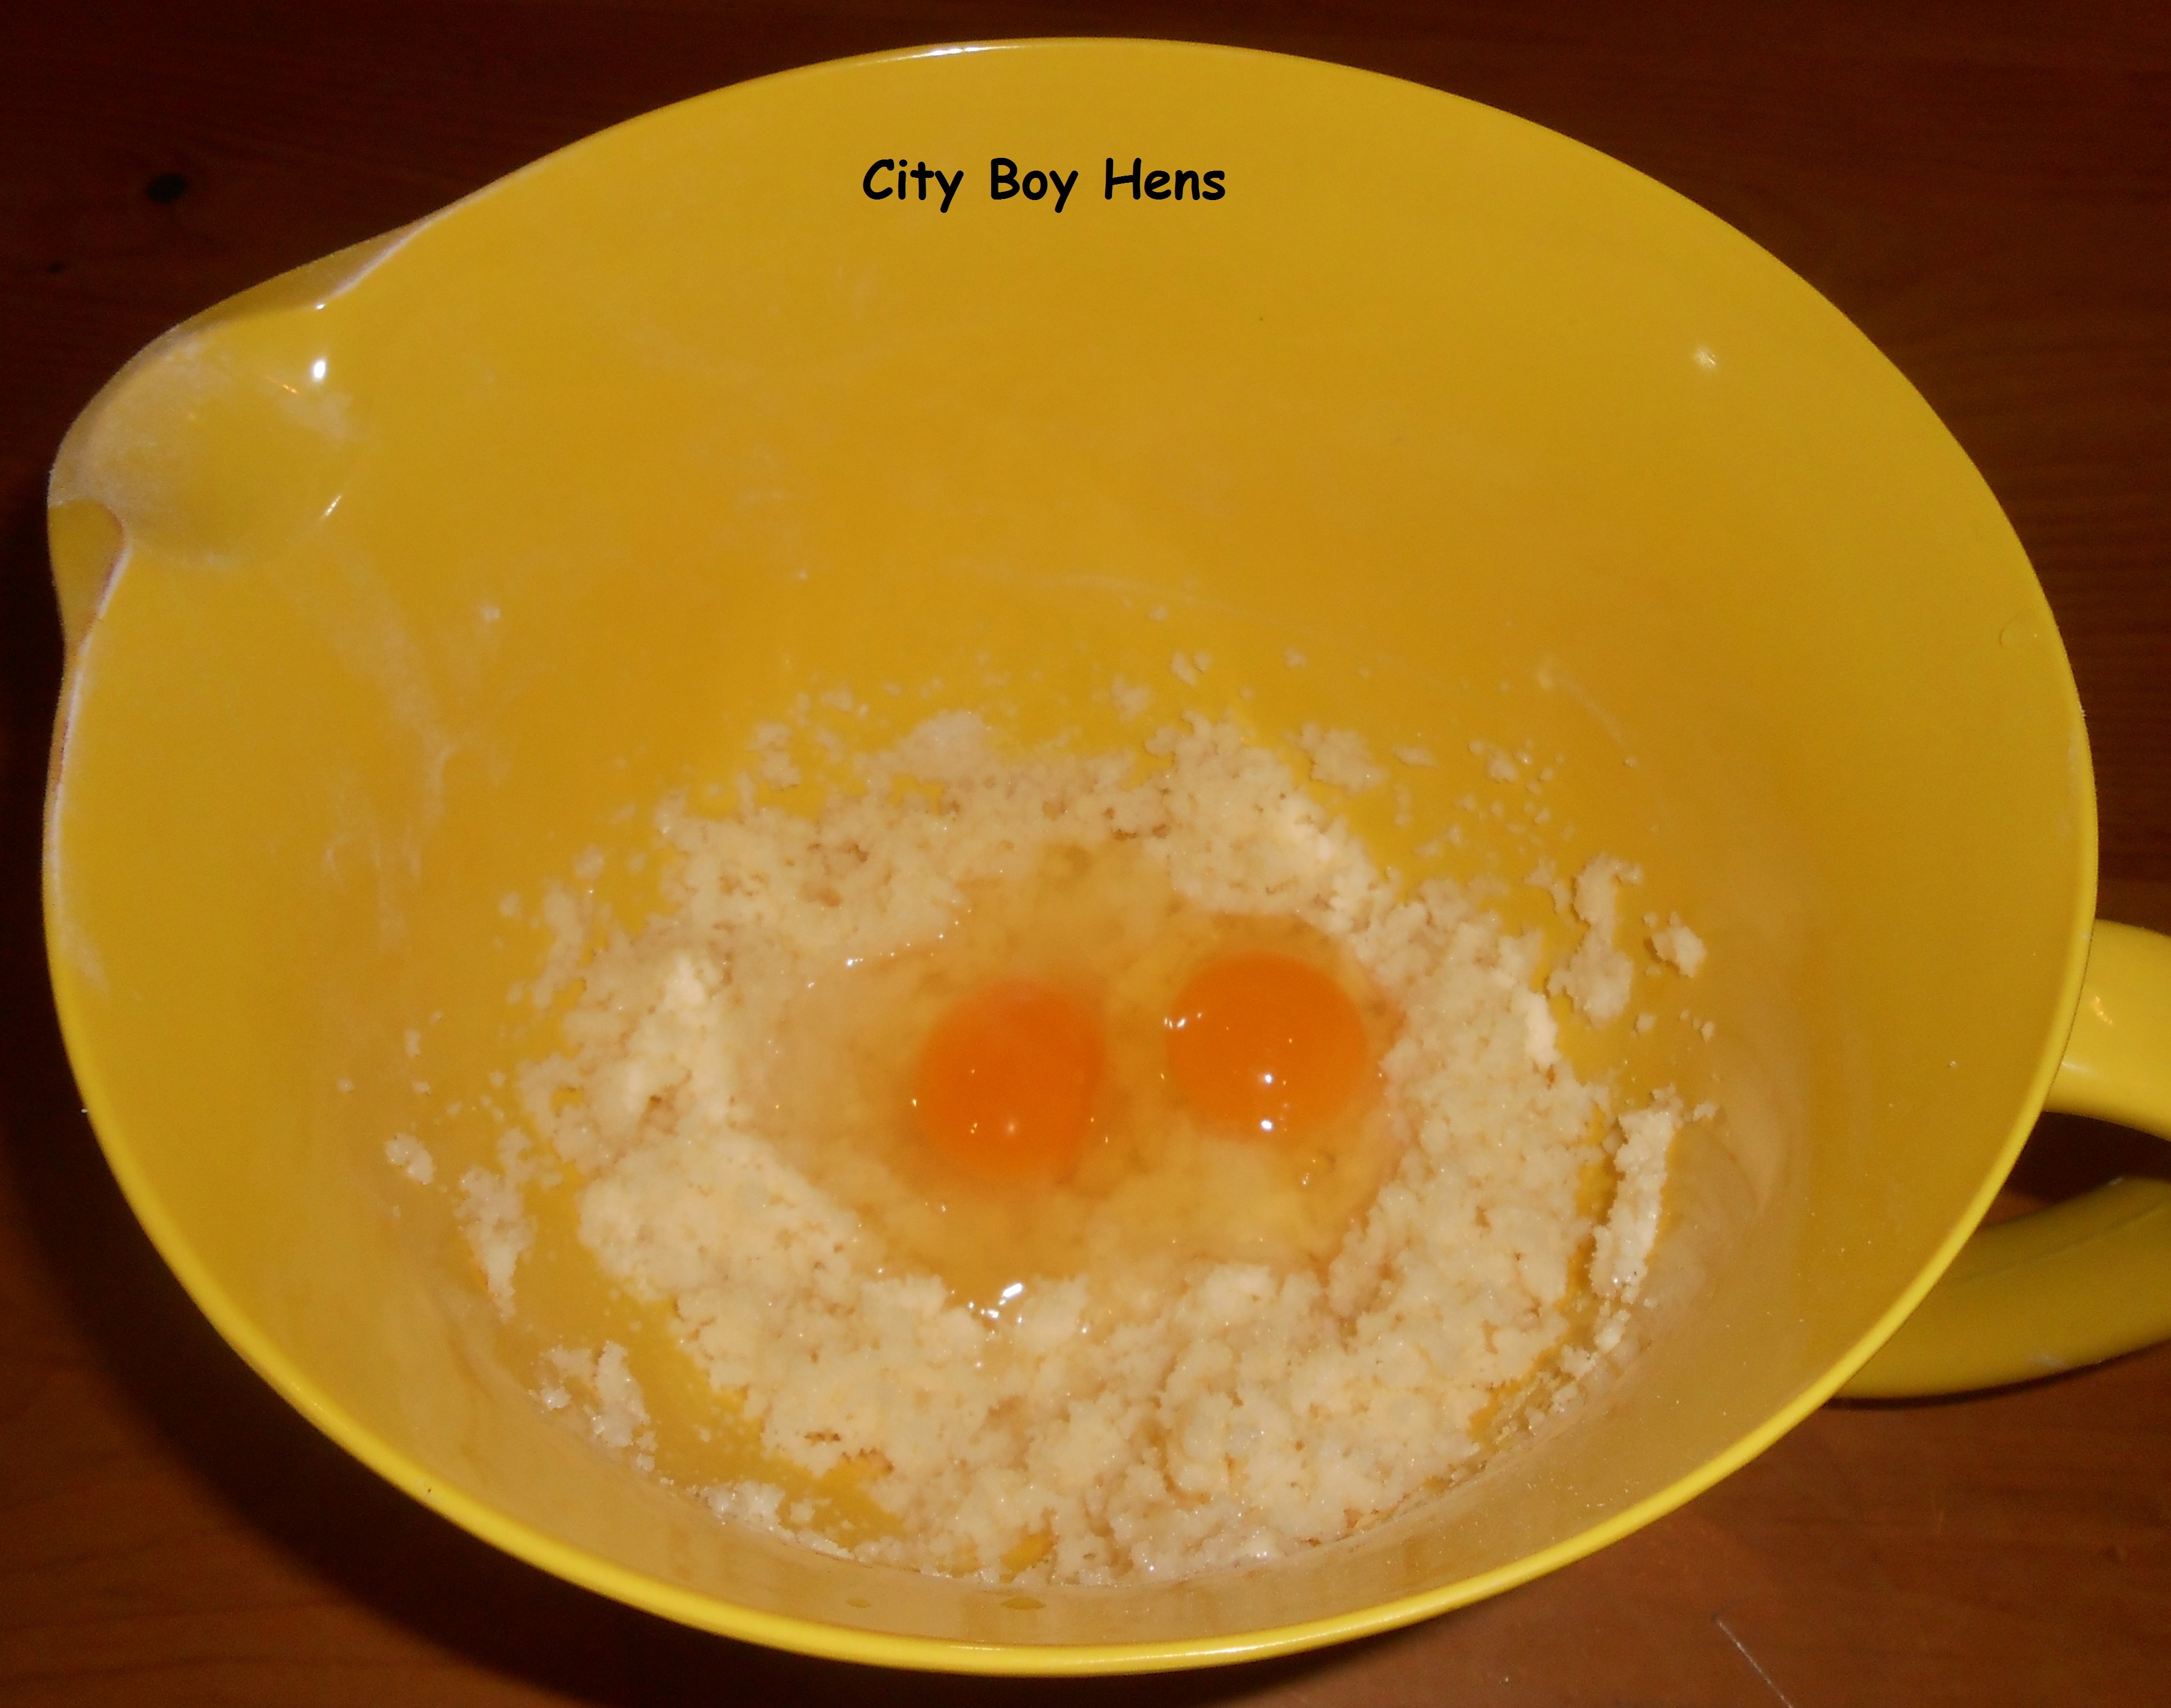
 Stir in dry ingredients – one-third at a time until completely combined. Roll dough into a tight ball, wrap in plastic wrap and refrigerate for 3 hours. *If time is tight and outside temperature is conducive, divide your dough into thirds and place your bowl of dough outside for a faster chill.