
Oh……the olive. You either love them or look upon them like the plague. If you are in the second group, I suspect that I’ve lost you already. But, if you are a lover of the olive, I’d like to show you had to easily pickle this tasty treat. It’s going to take around 3 weeks to cure these babies with about 15 minutes worth of work to do every other day. After that, you’ll be enjoying some great tasting olives for the next 12 months.
First, go out and purchase a case of green olives. These olives generally come from California and are available from late September until mid November. The olives are green in color because they are not ripe (a black olive is a ripened olive). As a result, they are extremely bitter. Taste one if you do not believe me. I’ll bet you a dozen City Boy eggs that you won’t eat 2!
Next, wash the olives in cold water and discard any that are damaged or spoiled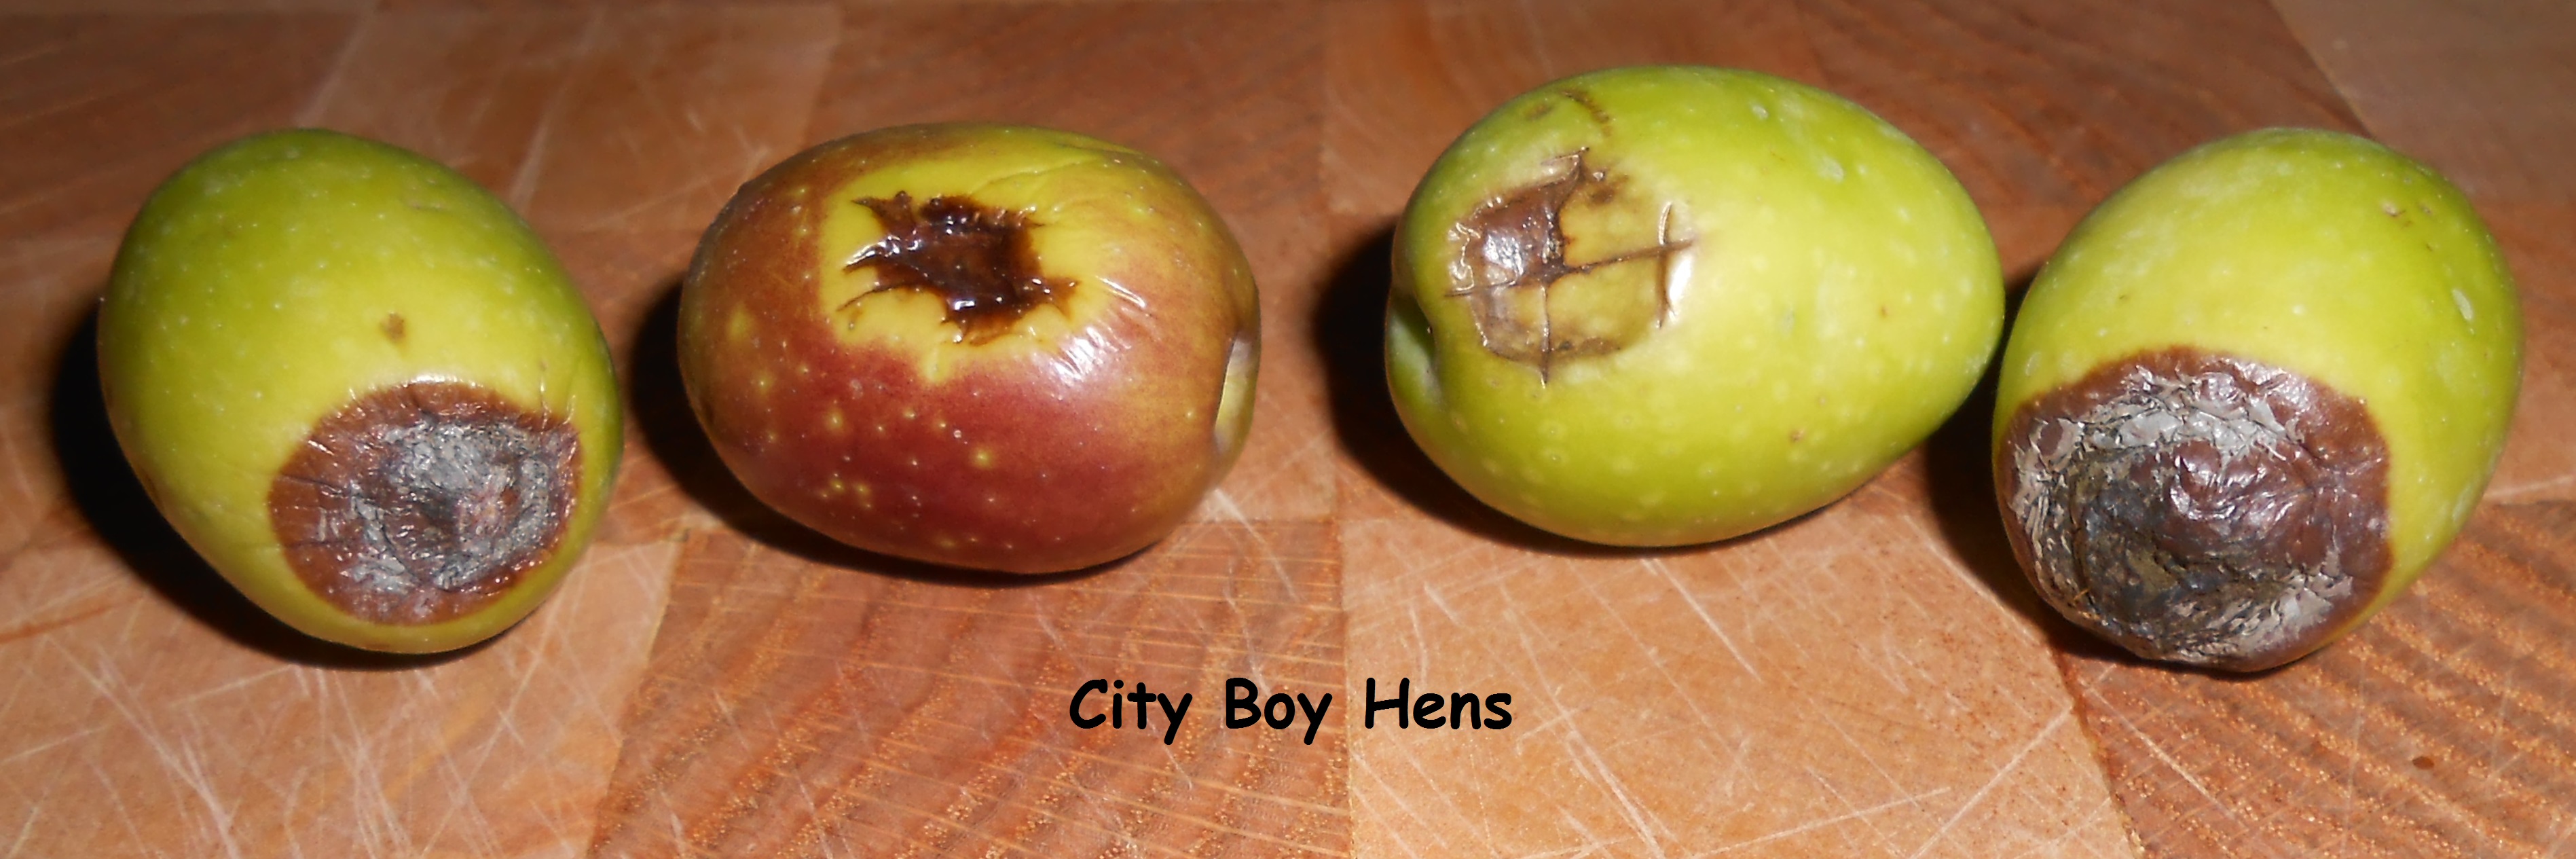 In order to make the olives palatable, the bitter element ( oleuropin), must be removed. This is done by fermenting the olives in a brine for around 18 days. This may not seem like a long time, considering that the olive is so bitter, but you are going to speed up this process by piercing the olive several times with a fork. I do this by holding the olive between my thumb and index finger and piercing it with each turn (3 times will do). Some folks like to cut slits in the olive with a knife, but I find that this takes too long. Others like to hit the olive with a hammer, but I do not like the final presentation of smashed olives in a jar. Either way, it’s entirely up to you. Just make sure to create “openings” in the olive in order to let the bitterness out. This is the only labor intensive step to making olives and it will take you about 1.5 hours to prick, slit or smash every one.

After pricking each olive, make sure to immediately drop them into a 5 gallon “food-grade”pail that has a brine solution of 1 cup pickling salt and 20 cups of water. Make sure that all of the olives are immersed in the brine solution. I have found that the best way to keep the olives immersed is to invert a 10″ dinner plate on top of the olives and weigh it down with a 1 quart mason jar that is filled with water.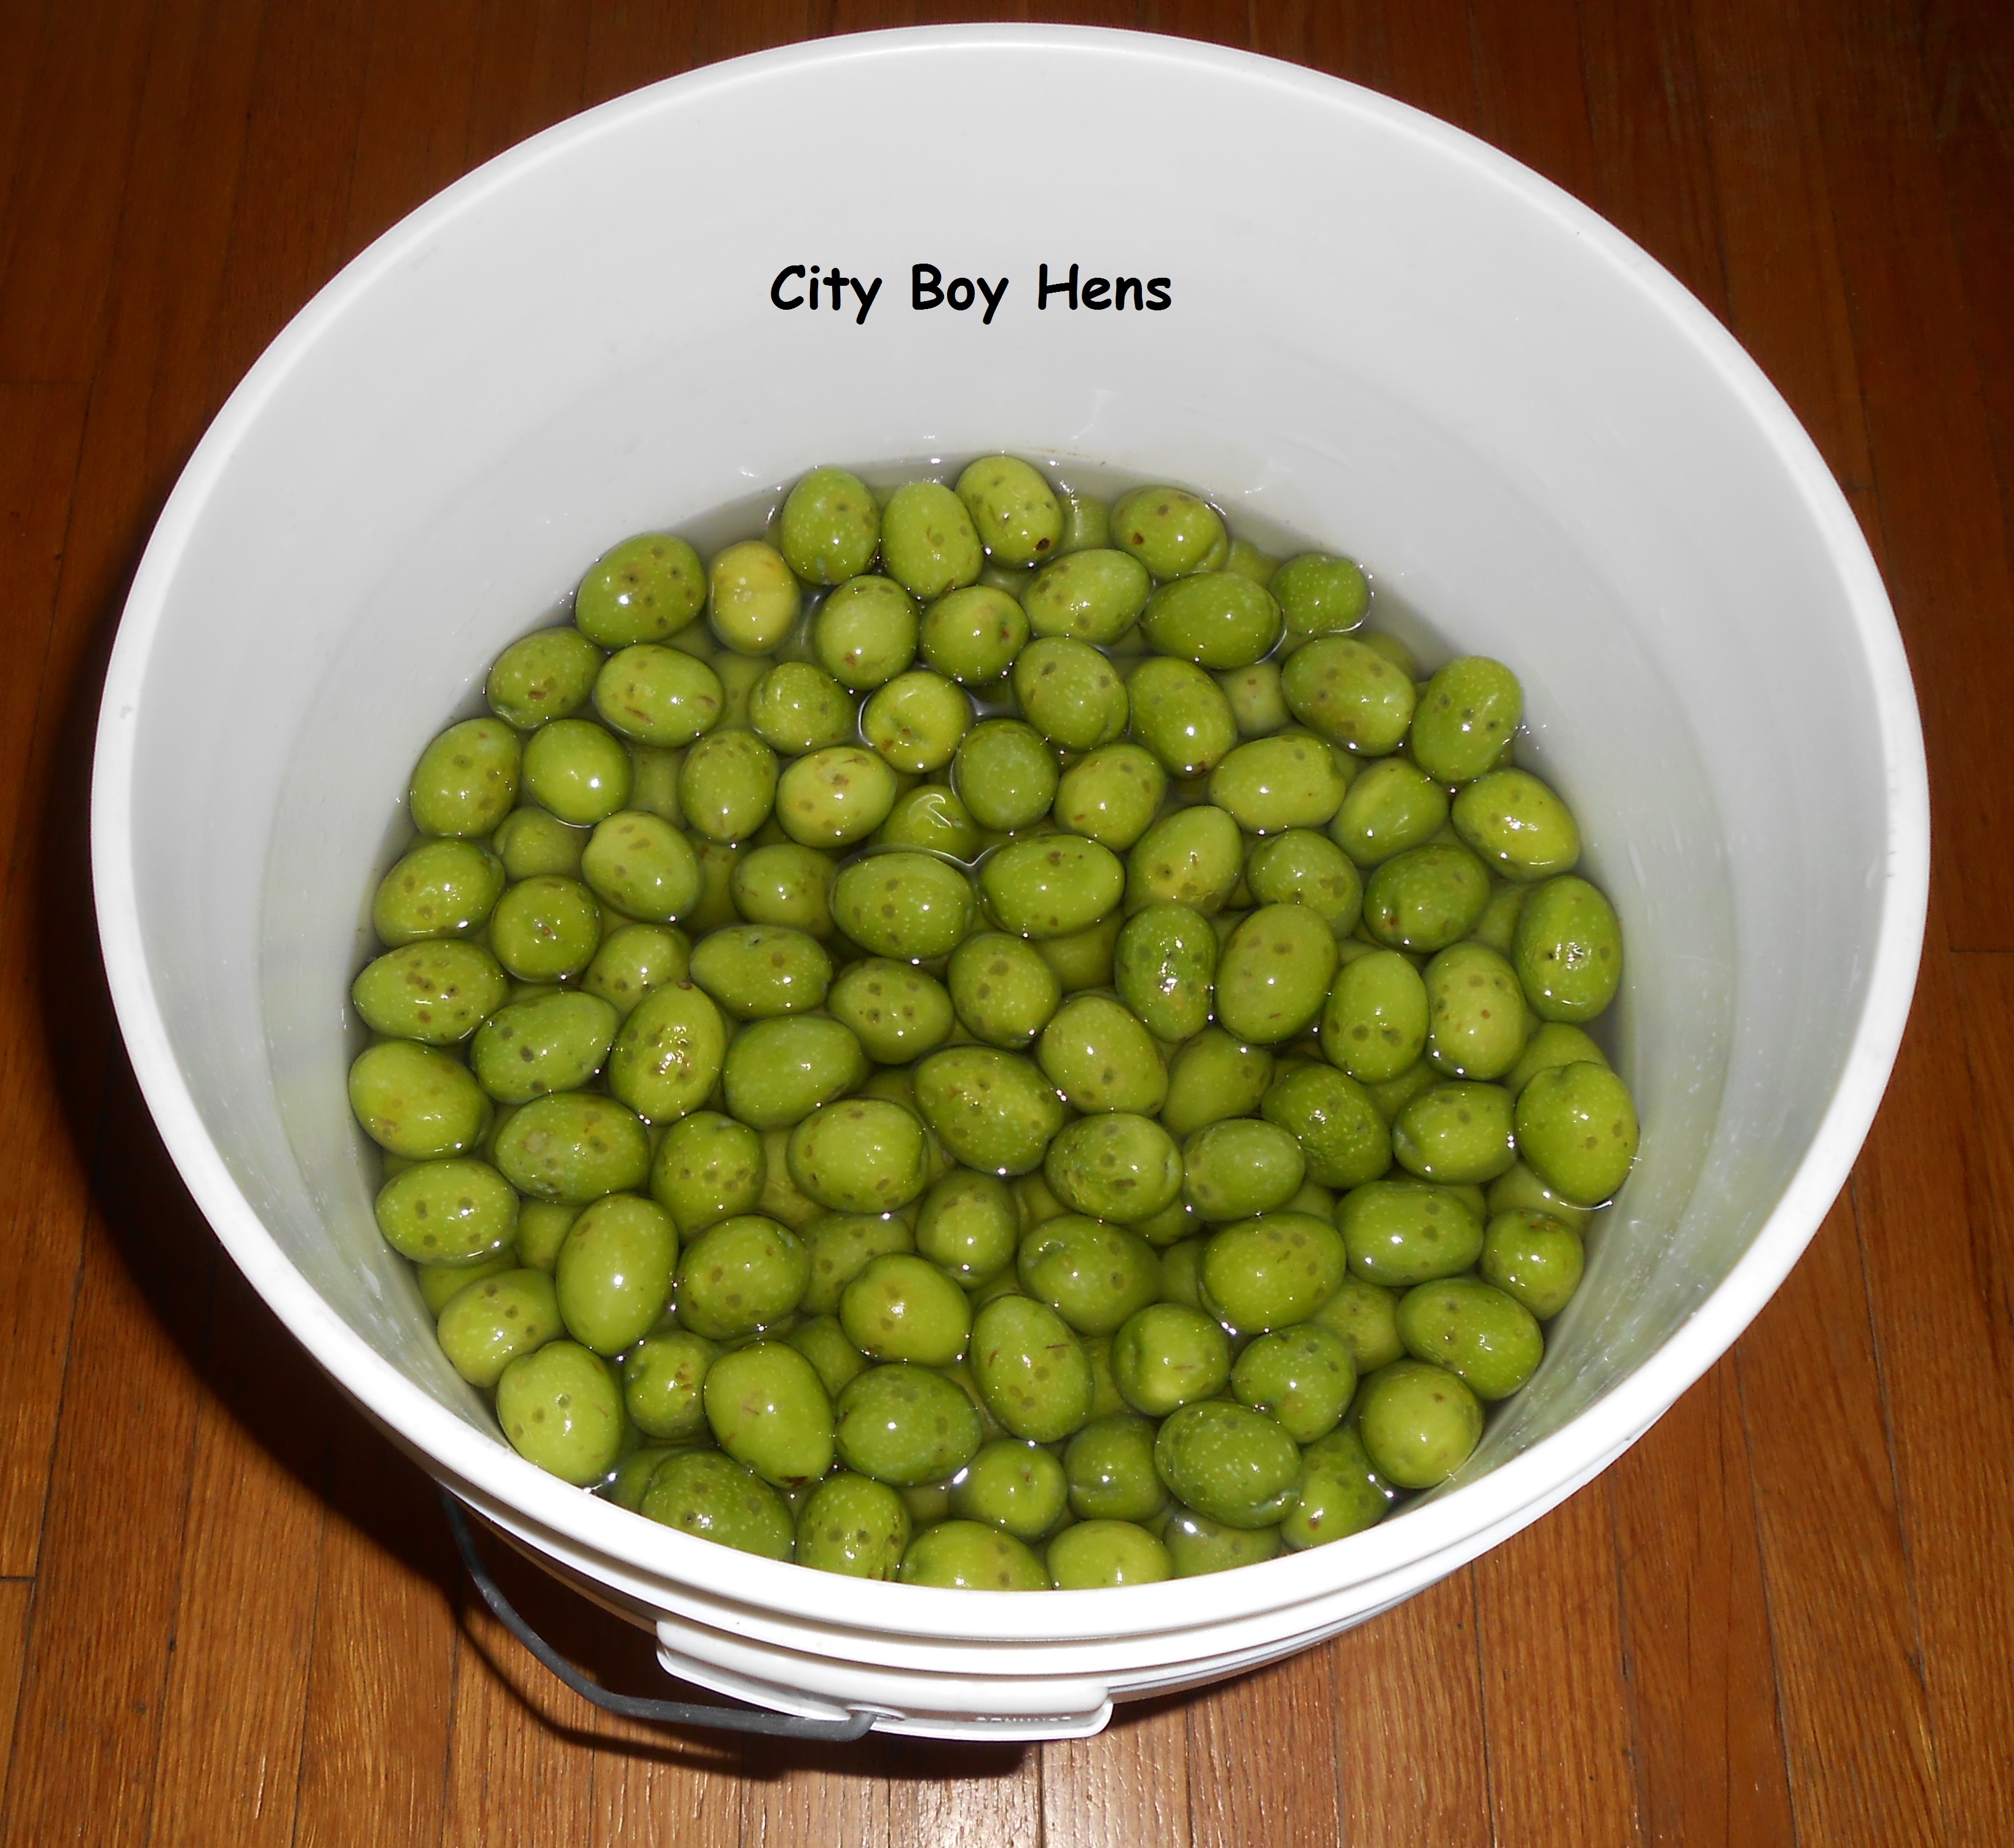

By day 2, the brine solution will begin to discolor. Dump out the brine by tipping the bucket while firmly pushing down on the dinner plate. Remove the plate and rinse the olives in the bucket. Make up your brine solution and continue to repeat this process.
By around day 5, you will begin to hear large air bubbles occasionally escaping from under the plate. This is a great sign that the olives are beginning to ferment.
Continue changing the brine ever other day until day 18. Now taste an olive. It should be firm and have a subtle salty olive rich taste. If it still taste a bit bitter, give it another few days.
This is what the color of my brine solution looked like by day 16. It is light green/yellow in color and had a rich aromatic scent.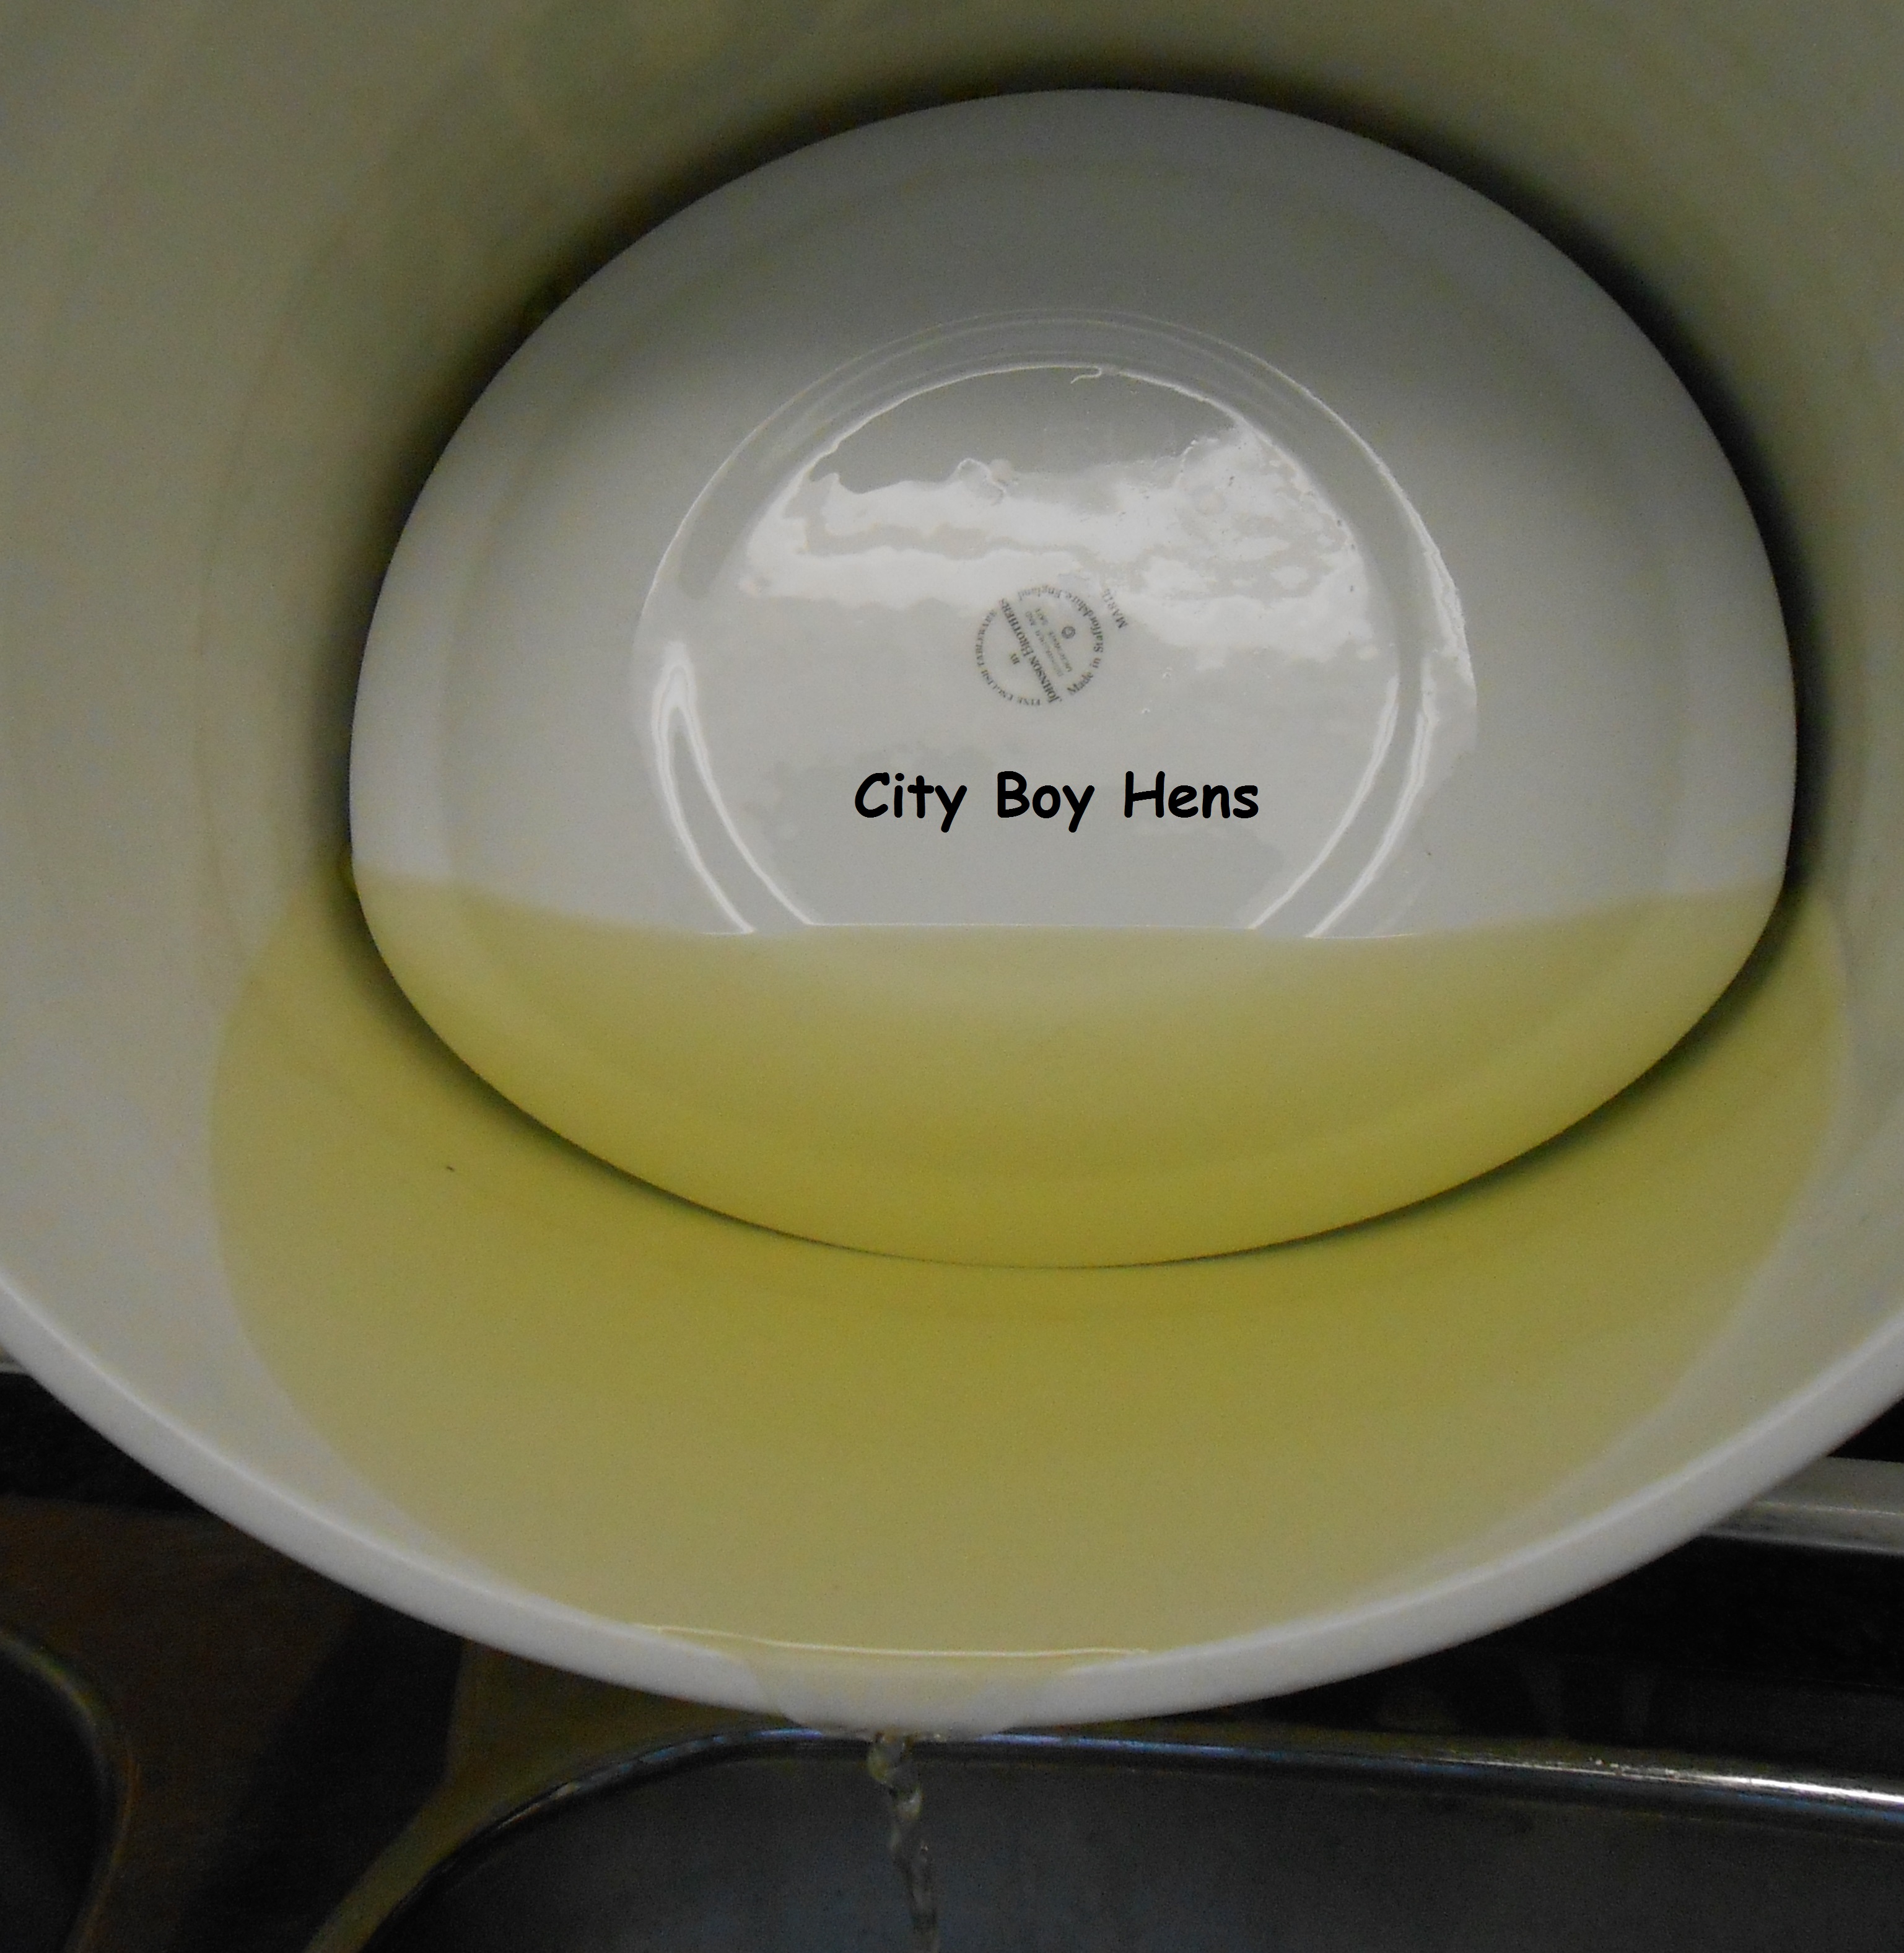
This is what my olives looked like by day 18. Notice how the color is no longer bright green, but more of a…..well….olive drab color. This is a good sign that you are almost ready to be preserve them in some mason jars.
By day 18-21, the olives should be ready to be jarred. Once again, it is not an exact science so you will have to rely on your taste buds. If they no longer taste bitter or are only slightly bitter, than it is time to pack them in mason jars. In order to extend their shelf life and ensure a safe edible product, it is necessary to increase the salt content in the brine to 1 cup of pickling salt for every 10 cups of water. I used 1 1/2 cups of pickling salt and 15 cups of water in order to make my brine. I remember hearing about a traditional “old school” method that used an egg in order to achieve the proper salinity in a brine. When the egg floated in the brine, the proper salinity was achieved!
Now sterilize your jars in the oven at 225 degrees Fahrenheit for 10 minutes. Place the canning rings and seals in a small pot of water and bring this to a simmer for 10 minutes as well. Once the jars are sterilized, put 1/2 teaspoon of chill peppers and 1-2 cloves of sliced garlic in each quart jar. Now pack the olives into the jars and pour the brine over the fruit until they are completely submerged. *Note: Some folks have recommended that the brine be heated and the sealed jars be boiled in a canner for 15 minutes. I recommend that you follow the canning practices that make you feel secure.
 Top up the jars with 1/4″ of olive oil. This will create a barrier which will prevent the air at the top of the jar from possibly contaminating the olives.
 Now seal up the jars and store them in your cantina or cupboard for the next 12 months.
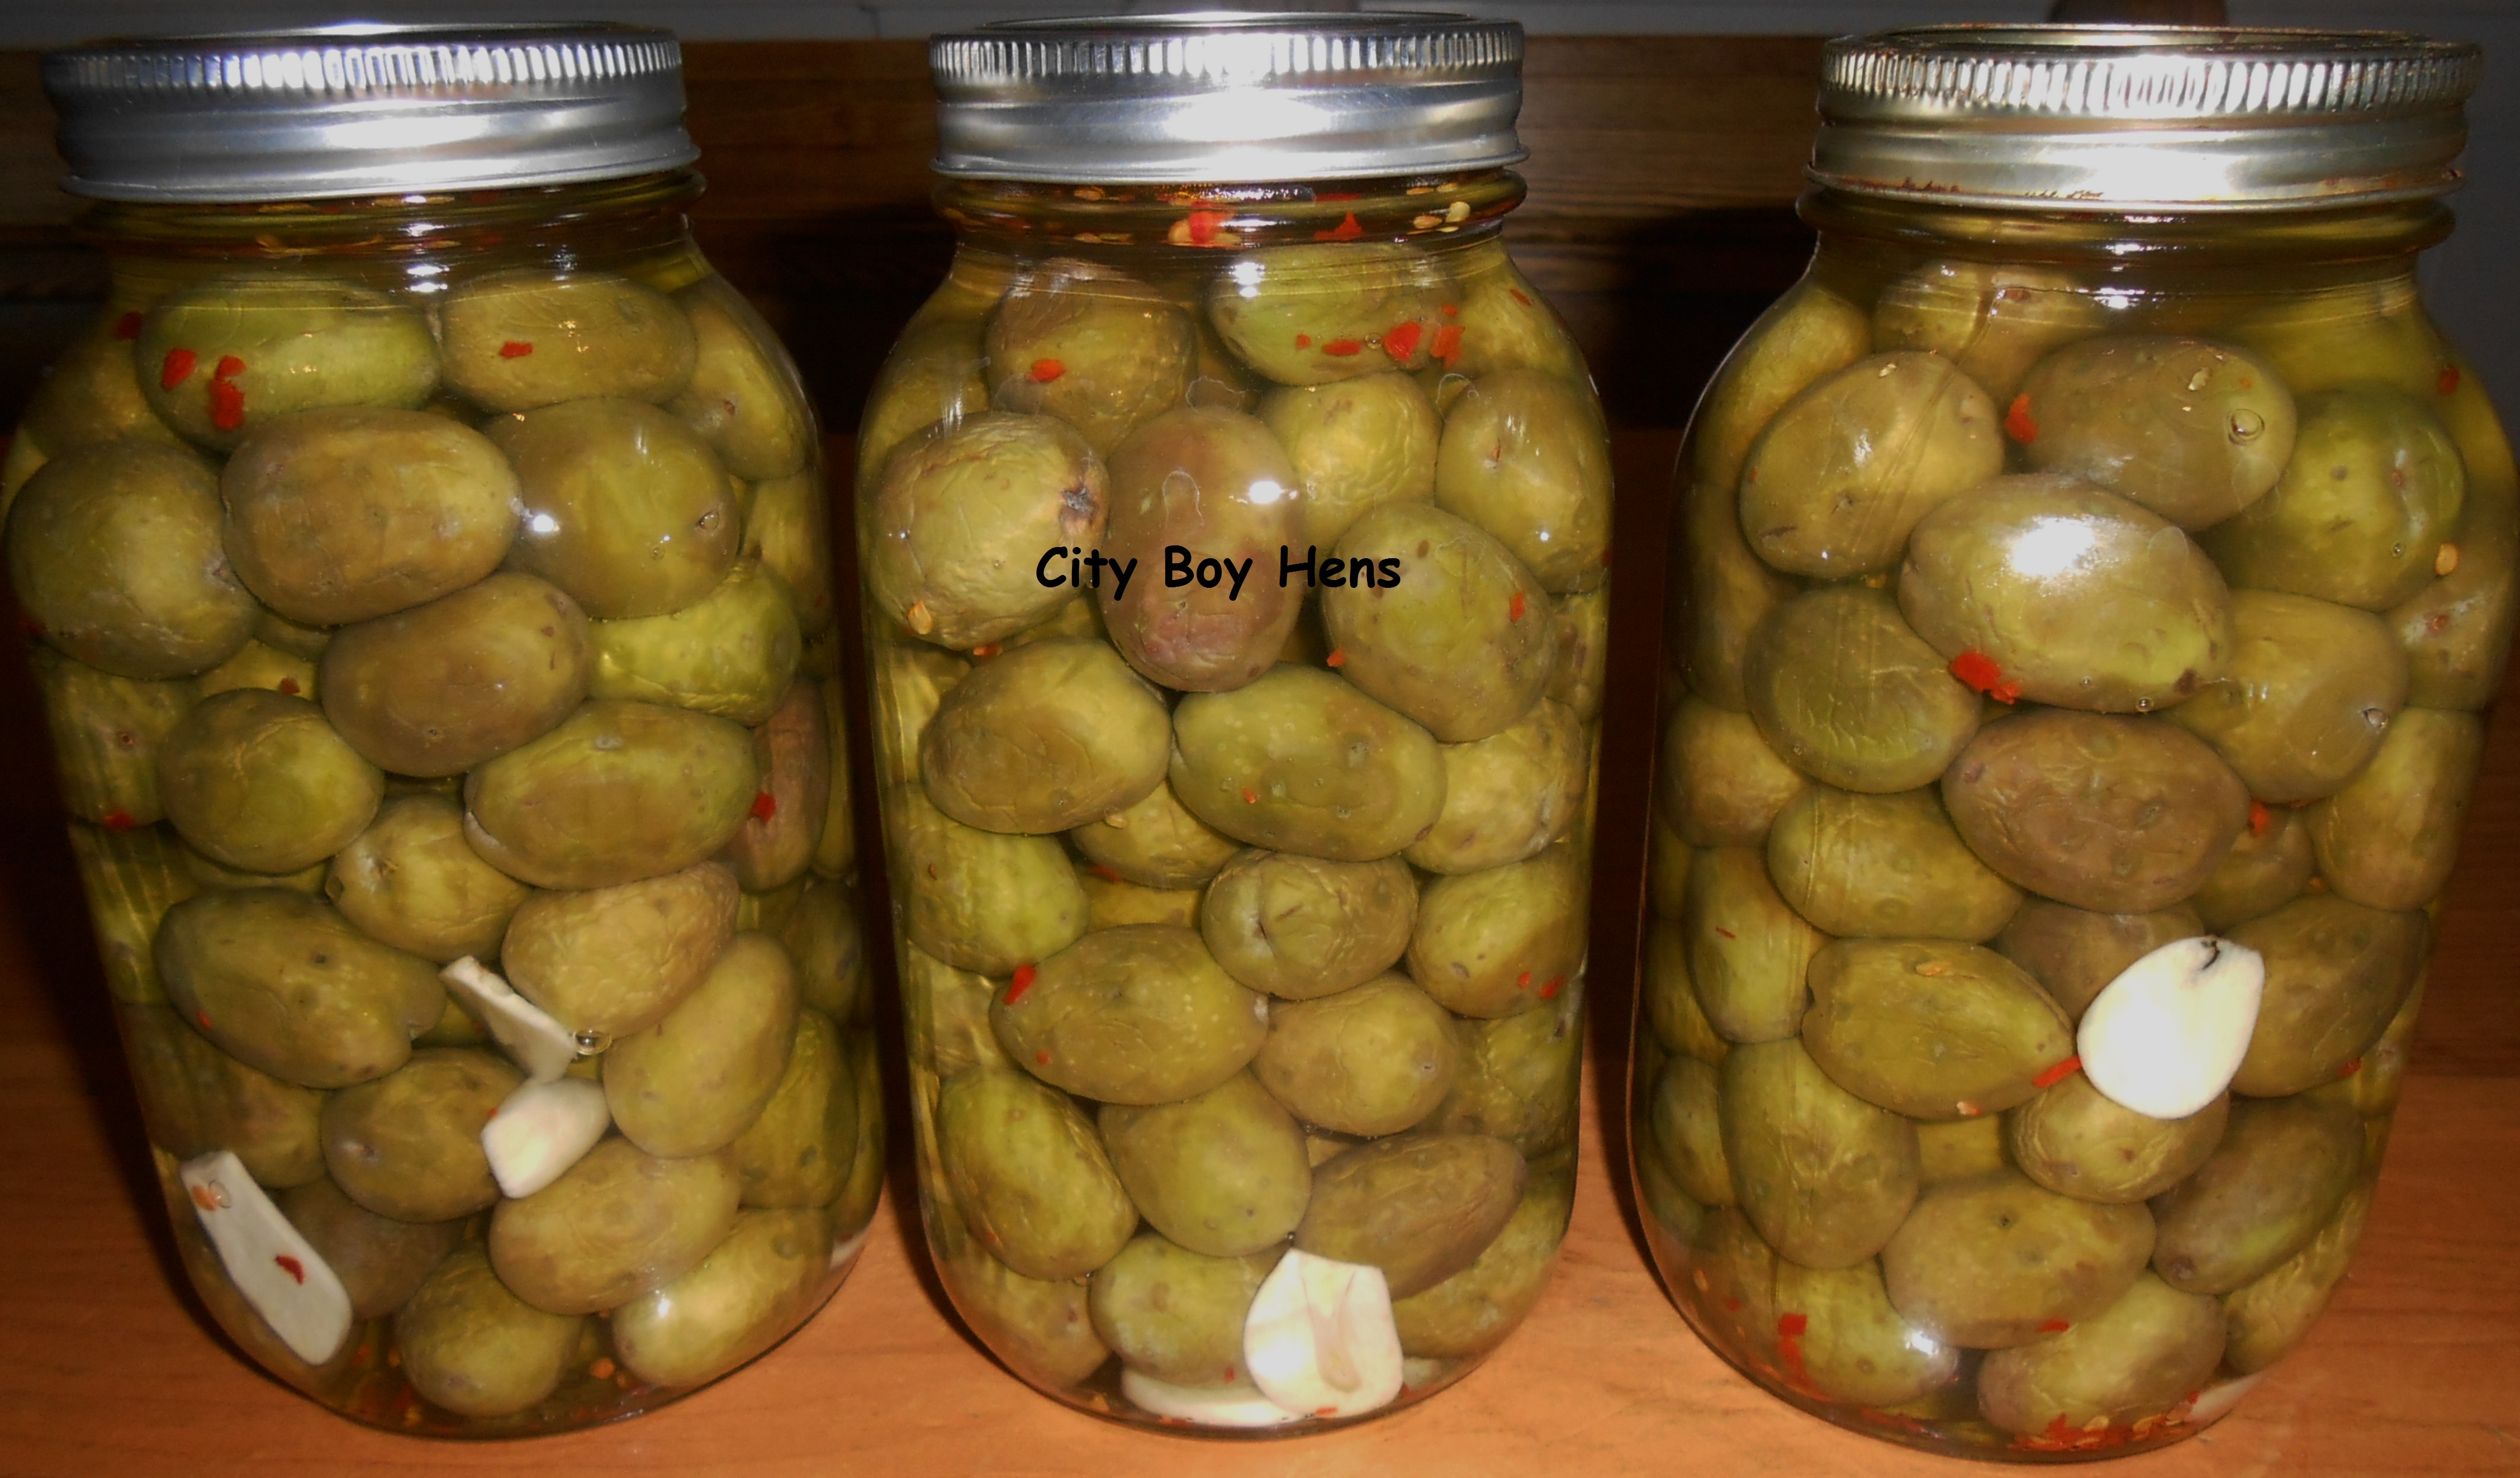
Oh……..I almost forgot…..Keep your opened jar stored in the fridge and continue to top up with olive oil. A spoonful of this flavored oil tastes amazing on your pasta dishes! I hope you’ll give it a try.

Great tutorial. My local grocery store (in Southern California) has had uncured olives in the produce section for a few weeks and they’re CHEAP! You’ve definitely got me inspired to go forth and cure my own olives! Now if I only had the patience to pit them all first. . .
Hi PF,
Go get your olives and forget about the pit. Just inform your guests that they will encounter a pit when they eat YOUR DELICIOUS olives!
Regards,
CB
This looks great – wonderful tutorial on how to cure olives! I am delighted that you shared with Home and Garden Thursday,
Kathy