Keeping Your Chickens Cool In The Summer

069Summer……….  A time to hopefully slow down, take a vacation and BEAT THE HEAT!  As I say to most people, I like the summer when there is no humidity.  Unfortunately, many summer days are accompanied by high humidity in Southern Ontario.  On those days, it’s hard to want to do much more than stay in the house where the air conditioner keeps us cool.

For the chickens…….it’s a whole other story.  Imagine someone telling you to go outside in 90 degree heat, continue your daily routine AND WEAR A DOWN COAT that must cover you from head to toe.  Oh…I forgot to mention…lay an egg while you’re at it!  Whew… I’m getting hot just thinking about it.

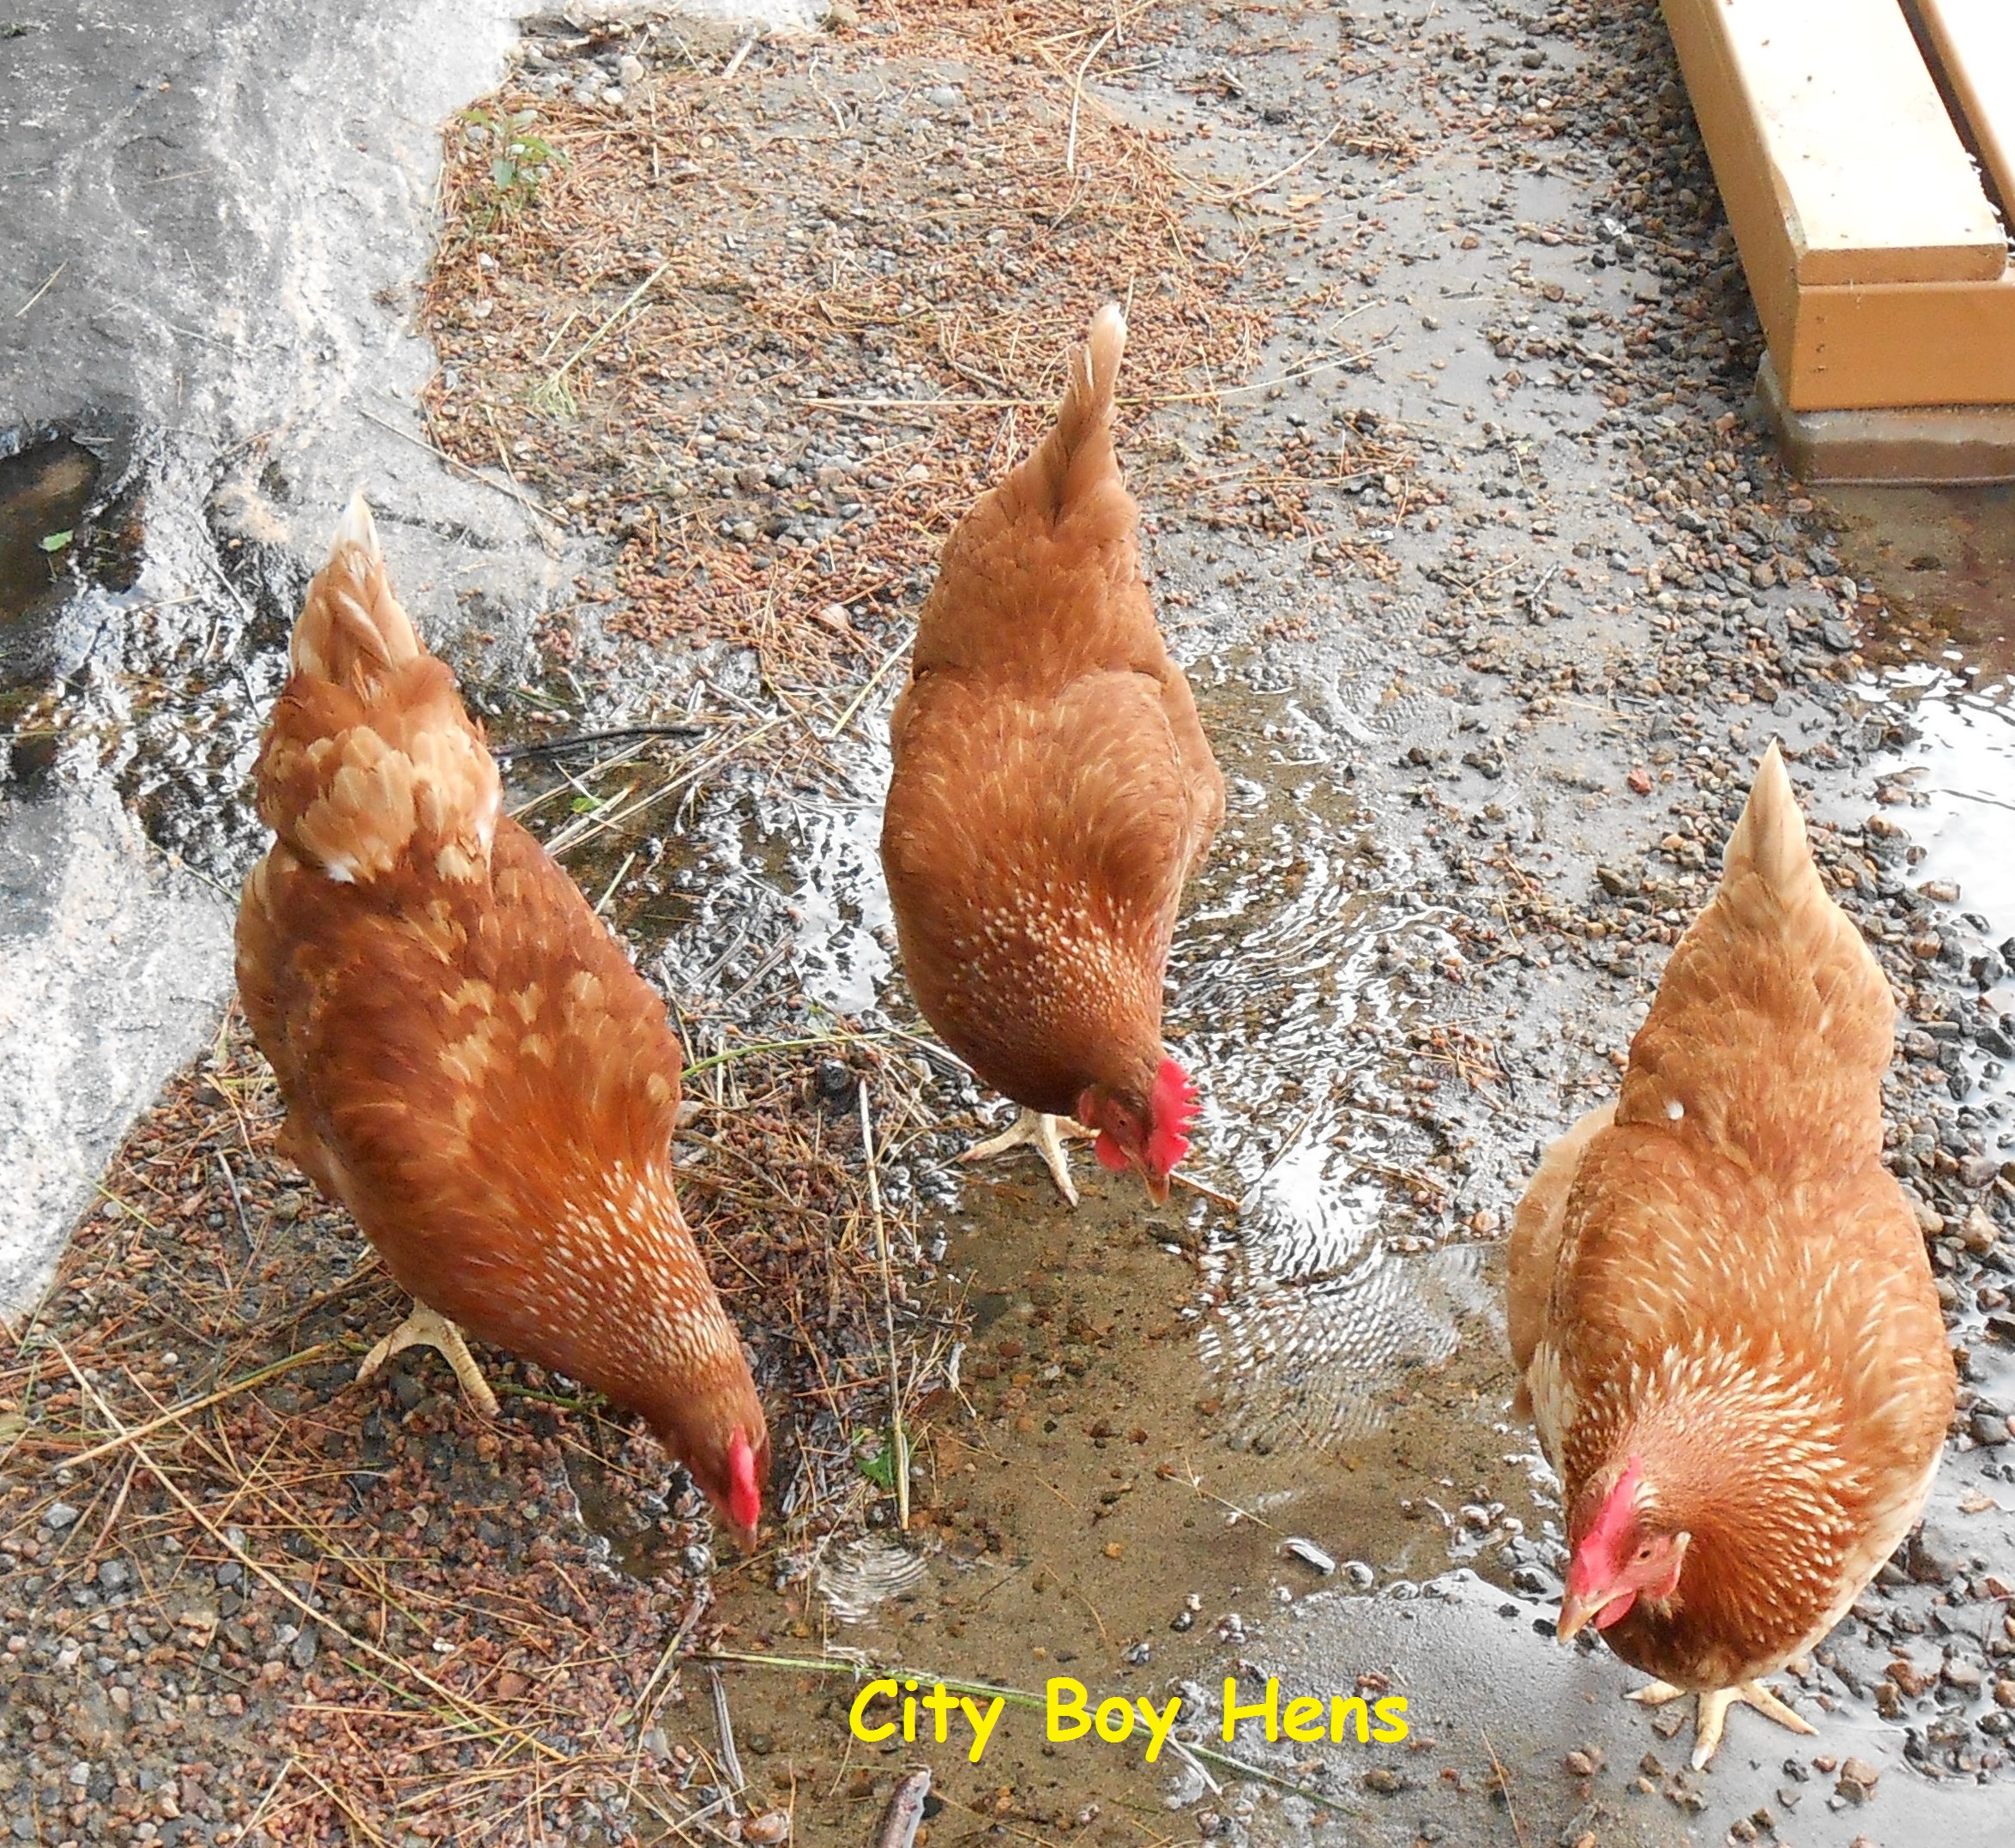
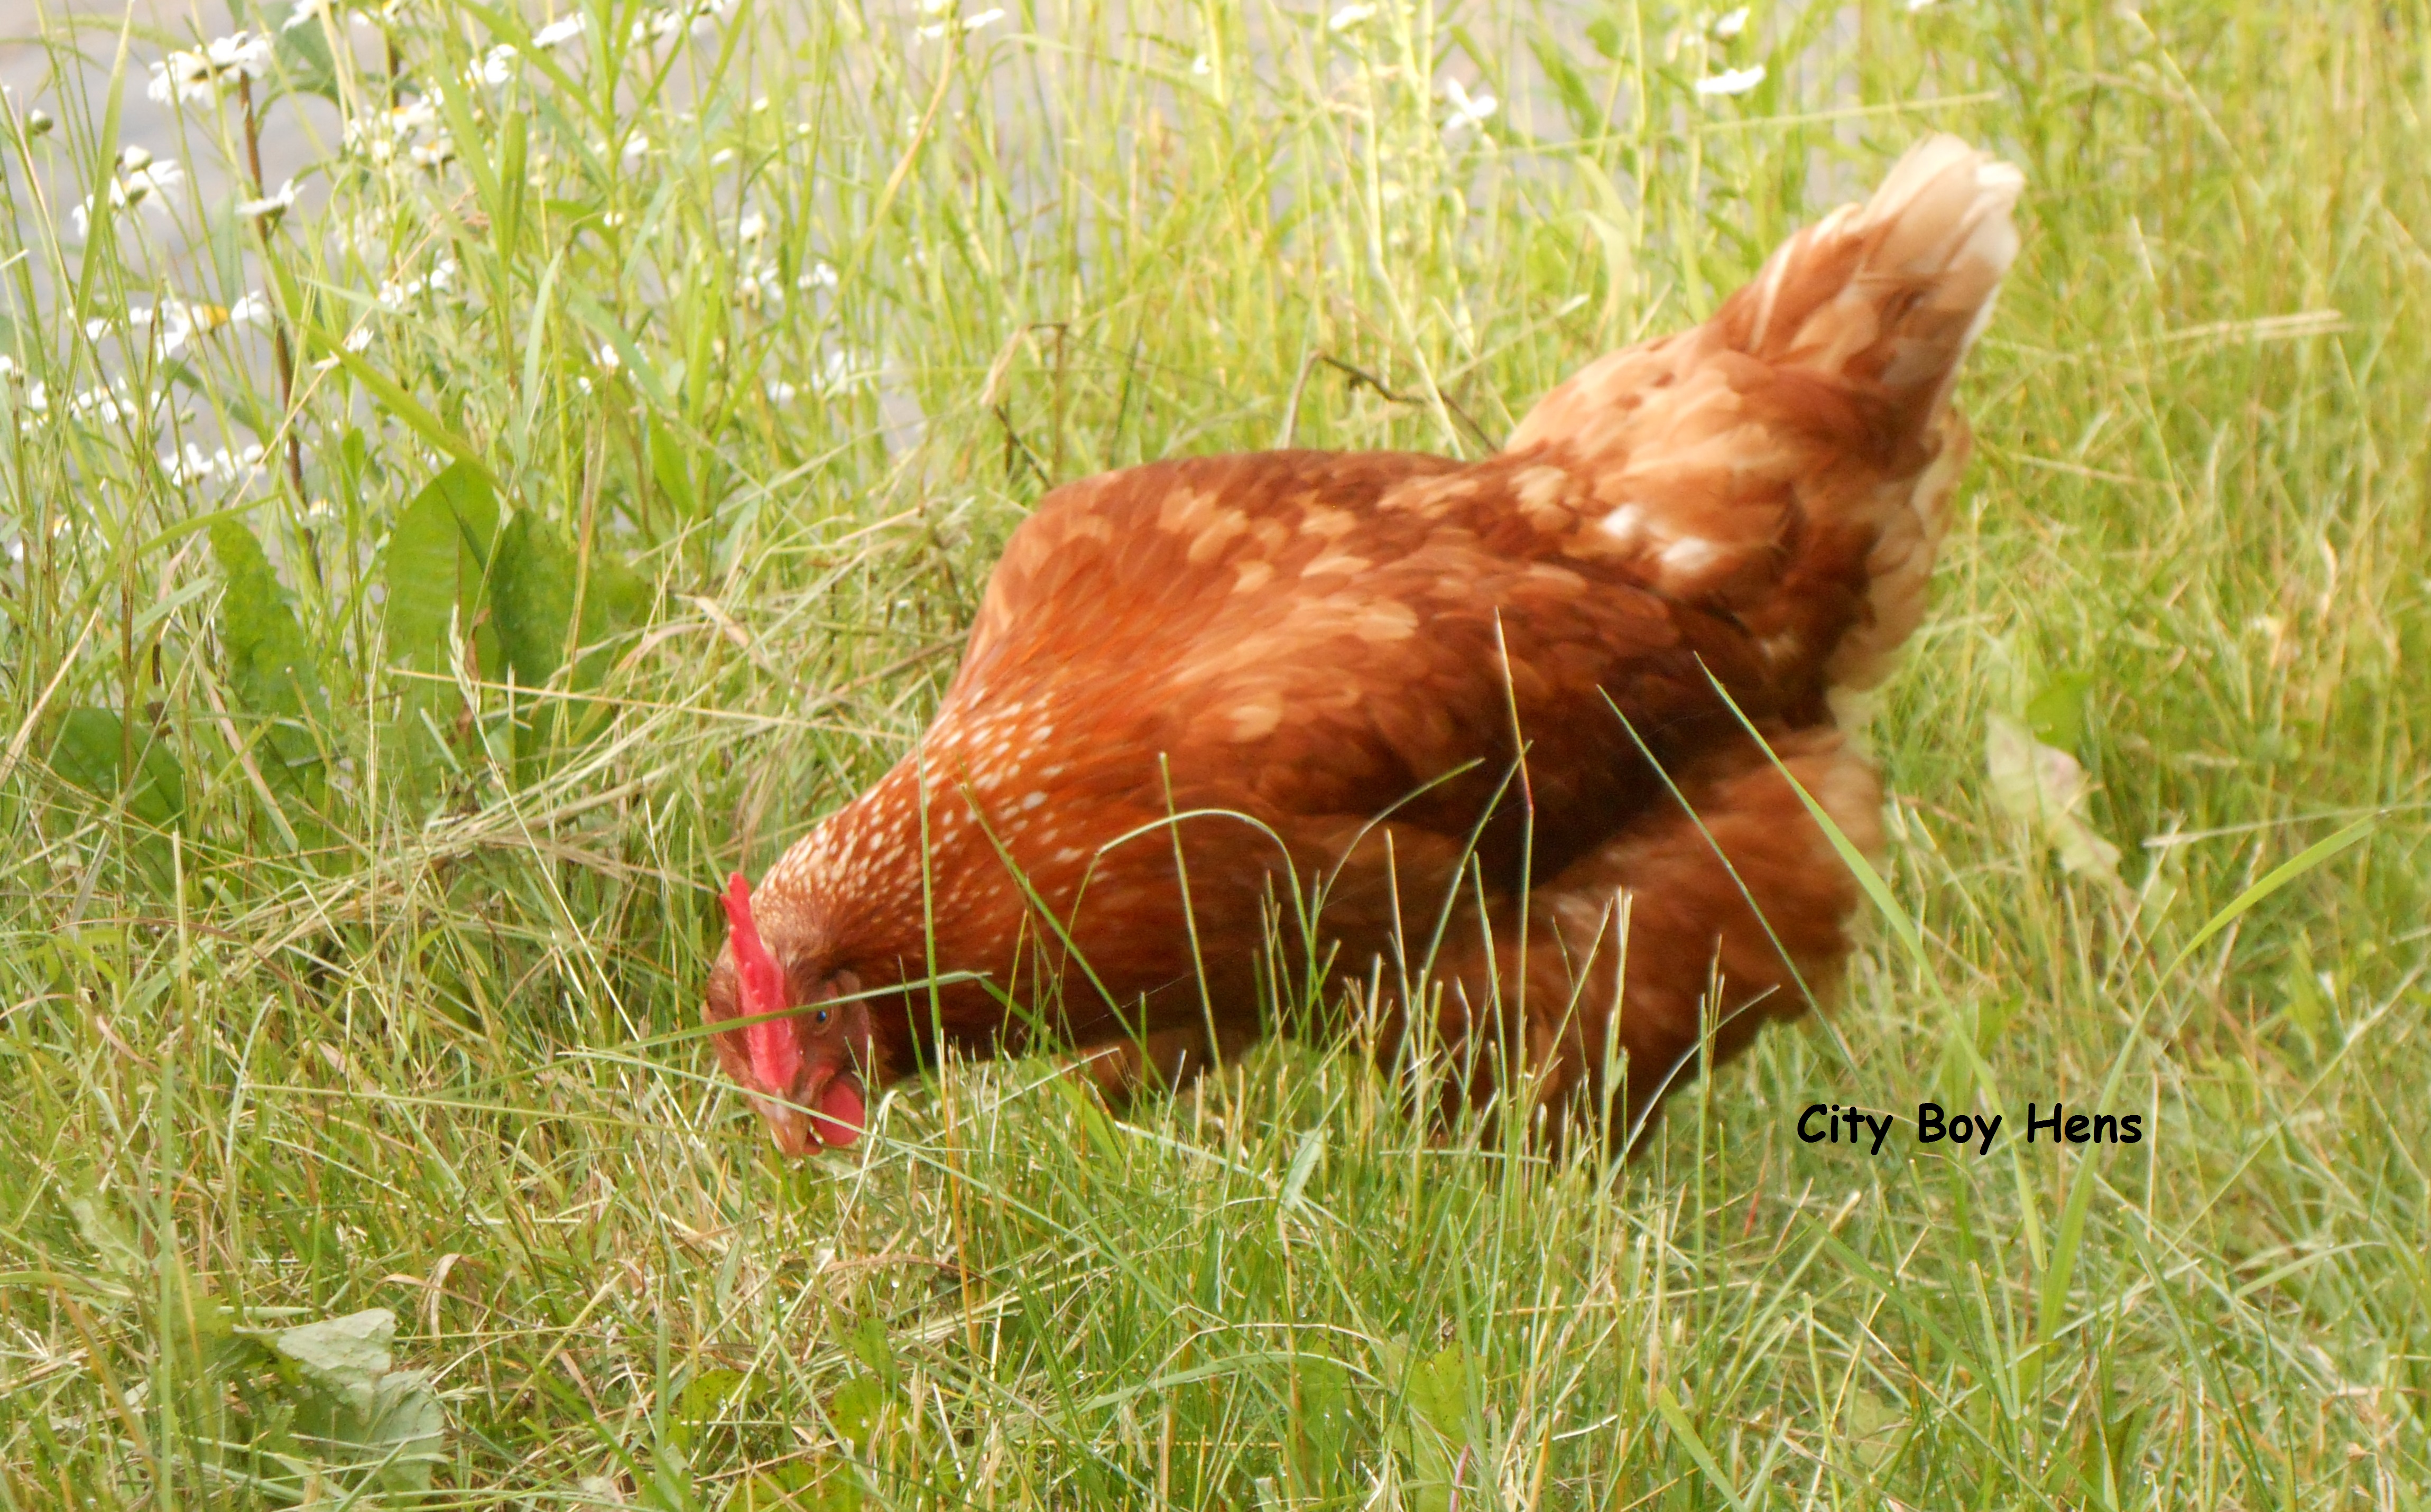
So….here’s a few tell-tale signs to let you know that your chickens are getting over-heated.   When you see them walking or resting with their wings spread out, you know they are hot.   When you see them this way, they are trying to expel some body heat from  underneath their wings.  This is definitely a place where heat collects on a chicken. If you don’t believe me, stick you hand under the wing next winter and feel how toasty that spot is on a chicken.

Secondly, they will continue to keep their mouth open as another way to dispel heat.  It’s kind of like the way a dog  pants when he/she becomes too hot.  Below is a picture of Swiffer who is definitely hot.  She has found a spot on the deck where she is attempting to cool off underneath a deck chair.

Holy @$#! It's HOT

Holy @$#! it’s HOT

So here’s a few things you can do to make your chickens more comfortable during the dog days of summer.

1)  Make sure that they remain hydrated by providing lots of fresh water.  You may be surprised at how much water they will drink on a very warm day.  The volume can almost double on such days.001

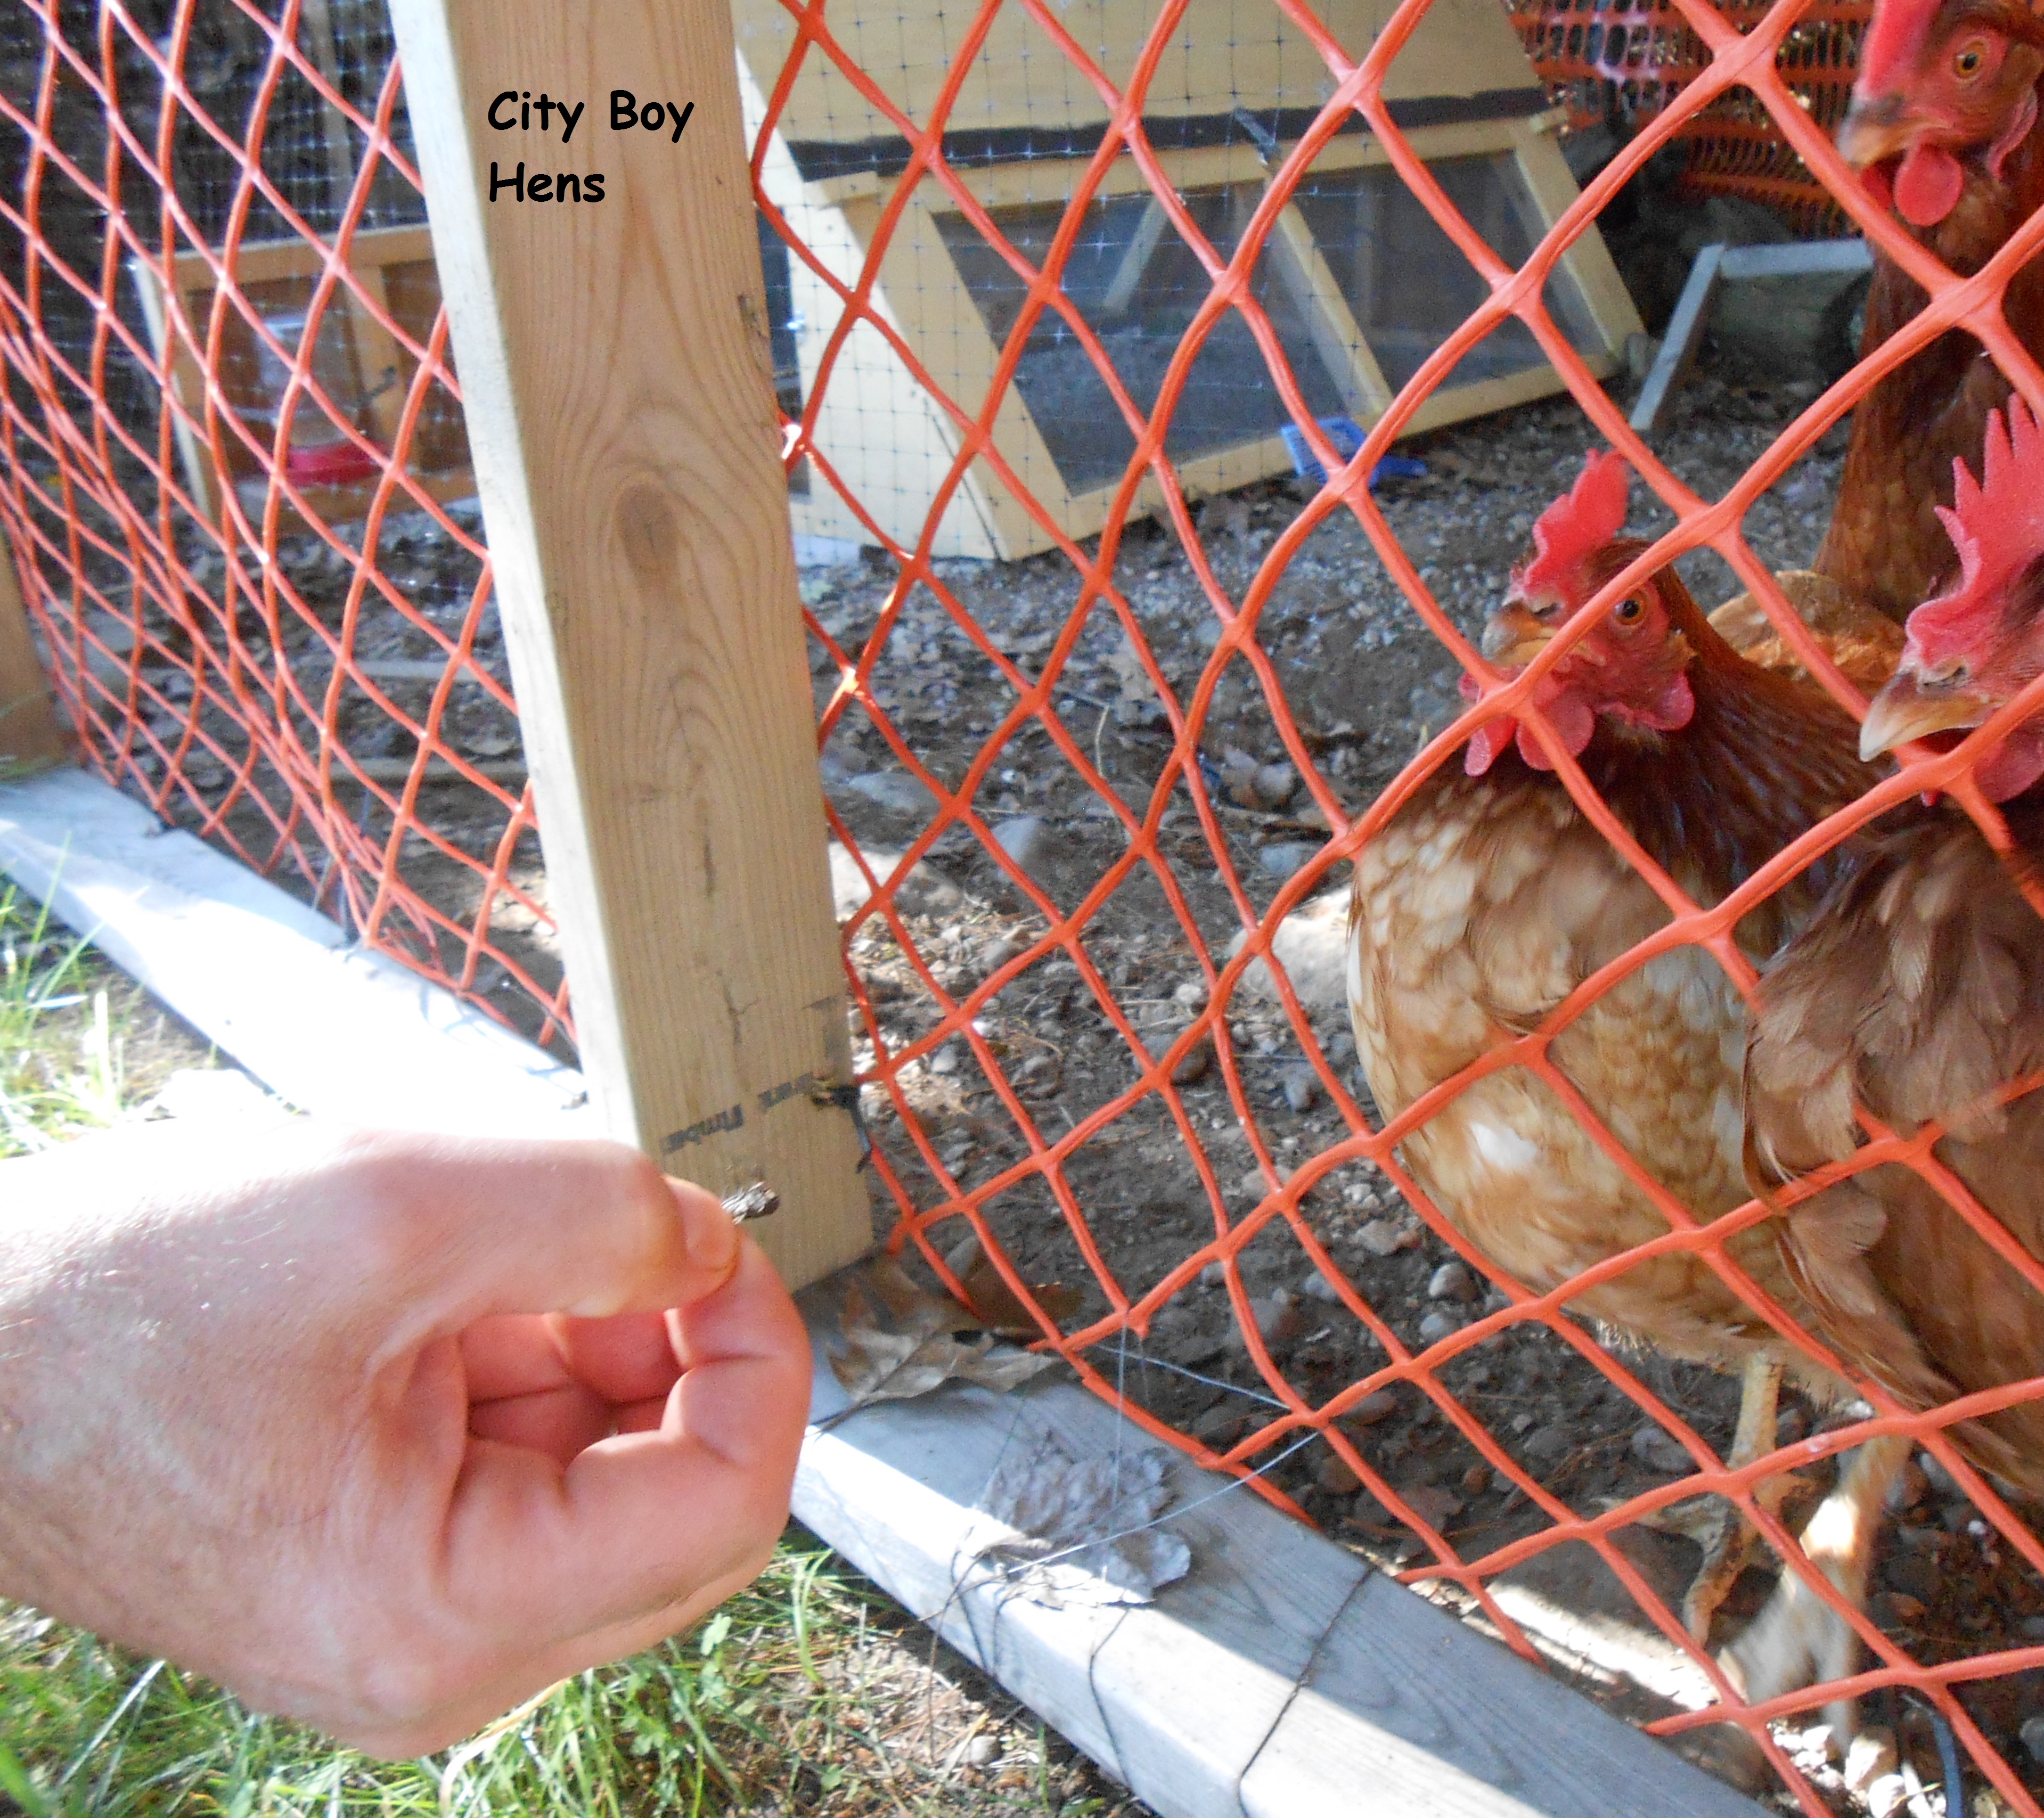
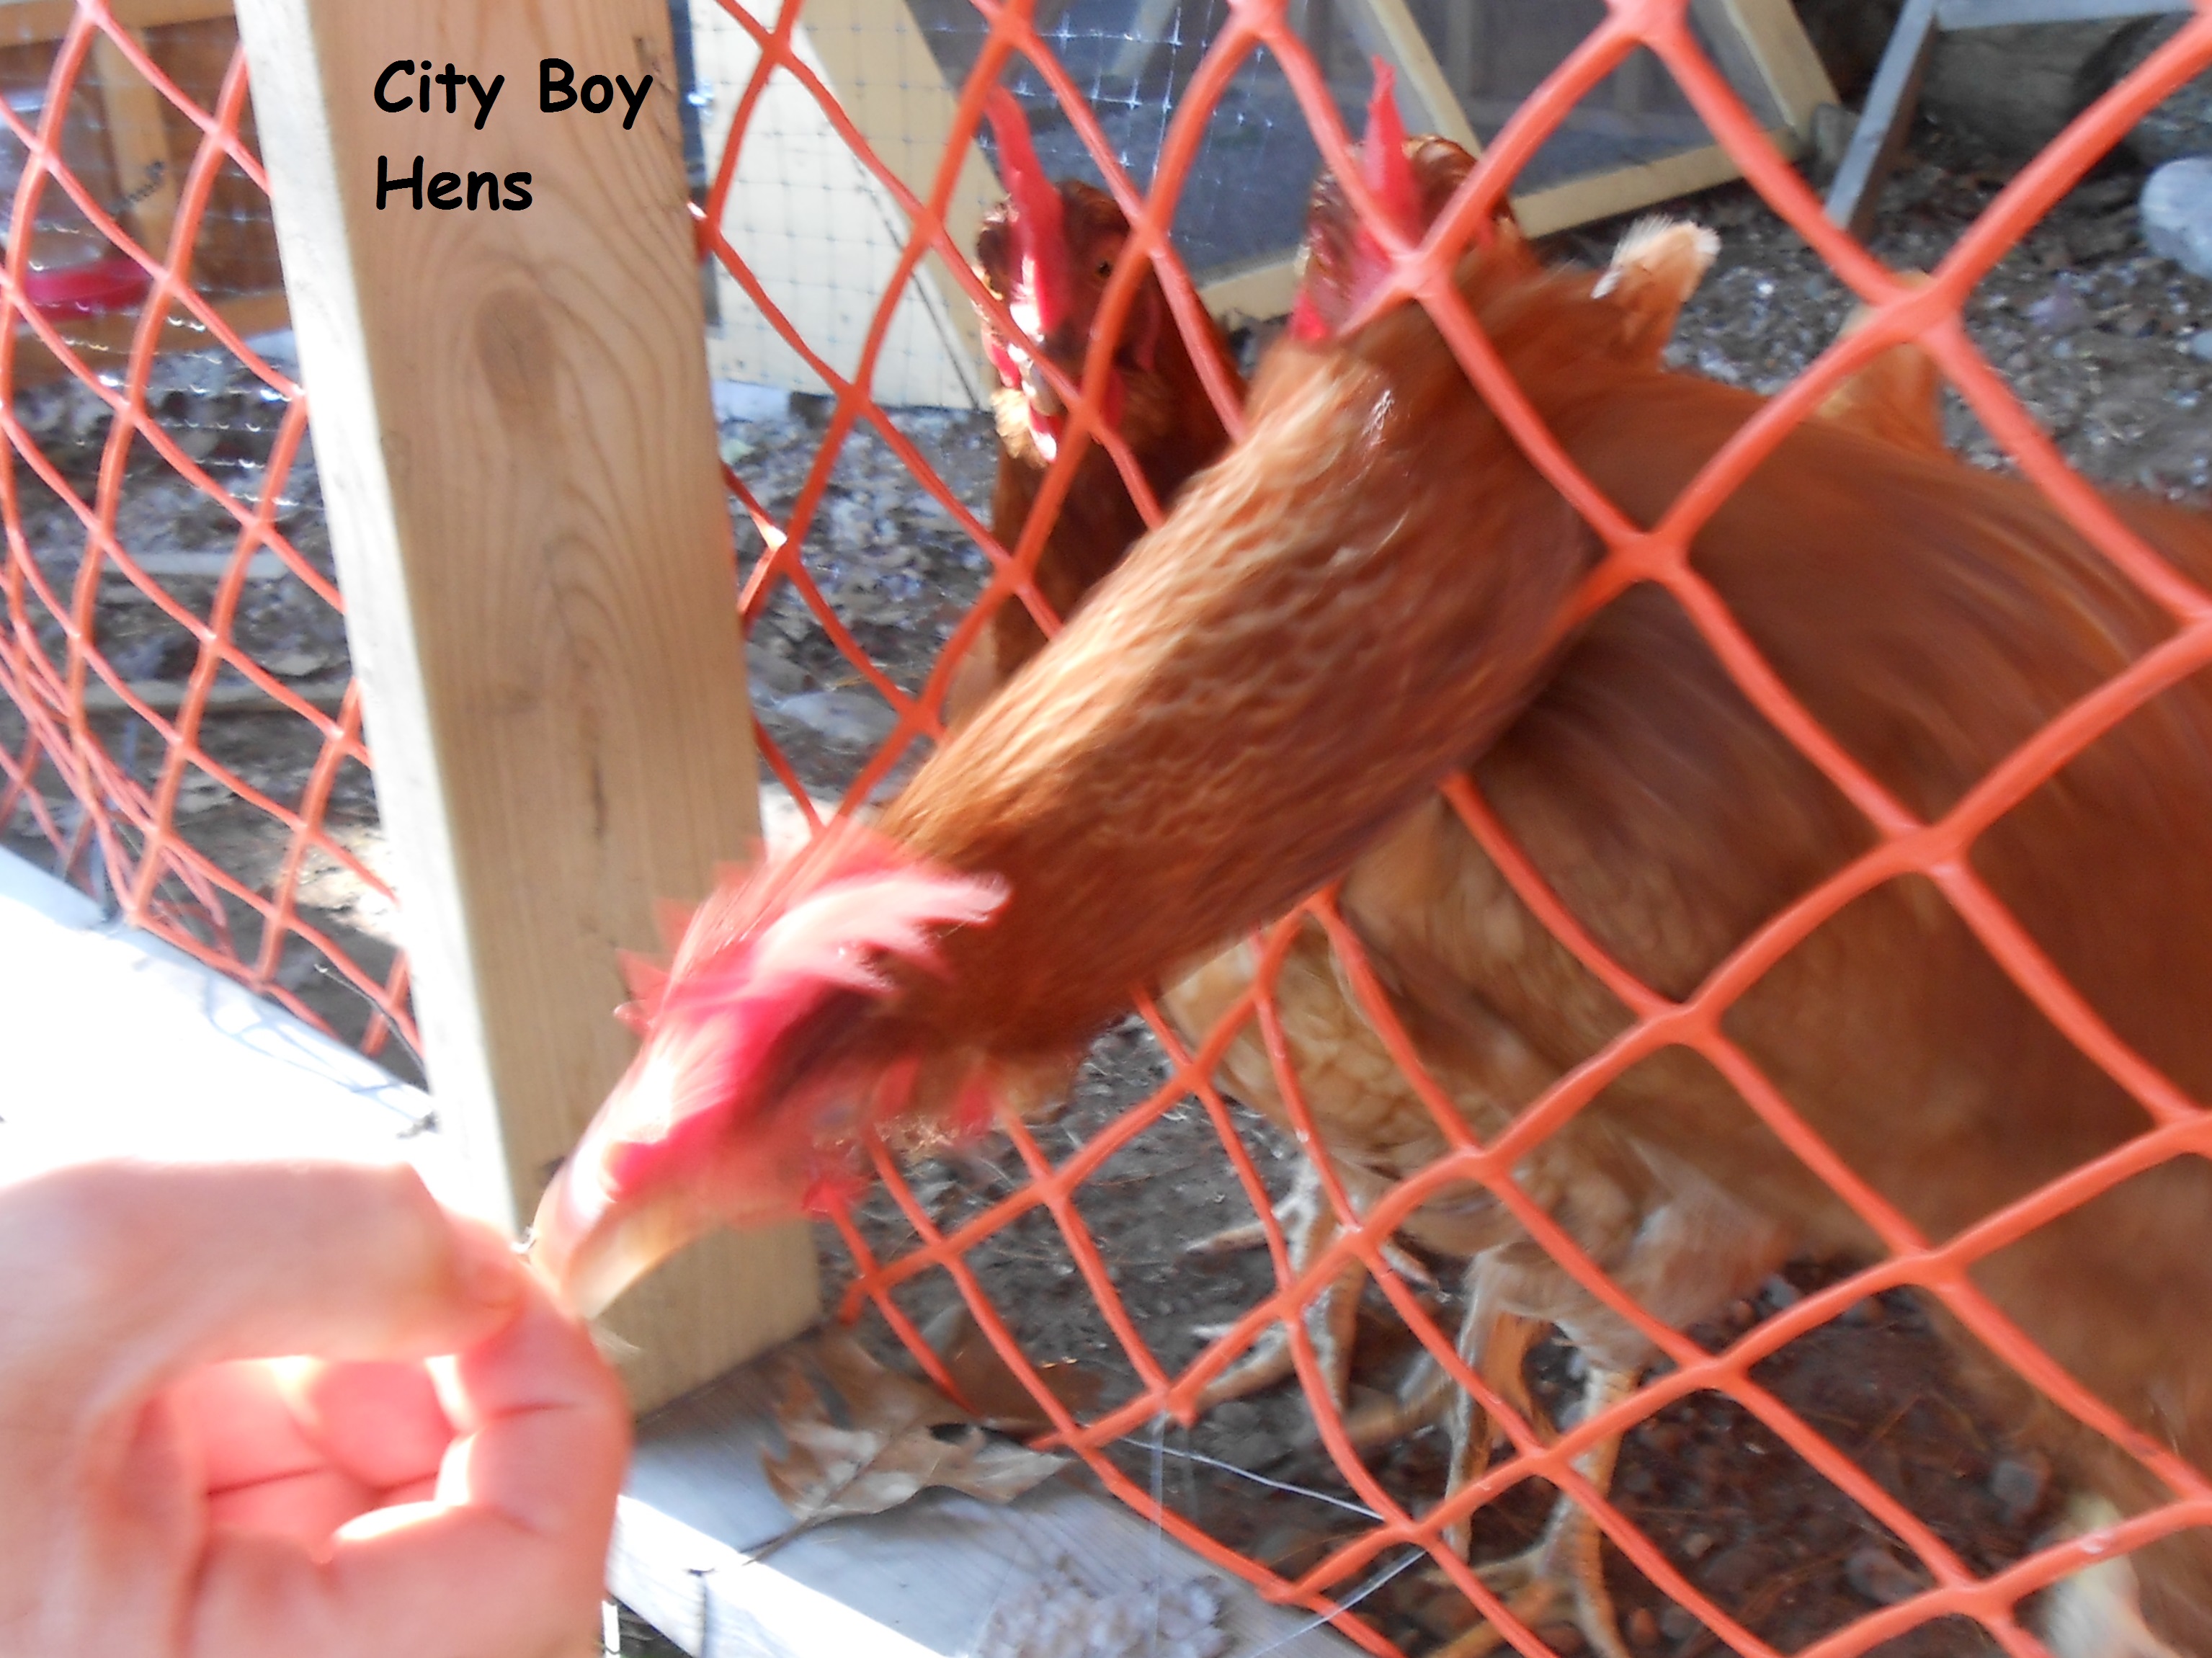
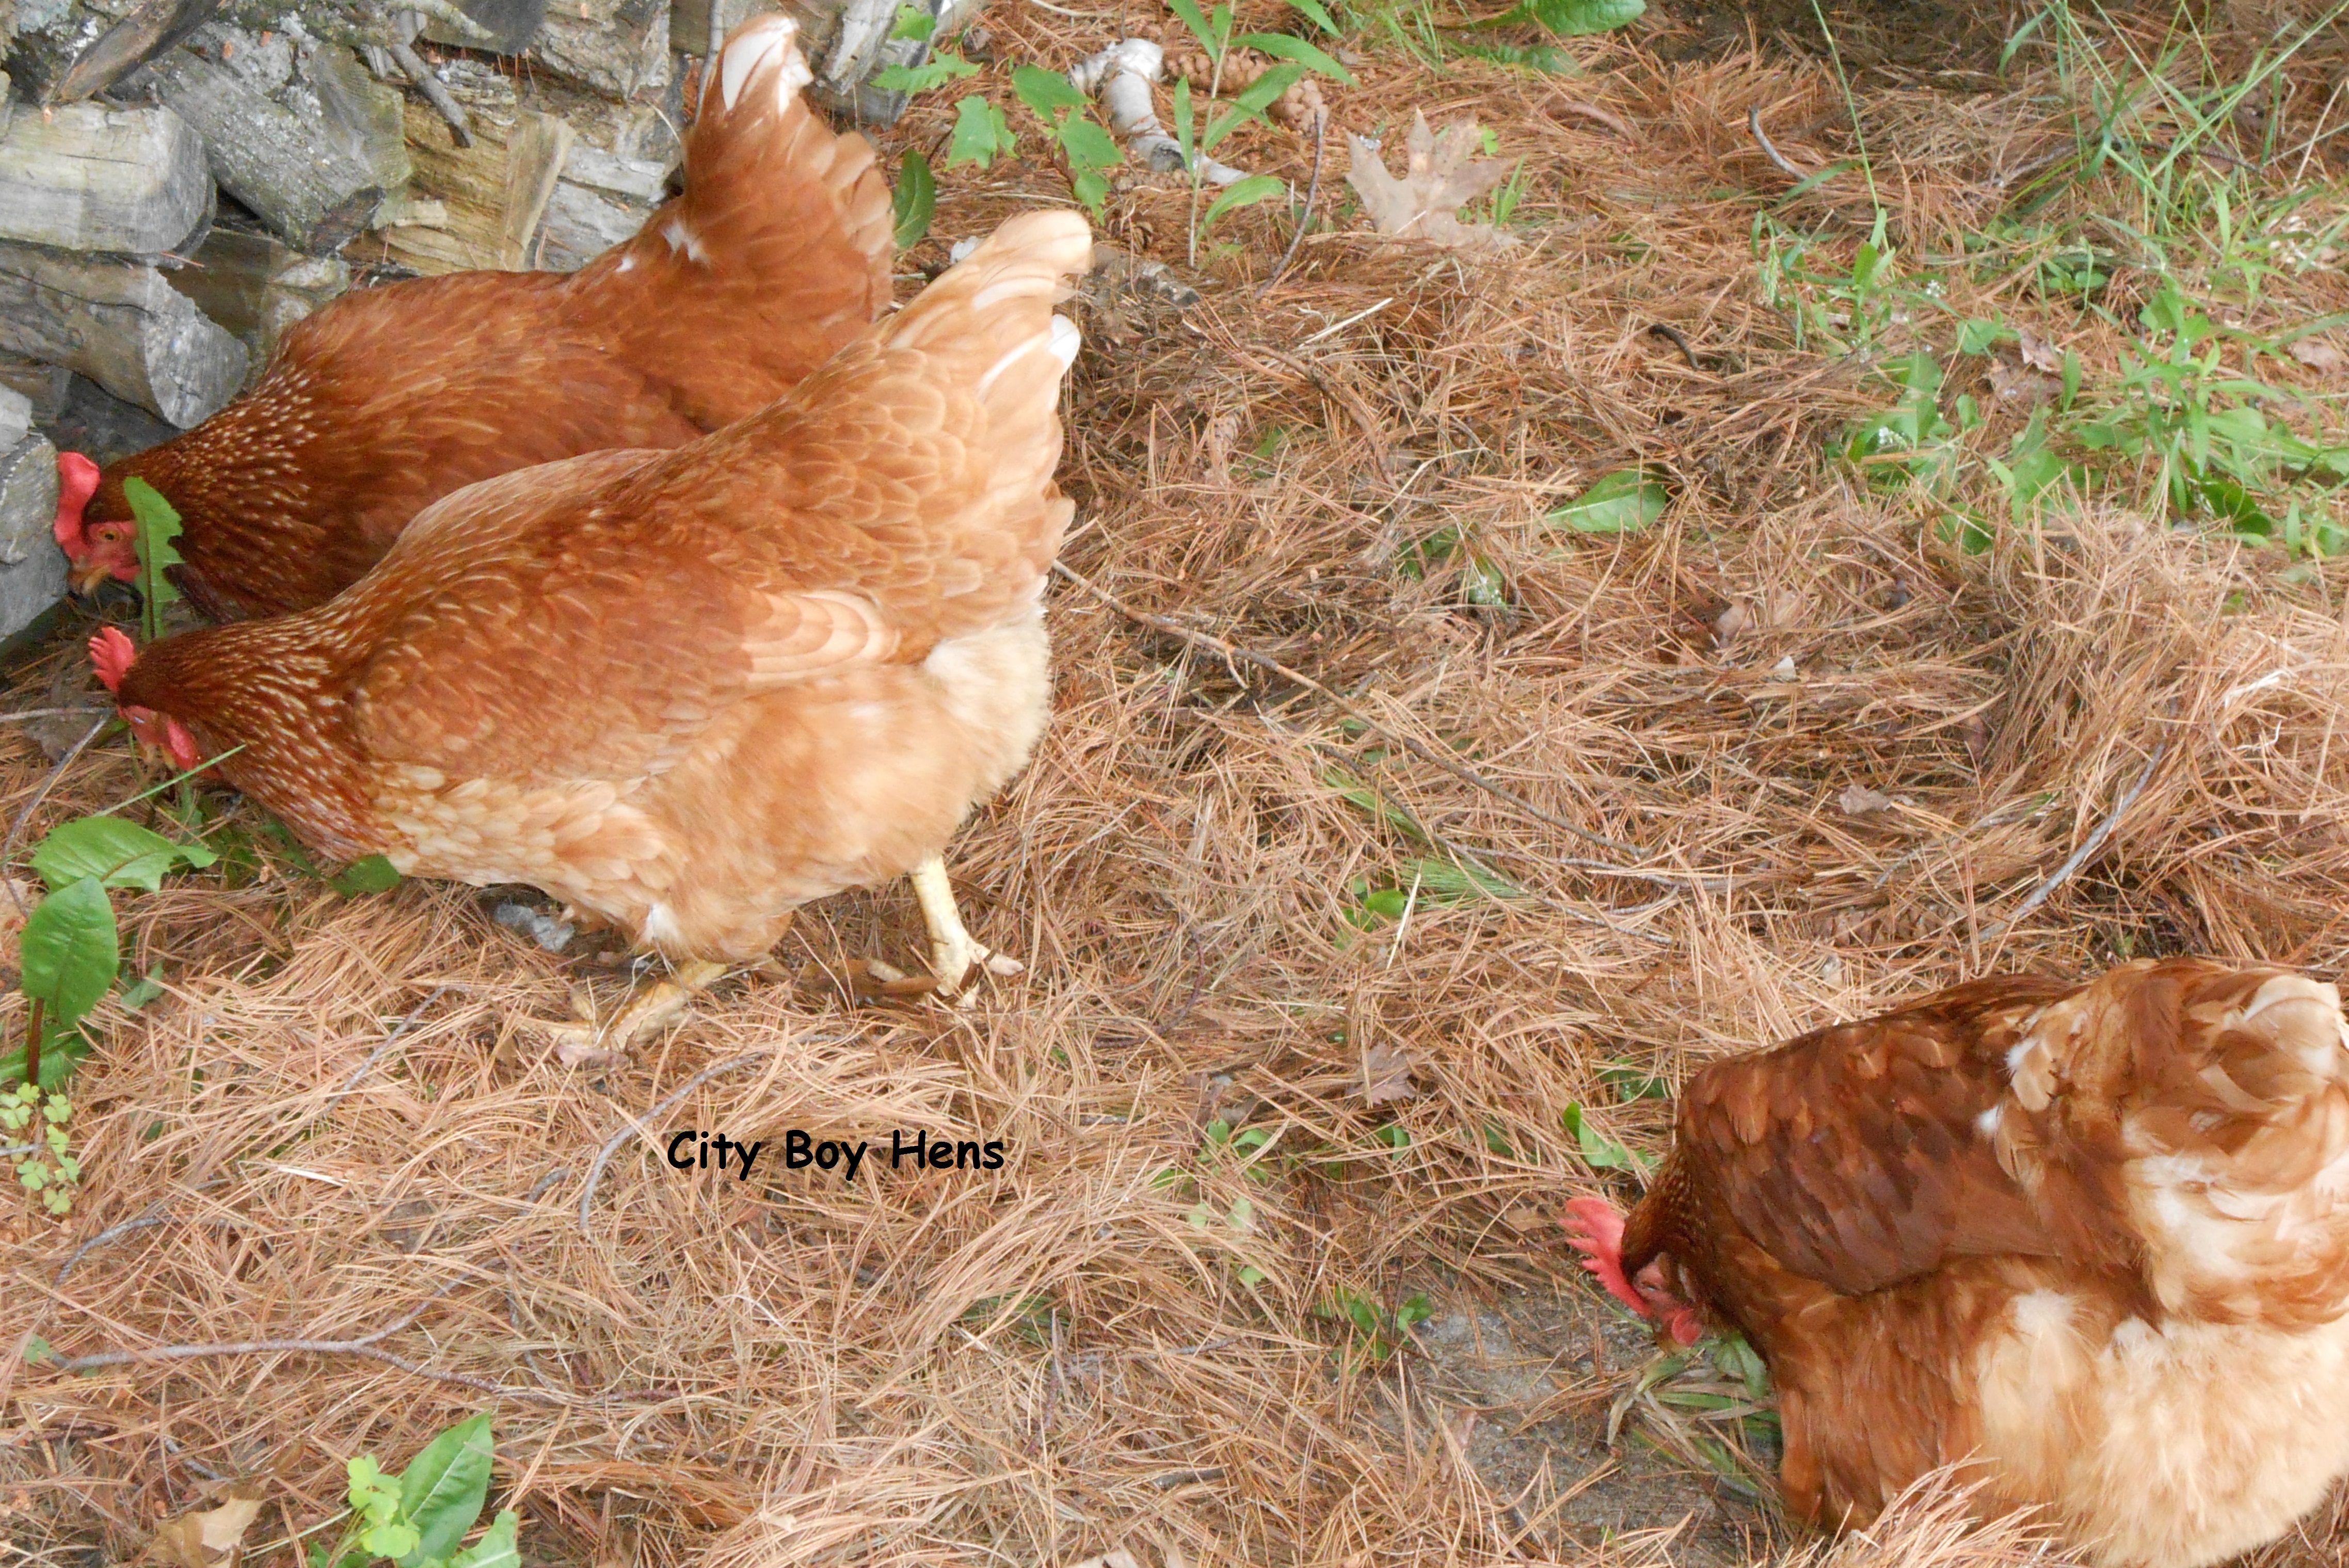
2)  Make sure they have somewhere to go in order to get out of the sun.  Our backyard has plenty of shade from large trees and the hens spend a lot of their free ranging time in this location on those days.001

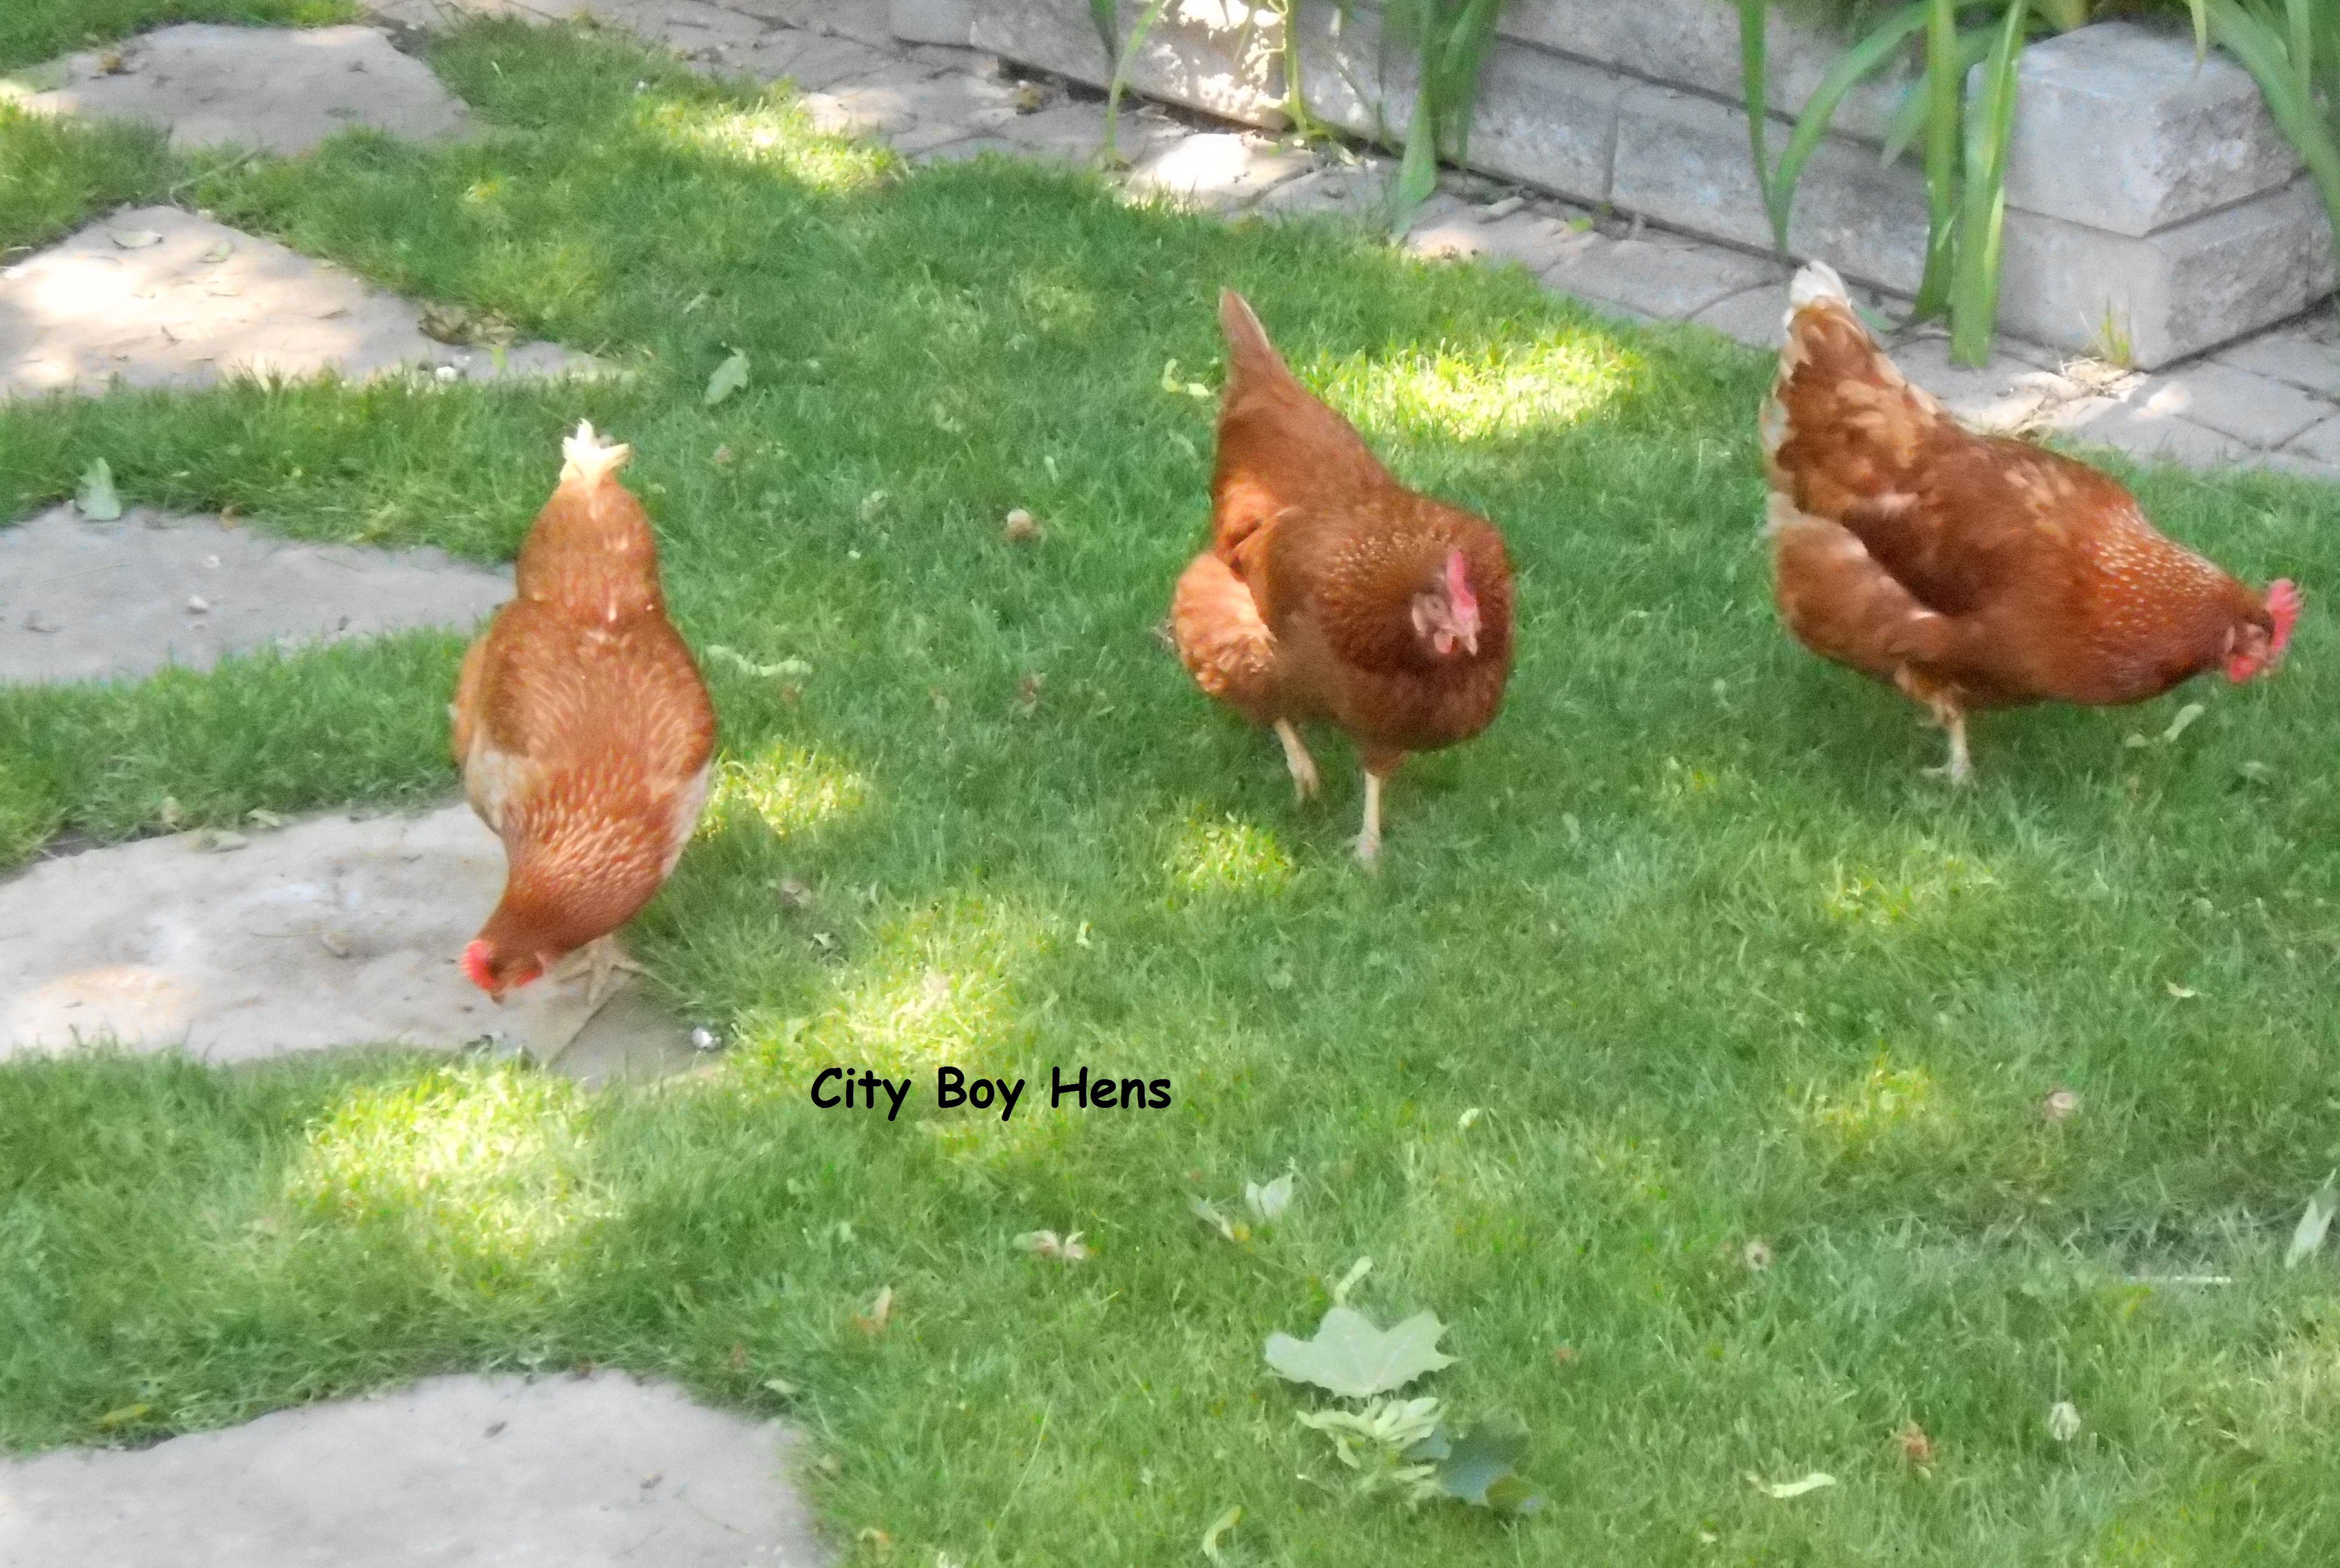
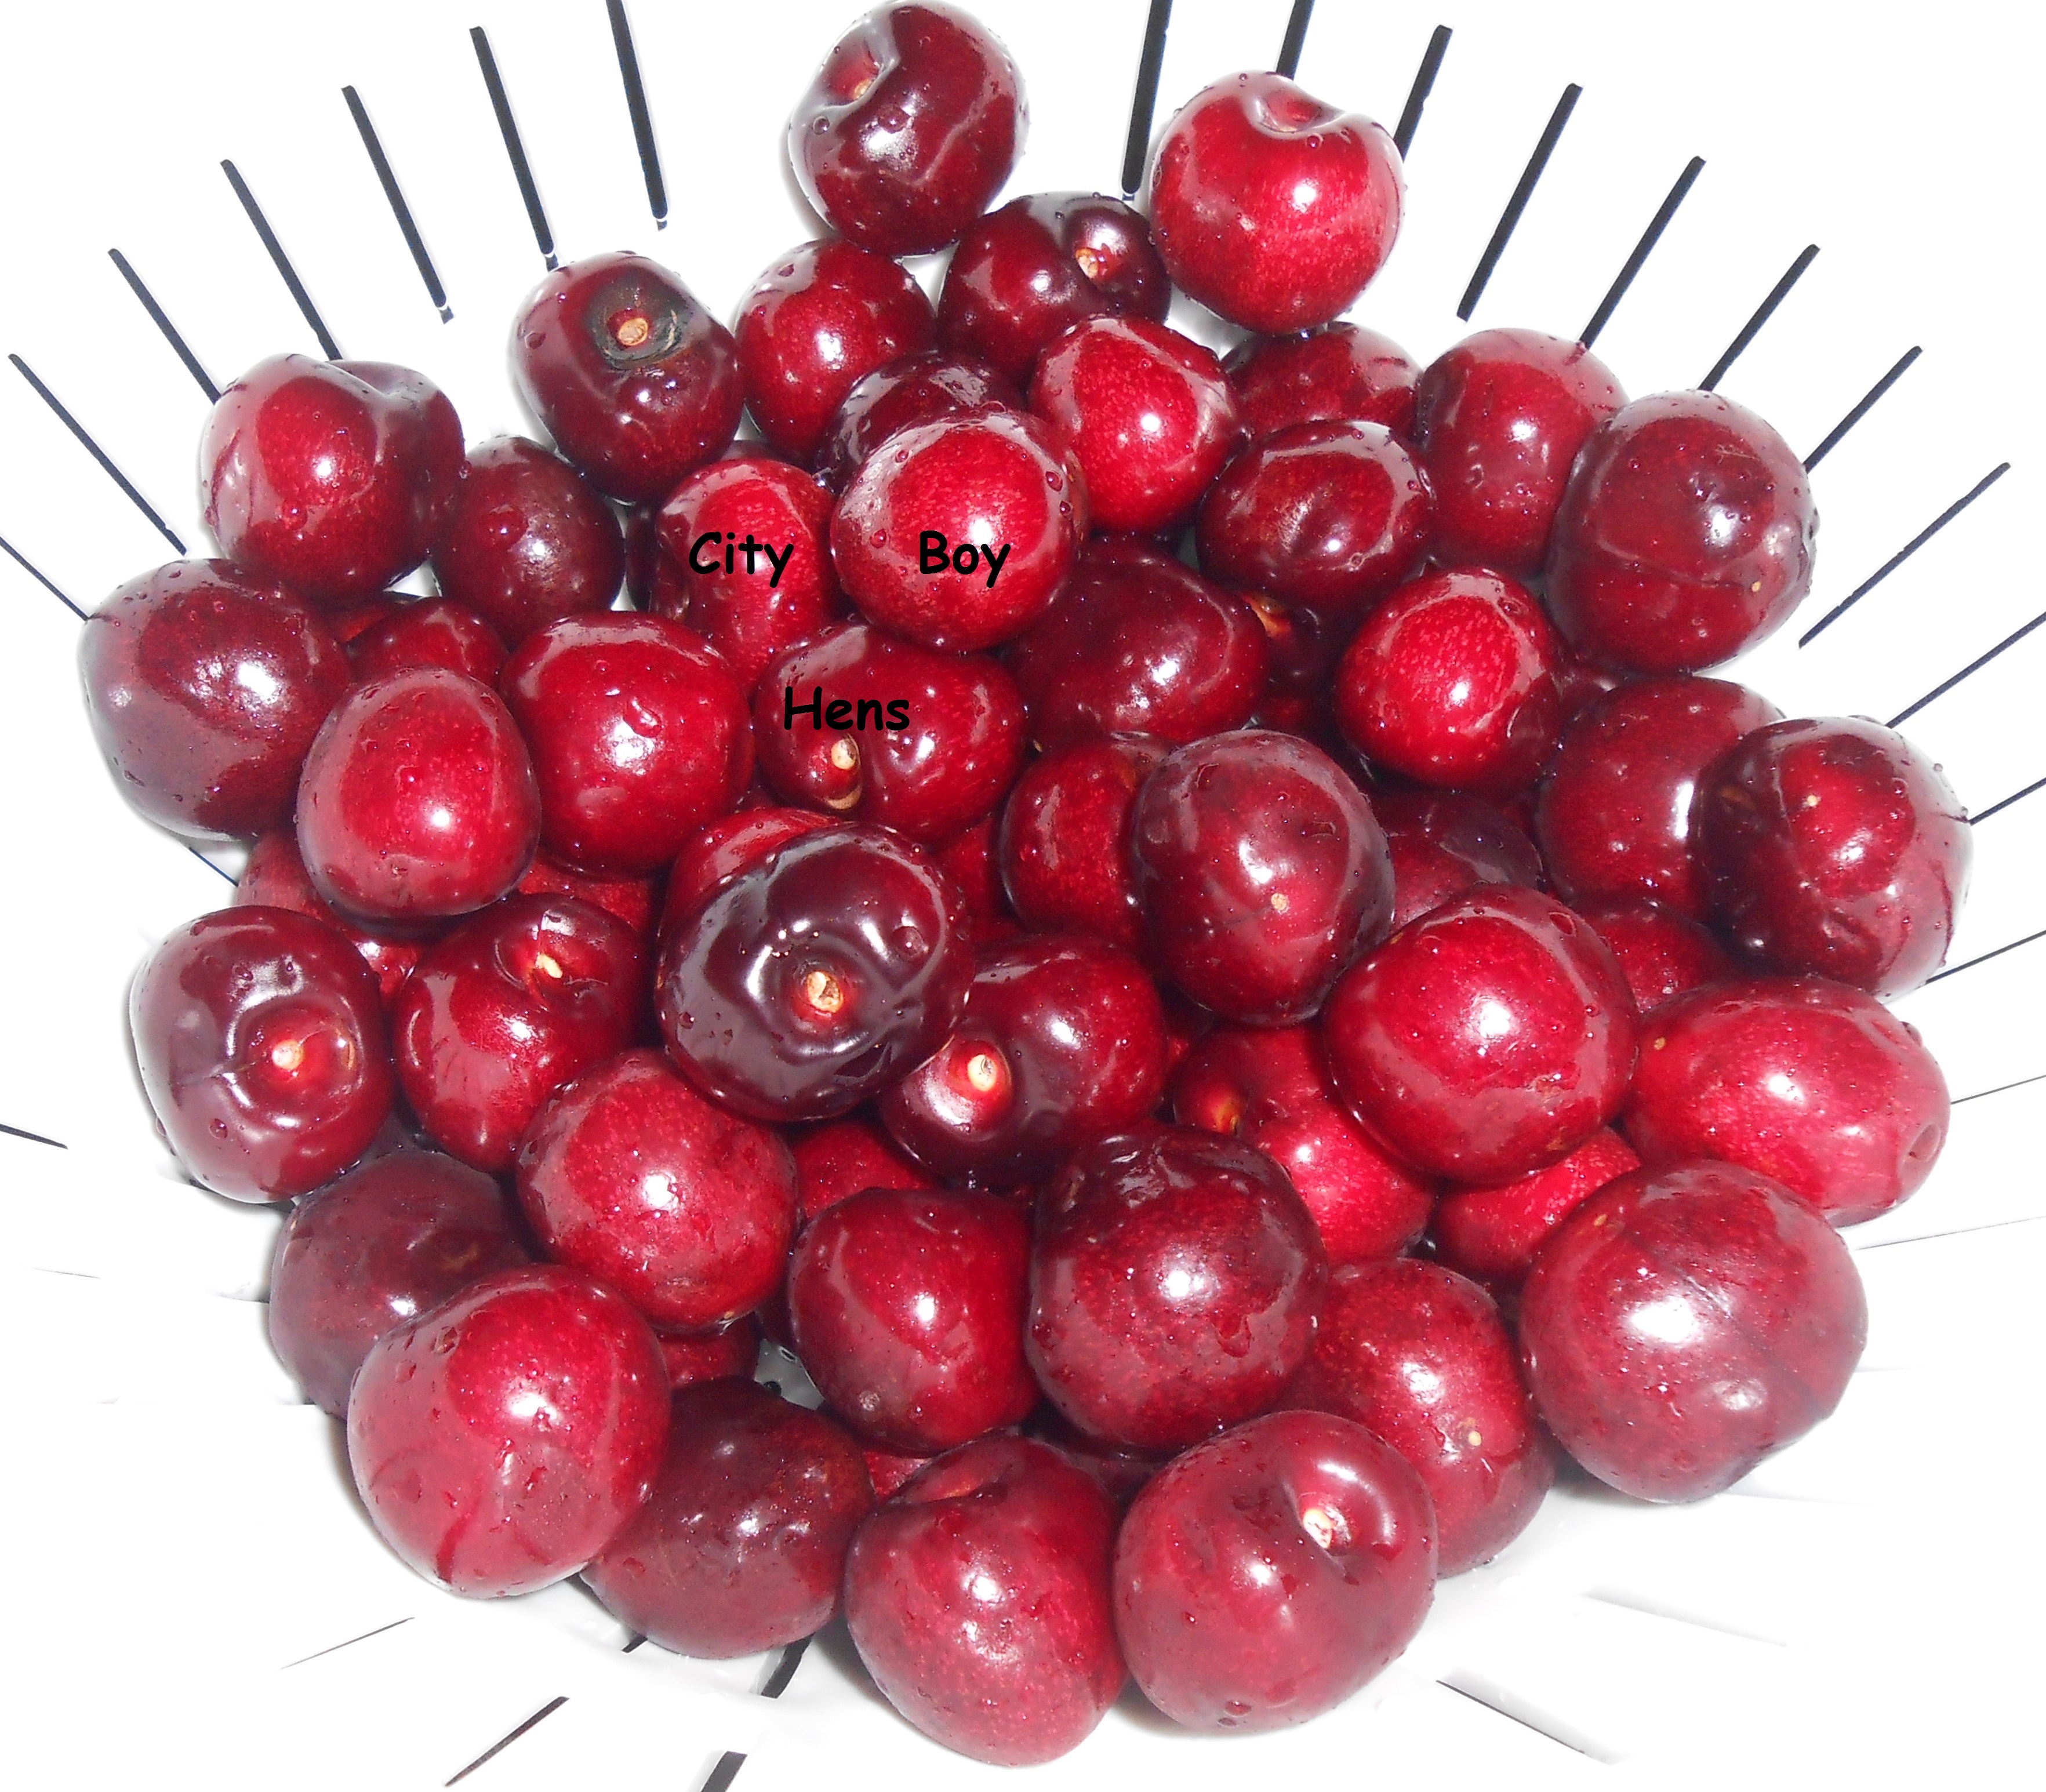
3)  Substitute daily vegetable treats with some watermelon.   But, remember….the treat is only a supplement to the daily feed.  Too many treats and the egg count could go down.  As well, too much watermelon and you may have a chicken that gets the trots.  In the picture below, my hens breezed through the watermelon wedge in a few minutes.015

018

4)  Withhold from giving any scratch on hot days.  On most mornings, I like to throw some scratch into the run because the hens do not have the opportunity to free range.  This thing called work  gets in the way. Anyways,   the scratch allows the chickens to do some foraging throughout the day.   But, scratch is high in calories and has the effect of increasing internal body temperature.  Hence, it is great to use on winter mornings and evenings to help your hens stay warm, but it is not a good option for hot days.

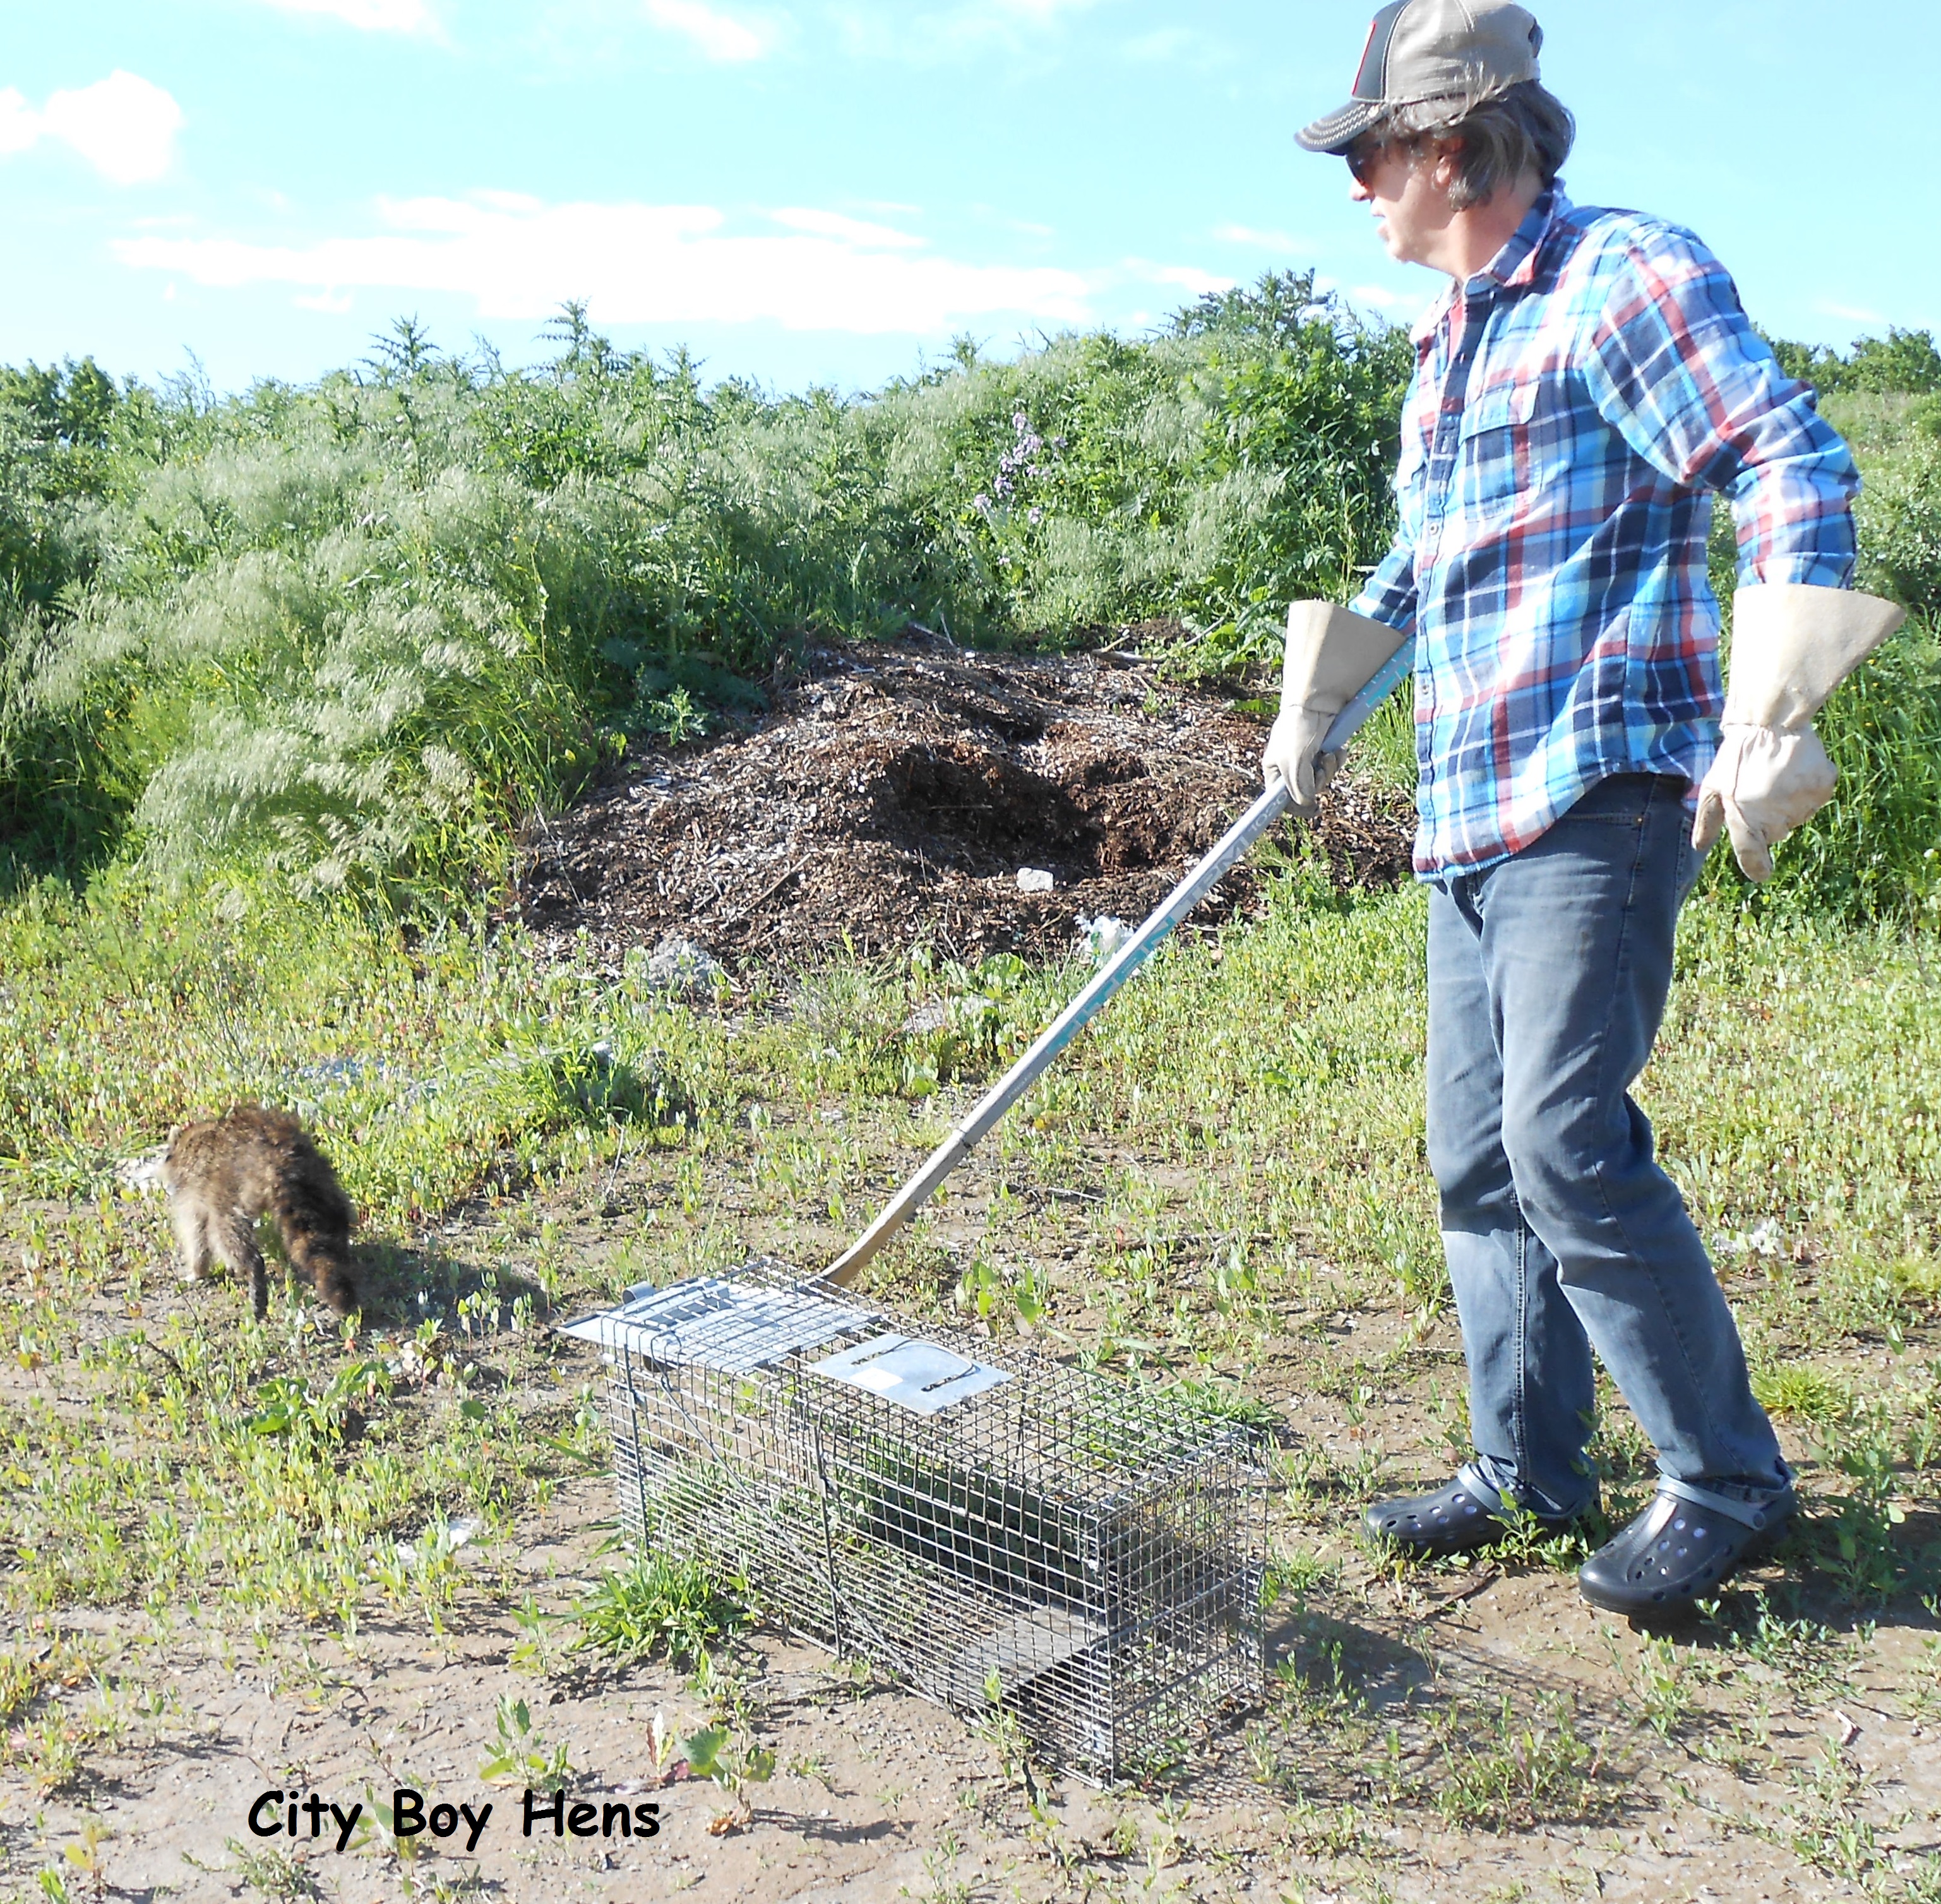
5)  Head up to the cottage for some R&R.  You’ll continue to get fresh eggs and the hens will get the chance to hit the beach.  What????  What else am I suppose to do with them?   Leave them behind????  For more on taking your chickens on vacation, click HERE.050

071

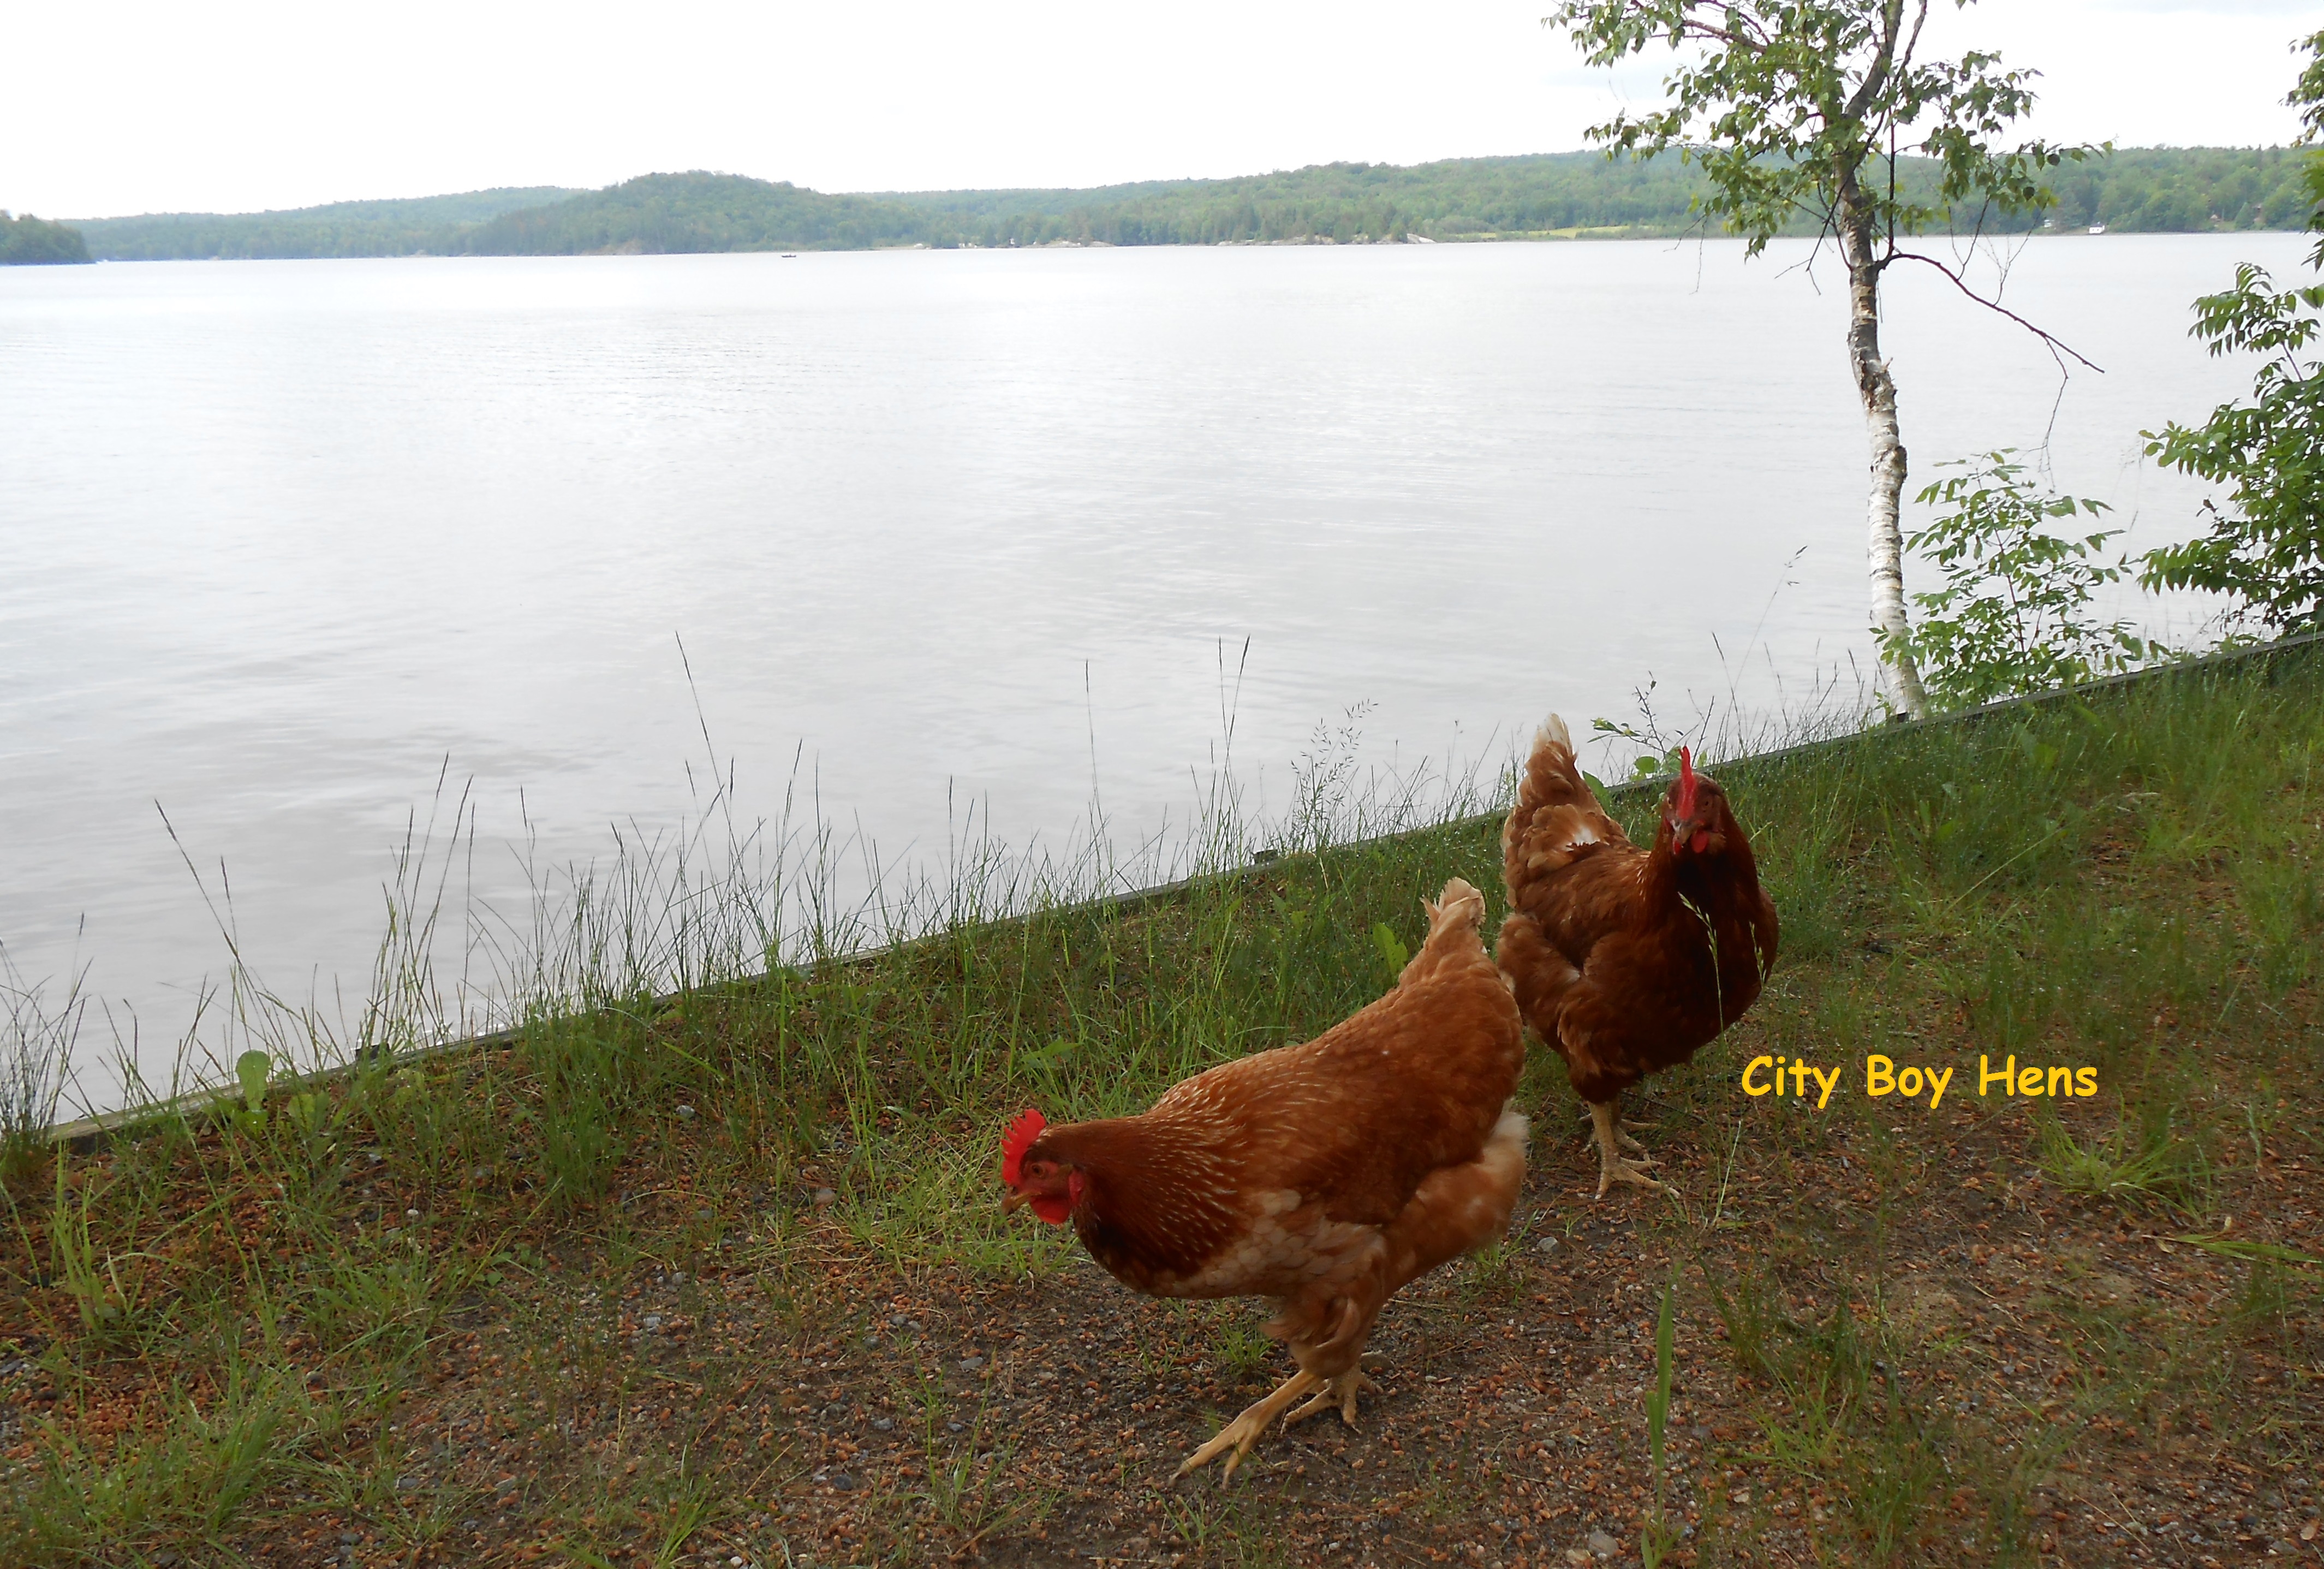
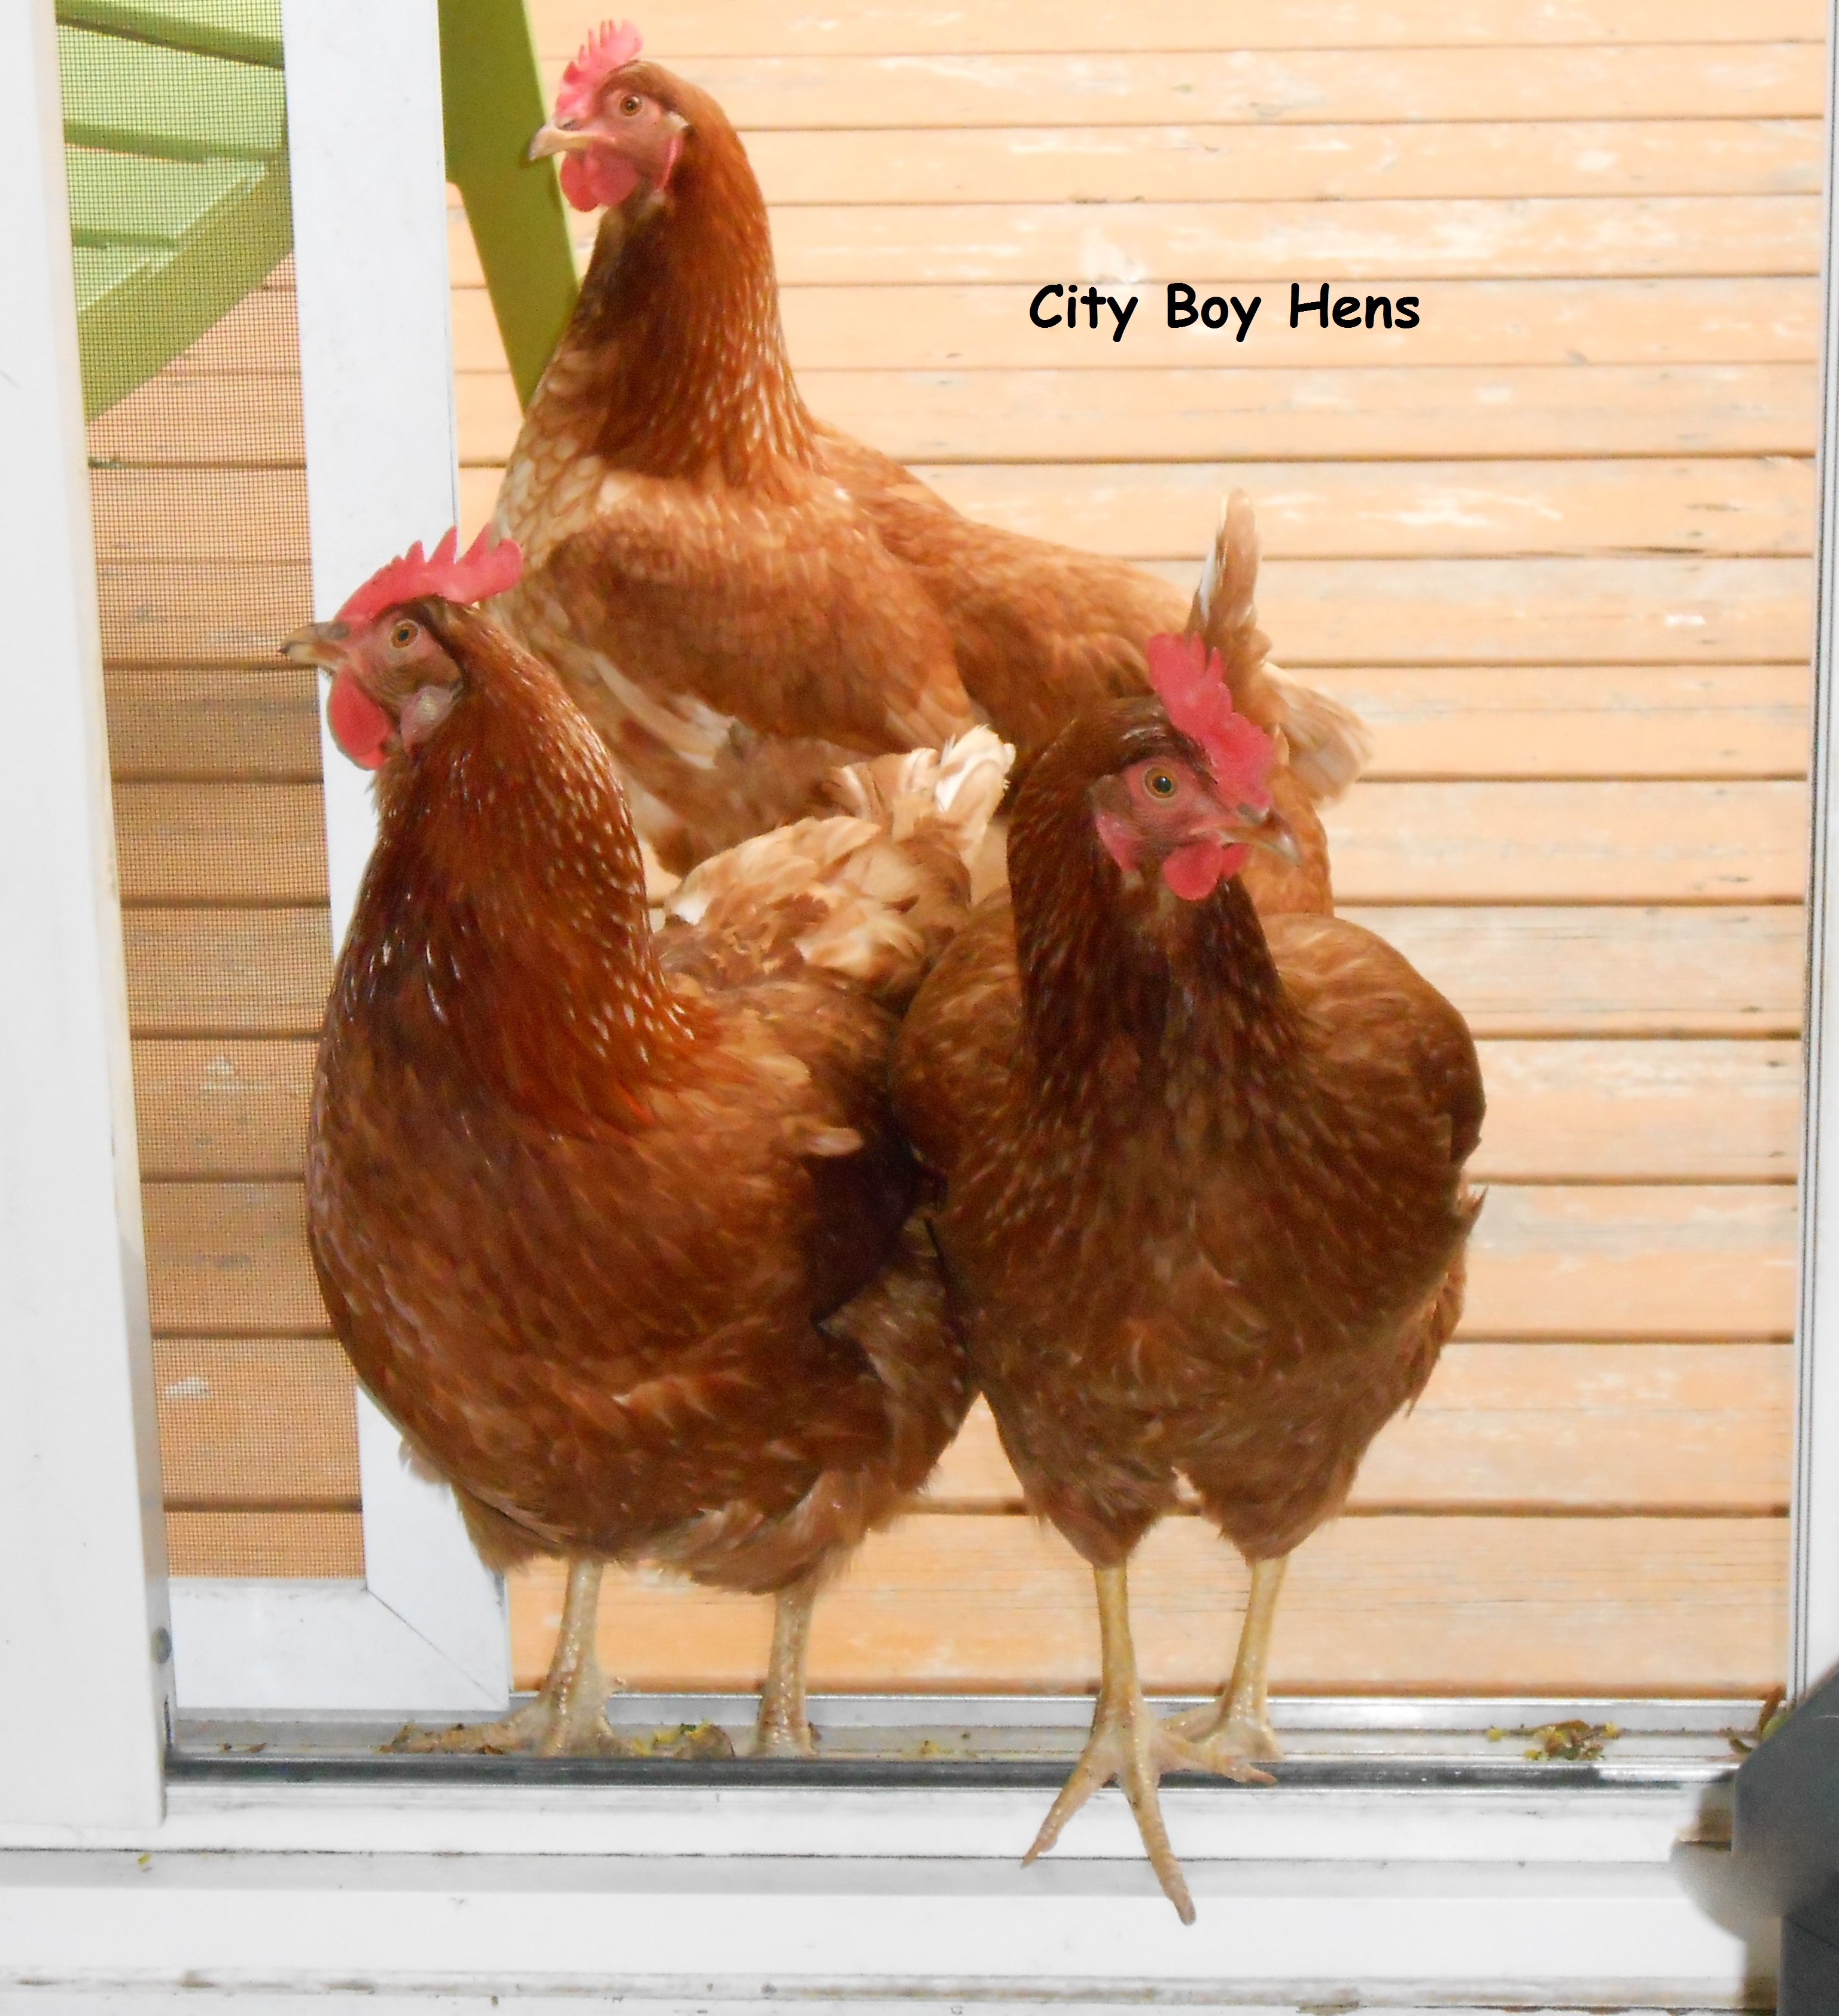
6)  Finally, when the wife isn’t home……..let the girls in for a little free ranging in the comfort of your air-conditioned home!  Before you know it, they’ll be up on the couch consoling you as you watch  The Blue Jays blow another attempt at The Division Championship..  Ok……I was just joking about the chickens in the house.   ” I promise Hun, the chickens have never been in the house! I was just writing this for dramatic effect.  You know…..A great way to keep your reader interested…………………….  I know there was that time when Stanley (our dog) managed to open the screen door by himself …but I’m working on training him to close it!”.001

Death to the Horse Flies!

030A decree has been sent out from the Lord Of The Cottage Manor.  He has grown tired of the horse flies inflicting pain on his loyal subjects and himself as they frolic around the rejuvenating waters of the cottage lake.008  “From now on….. the Horse Flies will no longer be allowed to feast on the King and his loyal (well…mostly loyal) subjects. 039  There will be NO MORE free lunches while the family and I are out frolicking in and around the cottage waters.  No more swatting, shooshing, or pleading for your departure.  From this day forward, ALL horse flies who are caught feasting on the King or his subjects will meet their demise via………………………………..041

DEATH-DEALING,……………….BLOOD-THIRSTY…………..

FEROCIOUS……………………………….CHICKENS!!!!!!!!!!!!!!!!!!!!!!!!!! 

042

Whew…..I feel better already.  Now just another 5, 653, 241 more to go in order to rid the kingdom of these pests!


Cherries in Vodka

009Ontario cherries are now  at farmer’s markets.  They are great to eat fresh and even better to jar for the winter in some vodka.  I’ve been making these flavored cherries for a few years and they are always a great companion to dessert on  special occasions.  We always wait until Christmas Eve to  open the first jar from the previous summer and share it amongst the adults at our table.  You are going to be AMAZED at the sweetness in the vodka.  In fact it tastes like a sweet cherry juice with a hint of vodka, minus the harsher alcohol taste of vodka “straight up”.    Just be carfeull………it may be hard to stop wanting more and NO……This DOESN’T count towards a serving of fruit!

First, wash and remove the stems from your cherries.  Discard any bruised or blemished fruit.012

Using a canning funnel (just because it’s easier), drop your cherries into a clean mason jar.014

Firmy pack as many cherries as you can into the jar without smashing up the fruit.016

Fill the jar with vodka, leaving a 1/4″ headspace.  Seal up the jar.  Note:  There is no need to sterilize the jar because the vodka will act as a preservative for the fruit.019

Now, put it aside in your cantina or cold cellar and WAIT!  You have to give those babies at least 4 months to flavor the vodka.  You will know that the cherries are ready when the vodka turns a deep dark red.020

Serve 3-4 cherries in a liqueur glass with a toothpick.  Your family & friends are going to love them!  Enjoy responsibly!004

City Boy Honey Update

“Ladies and Gentlemen………I give you…THE QUEEN!”…………068“Alright….Who said where?????”.  Okay…once more from the top.  “Ladies and Gentlemen….it is with great pleasure that I give you….THE QUEEN!”069“Okay….. you win.  There…I circled her!  She’s the one that is much larger, darker and has the shortest wings. She’s a looker ain’t she!   Now…let’s  get on with the post.”069

It’s been a while since I wrote about City Boy Honey.  In my last honey post (click here), my hive was built and I was just waiting for Dan (my bee mentor) to order my Queen.  For those of you who are familiar with bee keeping, you are definitely thinking that we are really late in the season to introduce a queen.  In fact, we are now in the midst of the Honey Flow as many wildflowers are  in bloom in Northern Ontario.  This is the time when the bees are really bringing in the honey. Unfortunately, Mother Nature was not too interested in giving up her arsenal of frost and cold temperatures in May and many professional beekeepers beat us to the Queen supply due to their devastating hive losses this past Winter.  As a result, local Queens were hard to come by this Spring.

With that said, the Queen arrived last week and she was placed into my hive body (bottom box) along with 100s of bees and 9 frames that were taken from one of Dan’s really strong hives. 058 These frames are made up of a combination of comb that is already made and filled with nectar or brood (baby bees).  This will really help to give the hive a jump-start because a lot of work has already been done from the bees in Dan’s strong hive.

Drawn out comb filled with nectar or brood.

Drawn out comb filled with nectar (red circles) or brood (yellow circles).

Is it wrong to take from Dan’s strong hive?  The answer is no.  In fact it is good because Dan’s strong hive could potentially swarm because it was running out of room.

So…today we put a second hive body on my hive which contained 9 frames.  7 of those already have built up comb.  The built up comb will really help the bees because they will be able to concentrate on bringing in honey and tending to the brood rather than also having to make the honey comb.  The second hive body will also give the Queen more room to lay her eggs which will continue to increase the population of the hive.

In two weeks, I’ll get back to you on the bees.  The hope is that the bees have filled the frames in the second hive body with honey and brood.  The tell-tale sign for this will be to open the hive and see if the bees are “working” on all the frames just as they are doing in the first hive body.063  If all goes well,  a medium super (smaller box) will then be put on top of the hive body which will be strictly used for the bees to deposit  CITY BOY HONEY! In the mean time……we’ll just wait it out…….. sipping some honey cream ale from a local Northern brewery and trying to beat the heat!070Queen Honey Bee Trivia:

Did you know that one Queen can lay between 1000-2000 eggs per day?

I thought of telling my wife this when she speaks about the delivery of our kids.   On second thought, maybe I’ll keep this one between you & me!

Making Blueberry Jam

101As far as I’m concerned, Blueberry Jam is definitely one of the great tastes of summer.  My kids enjoy it on a peanut butter sandwich or as a decadent topping on pancakes.  It’s also a great reminder of those warmer days when we are in the throes of those Winter months.  Like all jams, it’s easy to make and great to share!

Ingredients

8 cups crushed berries

10 cups sugar

4 Tablespoons lemon juice

2 packages of pectin (57 g /2 oz.)

Yields 14 -250 ml (8.4 oz. or half pint) jars of jam

Note:  Make this jam in two separate batches.

Directions for 7 jars of jam

Fill your canner up with hot water to the height of the jars that you will be using for your jam. It will take a while to get this volume to a boil so you better start now.  If you get ahead of the game, you can always turn it down later.

005

Fill a medium pot with water and add the seals and screw rings.  Bring this to a gentle bowl.

Sterilize your jars in the oven at 225 degrees fahrenheit  for 10 minutes.  Continue to keep them warm in the oven until they are needed.

003

001

Mash the berries up in a large bowl.  If you like your jam to be more “chunky”, then decrease the amount of mashing.

002

Combine mashed berries and pectin in a large pot and bring to a boil over high heat.

Add all the sugar.  I add 1/3 at a time and stir in order to dissolve all the sugar and not have it stick to the bottom.

005

006

Note:  Make sure you use a LARGE pot to make this jam.  The volume will really INCREASE when the jam begins to boil.  The last thing you will want is to have this sugary mixture bubble over the pot and catch FIRE on your burner.  Been there and done that!

Once the sugar is dissolved, return to a hard boil for 1 minute.

Remove from heat. Stir and skim for 5 minutes.  This step is crucial in order to get a foam free jam (skimming part) that doesn’t have the fruit rising to the top of the jar (stirring part).

008Pour jam into warm sterilized jars to 1/4″ from rim.

Wipe the lip of the jar with a wet paper towel in order to ensure that no jam is on the rim of the jar.  This could prevent a good seal from happening.  Cover with sterilized lids and tighten the screw rings.

010

Process in a water bath for 10 minutes. Carefully remove the jars with canning tongs and cool on a rack over night.  Soon you will hear the sound of success as those lids start popping and ensuring a good seal.

025Congratulations!  Try not to eat it all in the next few months.  Save some for the Winter when you will need a few reminders of summer!

097

Don’t You Take Your Chickens On VACATION?

“Ok, lets load ’em up.  Honda And Swiffer….You know the routine.   Help Rosie along and make sure that she doesn’t get the spot beside Stanley.002  OK….everyone , stop fighting over the window seat.  Everyone strapped in?   Okay……lets head NORTH!”

The chickens are coming up to the cottage with us for the first time this season.  For Rosie, it will be a brand new experience because she wasn’t a member of City Boy Hens last summer.  Maybe it’s a brand new experience for the veterans as well.  I’m not sure what level of memory retention can be had when you only have a brain the size of a cashew nut.

So into the van we all went.  Wife, son, son’s friend, daughter, dog, 3 chickens and myself.027

The upside to bringing the chickens to the cottage is that I’ll have something to write about for  the blog and we will continue to enjoy farm fresh eggs at the cottage.  The down side is that 5 people and one dog, crammed into tight quarters with 3 chickens who are known for frequent defecation, may not be the best recipe for a pleasant 3 hour  drive on a humid evening.  It’s not too bad for my wife and myself because the chickens will be positioned behind our seats and our windows will be WIDE OPEN.  For the kids…it’s another matter.

Those rear windows in a mini van are not designed to roll down.  All that you can get in terms of ventilation is a slightly cracked window that only opens up an inch from the side.  I’m sure it’s a safety feature, but the person who designed this van was definitely not thinking of the possibility that MAYBE someone some day might want to transport a few chickens to the cottage in this vehicle!

In order to help with the poop volume, I tried something different this year.  I intentionally withheld feed for 3 hours prior to  our cottage departure.  I read in a post by a chicken vet that it takes 3 hours for food to move from beak to butt in a chicken.  My girls must be Olympic gold medal contenders because, when we  stopped halfway through our journey for refreshments, I was met with numerous demands from the “rear passengers”  to pick out the chicken turds in the bottom of the cage.  Okay…we’re not talking a dozen or so…..just 3-4 turds.   Boy…those city kids!

Are We Almost There?

Are We Almost There?

Are We.......Almost....There.....zzzzzzzzzzzzzzzzzzzzzzzzzzzzzz

Are We…….Almost….There…..zzzzzzzzzzzzzzzzzzzzzzzzzzzzzz

Anyways, transportation was successful and the chickens hunkered down in their cottage ark for the night.004

The following morning, I was up bright and early to let the girls out of the Ark into their pen.  There was no way I was letting anyone out for some free ranging until there were 3 eggs in the nest box.  If you’ve followed me before, you may remember  that Swiffer has taken  to sometimes laying her eggs in the backyard.   Here at the cottage, there is almost an acre of land for the chickens to roam and there’s no way that I’m looking over the entire property for an egg!  But, much to my surprise, nestled tightly together,  were 3 warm eggs in the nest box.044  The chickens just looked at me as if to say “Well…..what else did you expect?”. I’m not sure, but I think I heard someone say “Ok…..now can we finally get out and head down to the beach and explore????????????”072

105067

097

Making Strawberry Jam

032Farm fresh strawberries are finally ready to harvest in Southern Ontario.  With that said, it’s time to make some jam.  But, let’s be honest….it does not qualify as a serving of fruit in your daily diet.  As I remind my kids, now and then on  biscuits, pancakes or toast,  accompanied with peanut butter on some bread, or as a topping on ice cream, strawberry jam is a great addition to a snack or meal.  Not to mention that its flavor is a great reminder of summer when it’s minus 20 degrees in February!

Ingredients

4 quarts strawberries (9 cups crushed berries)

14 cups sugar

2 packages of pectin (57 g /2 oz.)

Yields 16 -250 ml (8.4 oz. or half pint) jars of jam

Note:  Make this jam in two separate batches.

Directions for 8 jars of jam

Fill your canner up with hot water to the height of the jars that you will be using for your jam. It will take a while to get this volume to a boil so you better start now.  If you get ahead of the game, you can always turn it down later.

Fill a medium pot with water and add the seals and screw rings.  Bring this to a gentle bowl.005

Sterilize your jars in the oven at 225 degrees fahrenheit  for 10 minutes.  Continue to keep them warm in the oven until they are needed.

011Wash and remove the hull from 2 quarts of strawberries.012

Mash the berries up in a large bowl.  If you like your jam to be more “chunky”, then decrease the amount of mashing.

Combine mashed berries and pectin in a large pot and bring to a boil over high heat.

Add all the sugar.  I add 1/3 at a time and stir in order to dissolve all the sugar and not have it stick to the bottom.014

Note:  Make sure you use a LARGE pot to make this jam.  The volume will really INCREASE when the jam begins to boil.  The last thing you are going to want to happen is have this sugary mixture bubble over in the pot and catch FIRE on your burner.  Been there and done that!

Once the sugar is dissolved, return to a hard boil for 1 minute.

Remove from heat. Stir and skim for 5 minutes.  This step is crucial in order to get a foam free jam (skimming part) that doesn’t have the fruit rising to the top of the jar (stirring part).028

020

Pour jam into warm sterilized jars to 1/4″ from rim.021

Wipe the lip of the jar with a wet paper towel in order to ensure that no jam is on the rim of the jar.  This could prevent a good seal from happening.  Cover with sterilized lids and tighten the screw rings.

Process in a water bath for 10 minutes. Carefully remove the jars with canning tongs and cool on a rack over night.  Soon you will hear the sound of success as those lids start popping and ensuring a good seal.025

Congratulations!  Try not to eat it all in the next few months.  Save some for the Winter when you will need a few reminders of summer!031

Ah….Hello???? Easter was a while ago SWIFFER!!!!!!

002The egg count has been a little low for the past  few weeks and guess who’s not putting forth a regular contribution to City Boy Hens.  If you guessed Swiffer.. then you are correct.  Now, I know there’s going to be a few of you out there who will be sure to defend Swiffer by asking how I know that it is she that is not laying.

Well…as any self-respecting chicken owner will attest, I can tell which hen lays each particular egg. It also helps that I only have 3 hens on my urban homestead.   At City Boy Hens, Honda lays a large egg that is slightly elongated.  Rosie’s contribution is gigantic (extra-large) and Swiffer lays an egg that is not too far off from the size of a Ping-Pong ball.  Okay…I may be exaggerating a bit, but it is definitely the SMALLEST egg each day!011

So.. in the last few weeks, some of the “smallest” eggs have been missing from the coop. Initially, I thought it was odd that Swiffer would be slowing down so soon, considering that she only began laying last October.  But then again, nothing that Swiffer does is too surprising because she has always been a bit of a strange chicken.

Anyways, this morning I went out to feed the hens and collect the eggs.  As I walked past the cedar hedge, something caught my eye.  There, nestled around some dried leaves was…..an egg….THE SIZE OF A PING PONG BALL!!!!!!   There was no second guessing.  This was Swiffer’s egg!002

Well…Swiffer, you’ve managed to lower the bar AGAIN!!! Now….. you’ve taken it upon yourself to not even bother to lay your egg in the coop.  What’s the problem?  Are the “digs” not good enough for you?  Feel like your slummin’ it at City Boy Hens?092It’s bad enough that you won’t use the nest box, but now you’ve taken it upon yourself to just start dropping your eggs around the backyard where ever you see fit!  Ah…..Hello???? The backyard is not even that big.  I’ve seen how far you can run when I come out with some vegetable snacks.  Surely, you could waddle your lazy ass back over to the coop in order to deposit your egg.

Is this some kind of joke??????  Do you think I’m going to start a covert operation every day in order to find your egg?????  Is this some kind of Easter Egg prank????  It’s bad enough that you picked on Rosie for a month, that you took forever to actually start laying eggs and that you lay the SMALLEST EGG every day, but now you are going to hide them for me to find.  Let me tell you what’s coming down the pipe.  Look into the crystal ball.  Do you see a large soup pot with a fresh free-range chicken flavoring the broth?  No???????????……………..  LOOK CLOSER!!!!!!

In the mean time…all free-ranging for you will be strictly curtailed until one Ping-Pong sized egg appears in the coop each day.  No egg………no recreation time!  The decision is yours.  Man…I can’t believe you……….even after I wrote a great post about you last week!006

City Boy Granola

027Ya..I know that granola has been popular for a long time.  I can even remember as a kid when it became a breakfast cereal and I begged my parents to buy it in the grocery store which, by the way,  never happened.  So I might be a bit behind the curve in writing about granola, but I thought I would share my City Boy Hens Granola Recipe with you.  Around here we’ve all been eating oatmeal lately for breakfast and granola makes a great topping to a somewhat bland and boring breakfast.

Ingredients

008

3 1/2 cups  rolled oats (I use “quick” oats)

1 cup  sliced almonds

1 cup  shelled pumpkin seeds

1  cup of shredded coconut

1 cup  raisins

1 cup dried and cubed papaya

1/2 teaspoon  sea salt

1/2 cup  honey

1/4 cup  sunflower oil

1 teaspoon  vanilla extract

1 egg white

Note:  Feel free to omit or substitute different ingredients.

Directions

Combine oats,  almonds, pumpkin seeds, and coconut together in a large mixing bowl.  Add salt and stir the dry ingredients together.

In a separate bowl, combine the oil, honey, egg white and vanilla extract.  Note:  Add the oil first.  This will help prevent the honey from sticking to your bowl.  Add these wet ingredients to your dry ingredients and continue to stir until everything is nicely coated.010

Spoon the granola out of the bowl onto 2 baking sheets and place in the oven for 45 minutes at 300 degrees Ferinheight.011

Remove the baking sheets from the oven every 15 minutes in order to stir the granola.

After 45 minutes, the granola should be light brown and smell incredible.  Pull the baking sheets out and add the raisins and dried fruit.  Put the granola back in the oven for 5 minutes.  Note:  If you were to bake the raisins and dried fruit for the entire duration of time, they would be incredible hard and/or burnt. 017

Remove from oven, cool, and pack into 2 mason jars. 027Enjoy as a quick snack or as a topping on oatmeal, yogurt, or…………..

034

City Boy TRAPPER??????

003For the last few weeks there has been a raccoon “visiting” our property.  He has left his messy calling card at my garbage bin several times and my wife informed me that he even paid a visit to the chicken coop in the middle of the afternoon last week.  The deal breaker came Sunday afternoon when he attempted to scale the property fence in order to sample my free ranging ladies.

As you may have guessed, our dog, Stanley was fast asleep inside the house on every occasion when Mr. Raccoon dropped by.  I say this because I can’t blame the dog.  No animal (not even a squirrel) will venture into the backyard if Stanley is on patrol.  But, age is catching up to old Stanley and sleep has become his favorite pastime these days.  Now that I think about it…..sleep has always been Stanley’s favorite pastime.009

So last night, I borrowed a trap from my brother and then proceeded to bait it with a delicious aromatic sardine.  Like clockwork, Swiffer woke me with her dreaded EGG SONG this morning and I stumbled outside to take a peak at the trap and……….GOTTCHA!002

Ya… I know there’s a bunch of you out there saying “Oh…he’s so cute”.  Well…it wouldn’t be too darn cute to wake up one morning and find that buddy has gotten in to the coop and killed my hens.  Not to mention that free ranging during late afternoons and weekends has been severely curtailed now that Mr. Raccoon is boldly walking around my property in the middle of the day.  So much for being a nocturnal animal!

Well Mr. Raccoon….you are officially being EVICTED from City Boy Hens!   So off we went, wife (camera person), myself and one freakishly stinky raccoon for a “little drive”.  Note: My brother passed on this great tip. Make sure to put a plastic liner (tarp) down before placing the trap in your vehicle……just in case Buddy decides to leave you with a thank you present for the relocation favor.  Pick up trucks and trailers would work great in these situations because the trapped raccoon would be outside of the vehicle’s interior, thus preventing the “present” from stinking & staining  your vehicle interior.

Once you arrive at your destination, point the front of the trap towards a covered area.  This will help the raccoon  feel that the odds are in his favor for a successful escape.

Next…carefully open the door to the trap.  You’ll need to have something on hand to keep the door open at this point. Your hand is probably not a good choice!   For me, my 1986 Titan 1020 hockey stick was the perfect tool for the job.006

“And down the ice comes Sittler…….He sees a break in the defence.    He moves to his right…..fakes a shot……….He shoots……He scores!!!!!!!!!!!!!!!!!!!!!!!!!!!!!!007

008

Oh…I almost forget…….Make sure you wear your best flannels and steel-toe crocks for the job!  It’s always important to look your best in your safest gear!